整个flutter引擎的相关初始化工作在onCreate方法里开始的:
@Override
protected void onCreate(@Nullable Bundle savedInstanceState) {
switchLaunchThemeForNormalTheme();
super.onCreate(savedInstanceState);
lifecycle.handleLifecycleEvent(Lifecycle.Event.ON_CREATE);
delegate = new FlutterActivityAndFragmentDelegate(this);
///创建绑定引擎等
delegate.onAttach(this);
///用于插件、框架恢复状态
delegate.onActivityCreated(savedInstanceState);
///设置窗口背景透明,隐藏 status bar
configureWindowForTransparency();
///这里是咱们的入口
setContentView(createFlutterView());
configureStatusBarForFullscreenFlutterExperience();
}
setContentView大家很熟悉,我们直接看createFlutterView() 这个方法:
@NonNull
private View createFlutterView() {
return delegate.onCreateView(
null /* inflater /, null / container /, null / savedInstanceState */);
}
FlutterActivityAndFragmentDelegate
flutter的初始化、启动等操作都是委托给它的。
我们继续看onCreateView,我将说明以注释的形式写在代码里
@NonNull
View onCreateView(
LayoutInflater inflater, @Nullable ViewGroup container, @Nullable Bundle savedInstanceState) {
Log.v(TAG, “Creating FlutterView.”);
ensureAlive();
if (host.getRenderMode() == RenderMode.surface) {
/// flutter 应用在surface上显示,所以会进入到这里
FlutterSurfaceView flutterSurfaceView =
new FlutterSurfaceView(
host.getActivity(), host.getTransparencyMode() == TransparencyMode.transparent);
// Allow our host to customize FlutterSurfaceView, if desired.
host.onFlutterSurfaceViewCreated(flutterSurfaceView);
// Create the FlutterView that owns the FlutterSurfaceView.
///用我们的flutterSurfaceView 初始化了一个 FlutterView
flutterView = new FlutterView(host.getActivity(), flutterSurfaceView);
} else {
FlutterTextureView flutterTextureView = new FlutterTextureView(host.getActivity());
// Allow our host to customize FlutterSurfaceView, if desired.
host.onFlutterTextureViewCreated(flutterTextureView);
// Create the FlutterView that owns the FlutterTextureView.
flutterView = new FlutterView(host.getActivity(), flutterTextureView);
}
// Add listener to be notified when Flutter renders its first frame.
flutterView.addOnFirstFrameRenderedListener(flutterUiDisplayListener);
/// 创建一个闪屏view - FlutterSplashView
flutterSplashView = new FlutterSplashView(host.getContext());
if (Build.VERSION.SDK_INT >= Build.VERSION_CODES.JELLY_BEAN_MR1) {
flutterSplashView.setId(View.generateViewId());
} else {
// TODO(mattcarroll): Find a better solution to this ID. This is a random, static ID.
// It might conflict with other Views, and it means that only a single FlutterSplashView
// can exist in a View hierarchy at one time.
flutterSplashView.setId(486947586);
}
/// 显示闪屏页
flutterSplashView.displayFlutterViewWithSplash(flutterView, host.provideSplashScreen());
Log.v(TAG, “Attaching FlutterEngine to FlutterView.”);
///所创建surface 绑定到engine上
flutterView.attachToFlutterEngine(flutterEngine);
return flutterSplashView;
}
这里我们可以大致了解到,创建了一个FlutterSurfaceView 它继承自surfaceView(我们的flutter页面也是渲染在这个surface上的)。之后我们用它初始化一个FlutterView,
FlutterView继承自 FrameLayout
随后我们再创建一个FlutterSplashView (继承FrameLayout)并调用displayFlutterViewWithSplash()方法。
public void displayFlutterViewWithSplash(
@NonNull FlutterView flutterView, @Nullable SplashScreen splashScreen) {
// If we were displaying a previous FlutterView, remove it.
if (this.flutterView != null) {
this.flutterView.removeOnFirstFrameRenderedListener(flutterUiDisplayListener);
removeView(this.flutterView);
}
// If we were displaying a previous splash screen View, remove it.
if (splashScreenView != null) {
removeView(splashScreenView);
}
// Display the new FlutterView.
this.flutterView = flutterView;
///添加flutterView
addView(flutterView);
this.splashScreen = splashScreen;
// Display the new splash screen, if needed.
if (splashScreen != null) {
if (isSplashScreenNeededNow()) {
Log.v(TAG, “Showing splash screen UI.”);
// This is the typical case. A FlutterEngine is attached to the FlutterView and we’re
// waiting for the first frame to render. Show a splash UI until that happens.
splashScreenView = splashScreen.createSplashView(getContext(), splashScreenState);
///添加 splashScreenView
addView(this.splashScreenView);
flutterView.addOnFirstFrameRenderedListener(flutterUiDisplayListener);
} else if (isSplashScreenTransitionNeededNow()) {
Log.v(
TAG,
“Showing an immediate splash transition to Flutter due to previously interrupted transition.”);
splashScreenView = splashScreen.createSplashView(getContext(), splashScreenState);
addView(splashScreenView);
transitionToFlutter();
} else if (!flutterView.isAttachedToFlutterEngine()) {
Log.v(
TAG,
“FlutterView is not yet attached to a FlutterEngine. Showing nothing until a FlutterEngine is attached.”);
flutterView.addFlutterEngineAttachmentListener(flutterEngineAttachmentListener);
}
}
}
这个方法对flutterView进行了保存(不用管这个),随后我们保存了一个 接口的实现类——splashScreen,这个实现类则是由FlutterActivity实现的(MainActivity)来提供的:
///host 是个接口,由FlutterActivity实现
回顾上面:flutterSplashView.displayFlutterViewWithSplash(flutterView, host.provideSplashScreen());
public SplashScreen provideSplashScreen() {
Drawable manifestSplashDrawable = getSplashScreenFromManifest();
if (manifestSplashDrawable != null) {
///DrawableSplashScreen 实现了 splashScreen的接口
return new DrawableSplashScreen(manifestSplashDrawable);
} else {
return null;
}
}
通过getSplashScreenFromManifest 初始化了一个drawable,我们看一下它内部:
@Nullable
@SuppressWarnings(“deprecation”)
private Drawable getSplashScreenFromManifest() {
try {
ActivityInfo activityInfo =
getPackageManager().getActivityInfo(getComponentName(), PackageManager.GET_META_DATA);
Bundle metadata = activityInfo.metaData;
///这里就是我们在 AndroidManifest.xml中设置启动页了
///SPLASH_SCREEN_META_DATA_KEY 的值 见下方
int splashScreenId = metadata != null ? metadata.getInt(SPLASH_SCREEN_META_DATA_KEY) : 0;
return splashScreenId != 0
? Build.VERSION.SDK_INT > Build.VERSION_CODES.LOLLIPOP
-
? getResources().getDrawable(splashScreenId, getTheme())
-
getResources().getDrawable(splashScreenId)
-
null;
} catch (PackageManager.NameNotFoundException e) {
// This is never expected to happen.
return null;
}
}
自我介绍一下,小编13年上海交大毕业,曾经在小公司待过,也去过华为、OPPO等大厂,18年进入阿里一直到现在。
深知大多数初中级安卓工程师,想要提升技能,往往是自己摸索成长,但自己不成体系的自学效果低效又漫长,而且极易碰到天花板技术停滞不前!
因此收集整理了一份《2024年最新Android移动开发全套学习资料》送给大家,初衷也很简单,就是希望能够帮助到想自学提升又不知道该从何学起的朋友,同时减轻大家的负担。
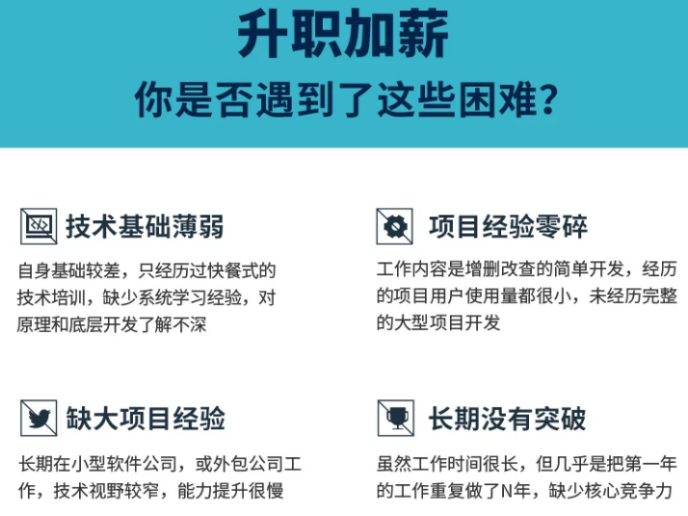
由于文件比较大,这里只是将部分目录截图出来,每个节点里面都包含大厂面经、学习笔记、源码讲义、实战项目、讲解视频
如果你觉得这些内容对你有帮助,可以添加下面V无偿领取!(备注Android)

总结
算法知识点繁多,企业考察的题目千变万化,面对越来越近的“金九银十”,我给大家准备好了一套比较完善的学习方法,希望能帮助大家在有限的时间里尽可能系统快速的恶补算法,通过高效的学习来提高大家面试中算法模块的通过率。
这一套学习资料既有文字档也有视频,里面不仅仅有关键知识点的整理,还有案例的算法相关部分的讲解,可以帮助大家更好更全面的进行学习,二者搭配起来学习效果会更好。
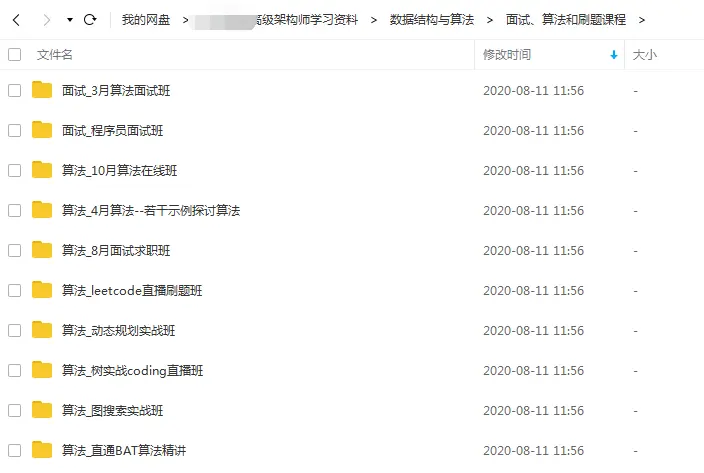
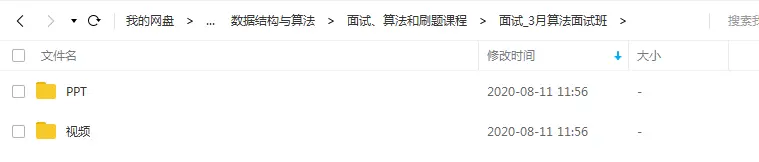
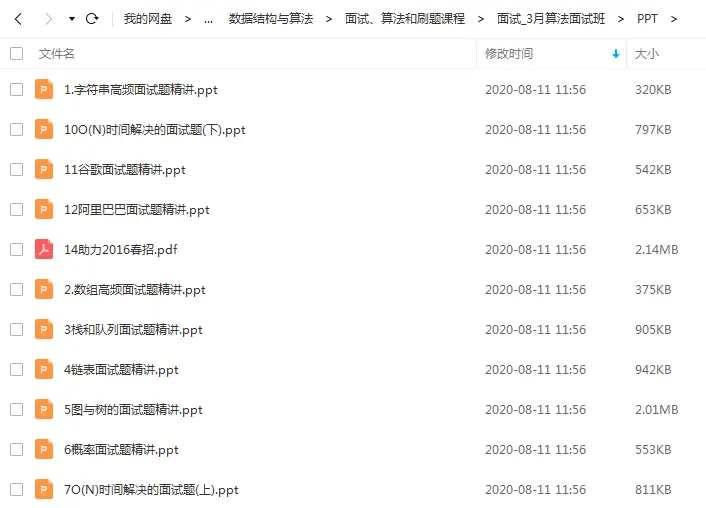
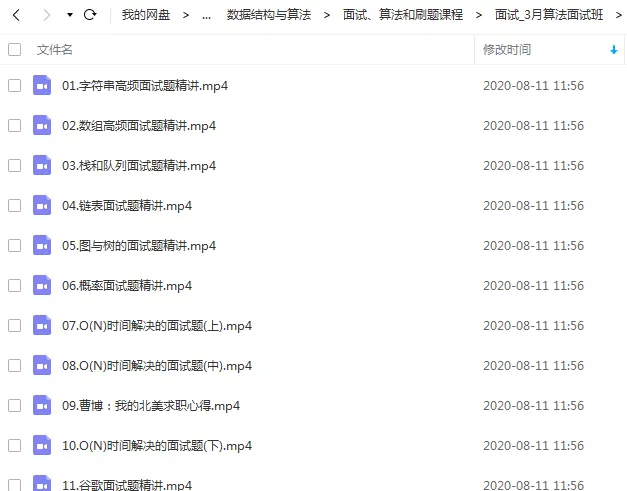
部分资料展示:
有了这套学习资料,坚持刷题一周,你就会发现自己的算法知识体系有明显的完善,离大厂Offer的距离更加近。
资料获取方法:点赞+关注+转发,然后进入我的【GitHub】,里面有免费获取途径
算法,通过高效的学习来提高大家面试中算法模块的通过率。
这一套学习资料既有文字档也有视频,里面不仅仅有关键知识点的整理,还有案例的算法相关部分的讲解,可以帮助大家更好更全面的进行学习,二者搭配起来学习效果会更好。
部分资料展示:
[外链图片转存中…(img-M47ds11E-1711393902038)]
[外链图片转存中…(img-UfuVB5FF-1711393902038)]
[外链图片转存中…(img-bar2CvZs-1711393902039)]
[外链图片转存中…(img-Rt1zzLJ4-1711393902039)]
有了这套学习资料,坚持刷题一周,你就会发现自己的算法知识体系有明显的完善,离大厂Offer的距离更加近。
资料获取方法:点赞+关注+转发,然后进入我的【GitHub】,里面有免费获取途径