Anaconda
不管你配不配反正我配了。
官网下载:https://www.anaconda.com/
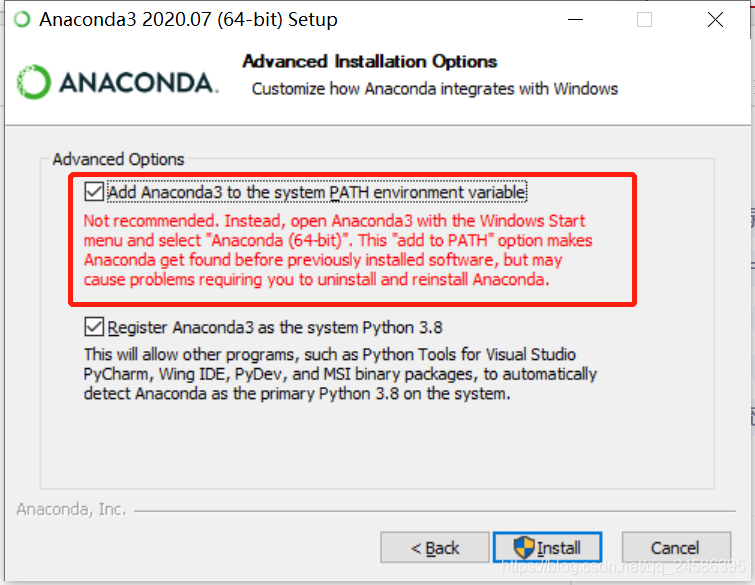
安装时注意勾选添加环境变量VS
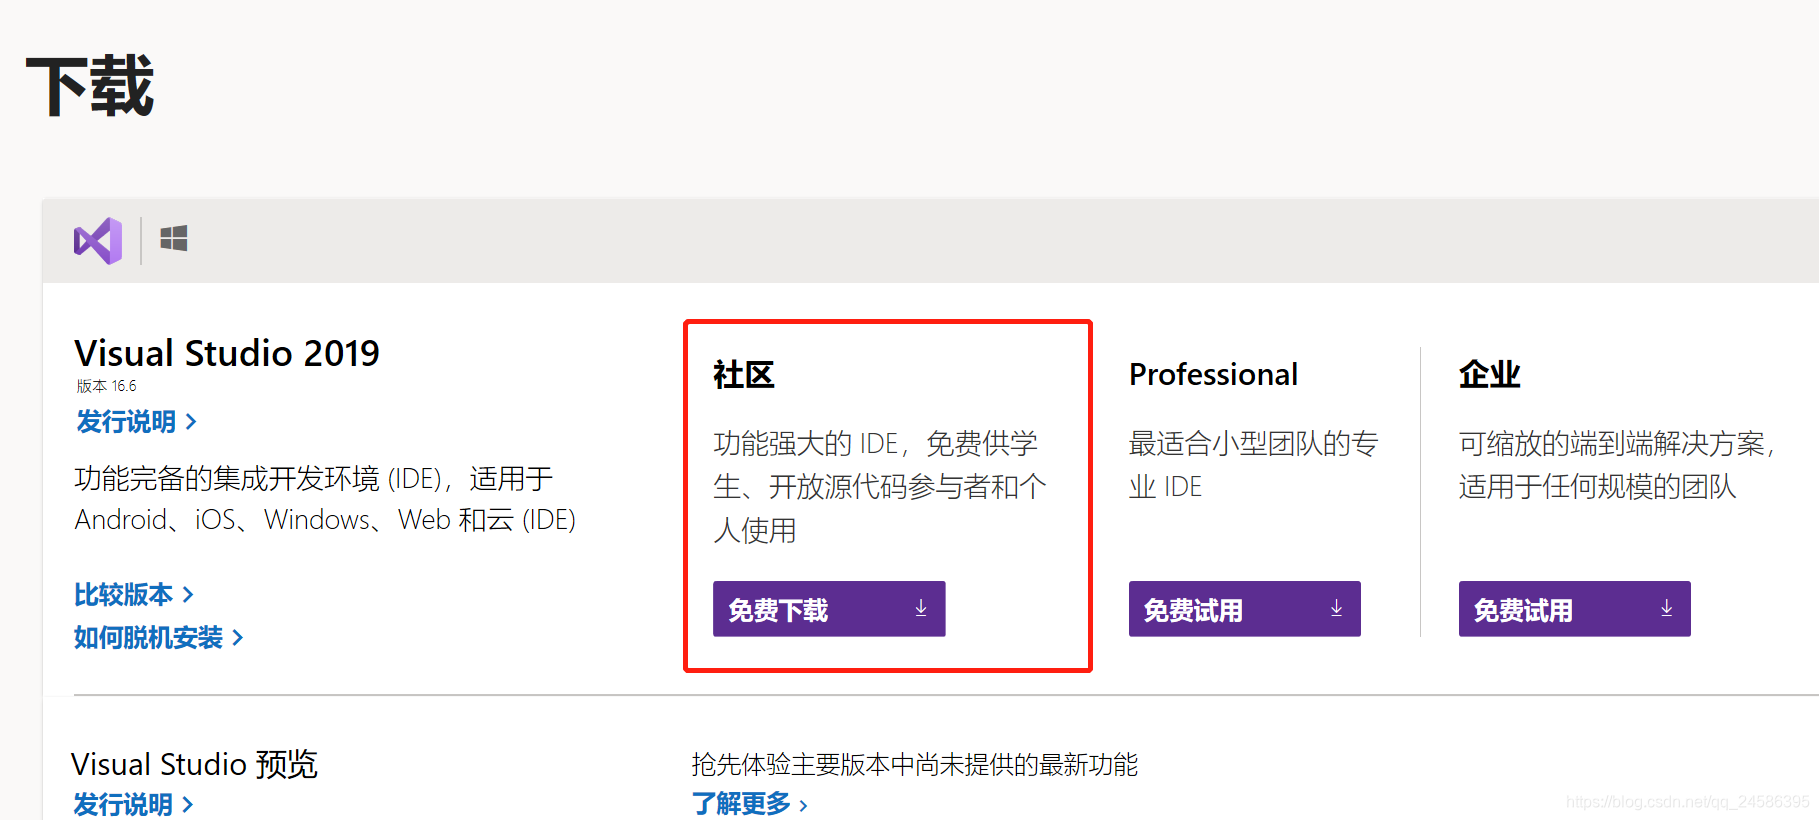
安装时勾选通用 Windows 平台开发(包括其子选项C++ 通用 Windows 平台工具)以及使用 C++ 的桌面开发。
CUDA
官网下载
自行选择版本号等属性下载安装包
安装后测试是否成功:nvcc -V
cuDNN
官方网址:https://developer.nvidia.com/cudnn
讲真我是没下载下来,因为要注册用户,注册用户页面打不开。
建议百度云搜索资源
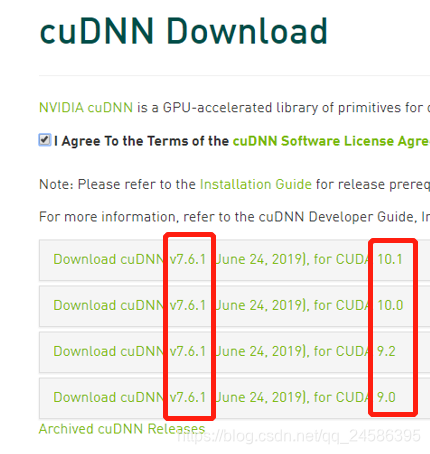
下载的时候要看好CUDA的版本号,下载对应版本的cuDNN
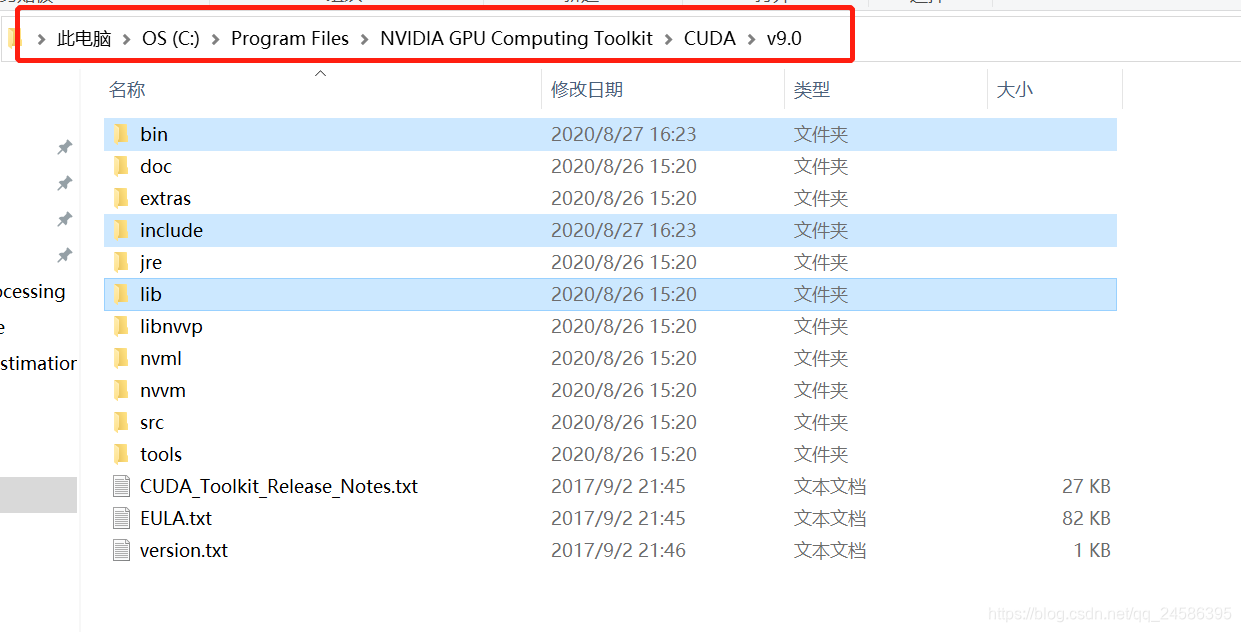
下好后解压,把bin, include, lib文件夹复制到 “你的路径*NVIDIA GPU Computing Toolkit\CUDA\v9.0*”里,覆盖原有文件夹
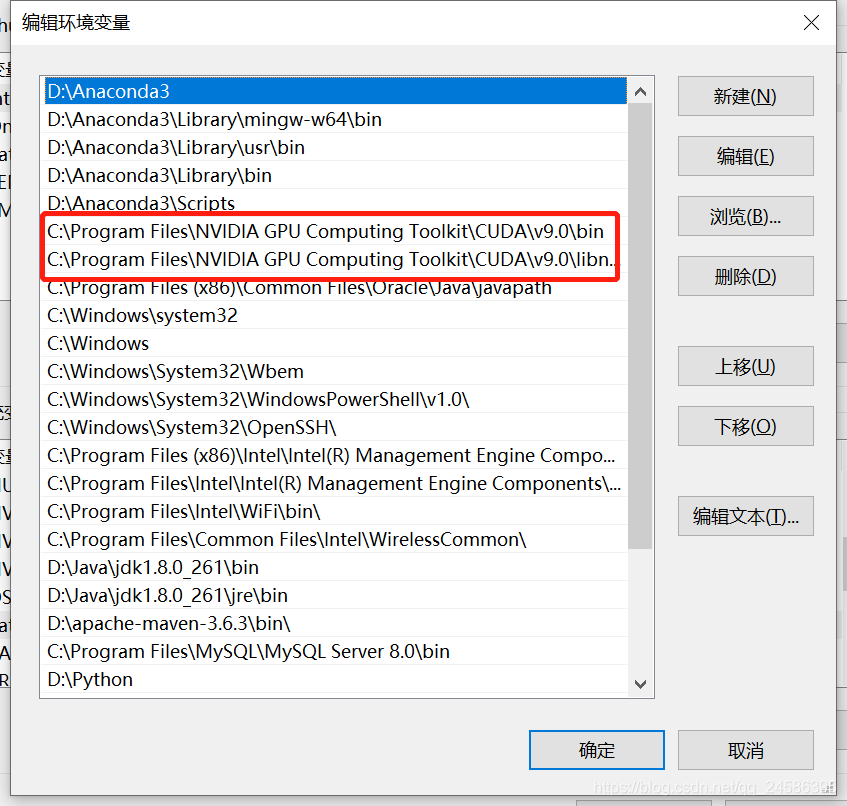
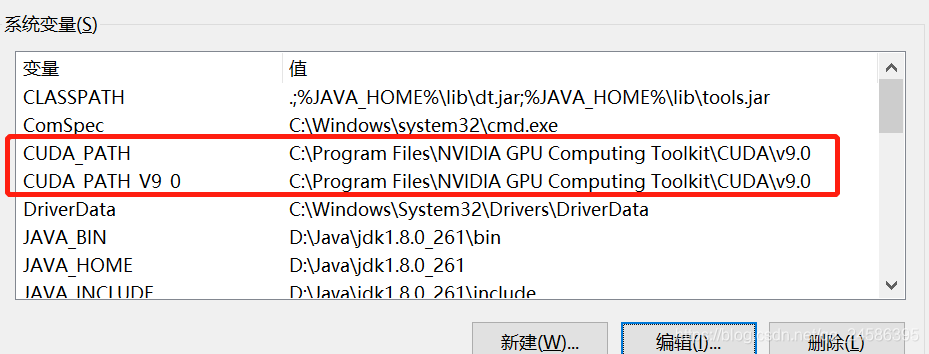
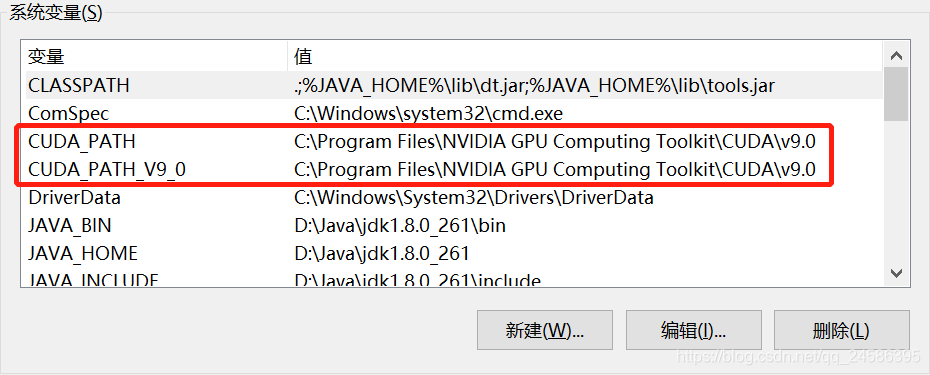
查看环境变量
tensorflow
试过了pip install tensorflow的龟速之后,准备用清华镜像来下载。
GPU要比CPU快一些,我安装了GPU版。
GPU:
pip install tensorflow-gpu==2.3.0 -i https://pypi.tuna.tsinghua.edu.cn/simpleCPU:
pip install tensorflow2.3.0 -i https://pypi.tuna.tsinghua.edu.cn/simple网上很多是这样写的:
pip install tensorflow-gpu==1.8 -i https://pypi.tuna.tsinghua.edu.cn/simple
不过这个版本应该是没有了,根据提示我换成了2.3.0
安装完之后,检测不到。于是就借助Anaconda Prompt来安装
conda creat -n tensorbase python=3.8
再测试的时候发现他还是不行!
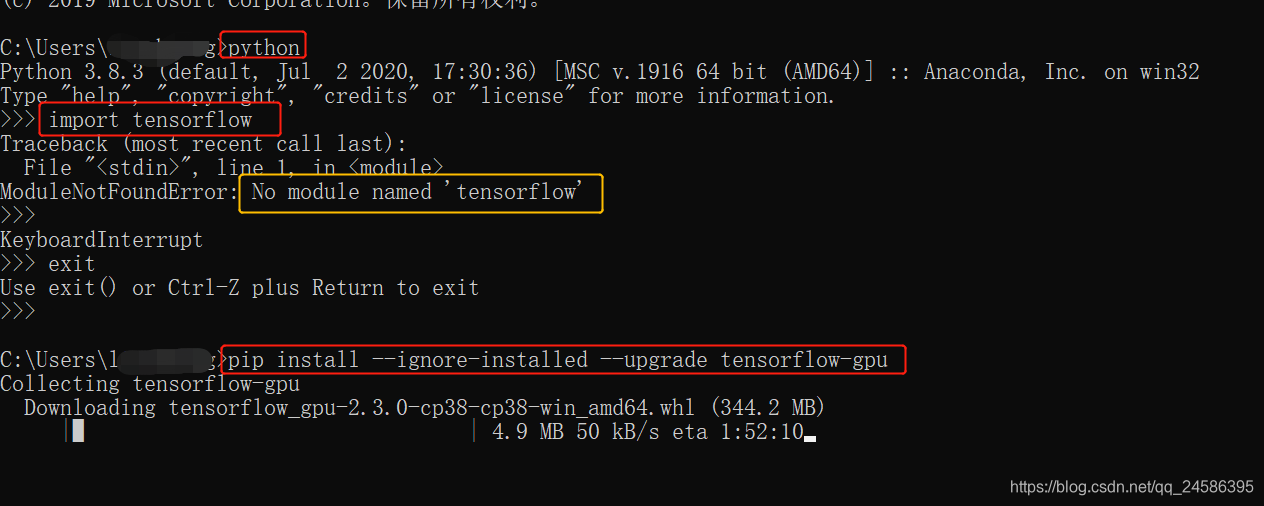
退出python环境,在命令行敲入
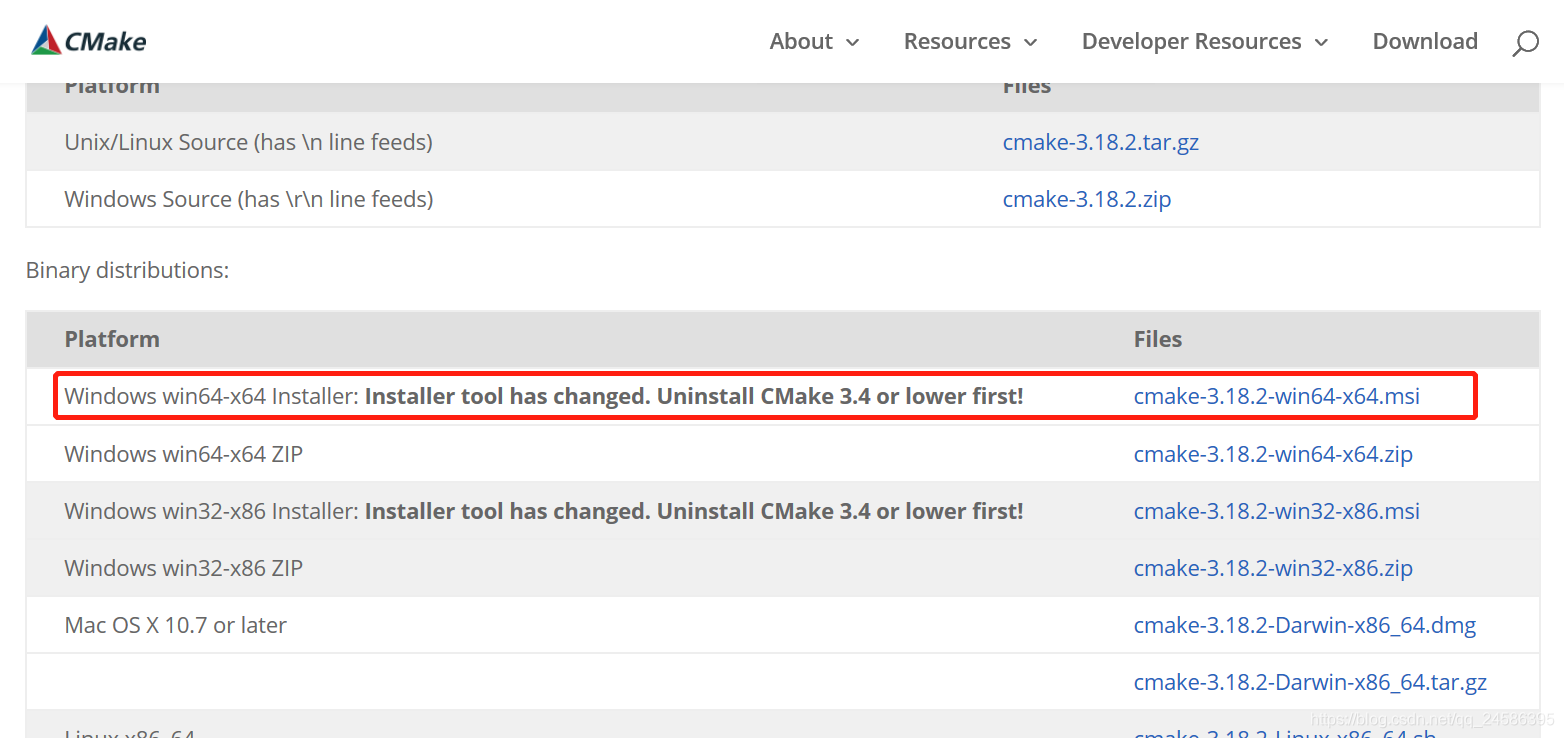
pip install --ignore-installed --upgrade tensorflow-gpuCMake
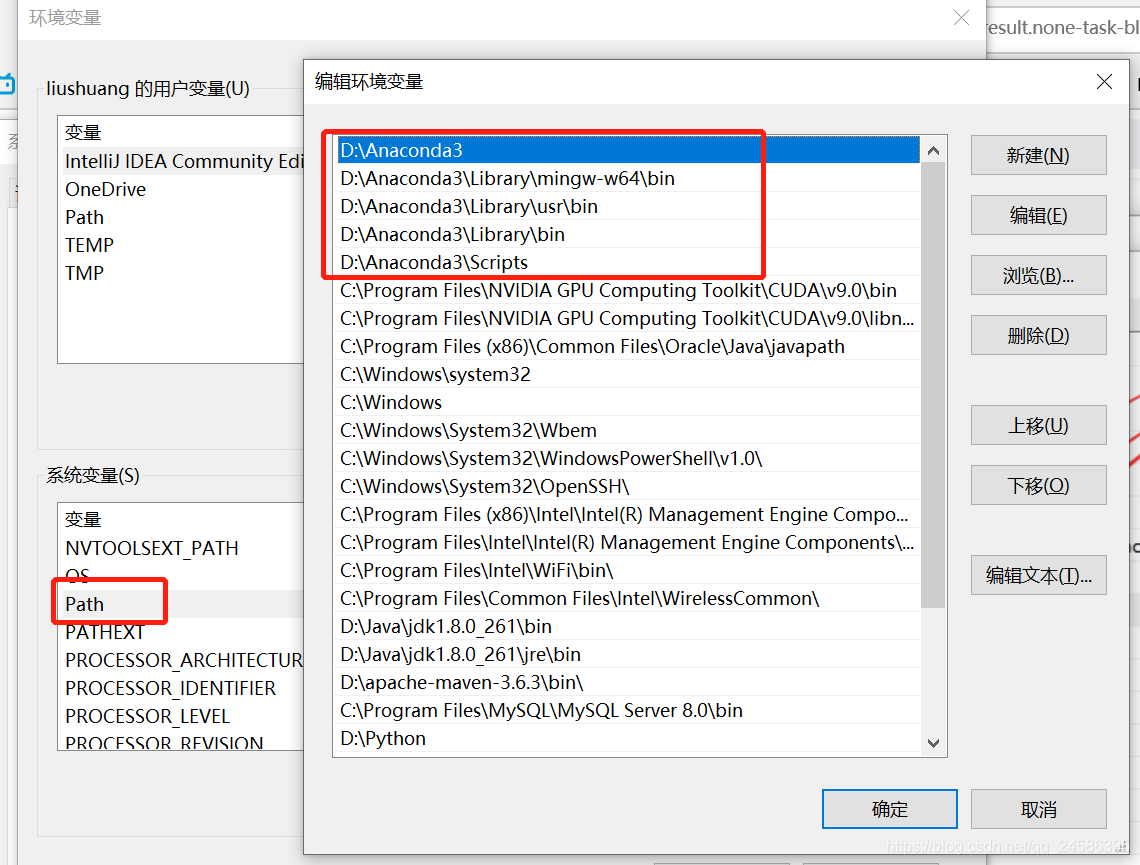
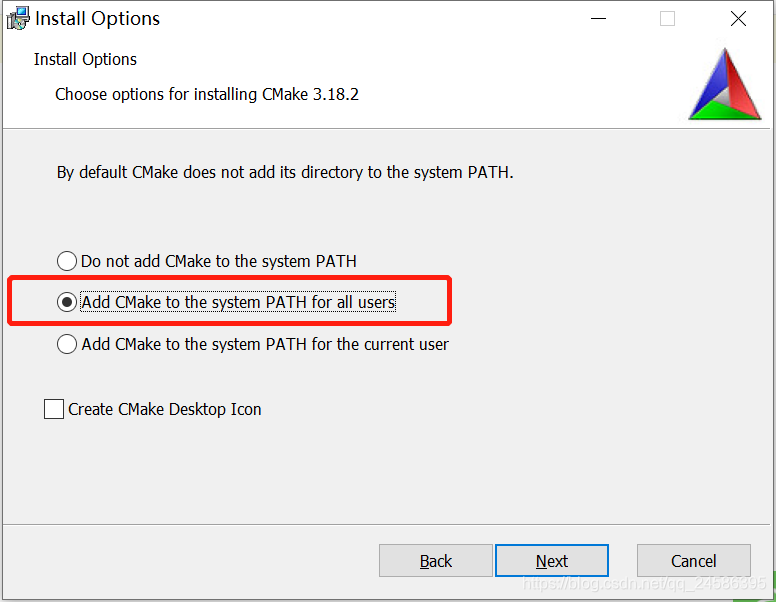
添加系统变量Path
OpenPose代码
GitHub地址:https://github.com/CMU-Perceptual-Computing-Lab/openpose
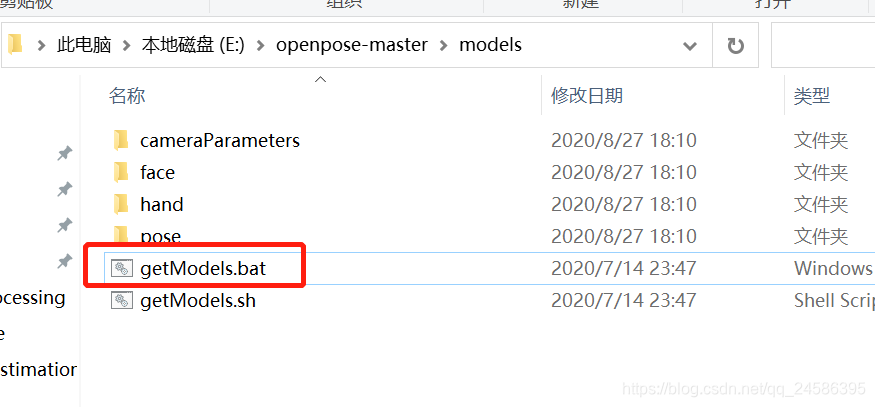
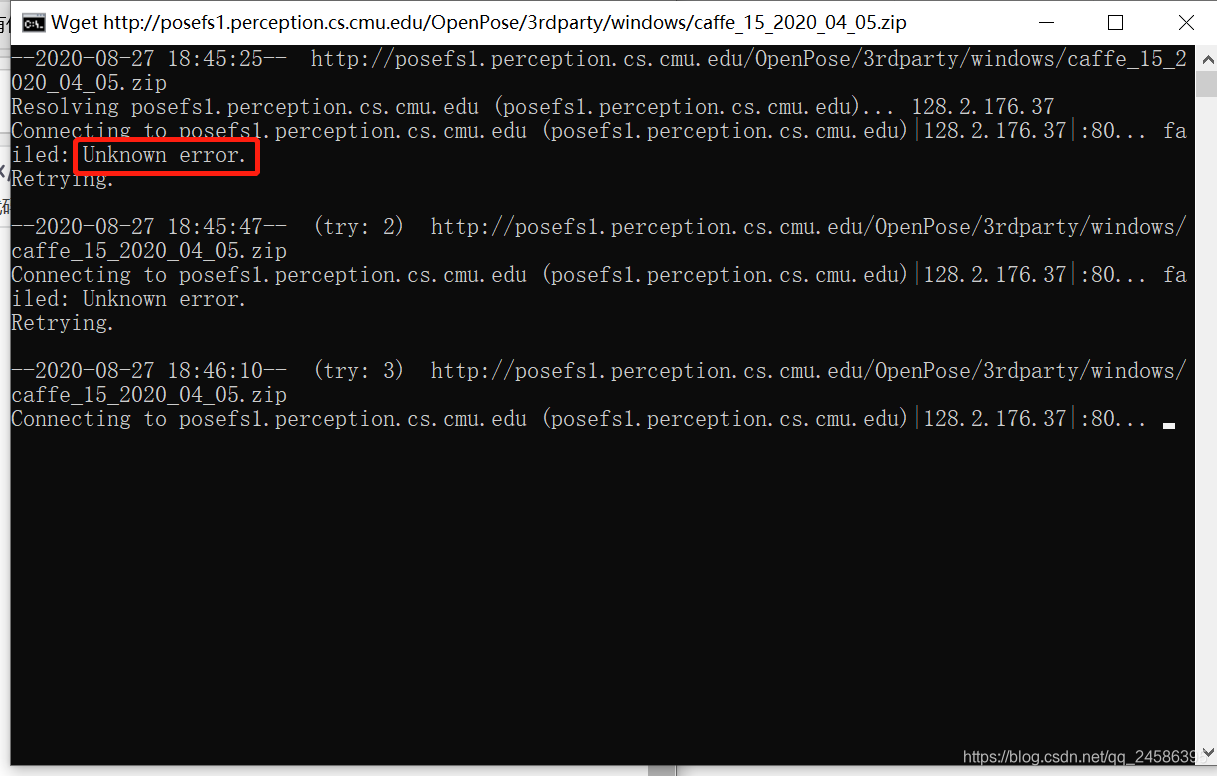
解压后,运行getModels.bat和getCaffe.bat,目的是提前下载好模型,节省后面的时间。
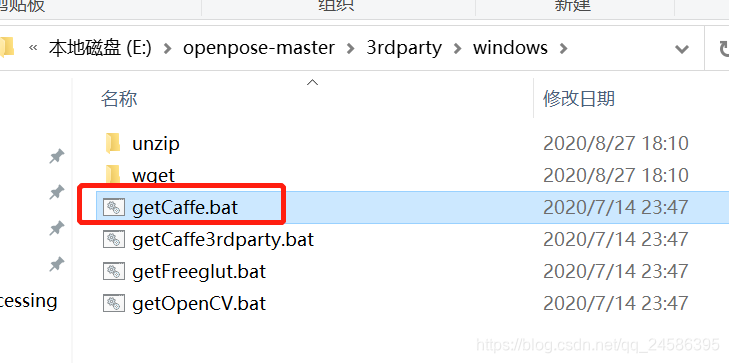
于是我决定换个方式吧。。。
Anaconda调用Opencv
anaconda prompt安装opencv:
conda install -c https://conda.anaconda.org/menpo opencv或
pip install opencv-python下载:请看该文章评论里博主给的连接(本文Anaconda调用Opencv部分参考该文)
https://blog.csdn.net/weixin_40802676/article/details/88048445?utm_medium=distribute.pc_aggpage_search_result.none-task-blog-2allfirst_rank_v2~rank_v25-6-88048445.nonecase&utm_term=openpose自带模型无法使用
Opencv调用OpenPose
之前该装的都装好了,只需要下载两个文件。
链接:https://pan.baidu.com/s/1adIs0eyHu6b9uM_E53Kaog
提取码:open
下载好后还需要写一个.py代码:
代码部分我使用了这个大神博客里的代码:https://www.cnblogs.com/answerThe/p/12012276.html
import cv2
import time
import numpy as np

MODE = "COCO"

if MODE is "COCO":
    protoFile = "model/pose_deploy_linevec.prototxt"
    weightsFile = "model/pose_iter_440000.caffemodel"
    nPoints = 18
    POSE_PAIRS = [[1, 0], [1, 2], [1, 5], [2, 3], [3, 4], [5, 6], [6, 7], [1, 8], [8, 9], [9, 10], [1, 11], [11, 12],
                  [12, 13], [0, 14], [0, 15], [14, 16], [15, 17]]

frame = cv2.imread("image.jpg")
frameCopy = np.copy(frame)
frameWidth = frame.shape[1]
frameHeight = frame.shape[0]
threshold = 0.1

net = cv2.dnn.readNetFromCaffe(protoFile, weightsFile) # 读取caffe模型

t = time.time()
inWidth = 368
inHeight = 368
inpBlob = cv2.dnn.blobFromImage(frame, 1.0 / 255, (inWidth, inHeight),
                                (0, 0, 0), swapRB=False, crop=False) #将输入图片转成相应模型识别的blob数据

net.setInput(inpBlob) # 放进网络

output = net.forward() # 向前传播,进行预测
print("time taken by network : {:.3f}".format(time.time() - t))
# print(output.shape, output)
#输出4D举证:
# 第一维是图像ID(如果您将多个图像传递到网络)。
# 第二个维度指示关键点的索引。该模型将生成所有连接在一起的置信度图和零件亲和度图。对于COCO模型,它由57个部分组成– 18个关键点置信度图+ 1个背景+ 19 * 2个部分亲和度图。同样,对于MPI,它会产生44点。我们将仅使用与关键点相对应的前几个点。
# 第三维是输出图的高度。
# 第四个维度是输出图的宽度。
H = output.shape[2] # 输出的图像的高度
W = output.shape[3] # 输出图像的宽度

# Empty list to store the detected keypoints
points = []

for i in range(nPoints):
    # confidence map of corresponding body's part.
    probMap = output[0, i, :, :] # 获取关键点

    # Find global maxima of the probMap.
    minVal, prob, minLoc, point = cv2.minMaxLoc(probMap) # 通过minMaxLoc得出该矩阵中的最小值、最大值、最小值索引,最大值索引
    print(minVal, prob, minLoc, point)

    # Scale the point to fit on the original image将输出图像中的关键点映射到原始图片上
    x = (frameWidth / W) * point[0]
    y = (frameHeight / H) * point[1]

    if prob > threshold:
        cv2.circle(frameCopy, (int(x), int(y)), 4, (0, 255, 255), thickness=-1, lineType=cv2.FILLED)
        cv2.putText(frameCopy, "{}".format(i), (int(x), int(y)), cv2.FONT_HERSHEY_SIMPLEX, 0.3, (0, 0, 255),
                    lineType=cv2.LINE_AA)

        # Add the point to the list if the probability is greater than the threshold
        points.append((int(x), int(y)))
    else:
        points.append(None)

# Draw Skeleton
for pair in POSE_PAIRS:
    partA = pair[0]
    partB = pair[1]

    if points[partA] and points[partB]:
        cv2.line(frame, points[partA], points[partB], (0, 255, 255), 2)
        cv2.circle(frame, points[partA], 8, (0, 0, 255), thickness=-1, lineType=cv2.FILLED)

cv2.imshow('Output-Keypoints', frameCopy)
cv2.imshow('Output-Skeleton', frame)

print("Total time taken : {:.3f}".format(time.time() - t))

cv2.waitKey(0)
最后终于成功了。
