一、介绍
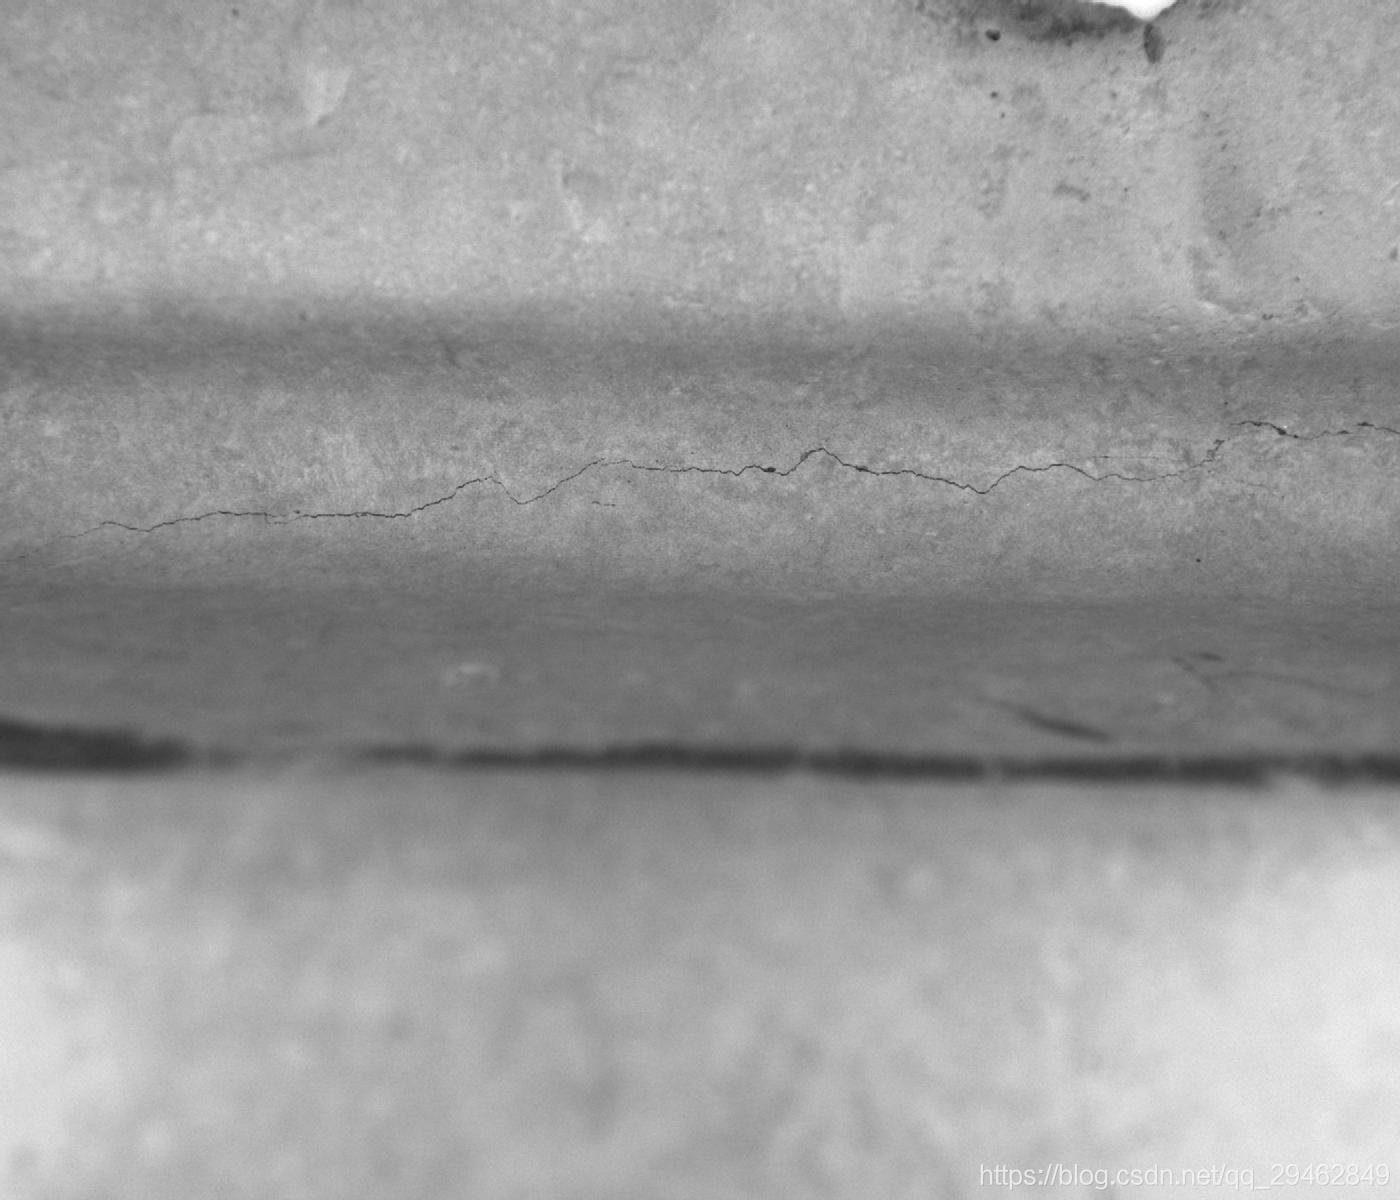
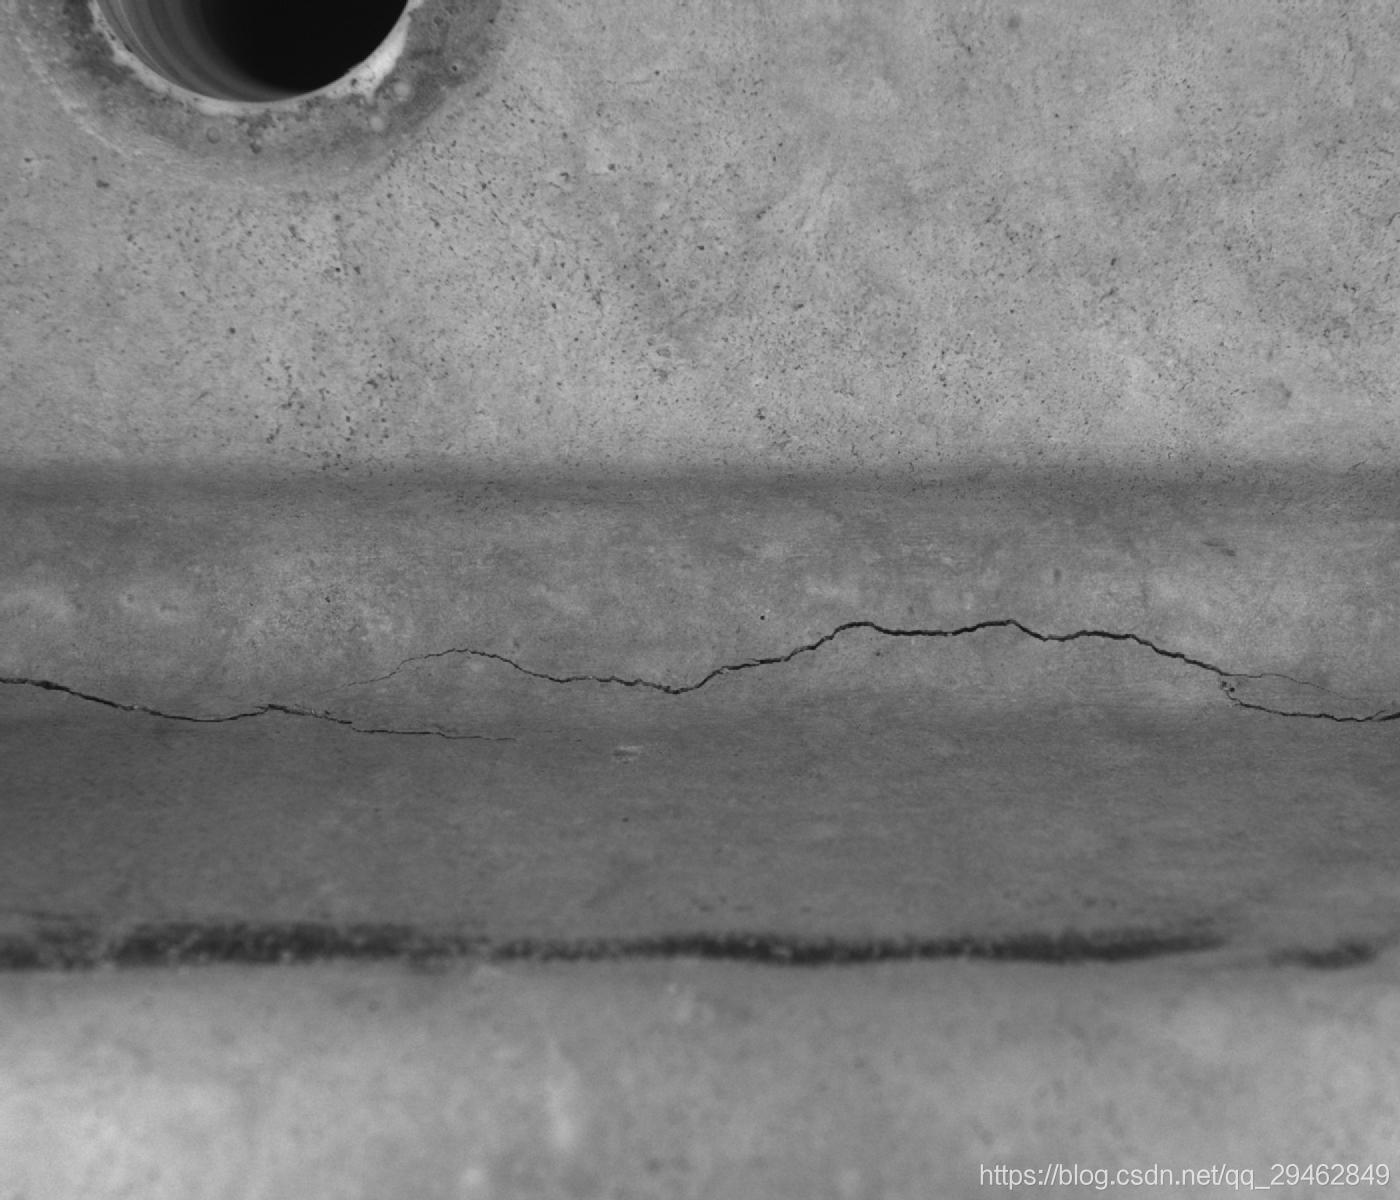
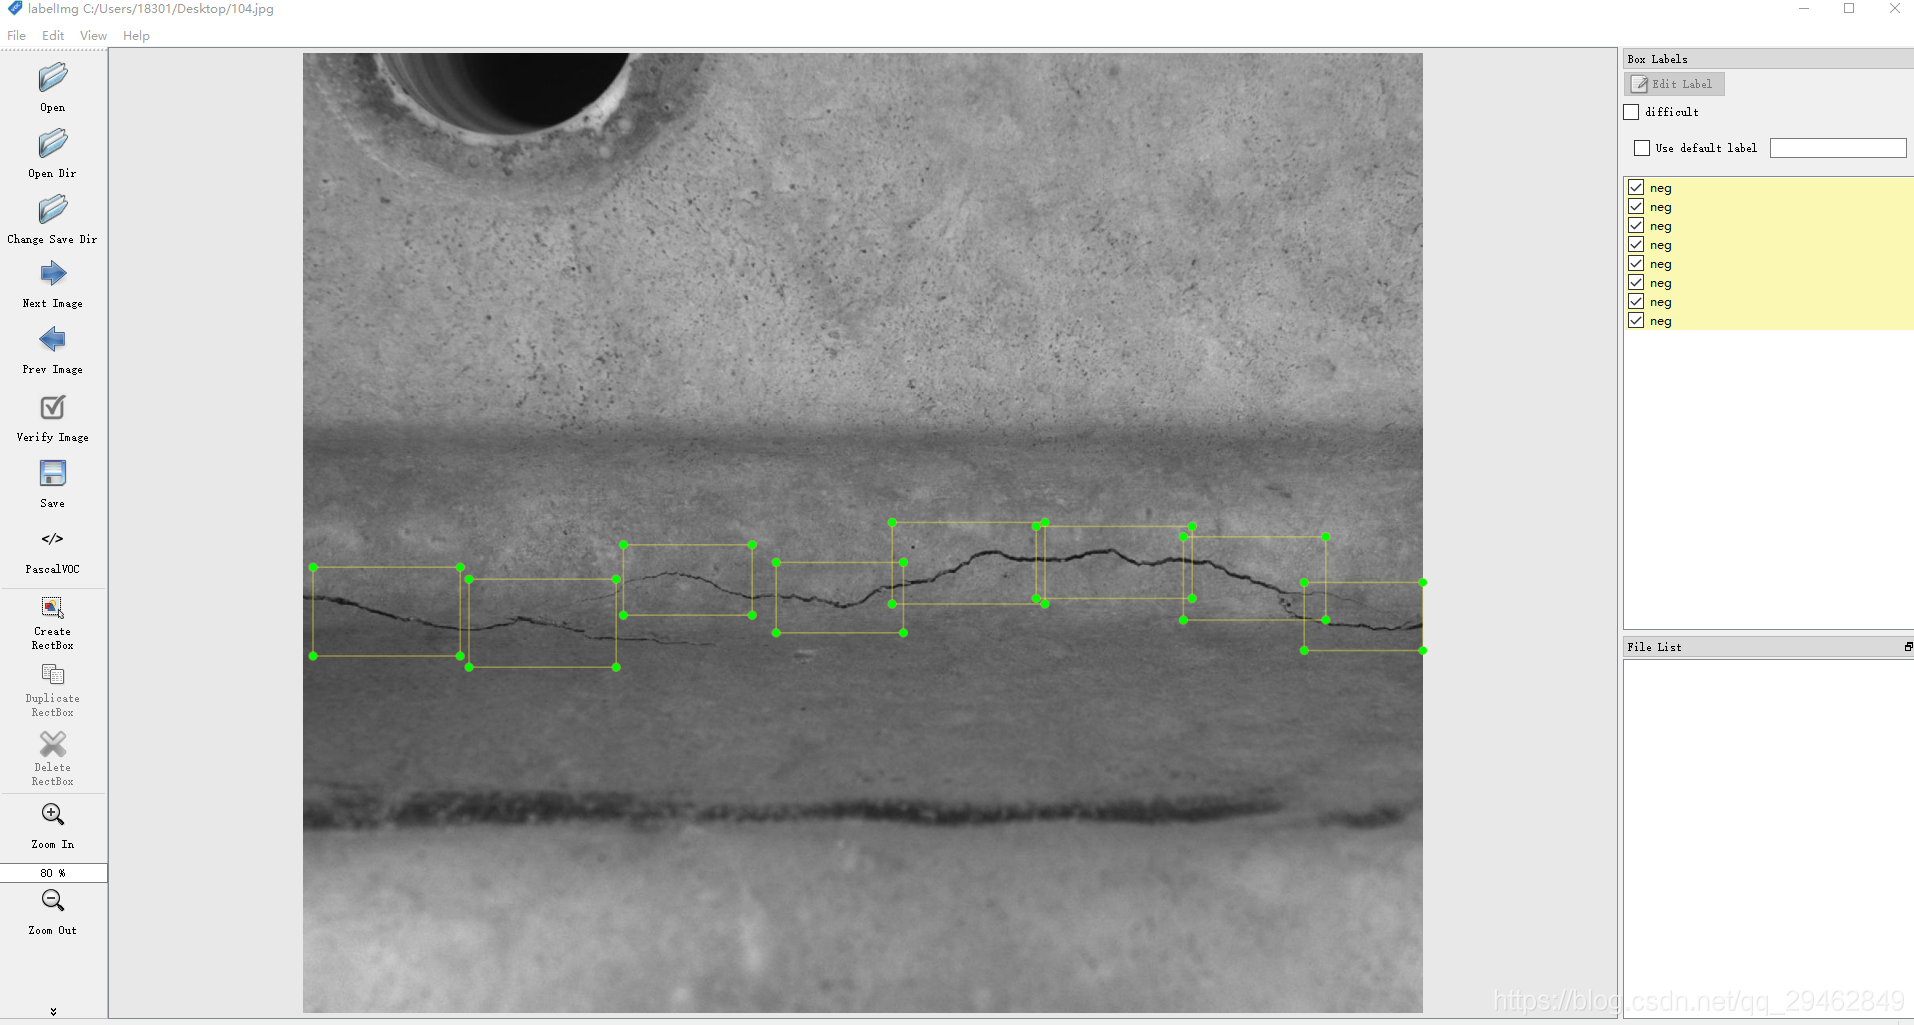
本博文主要介绍实现通过SSD物体检测方式实现工件裂纹检测。裂纹图像如下所示:
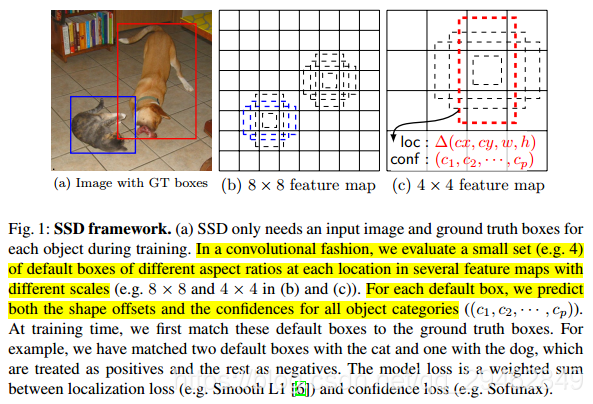
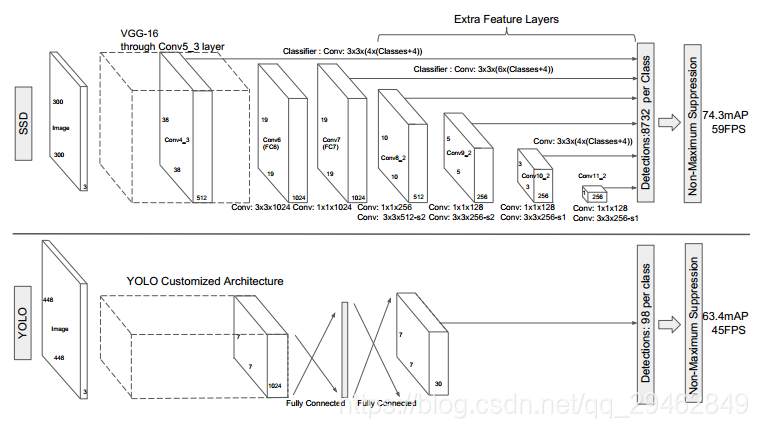
二、关于SSD算法
具体算法不再阐述,详细请参考:
https://blog.csdn.net/u013989576/article/details/73439202
https://blog.csdn.net/xiaohu2022/article/details/79833786
https://www.sohu.com/a/168738025_717210
三、训练数据的制作
训练数据制作的时候选择LabelImg,关于LabelImg的安装使用请参考:https://blog.csdn.net/xunan003/article/details/78720189
关于选取裂纹数据的一点建议:建议选的检测框数据一定要小,这样方便收敛。
这里使用的是VOC2007的数据格式,文件夹下面一共三个子文件夹。
其中,Annotations文件夹存放的是LbaelImg制作数据生成的xml文件。
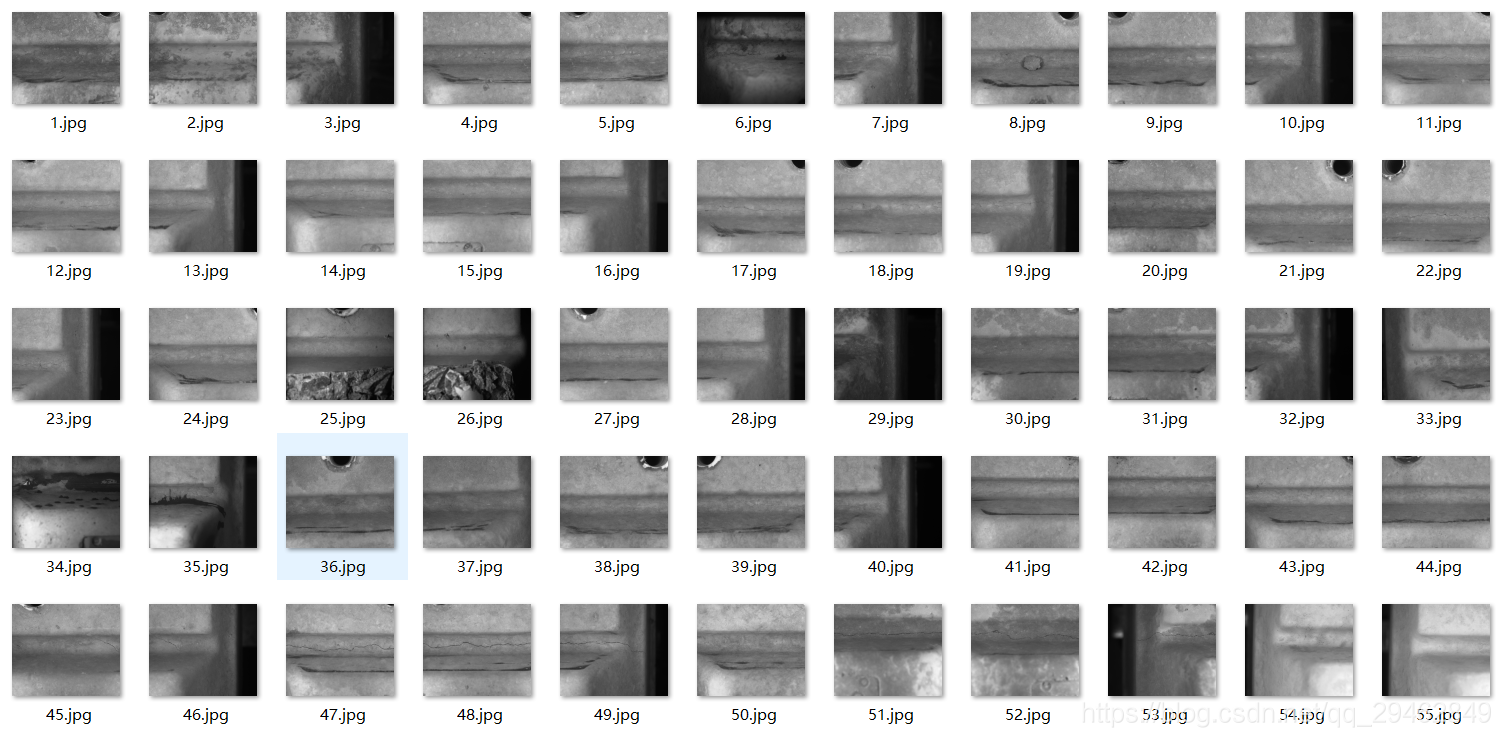
JPEGImages存放的是原图像,.jpg格式。
ImageSets下面有一个Main文件夹,Main文件夹下面主要是四个txt文件。
分别对应训练集、测试集、验证集等。该文件夹中的四个txt文件,是从Annotations文件夹中随机选取的图像名称,并按照一定的比例划分。
从xml文件生成Main文件夹的四个txt文件,实现源码如下:
import os
import random

trainval_percent = 0.9
train_percent = 0.9
xmlfilepath = 'F:/competition code/ssd_keras-master/ssd_keras-master/data/liewen_two_class/Annotations'
txtsavepath = 'F:/competition code/ssd_keras-master/ssd_keras-master/data/liewen_two_class/ImageSets/Main'
total_xml = os.listdir(xmlfilepath)

num=len(total_xml)
list=range(num)
tv=int(num*trainval_percent)
tr=int(tv*train_percent)
trainval= random.sample(list,tv)
train=random.sample(trainval,tr)

ftrainval = open(txtsavepath+'/trainval.txt', 'w')
ftest = open(txtsavepath+'/test.txt', 'w')
ftrain = open(txtsavepath+'/train.txt', 'w')
fval = open(txtsavepath+'/val.txt', 'w')

for i  in list:
    name=total_xml[i][:-4]+'\n'
    if i in trainval:
        ftrainval.write(name)
        if i in train:
            ftrain.write(name)
        else:
            fval.write(name)
    else:
        ftest.write(name)

ftrainval.close()
ftrain.close()
fval.close()
ftest .close()
四、训练数据
训练数据的文件为train_ssd300.py,顾名思义就是图像的输入是300x300,不过不用担心,代码内部已经实现转换的程序,可以输入任意尺寸的图像,源码如下:
from keras.optimizers import Adam, SGD
from keras.callbacks import ModelCheckpoint, LearningRateScheduler, TerminateOnNaN, CSVLogger
from keras import backend as K
from keras.models import load_model
from math import ceil
import numpy as np
from matplotlib import pyplot as plt

from models.keras_ssd300 import ssd_300
from keras_loss_function.keras_ssd_loss import SSDLoss
from keras_layers.keras_layer_AnchorBoxes import AnchorBoxes
from keras_layers.keras_layer_DecodeDetections import DecodeDetections
from keras_layers.keras_layer_DecodeDetectionsFast import DecodeDetectionsFast
from keras_layers.keras_layer_L2Normalization import L2Normalization

from ssd_encoder_decoder.ssd_input_encoder import SSDInputEncoder
from ssd_encoder_decoder.ssd_output_decoder import decode_detections, decode_detections_fast

from data_generator.object_detection_2d_data_generator import DataGenerator
from data_generator.object_detection_2d_geometric_ops import Resize
from data_generator.object_detection_2d_photometric_ops import ConvertTo3Channels
from data_generator.data_augmentation_chain_original_ssd import SSDDataAugmentation
from data_generator.object_detection_2d_misc_utils import apply_inverse_transforms
import tensorflow as tf

from keras import backend as K
from focal_loss import focal_loss


img_height = 300 # Height of the model input images
img_width = 300 # Width of the model input images
img_channels = 3 # Number of color channels of the model input images
mean_color = [123, 117, 104] # The per-channel mean of the images in the dataset. Do not change this value if you're using any of the pre-trained weights.
swap_channels = [2, 1, 0] # The color channel order in the original SSD is BGR, so we'll have the model reverse the color channel order of the input images.
n_classes = 1 # 类的数量,不算背景
scales_pascal = [0.1, 0.2, 0.37, 0.54, 0.71, 0.88, 1.05] # The anchor box scaling factors used in the original SSD300 for the Pascal VOC datasets
#一共在六个不同scale层次