一、环境:windows10、nginx 1.8

二、nginx配置文件配置
#user nobody;
worker_processes 1;
#error_log logs/error.log;
#error_log logs/error.log notice;
#error_log logs/error.log info;
#pid logs/nginx.pid;
events {
worker_connections 1024;
}
http {
include mime.types;
default_type application/octet-stream;
sendfile on;
keepalive_timeout 65;
server {
listen 8088;
server_name 127.0.0.1;
location /duker-api {
proxy_pass http://127.0.0.1:9026/$request_uri; # $scheme://$host$request_uri;
index index.html index.htm;
}
location /duker-server-api {
proxy_pass http://127.0.0.1:9528/$request_uri; # $scheme://$host$request_uri;
index index.html index.htm;
}
}
}
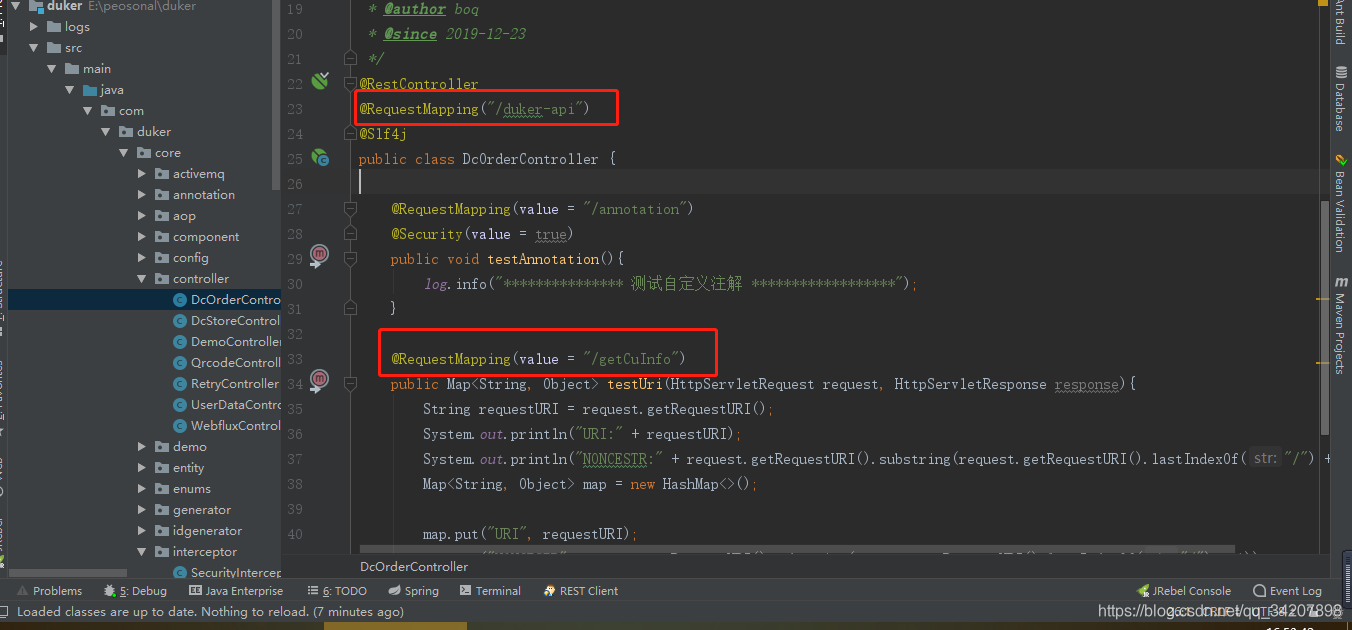
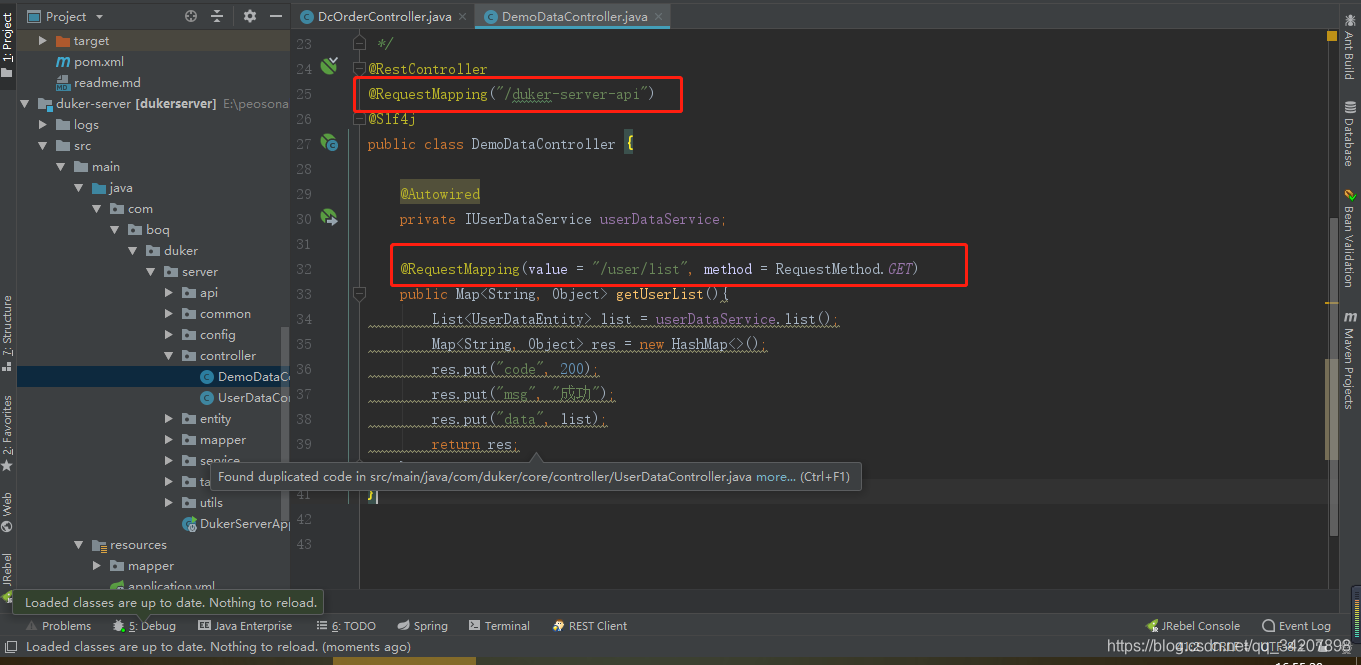
说明:两个api访问路径:/duker-api、/duker-server-api,当访问/duker-api时,让其访问到http://127.0.0.1:9026/duker-api/** 服务;当访问/duker-server-api时,让其fang访问到http://127.0.0.1:9528/duker-server-api/** 服务。
三、服务demo
四、测试
访问:http://localhost:8088/duker-api/getCuInfo

访问:http://localhost:8088/duker-server-api/user/list

以上为简单实现api网关效果,并且记录,有误请纠正。