目录
一、vue项目中引入lodash
1、安装lodash依赖
npm i lodash -S
或者
cnpm i lodash -S
2、在需要使用lodash的组件中使用直接使用md5
import _ from 'lodash'
或者
let _ = require('lodash')
let res = _.union(arr1,arr2,arr3);
注明:也可扩展vue的插件lodash,可将第2步改为:
//引入
import _ from 'lodash'
//扩展vue的插件
Vue.prototype._ = _
//使用
let res =  _.union(arr1,arr2,arr3);
二、vue项目中引入js-base64
1、安装md5依赖
npm install --save js-base64
或者
cnpm install --save js-base64
2、在需要使用md5的组件中使用直接使用md5
let Base64 = require('js-base64').Base64;
Base64.decode('dsdsdSd');
Base64.decode('3232131');

Base64.encode('6545hgdfg');
Base64.encode('543hfghfhfhggfh');
三、vue项目中使用md5加密
1、安装md5依赖
npm install --save js-md5
或者
cnpm install --save js-md5
2、在需要使用md5的组件中使用直接使用md5
import md5 from 'js-md5';
let data={
  'account': this.loginAccount,
  'password': md5(this.loginPassword)
};
注明:也可扩展vue的插件md5,可将第2步改为:
//引入
import md5 from 'js-md5';
//扩展vue的插件
Vue.prototype.$md5 = md5;
//使用
let data={
  'account': this.loginAccount,
  'password': this.$md5(this.loginPassword)
};
四、vue项目中引入echarts
1、安装echarts依赖
npm install echarts --save
或者
cnpm install echarts --save
2、引入echarts(注明:可在main.js文件中全局引入,也可在所需的组件中局部引入,如user.vue组件中局部引入)
import echarts from 'echarts' //引入echarts
Vue.prototype.$echarts = echarts
3、在需要使用echarts的组件中使用
<div id="myChart1" :style="{width: ‘300px‘, height: ‘300px‘}"></div>
//饼状图构建
this.initPieChart('myChart1’,10,90);
initPieChart(idName,rest,used){
  let myChart = echarts.init(document.getElementById(idName));
  myChart.setOption({
    title : {
      text: '',
      subtext: '',
      x:'center'
    },
    tooltip : {
      trigger: 'item',
      formatter: '({d}%) {a} <br/>{b} : {c}TB ',
    },
    legend: {
      orient: '',
      left: '',
      data: [],
      show:false
    },
    color:['#78C085','#75ABDE'],
    series : [
      {
        name: '',
        type: 'pie',
        radius : '63%',
        center: ['50%', '50%'],
        data:[
          {value:rest, name:'剩余'},
          {value:used, name:'已用'}
        ],
        labelLine: {    //指示线状态
          normal:{
            length:8//长度
          }
        },
        itemStyle: {
          emphasis: {
            shadowBlur: 10,
            shadowOffsetX: 0,
            shadowColor: 'rgba(0, 0, 0, 0.5)'
          },
          normal:{//饼图图形上的文本标签
            labelLine : {
              show : true   //显示标示线
            }
          }
        }
      }
    ]
  });
}
注明:如果您只需要引入柱状图,可以按需引入,那么只需要将上述的第2步改为:
1、引入基本模板
let echarts = require('echarts/lib/echarts')

2、引入折线图组件
require('echarts/lib/chart/line')

3、引入提示框和title组件,图例
require('echarts/lib/component/tooltip')
require('echarts/lib/component/title')
require('echarts/lib/component/legend')
require('echarts/lib/component/legendScroll')//图例翻译滚动
4、vue扩展echarts插件
Vue.prototype.$echarts = echarts
小提示:require不用完整路径,import需要完整路径
五、vue项目中引入jQuery
1、安装jQuery依赖
npm install jquery --save
或者
cnpm install jquery --save
2、修改webpack配置文件
const webpack = require('webpack');
module.exports = {
  entry: {
      app: ['./src/js/index.js']
  },
  plugins: [
    new webpack.ProvidePlugin({
      $:'jquery',
      jQuery:'jquery'
    })
  ]
};
3、在需要使用jQuery的组件中使用
import $ from 'jquery';
let data={
        page:1,
        rows:20,
        groupId:'111111',
        order:'desc',
        sort:'create_time',
        accuntStatus:1,
        useStatus:0,
        name:'ewewe',
        token:'e342421eddsada32321'
};
//表单序列化
let param = $.param(data);
六、vue项目中引入js-cookie
背景:vue项目中由于项目的token是需要设置过期时间的,当然,以前这种过期的行为逻辑一直是后端来控制,但这次要求前端也进行token时间的一个监控,由于懒得封装cookie,所以就用了js-cookie的一个cookie封装库
js-cookie是关于cookie存储的一个js的API,根据官网描述其优点有:适用所有浏览器、接受任何字符、经过任何测试没什么bug、支持CMD和CommonJS、压缩之后非常小,仅900个字节
1、在项目中进行安装:
npm install js-cookie 'js-cookie' --save
2、在项目中的入口文件(main.js)全局引入
import Cookies from 'js-cookie'
3、在项目中使用:
//1、存cookie  set方法支持的属性有 :  expires->过期时间    path->设置为指定页面创建cookie   domain-》设置对指定域名及指定域名的子域名可见  secure->值有false和true ,表示设置是否只支持https,默认是false
Cookies.set('key', 'value');  //创建简单的cookie
Cookies.set('key', 'value', { expires: 27 });//创建有效期为27天的cookie
Cookies.set('key', 'value', { expires: 17, path: ''  }); //可以通过配置path,为当前页创建有效期7天的cookie

//2、取cookie
Cookies.get('key'); // 获取指定key 对应的value
Cookies.get(); //获取所有value

//3、删除cookie
Cookies.remove('key');//删除普通的cookie
Cookies.remove('name', { path: '' }); // 删除存了指定页面path的cookie
注意:如果存的是对象,如: userInfo = {age:111,score:90}; Cookie.set(‘userInfo’,userInfo)
取出来的userInfo需要进行JSON的解析,解析为对象:let res = JSON.parse( Cookie.get(‘userInfo’) );
当然你也可以使用:Cookie.getJSON(‘userInfo’);
七、vue项目中引入elementUI库
1、使用npm 安装elementUI
npm install element-ui -S
2、在vue项目的入口js文件中全局引入elementUI库,增加以下三行代码:
import ElementUI from 'element-ui';
import 'element-ui/lib/theme-chalk/index.css';
Vue.use(ElementUI);
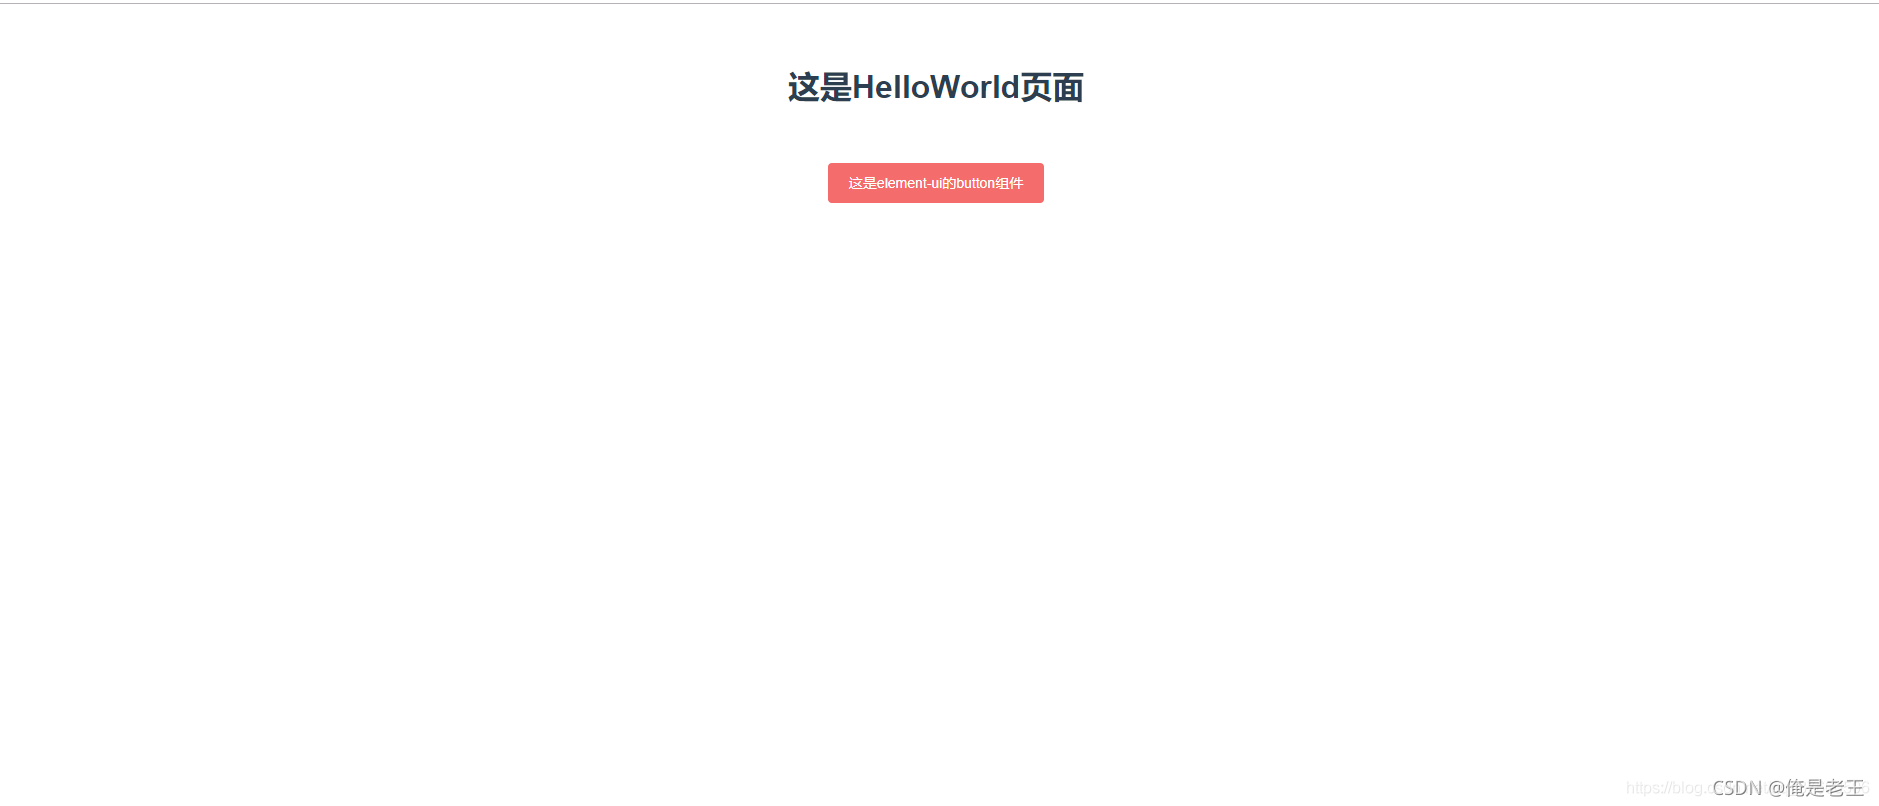
3、测试一下,在hello.vue文件中
<template>
  <div class="hello">
    <h1>{{ msg }}</h1><br>
    <br>
    <el-button type="danger">这是element-ui的button组件</el-button>
  </div>
</template>
4、效果如下:
八、vue项目中引入less并使用
1、npm进行安装
npm install less less-loader --save
2、创建less文件,如login.less
.login-page{
  h1{
    cursor: pointer;
    background: #f00;
  }
}
3、在vue文件(如:login.vue)中的style标签将less文件(login.less)引入
<template>
  <div class="login-page">
    <h1>{{ msg }}</h1>
    <div>
      <el-button type="success" @click="login">登录</el-button>
    </div>
  </div>
</template>

<script>
export default {
  name: 'Login',
  data () {
    return {
      msg: 'Login'
    }
  },
  methods:{
    login(){
      console.log(111)
      this.$router.push('/index');
    }
  }
}
</script>
<style lang="less" scoped>
  @import "../less/login.less";//scope表示这个less文件只在该组件产生作用
</style>
4、效果如下:
九、vue项目中使用axios和qs
1、安装axios和qs
npm install axios --save
npm install qs
2、在项目中的模块中使用axios 、qs
import axios from 'axios';
import qs from 'qs';
3、在axios进行接口调用
①post请求:
let data = {name:'1111'};
axios.post('/getUser',qs.stringify(data)).then(res => {//成功的请求
 consle.log(res);
}).catch(err =>{//失败的请求
 console.log(err);
});
②get请求
let data = {id:1};
axios.get('/getUserInfo',{params:data}).then(res =>{//成功的请求
 console.log(res);
}).catch(err => {//失败的请求
 console.log(err);
});

