提示:文章写完后,目录可以自动生成,如何生成可参考右边的帮助文档
springboot入门
提示:以下是本篇文章正文内容,下面案例可供参考
一、springboot入门
1.开发步骤
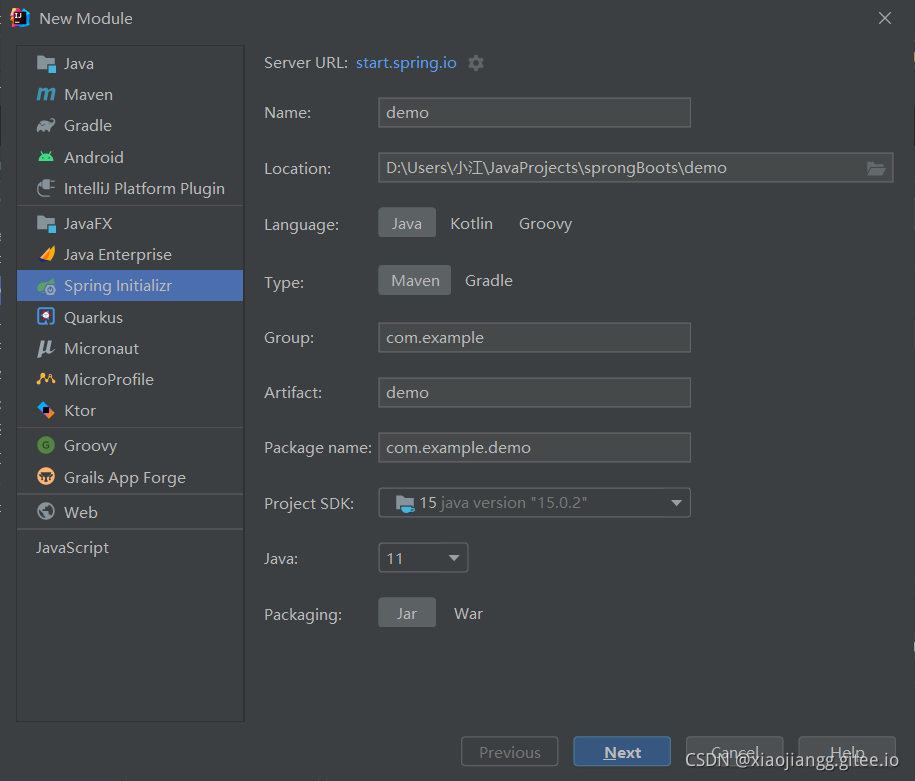
I.创建一个 Module,选择类型为 Spring Initializr 快速构建
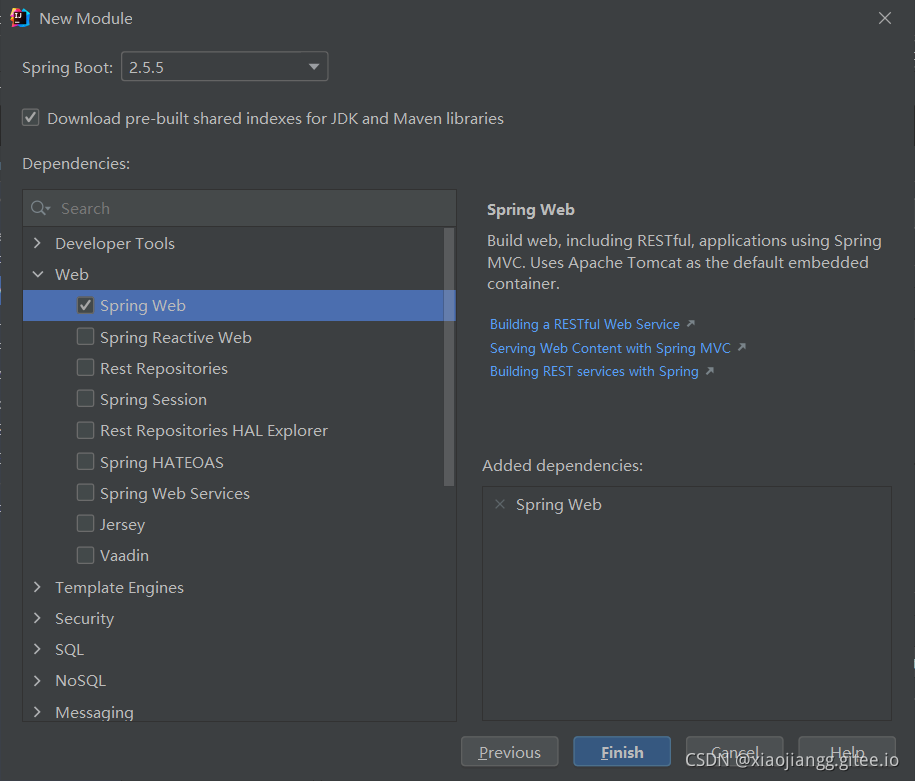
II.选择 Spring Boot 版本及依赖
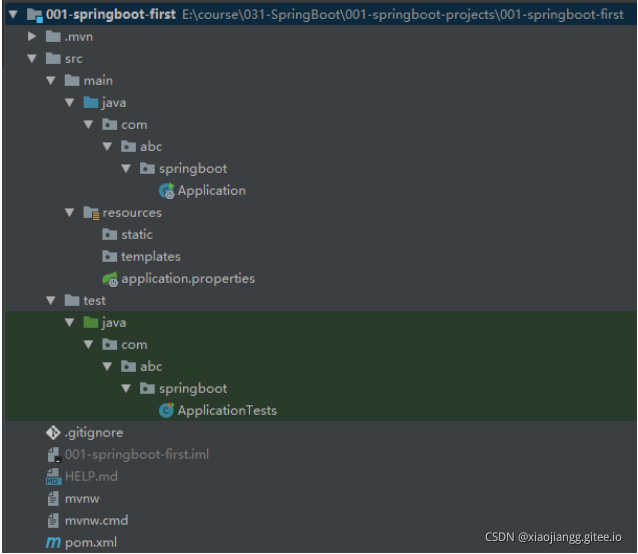
III.项目结构
static:存放静态资源,如图片、CSS、JavaScript 等
templates:存放 Web 页面的模板文件
application.properties/application.yml 用于存放程序的各种依赖模块的配置信息,比如 服务
端口,数据库连接配置等
2.Spring Boot 的核心配置文件
I.核心配置文件
.properties .yaml .yml格式
如.properties:
如.yaml与.yml:
II.多环境配置文件
在总配置文件 application.properties 进行环境的激活(等号右边的值和配置文件的环境标识名一致,可以更改总配置文件的配置)
3.Spring Boot 自定义配置参数获取
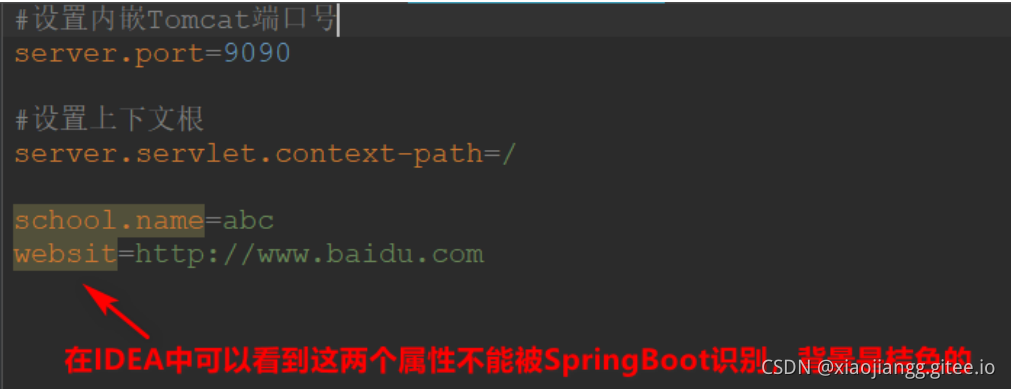
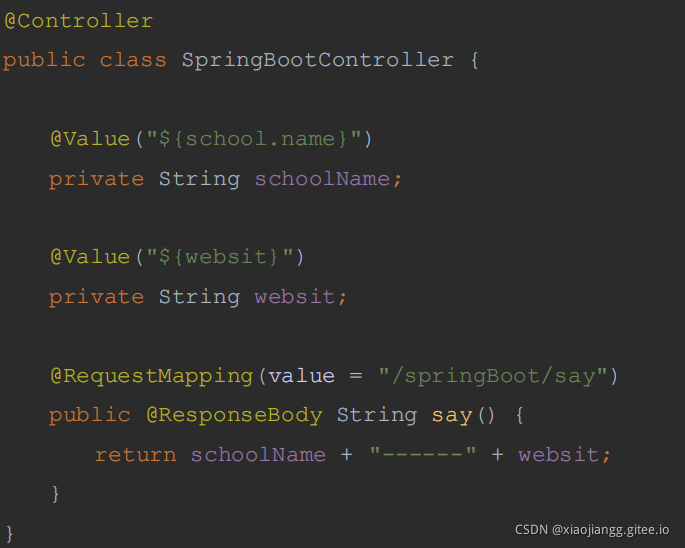
I.使用参数单个获取使用
定义:
使用@value获取:
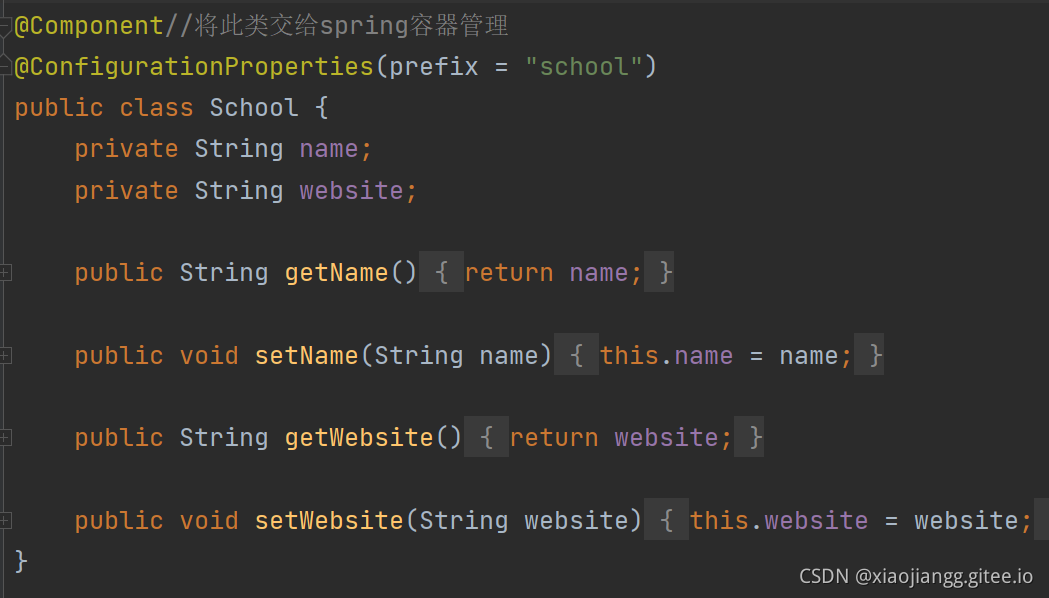
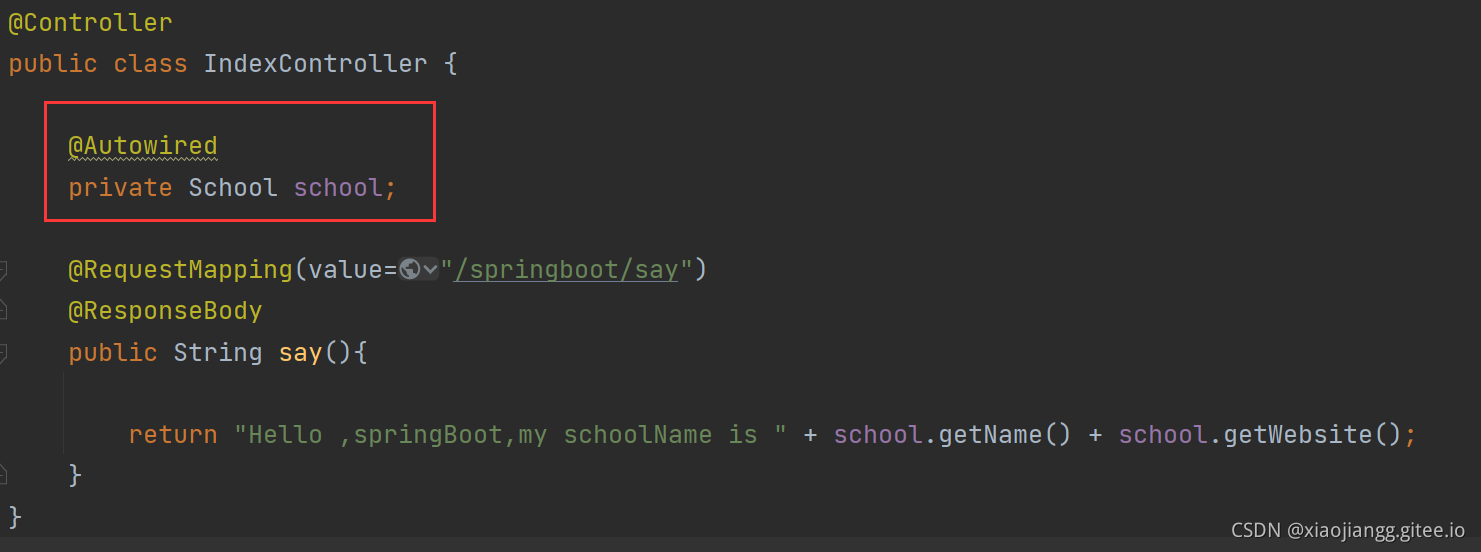
II.多参数映射对象获取
配置文件参数:
参数配置类:
在 SpringBootController 中注入 School 配置类:
4.Spring Boot 前端使用 JSP
依赖配置:
<dependencies>
        <!--SpringBoot框架web项目起步依赖-->
        <dependency>
            <groupId>org.springframework.boot</groupId>
            <artifactId>spring-boot-starter-web</artifactId>
        </dependency>
        <!--引入SpringBoot内嵌Tomcat对jsp的解析依赖-->
        <!--仅仅用来展示jsp页面-->
        <dependency>
            <groupId>org.apache.tomcat.embed</groupId>
            <artifactId>tomcat-embed-jasper</artifactId>
        </dependency>

        <!--SpringBoot框架测试起步依赖-->
        <dependency>
            <groupId>org.springframework.boot</groupId>
            <artifactId>spring-boot-starter-test</artifactId>
            <scope>test</scope>
        </dependency>
    </dependencies>
    <build>
        <!--springboot项目默认使用的前端引擎是thymeleaf
       使用springboot集成jsp时,手动指定jsp最后编译的路径
       而且springboot集成jsp编译的jsp的springboot规定好的位置
       META-INF/resources-->
        <resources>
            <resource>
                <!--源文夹-->
                <directory>src/main/webapp</directory>
                <!--指定编译到META-INFO/resources-->
                <targetPath>META-INF/resources</targetPath>
                <!--指定源文件夹中的那个资源要进行编译-->
                <includes>
                    <include>*.*</include>
                </includes>
            </resource>
        </resources>

        <plugins>
            <!--SpringBoot项目打包编译的插件-->
            <plugin>
                <groupId>org.springframework.boot</groupId>
                <artifactId>spring-boot-maven-plugin</artifactId>
            </plugin>
        </plugins>
    </build>
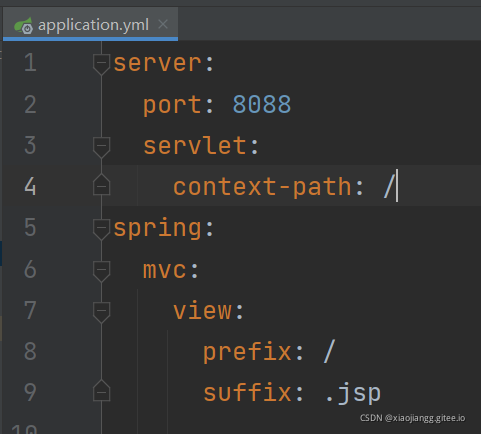
在 application.properties 文件配置 视图解析器
#配置 SpringMVC 视图解析器
#其中:/ 表示目录为 src/main/webapp
spring.mvc.view.prefix=/
spring.mvc.view.suffix=.jsp
创建需要使用的webapp目录文件
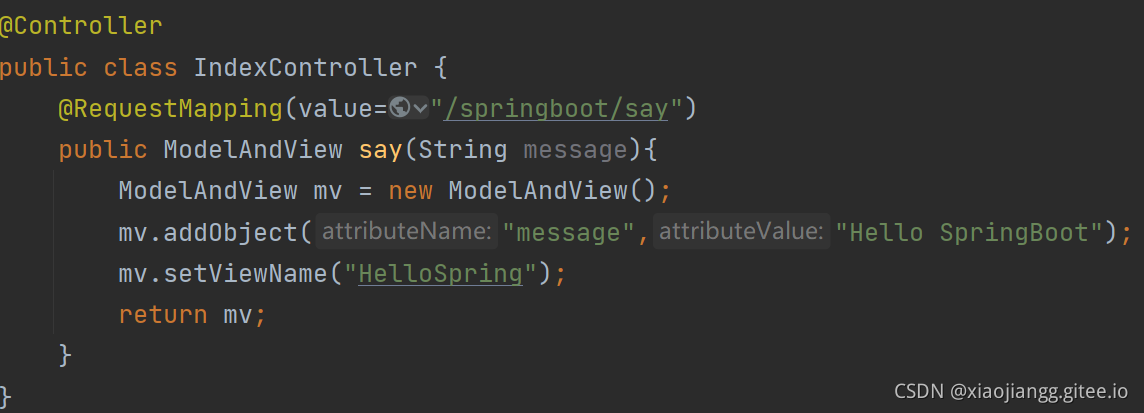
在controller中使用
