文章目录
一、系统选型
Elastic 公司有一套免费开源的日志采集系统(ELK),所以我选择拿来即用。
日志流:
日志文件→FileBeat→Logstash→ElasticSearch→Kibana
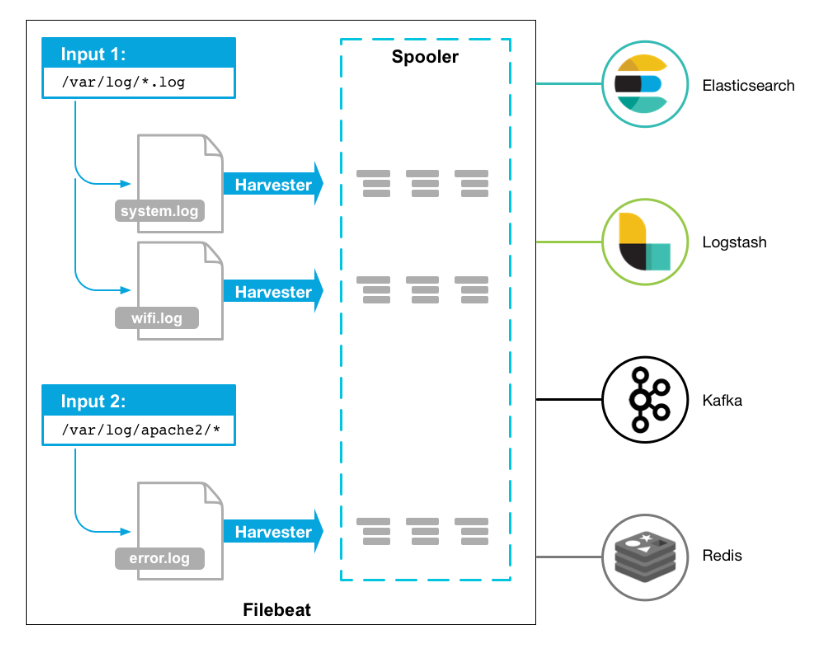
1、Filebeat
Filebeat是一款轻量级日志采集器,可用于转发和汇总日志与文件。Filebeat内置有多种模块(Nginx、MySQL、Redis、Elasticsearch、Logstash等),可针对常见格式的日志大大简化收集、解析和可视化过程,只需一条命令即可。
2、Logstash
Logstash是一个分布式日志收集框架,开发语言是JRuby,经常与ElasticSearch,Kibana配合使用组成著名的ELK技术栈,所谓ELK就是ElasticSearch、Logstash、Kibana这三个组件。
3、ElasticSearch
Elasticsearch 是一个分布式、可扩展、实时的搜索与数据分析引擎。它提供了一个分布式多用户能力的全文搜索引擎,基于RESTful web接口。
4、Kibana
Kibana 是一个免费且开放的用户界面,能够让您对 Elasticsearch 数据进行可视化。您可以进行各种操作,从跟踪查询负载,到理解请求如何流经您的整个应用,都能轻松完成。
二、软件版本
各版本下载地址:https://www.elastic.co/cn/downloads/past-releases
| 软件 | 版本 | 下载链接 |
|---|---|---|
| Filebeat | 7.13.0 | https://artifacts.elastic.co/downloads/beats/filebeat/filebeat-7.13.0-linux-x86_64.tar.gz |
| Logstash | 7.13.0 | https://artifacts.elastic.co/downloads/logstash/logstash-7.13.0-linux-x86_64.tar.gz |
| ElasticSearch | 7.13.0 | https://artifacts.elastic.co/downloads/elasticsearch/elasticsearch-7.13.0-linux-x86_64.tar.gz |
| Kibana | 7.13.0 | https://artifacts.elastic.co/downloads/kibana/kibana-7.13.0-linux-x86_64.tar.gz |
三、服务器规划
| IP | 系统 | CPU | 内存 | 角色 |
|---|---|---|---|---|
| 192.168.1.3 | CentOS 7.9 | 4 | 8g | ES_node1 |
| 192.168.1.4 | CentOS 7.9 | 4 | 8g | ES_node2 |
| 192.168.1.5 | CentOS 7.9 | 4 | 8g | Logstash |
| 192.168.1.6 | CentOS 7.9 | 4 | 8g | Kibana |
四、安装步骤
1、ElasticSearch
注:ElasticSearch本文采用双节点集群安装
- 系统资源配置
- 最大文件数
vim /etc/security/limits.conf
末尾追加以下内容
* soft nofile 65536
* hard nofile 65536
* soft nproc 65536
* hard nproc 65536
es soft memlock unlimited
es hard memlock unlimited
- 内核参数
vim /etc/sysctl.conf
末尾追加以下内容
vm.max_map_count=655360
刷新生效
sysctl -p
- 创建普通用户 es ,接下来使用普通用户安装
useradd es;su - es
下载安装包
wget https://artifacts.elastic.co/downloads/elasticsearch/elasticsearch-7.13.0-linux-x86_64.tar.gz
解压
tar -zxvf elasticsearch-7.13.0-linux-x86_64.tar.gz
修改配置
cd elasticsearch-7.13.0
vim config/elasticsearch.yml
es_node1 参考配置
cluster.name: elk-cluster
node.name: node-1
path.data: data
path.logs: logs
network.host: 0.0.0.0
http.port: 9200
discovery.seed_hosts: ["192.168.1.3", "192.168.1.4"]
cluster.initial_master_nodes: ["node-1"]
es_node2 参考配置
cluster.name: elk-cluster
node.name: node-2
path.data: data
path.logs: logs
network.host: 0.0.0.0
http.port: 9200
discovery.seed_hosts: ["192.168.0.11", "192.168.0.12"]
cluster.initial_master_nodes: ["node-1"]
创建数据目录
mkdir data
启动 elasticsearch 服务
bin/elasticsearch
查看 es 集群状态
[root@logstash ~]# curl http://192.168.1.3:9200/_cluster/health?pretty
{
  "cluster_name" : "elk-cluster",
  "status" : "green",
  "timed_out" : false,
  "number_of_nodes" : 2,
  "number_of_data_nodes" : 2,
  "active_primary_shards" : 0,
  "active_shards" : 0,
  "relocating_shards" : 0,
  "initializing_shards" : 0,
  "unassigned_shards" : 0,
  "delayed_unassigned_shards" : 0,
  "number_of_pending_tasks" : 0,
  "number_of_in_flight_fetch" : 0,
  "task_max_waiting_in_queue_millis" : 0,
  "active_shards_percent_as_number" : 100.0
}
[root@logstash ~]# curl http://192.168.1.4:9200/_cluster/health?pretty
{
  "cluster_name" : "elk-cluster",
  "status" : "green",
  "timed_out" : false,
  "number_of_nodes" : 2,
  "number_of_data_nodes" : 2,
  "active_primary_shards" : 0,
  "active_shards" : 0,
  "relocating_shards" : 0,
  "initializing_shards" : 0,
  "unassigned_shards" : 0,
  "delayed_unassigned_shards" : 0,
  "number_of_pending_tasks" : 0,
  "number_of_in_flight_fetch" : 0,
  "task_max_waiting_in_queue_millis" : 0,
  "active_shards_percent_as_number" : 100.0
}
2、Logstash
下载 Logstash
wget https://artifacts.elastic.co/downloads/logstash/logstash-7.13.0-linux-x86_64.tar.gz
解压
tar -zxvf logstash-7.13.0-linux-x86_64.tar.gz
启动测试
cd logstash-7.13.0/
bin/logstash -e 'input {stdin{}} output{stdout{}}'
3、Filebeat
注:Filebeat主要功能是采集日志,所以一般安装在日志源服务器上。
下载 Filebeat
wget https://artifacts.elastic.co/downloads/beats/filebeat/filebeat-7.13.0-linux-x86_64.tar.gz
解压安装包
tar -zxvf filebeat-7.13.0-linux-x86_64.tar.gz
4、Kibana
下载
wget https://artifacts.elastic.co/downloads/kibana/kibana-7.13.0-linux-x86_64.tar.gz
解压
tar -zxvf kibana-7.13.0-linux-x86_64.tar.gz
修改配置
cd kibana-7.13.0-linux-x86_64
vim config/kibana.yml
参考配置
server.port: 5601
server.host: "0.0.0.0"
elasticsearch.hosts: ["http://192.168.1.3:9200","http://192.168.1.4:9200"]
i18n.locale: "zh-CN"
启动
bin/kibana --allow-root
访问:http://192.168.1.6:5601
五、接入测试
本文采集 nginx 日志,首先修改 Nginx 日志格式,方便过滤
    log_format json '{ "@timestamp": "$time_iso8601", '
         '"remote_addr": "$remote_addr", '
         '"remote_user": "$remote_user", '
         '"body_bytes_sent": "$body_bytes_sent", '
         '"request_time": "$request_time", '
         '"status": "$status", '
         '"request_uri": "$request_uri", '
         '"request_method": "$request_method", '
         '"http_referer": "$http_referer", '
         '"http_x_forwarded_for": "$http_x_forwarded_for", '
         '"http_user_agent": "$http_user_agent"}';

    access_log  /var/log/nginx/access.log  json ;
1、Logstash配置
cd logstash-7.13.0/
cp config/logstash-sample.conf config/logstash-beat.conf
vim config/logstash-beat.conf
参考配置。这里 filter 使用 json 插件,采集 nginx 的日志
input {
  beats {
    port => 5044
    client_inactivity_timeout => 36000
  }
}

filter {
  json {
    source => "message"
  }
}

output {
  elasticsearch {
    hosts => ["http://192.168.1.3:9200","http://192.168.1.4:9200"]
    index => "%{[@metadata][beat]}-%{[@metadata][version]}-%{+YYYY.MM.dd}"
  }
  stdout { codec => rubydebug }
}
【可选】如果不想修改nginx格式,可以在 logstash 中使用 grok 插件正则过滤
      grok {
        match => {
          "message" => "%{IPV4:remote_addr} - (%{USERNAME:remote_user}|-) \[%{HTTPDATE:time_local}\] \"%{WORD:request_method} %{URIPATHPARAM:request_uri} HTTP/%{NUMBER:http_protocol}\" %{NUMBER:http_status} %{NUMBER:body_bytes_sent} \"%{GREEDYDATA:http_referer}\" \"%{GREEDYDATA:http_user_agent}\" \"(%{IPV4:http_x_forwarded_for}|-)\""
        }
        overwrite => ["message"]
      }
启动
bin/logstash -f config/logstash-beat.conf --config.reload.automatic
--config.reload.automatic 参数设定会自动读取变更的配置文件,而不需要重启logstash
2、Filebeat配置
这里以采集 nginx 的输出日志作为范例
- 启动 beat 的 nginx 模块
cd filebeat-7.13.0-linux-x86_64/
./filebeat modules enable nginx
修改nginx module配置
vim modules.d/nginx.yml
参考配置
- module: nginx
  access:
    enabled: true
    var.paths: ["/var/log/nginx/access.log"]
  error:
    enabled: true
    var.paths: ["/var/log/nginx/error.log"]
  ingress_controller:
    enabled: false
创建输出到 logstash 的配置文件
vim filebeat_logstash.yml
参考配置
filebeat.config.modules:
  path: ${path.config}/modules.d/*.yml
  reload.enabled: false
output.logstash:
  hosts: ["192.168.1.5:5044"]
启动
./filebeat -e -c filebeat_logstash.yml
访问几次 nginx,使它产生日志,然后查看 es 中的数据
3、kibana 配置
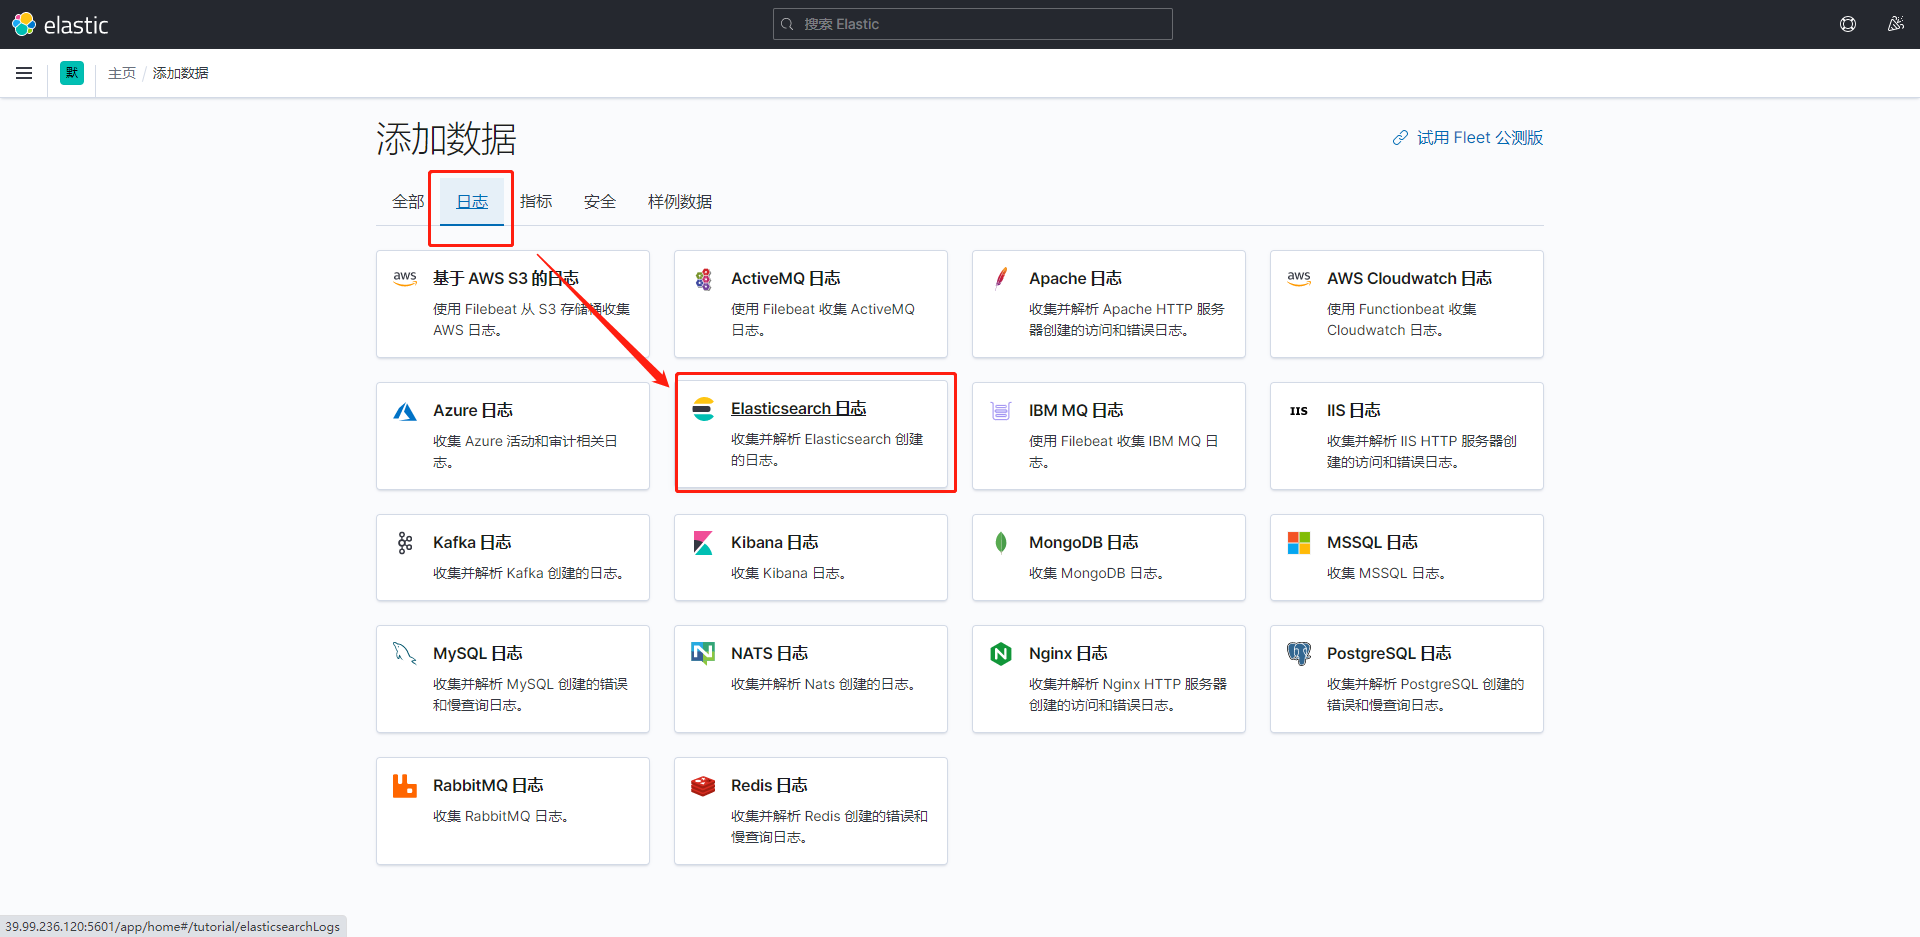
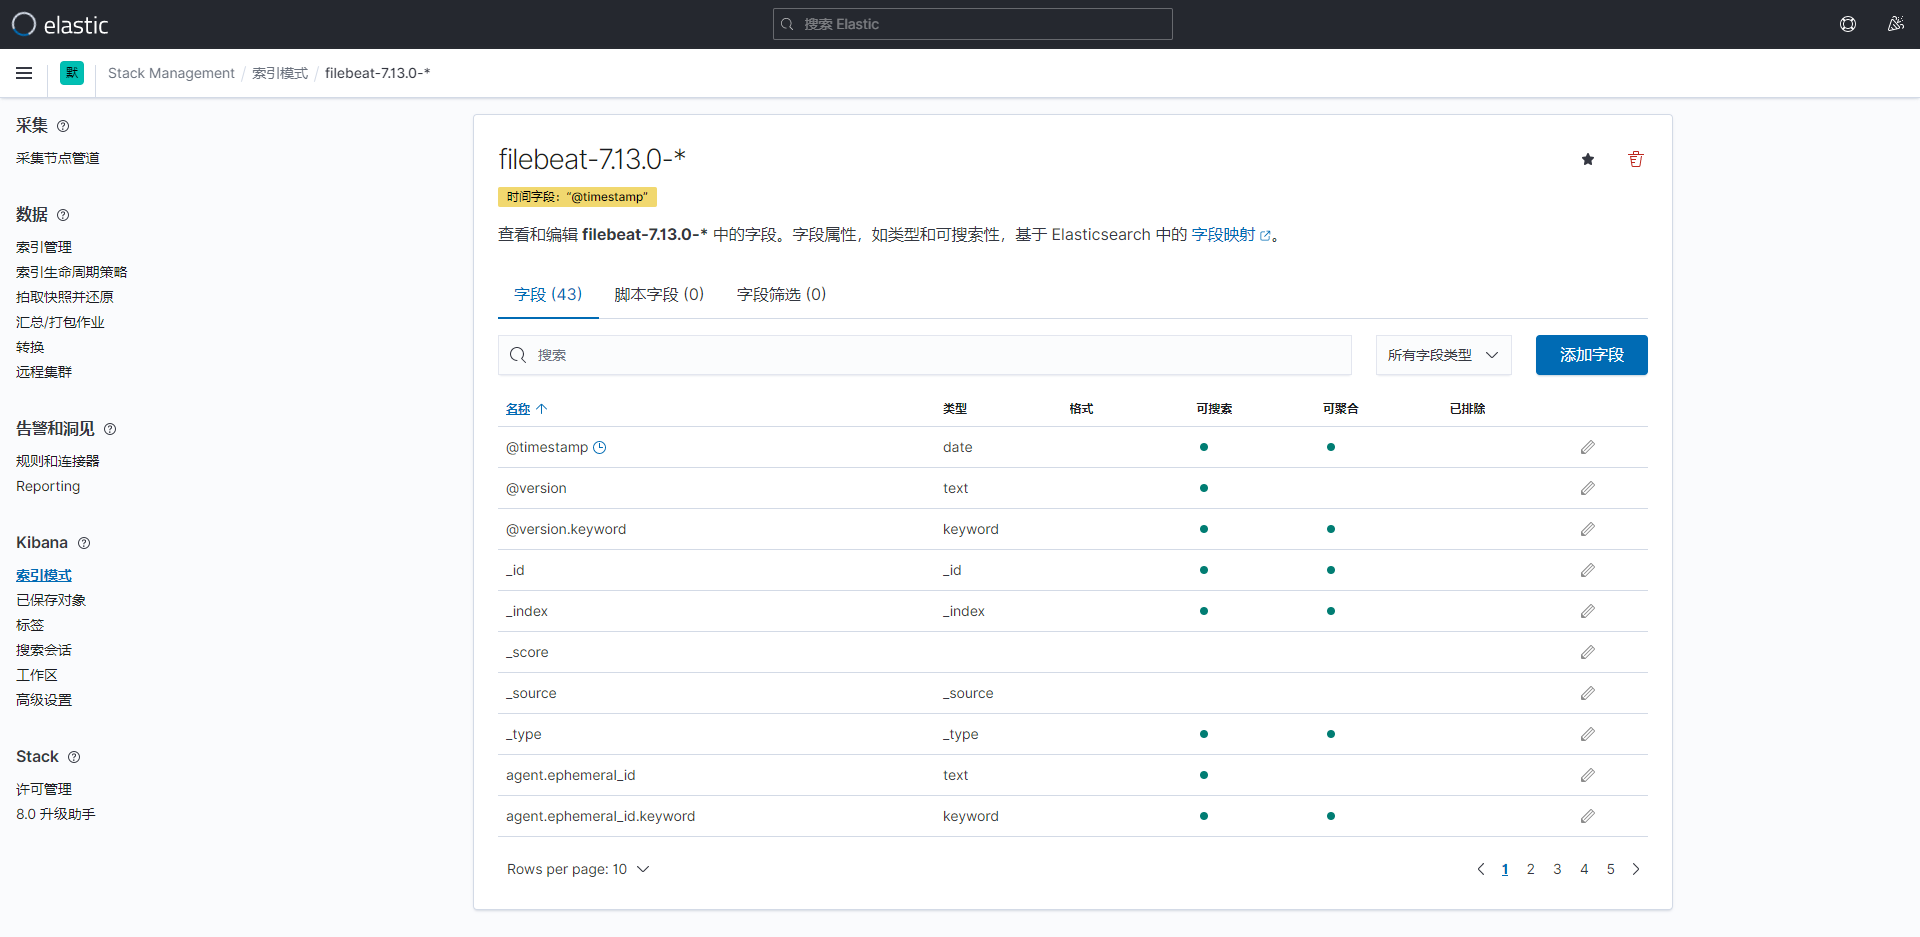
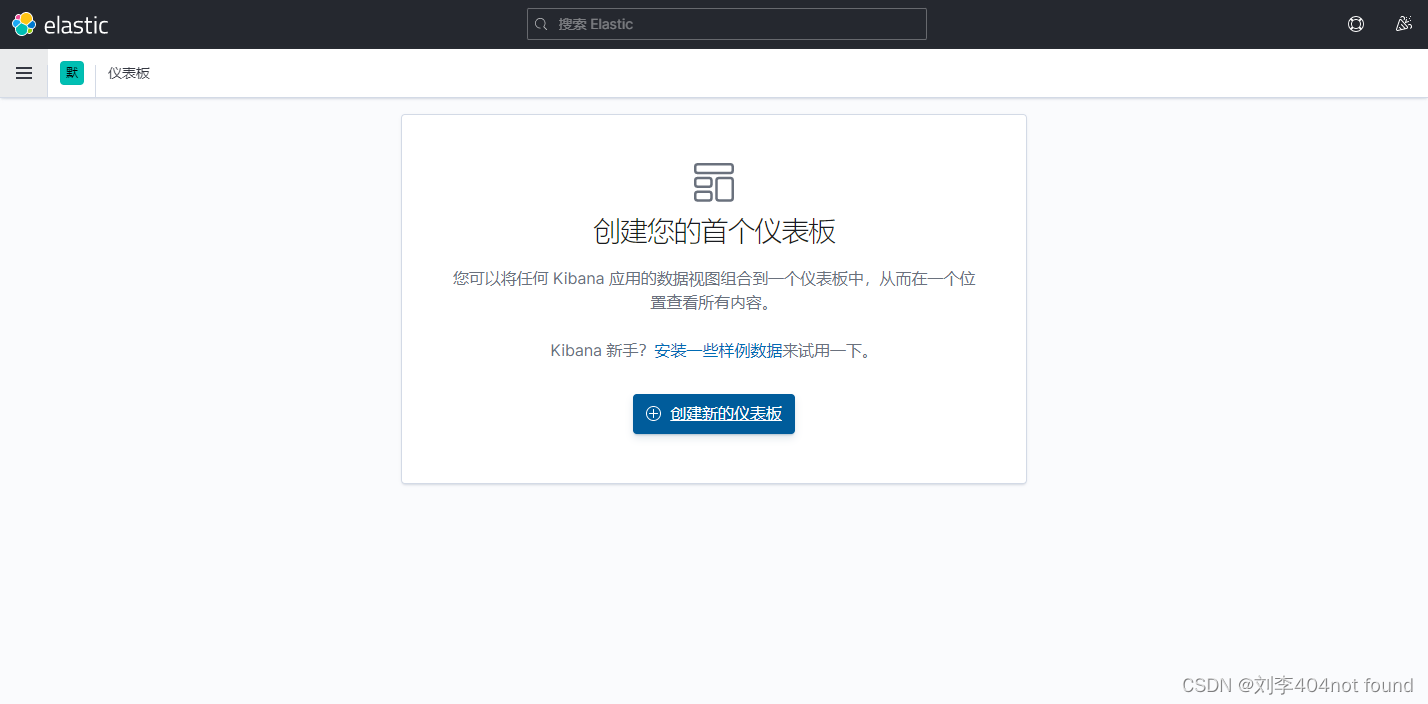
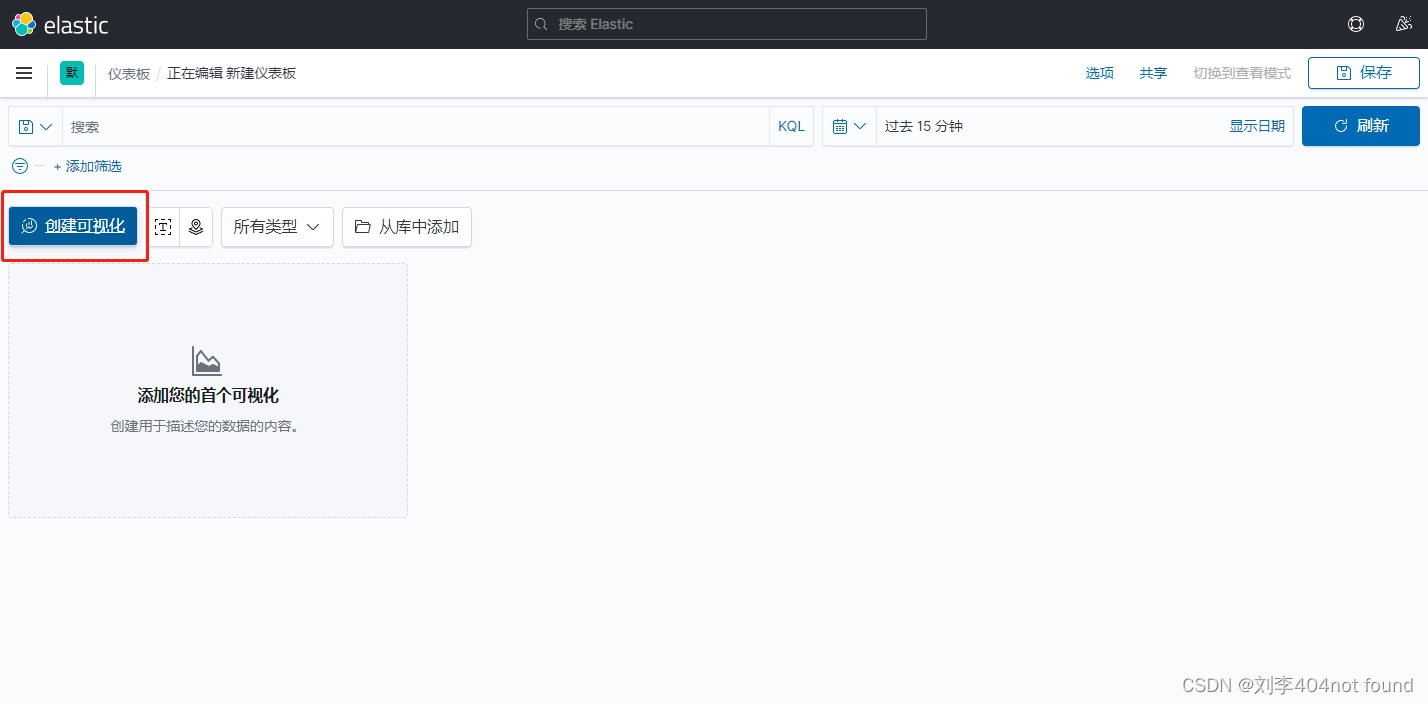
添加数据
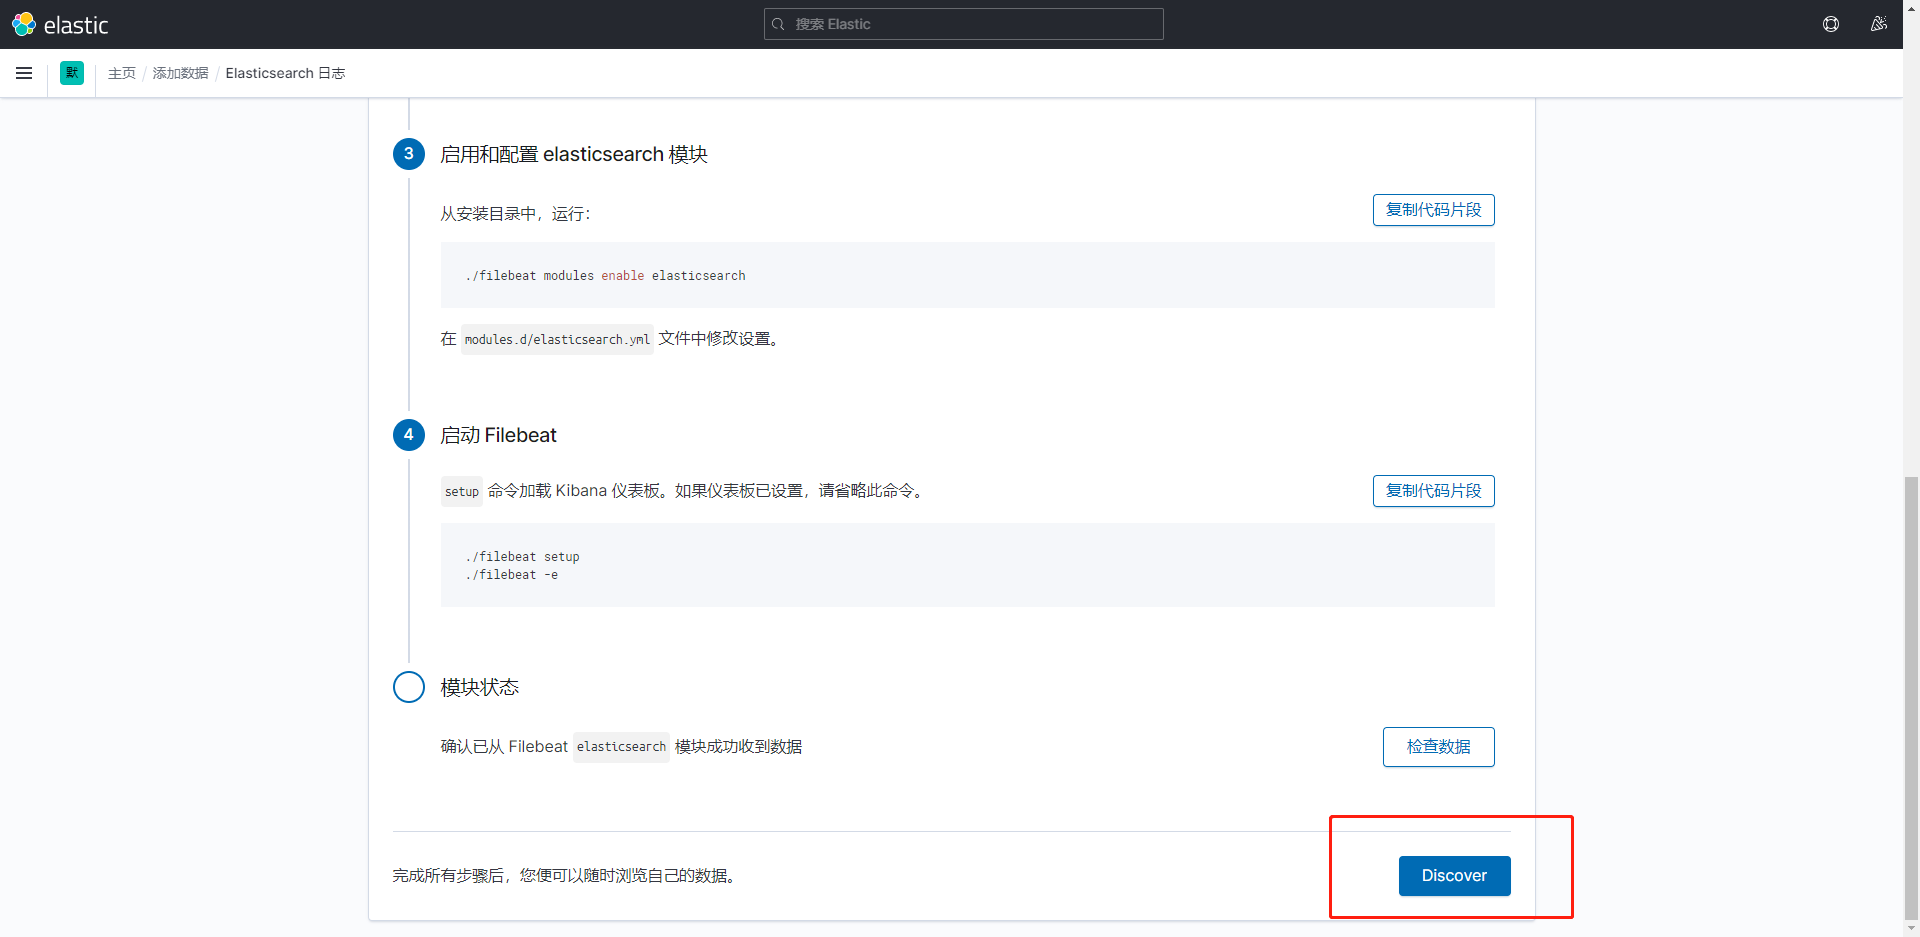
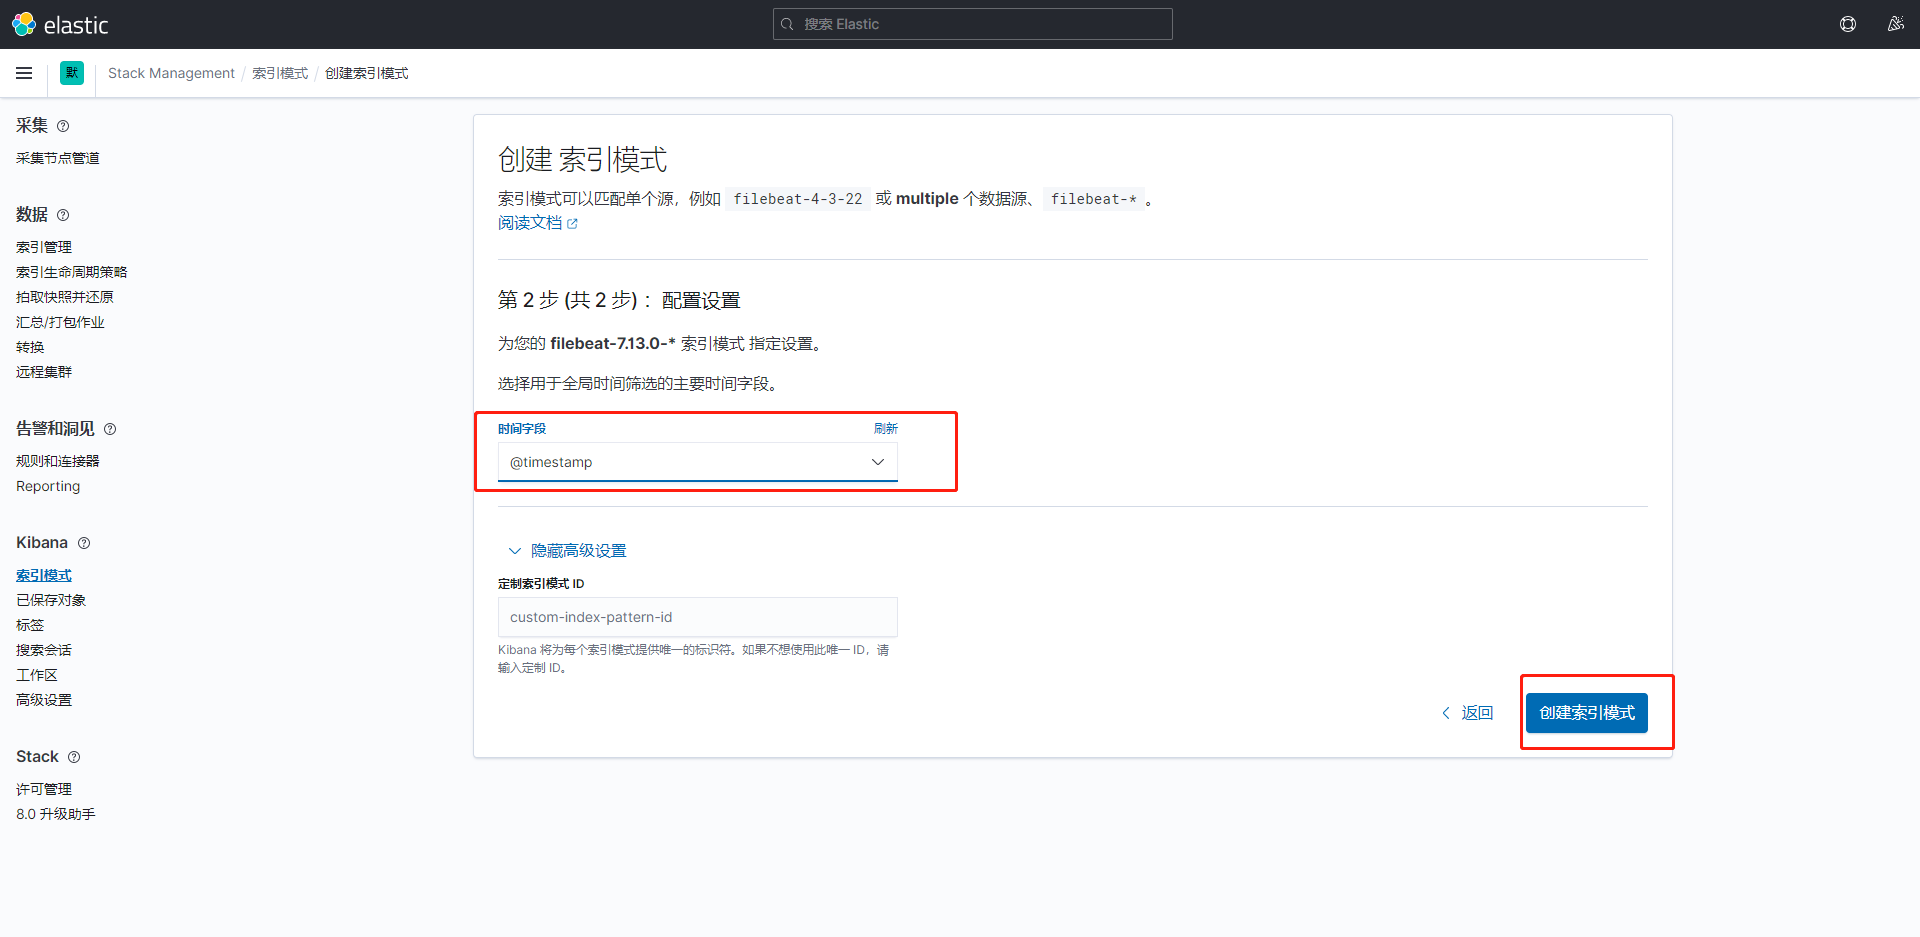
到这一步完成。
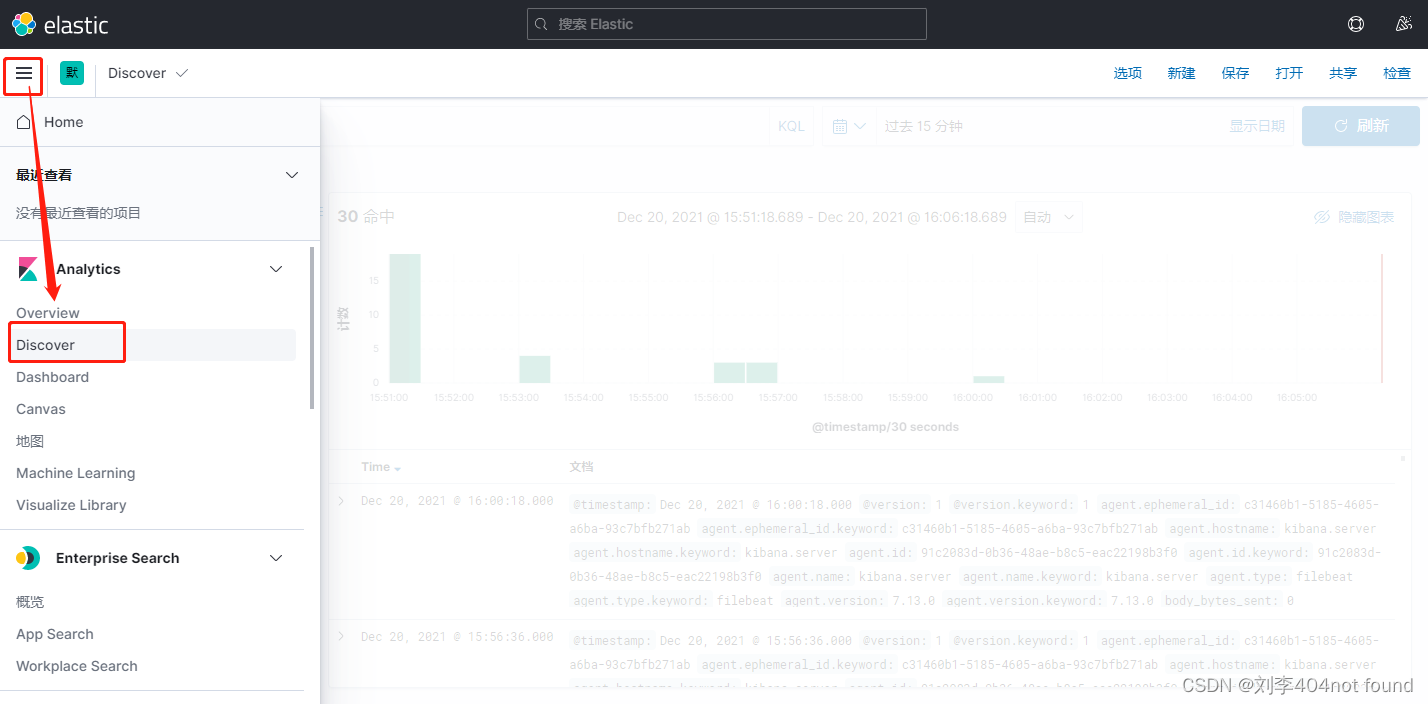
点击左边的Discover 菜单
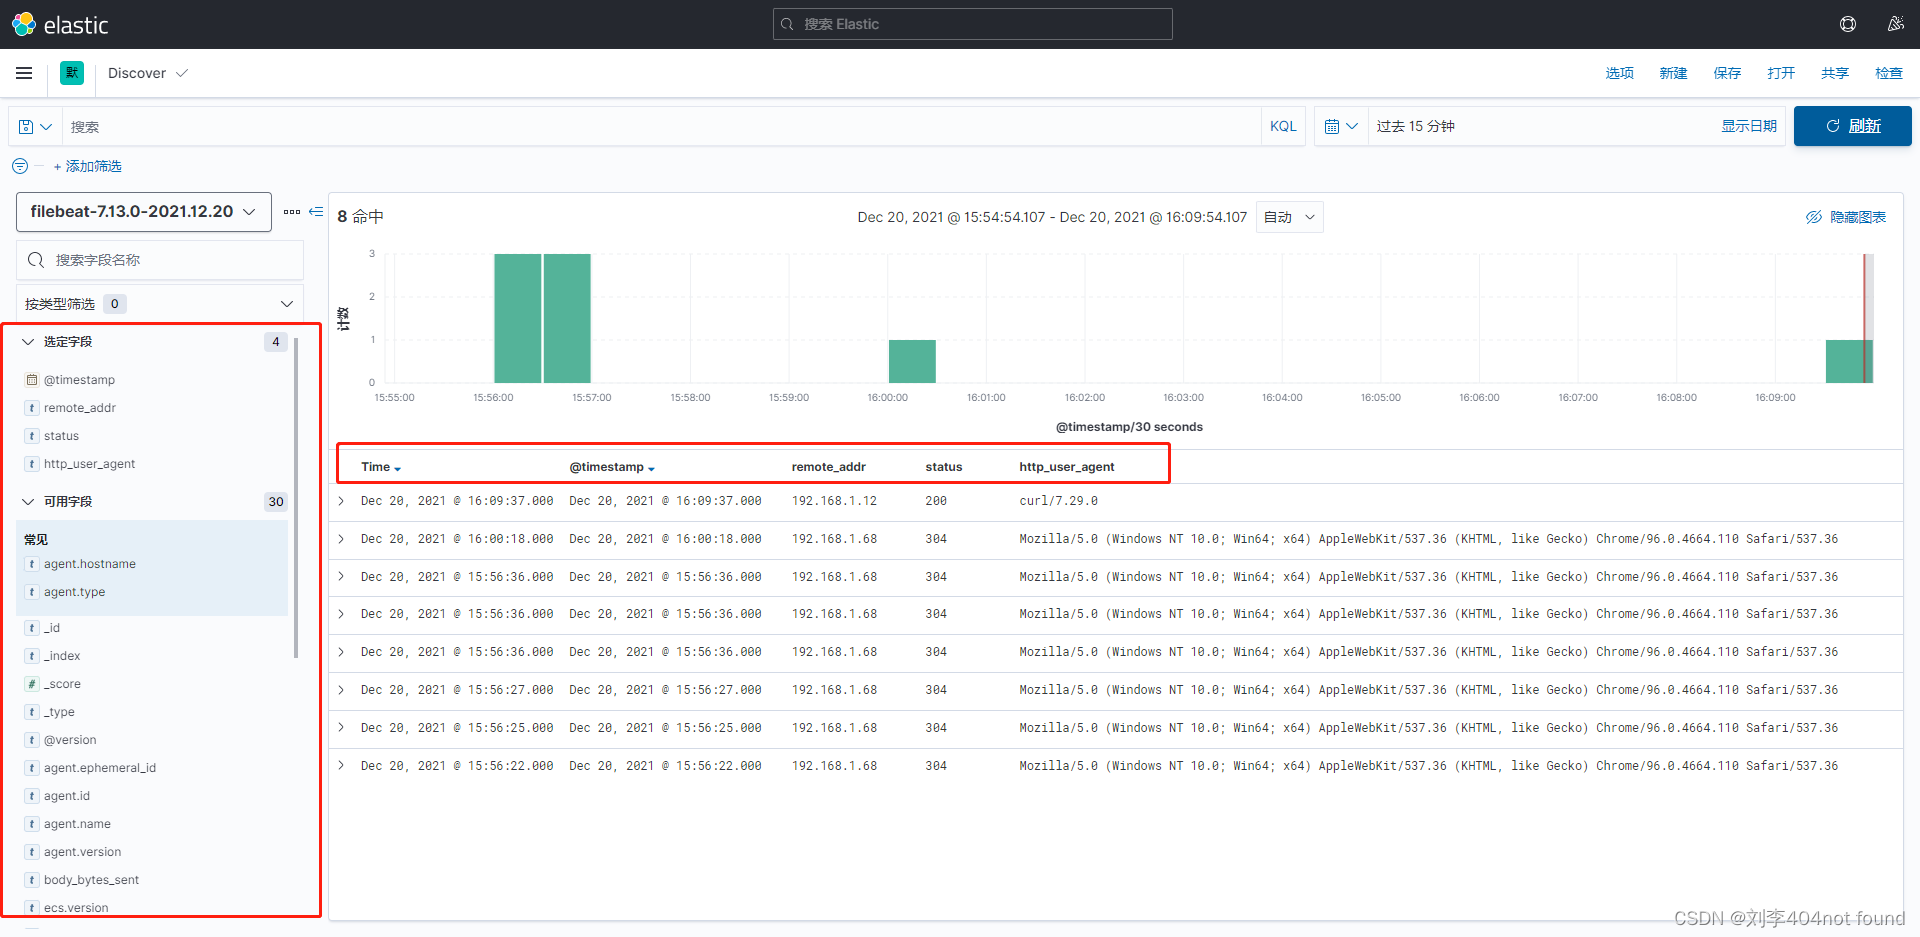
自定义字段显示日志
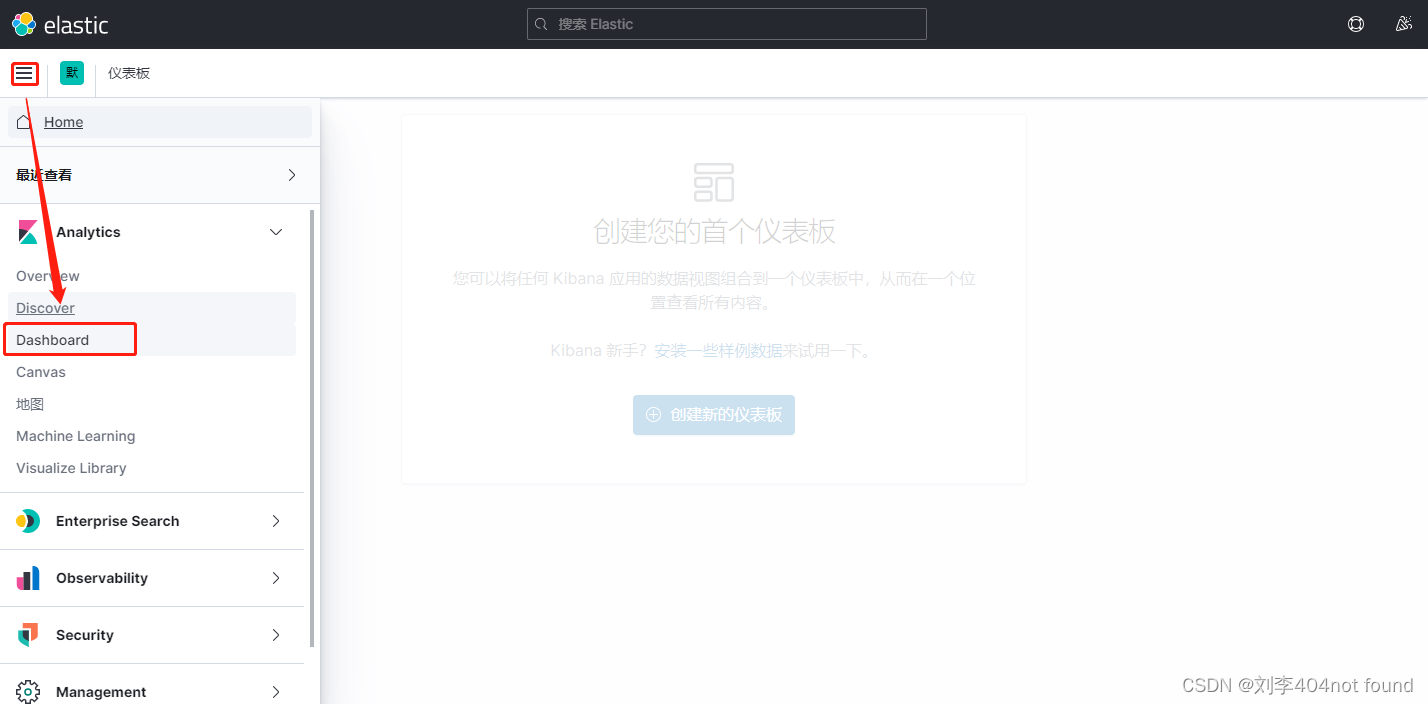
可以根据采集的日志画图
六、日志报警
方案一:日志关键字报警
filebeat + logstash + webhook
- filebeat 配置文件 filebeat_logstash.yml
# ============================== Filebeat inputs ===============================
filebeat.inputs:
- type: log
  enabled: true
  paths:
    - /opt/logs/java-db-binlog.log
# ------------------------------ Logstash Output -------------------------------
output.logstash:
  hosts: ["192.168.1.5:5044"]
启动
./filebeat -e -c ./filebeat_logstash.yml
- logstash 安装插件 logstash-output-exec
# 修改 Gem 源
vim Gemfile
source "https://gems.ruby-china.com"

# 需要安装 exec 插件
bin/logstash-plugin install --no-verify logstash-integration-jdbc
bin/logstash-plugin install logstash-output-exec
- logstash 配置文件 logstash-beat.conf
input {
  beats {
    port => 5044
    client_inactivity_timeout => 36000
  }
}

filter {
  if "INFO" in [message]{
    drop{}
  }
  if "WARN" in [message] {
    drop{}
  }
}

output {
  if 'ERROR' in [message] {
    stdout { codec => rubydebug }
    exec {
        command => "/bin/bash /opt/shell/send_error_msg.sh"
    }
  }
}
启动
bin/logstash -f config/logstash-beat.conf --config.reload.automatic
- 微信 webhook 机器人脚本
#! /bin/bash
# 测试群
wx_url="https://qyapi.weixin.qq.com/cgi-bin/webhook/send?key=2723645c-8252-4e29-9xx9-2446xxx1"

/bin/curl ${wx_url} -H "Content-Type: application/json" -d '{"msgtype": "markdown", "markdown": {"content": "日志关键字告警:<font color=\"warning\"> ERROR </font> \n>项目:<font color=\"info\"> 测试项目 </font>"}}'

