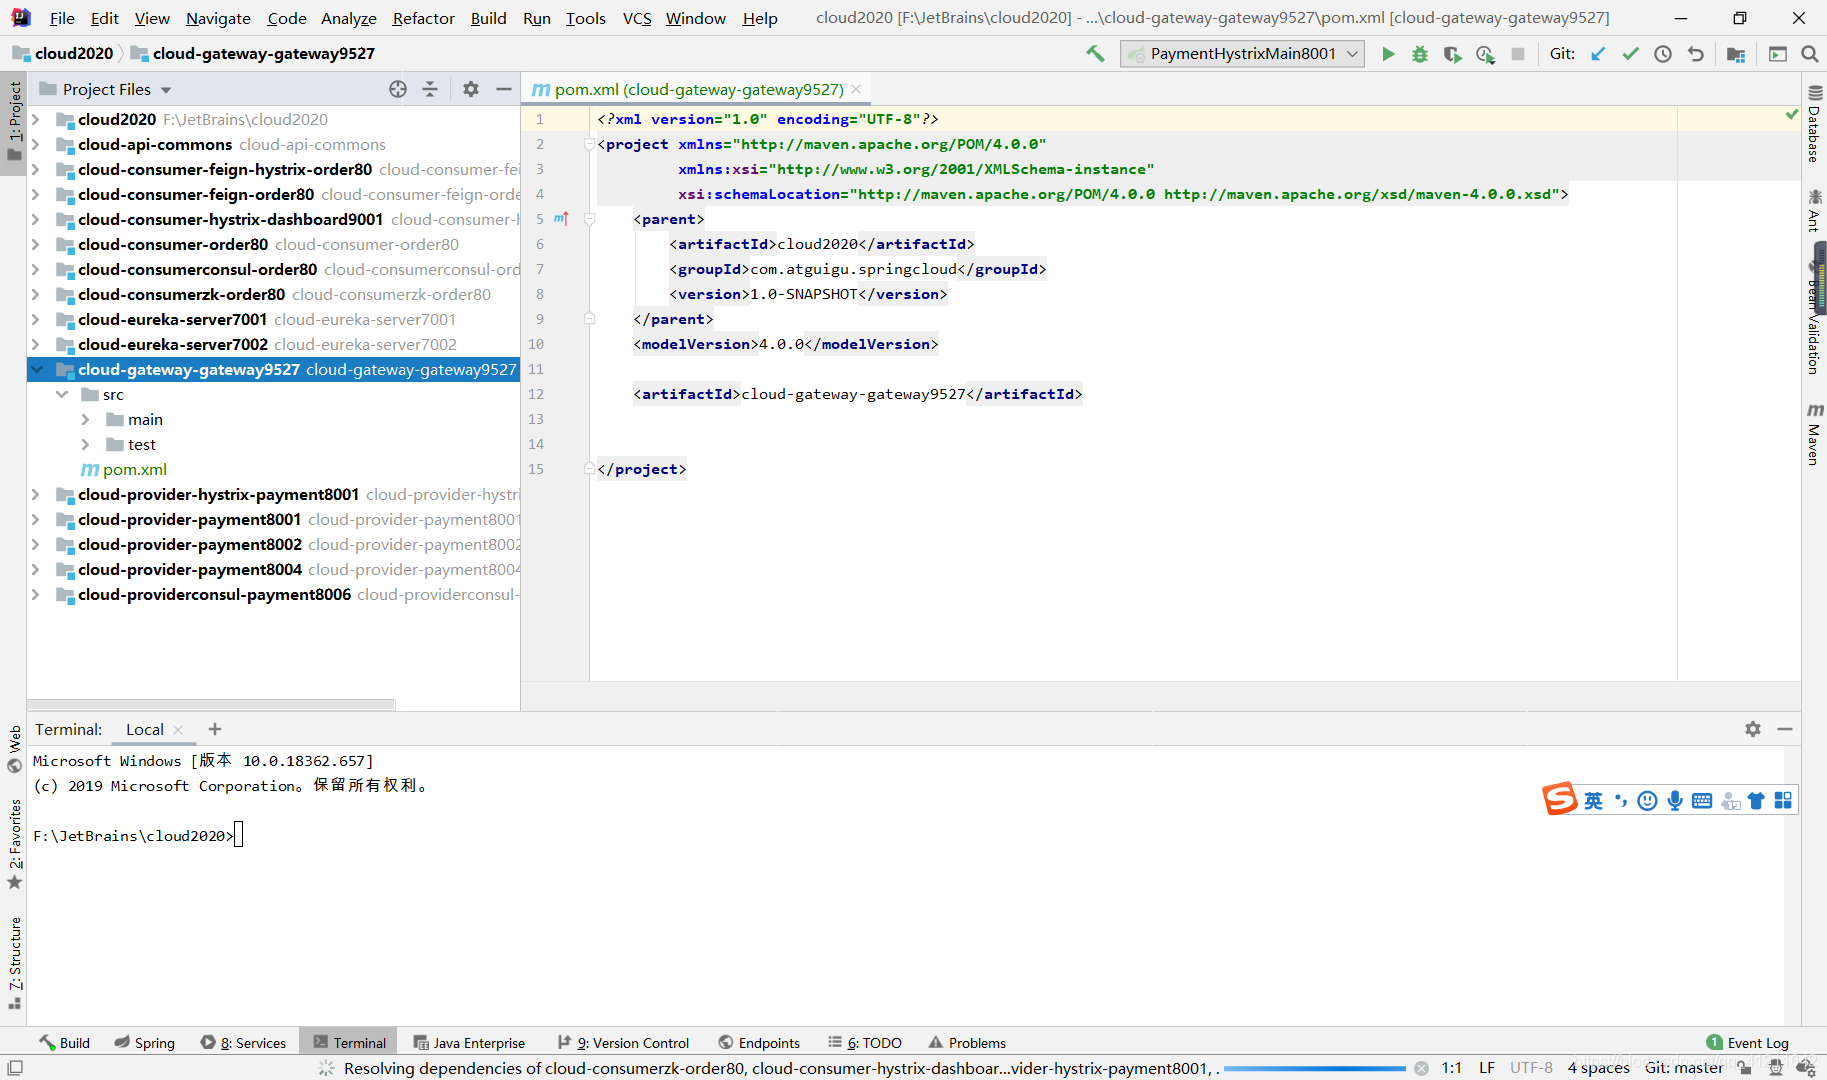
1. 新建module cloud-gateway-gateway9527
2. pom.xml
<!--注意不需要web模块依赖,否则报错-->
<?xml version="1.0" encoding="UTF-8"?>
<project xmlns="http://maven.apache.org/POM/4.0.0"
         xmlns:xsi="http://www.w3.org/2001/XMLSchema-instance"
         xsi:schemaLocation="http://maven.apache.org/POM/4.0.0 http://maven.apache.org/xsd/maven-4.0.0.xsd">
    <parent>
        <artifactId>cloud2020</artifactId>
        <groupId>com.atguigu.springcloud</groupId>
        <version>1.0-SNAPSHOT</version>
    </parent>
    <modelVersion>4.0.0</modelVersion>

    <artifactId>cloud-gateway-gateway9527</artifactId>

    <dependencies>
        <!--gateway-->
        <dependency>
            <groupId>org.springframework.cloud</groupId>
            <artifactId>spring-cloud-starter-gateway</artifactId>
        </dependency>

        <!--eureka client-->
        <dependency>
            <groupId>org.springframework.cloud</groupId>
            <artifactId>spring-cloud-starter-netflix-eureka-client</artifactId>
        </dependency>
        <!--引入自定义的api通用包,可使用Payment支付Entity-->
        <dependency>
            <groupId>com.atguigu.springcloud</groupId>
            <artifactId>cloud-api-commons</artifactId>
            <version>${project.version}</version>
        </dependency>
        <!--一般基础配置类-->
        <dependency>
            <groupId>org.springframework.boot</groupId>
            <artifactId>spring-boot-devtools</artifactId>
            <scope>runtime</scope>
            <optional>true</optional>
        </dependency>
        <dependency>
            <groupId>org.projectlombok</groupId>
            <artifactId>lombok</artifactId>
            <optional>true</optional>
        </dependency>
        <dependency>
            <groupId>org.springframework.boot</groupId>
            <artifactId>spring-boot-starter-test</artifactId>
            <scope>test</scope>
        </dependency>
    </dependencies>
</project>
3. application.yml
server:
  port: 9527

spring:
  application:
    name: cloud-gateway
eureka:
  instance:
    hostname: cloud-gateway-service
  client:
    register-with-eureka: true
    fetch-registry: true
    service-url:
      defaultZone: http://eureka7001.com:7001/eureka
4. 主启动类
package com.atguigu.springcloud;
import org.springframework.boot.SpringApplication;
import org.springframework.boot.autoconfigure.SpringBootApplication;
import org.springframework.cloud.netflix.eureka.EnableEurekaClient;
@SpringBootApplication
@EnableEurekaClient
public class GatewayMain9527 {
    public static void main(String[] args) {
        SpringApplication.run(GatewayMain9527.class,args);
    }
}
9527 网关如何做路由映射?
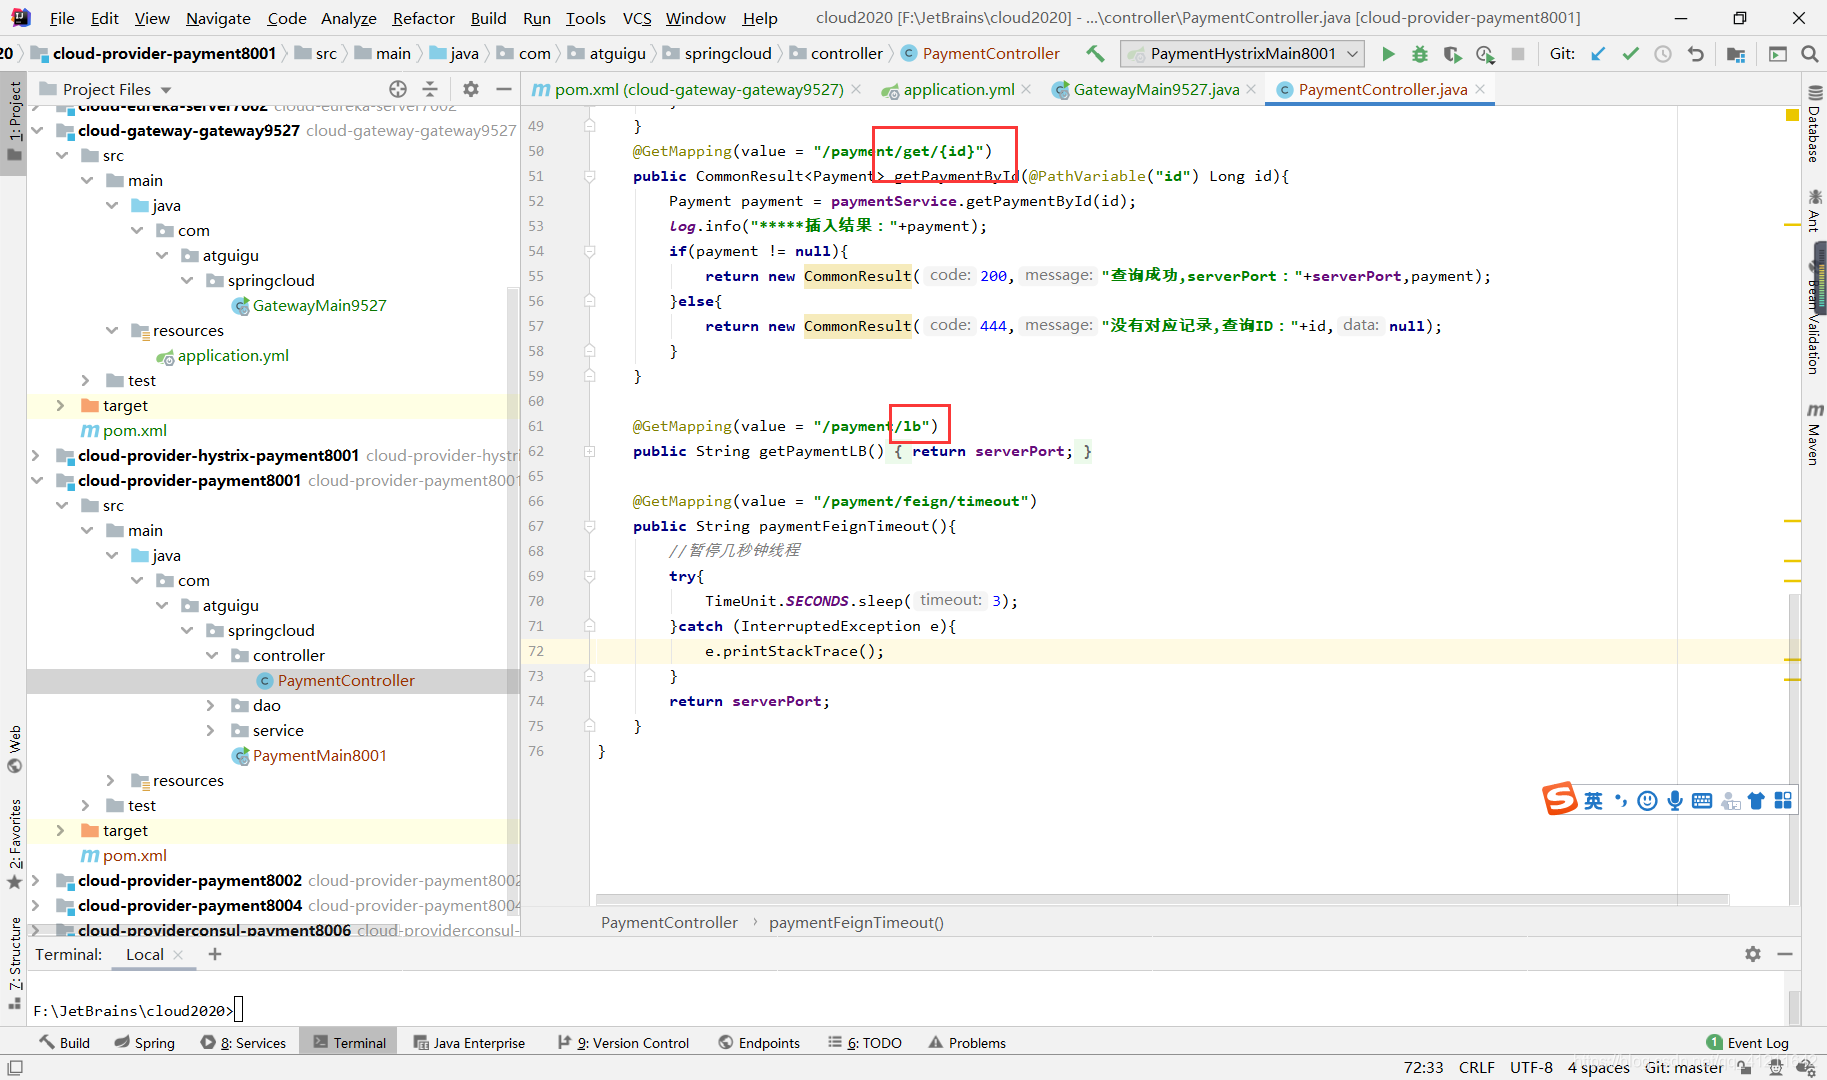
先来看看cloud-provider-payment8001 controller的访问地址
现在不想暴露8001端口,希望在8001外面套一层9527,这样如果有人攻击8001,有一层9527挡着
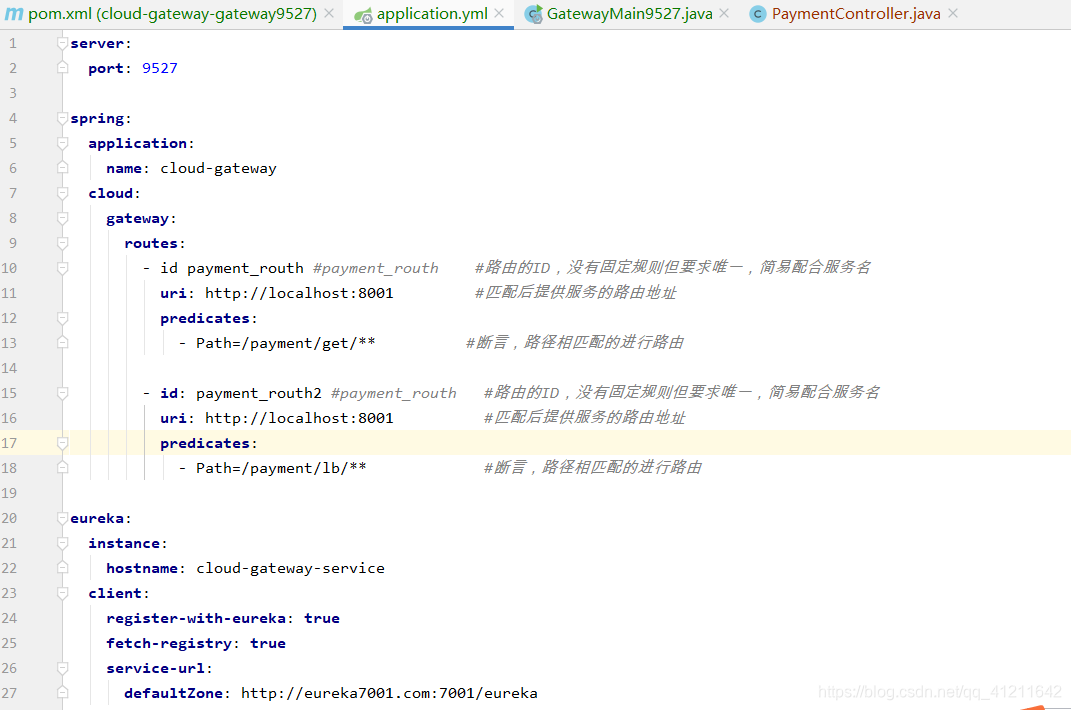
5. yml 新增网关配置
spring:
  cloud:
    gateway:
      routes:
        - id: payment_routh #payment_routh    #路由的ID,没有固定规则但要求唯一,简易配合服务名
          uri: http://localhost:8001         #匹配后提供服务的路由地址
          predicates:
            - Path=/payment/get/**          #断言,路径相匹配的进行路由

        - id: payment_routh2 #payment_routh   #路由的ID,没有固定规则但要求唯一,简易配合服务名
          uri: http://localhost:8001          #匹配后提供服务的路由地址
          predicates:
            - Path=/payment/lb/**             #断言,路径相匹配的进行路由
6. 测试
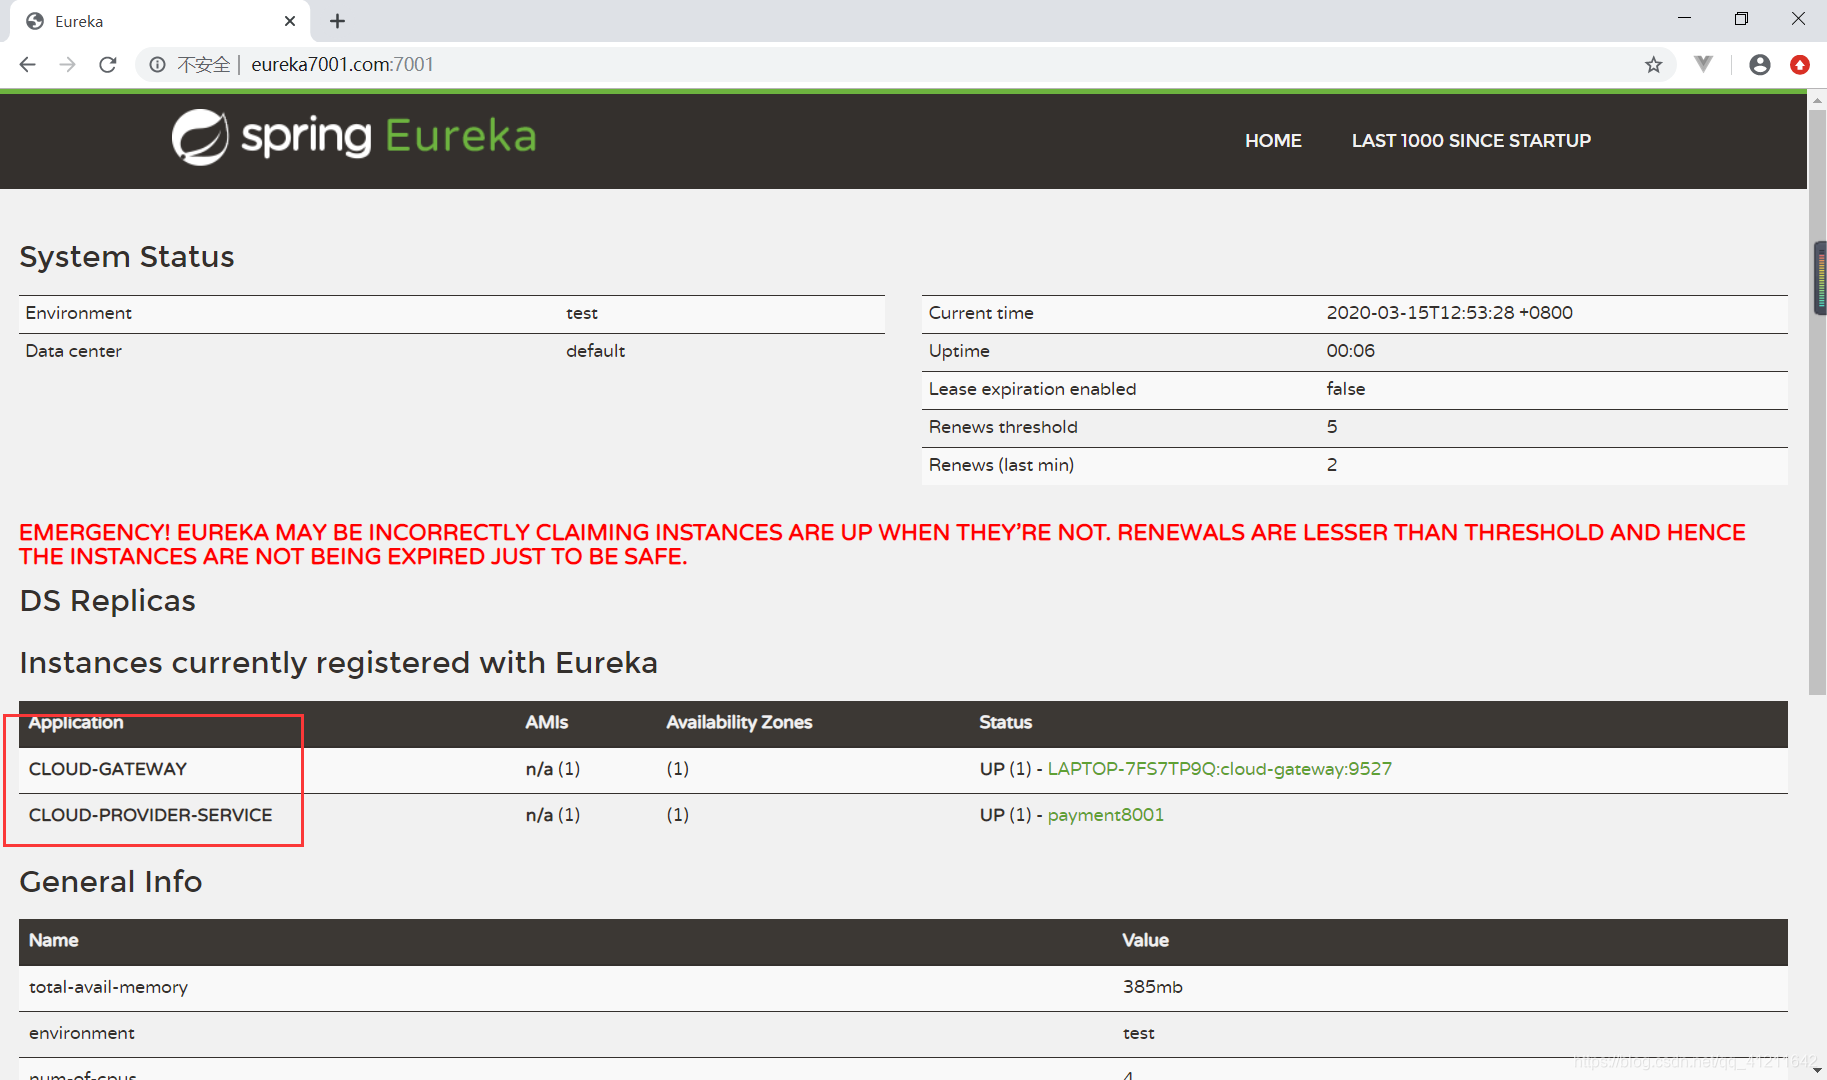
启动7001、8001、9527,将8001、9527都注册进eureka7001
添加网关前访问:
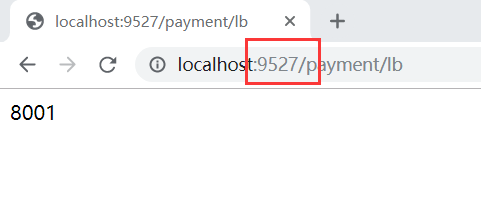
添加网关后:
9527套在最外面,有一个地址 localhost:8001 能被访问到,predicates 断言判断 8001下面有一个 /payment/get/** 地址匹配,如果路由上 predicates 为true 访问成功,false 访问失败。
Gateway网关路由有两种配置方式
- 在配置文件yml 中配置
- 代码中注入RouteLocator 的Bean
官网案例:https://cloud.spring.io/spring-cloud-static/spring-cloud-gateway/2.2.1.RELEASE/reference/html/#route-metadata-configuration
添加配置类
package com.atguigu.springcloud.config;
import org.springframework.cloud.gateway.route.RouteLocator;
import org.springframework.cloud.gateway.route.builder.RouteLocatorBuilder;
import org.springframework.context.annotation.Bean;
import org.springframework.context.annotation.Configuration;
@Configuration
public class GateWayConfig {
	/**
     * 配置一个id为route-name的路由规则,
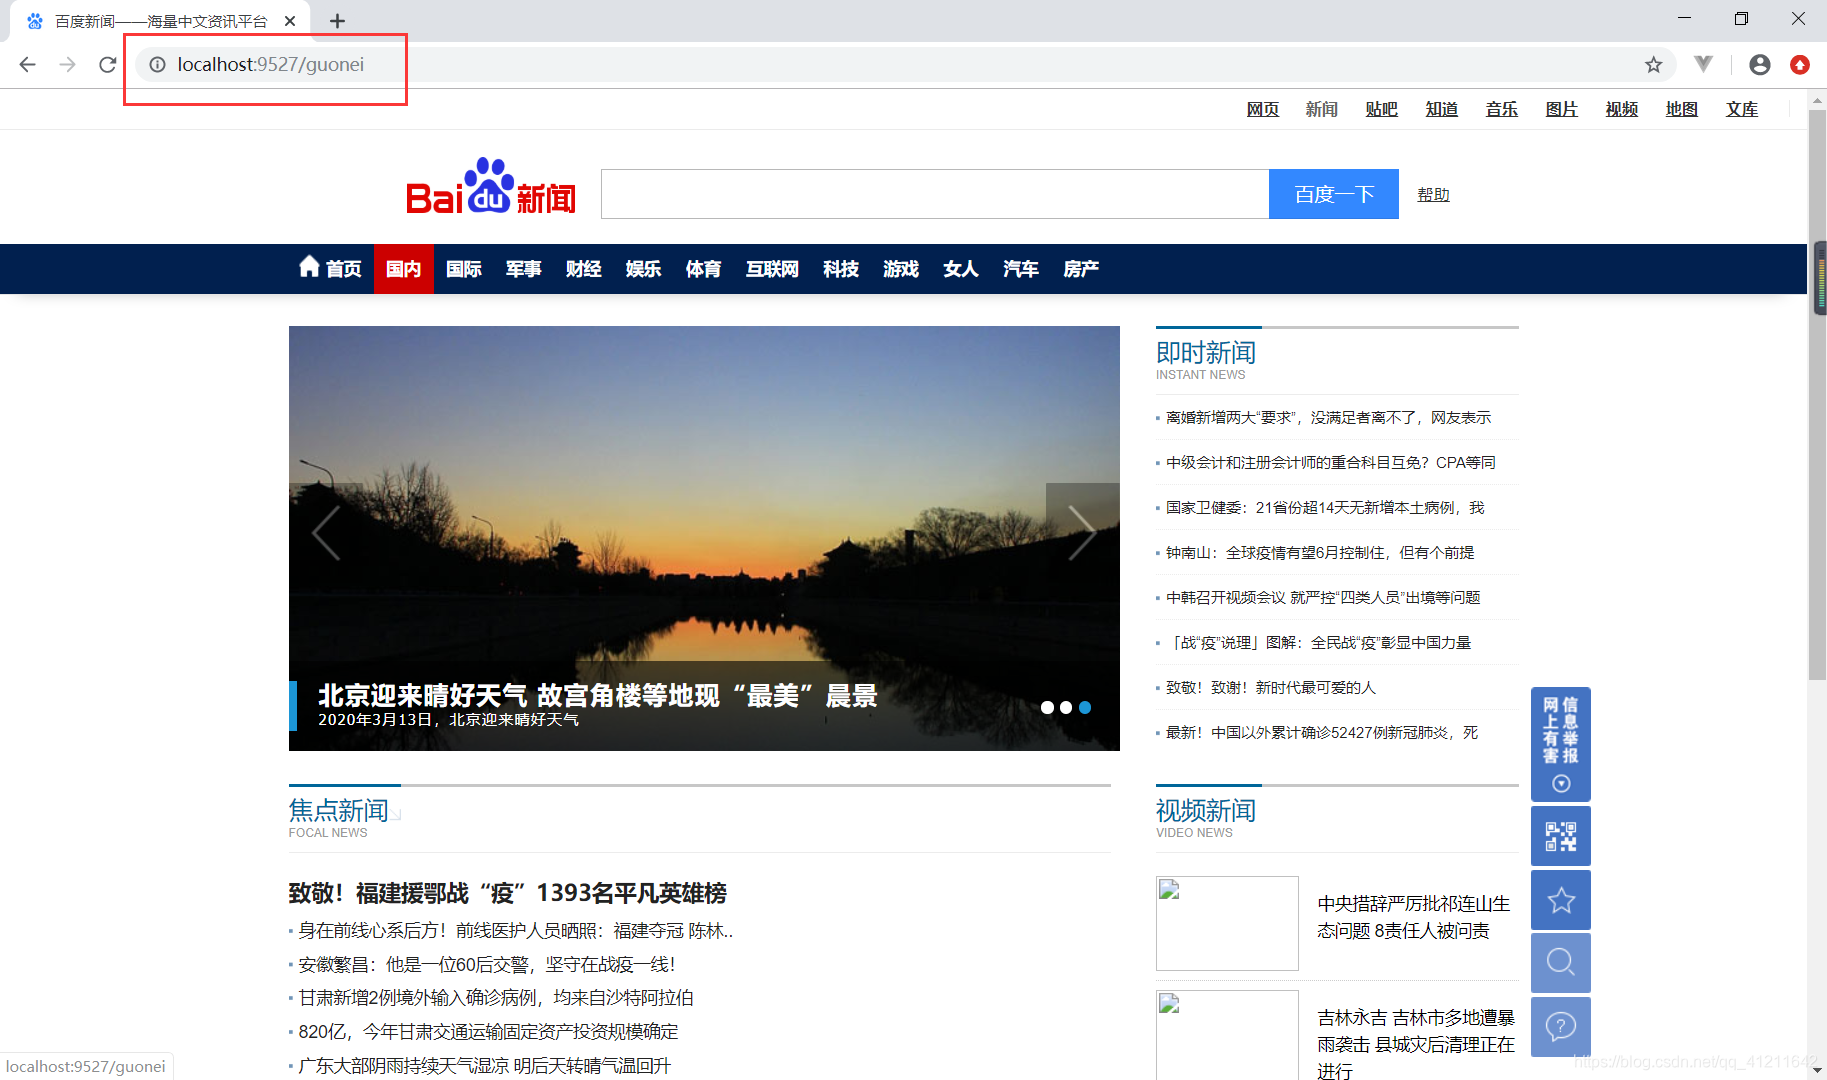
     * 当访问地址http://localhost:9527/guonei时会自动转发到地址:http://news.baidu.com/guonei
     * @param routeLocatorBuilder
     * @return
     */
    @Bean
    public RouteLocator customRouteLocator(RouteLocatorBuilder routeLocatorBuilder){
        RouteLocatorBuilder.Builder routes = routeLocatorBuilder.routes();

        routes.route("path_route_atguigu",
                r -> r.path("/guonei")
                        .uri("http://news.baidu.com/guonei")).build();
        return routes.build();
    }
}
测试
这个就是用编码的方式实现gateway网关进行路由映射配置的方法
动态路由
上面访问的路由地址我们是写死的,在微服务架构中,微服务提供者不可能只有一台服务器,就需要动态路由
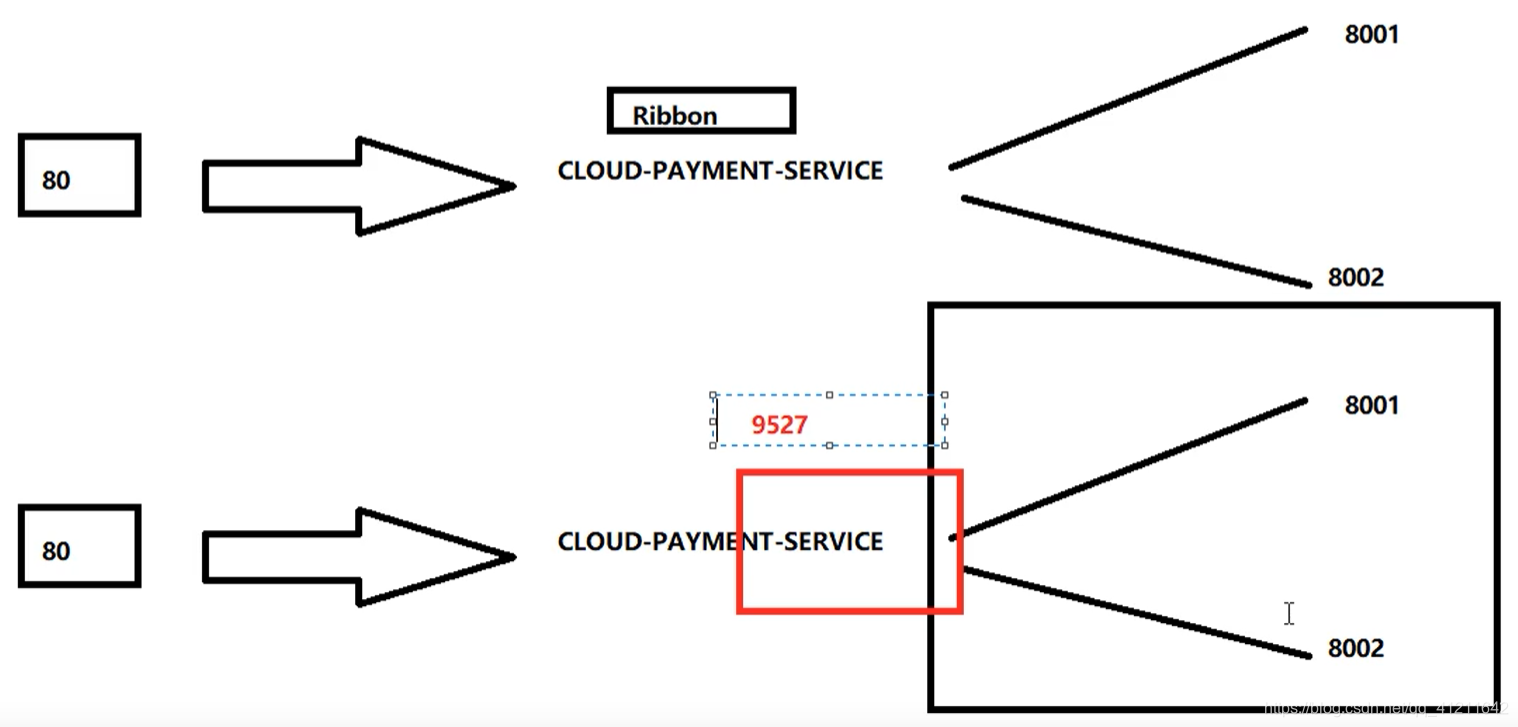
之前80客户端发送请求访问8001/8002,通过ribbon负载均衡,将请求分散,现在服务提供者如果是多台,就需要将ribbon替换为gateway,只暴露gateway,客户端请求统一发到gateway,gateway将请求转发给8001/8002。
默认情况下Gateway会根据注册中心注册的服务列表,以注册中心上微服务名为路径创建动态路由进行转发,从而实现动态路由的功能。
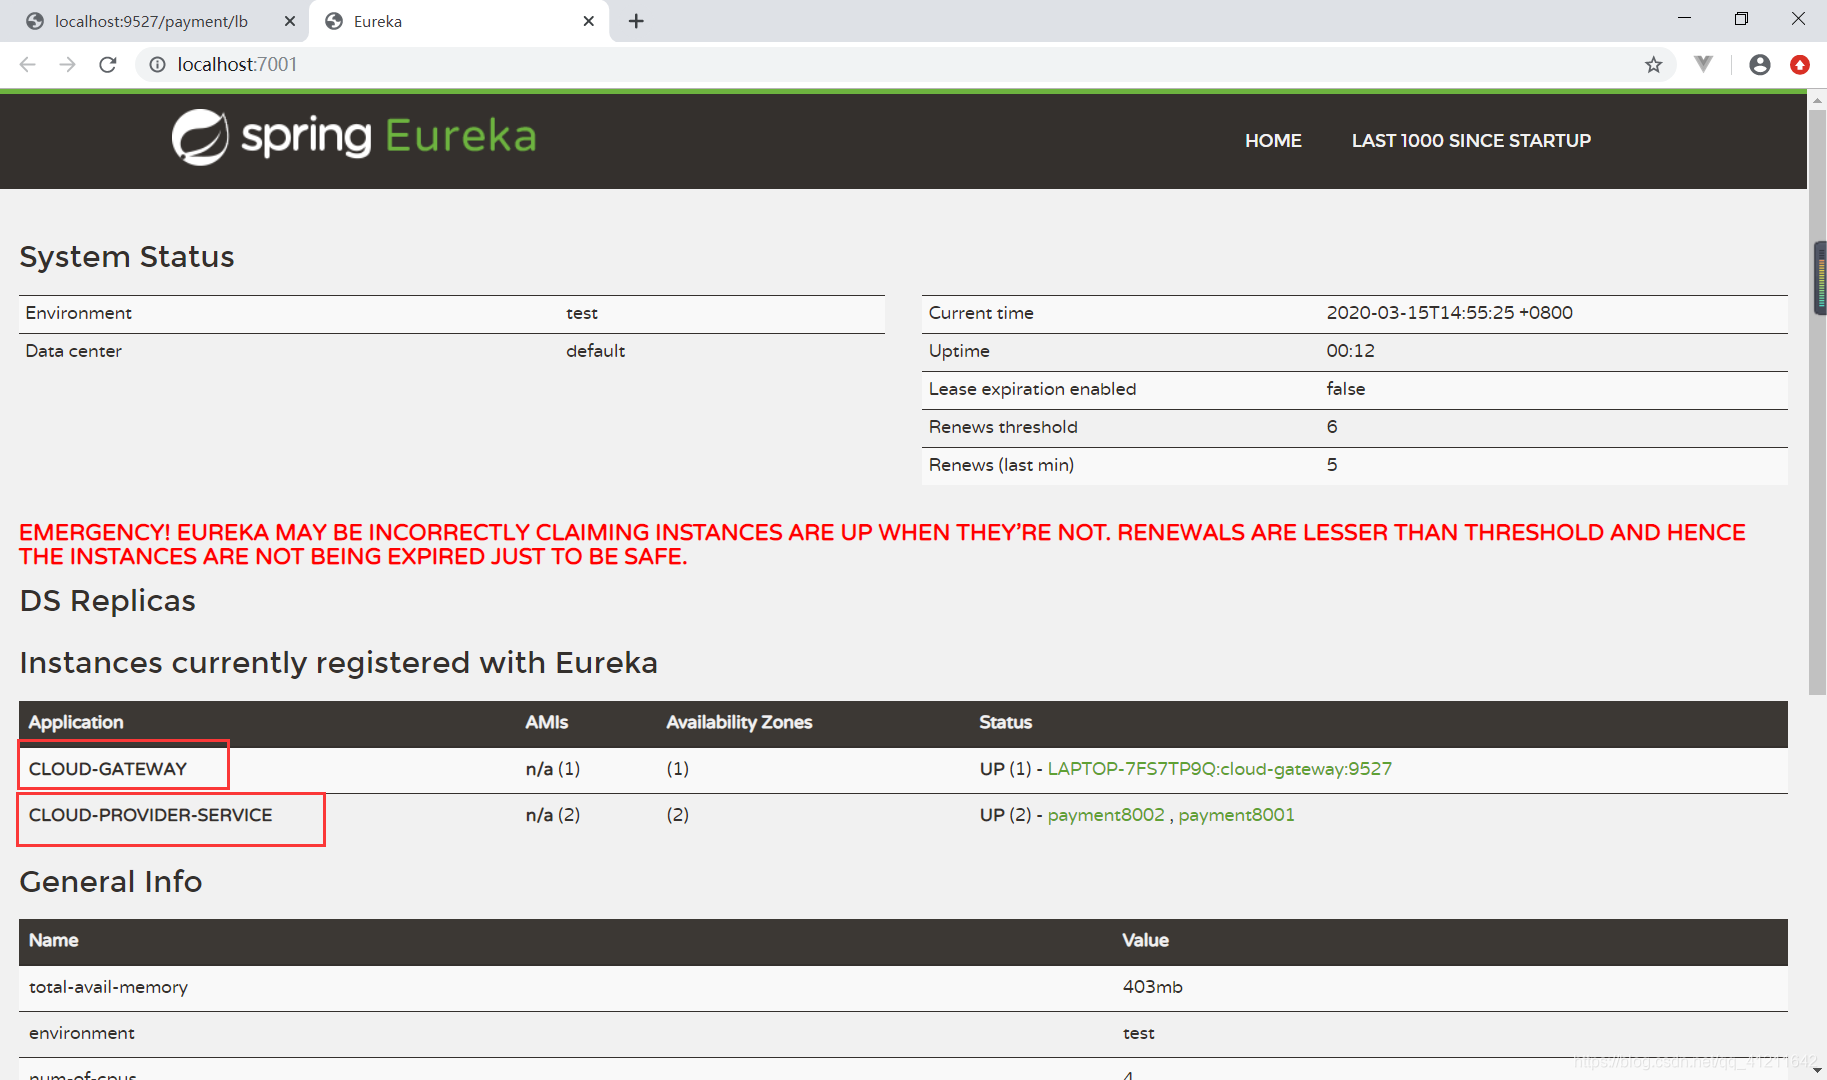
现在启动一个eureka7001,两个服务提供者8001/8002
修改pom.xml,将9527注册进eureka
<dependency>
    <groupId>org.springframework.cloud</groupId>
	<artifactId>spring-cloud-starter-netflix-eureka-client</artifactId>
</dependency>
修改yml
需要注意的是uri的协议为lb,表示启用Gateway的负载均衡功能。
lb://serviceName是springcloud gateway在微服务中自动为我们创建的负载均衡uri。
spring:
  application:
    name: cloud-gateway
  cloud:
    gateway:
      discovery:
        locator:
          enabled: true   #开启从注册中心动态创建路由的功能,利用微服务名进行路由
      routes:
        - id: payment_routh #payment_routh    #路由的ID,没有固定规则但要求唯一,简易配合服务名
          #uri: http://localhost:8001         #匹配后提供服务的路由地址
          uri: lb://cloud-provider-service   #匹配后提供服务的路由地址,lb后跟提供服务的微服务的名,不要写错
          predicates:
            - Path=/payment/get/**          #断言,路径相匹配的进行路由

        - id: payment_routh2 #payment_routh   #路由的ID,没有固定规则但要求唯一,简易配合服务名
          #uri: http://localhost:8001          #匹配后提供服务的路由地址
          uri: lb://cloud-provider-service     #匹配后提供服务的路由地址,lb后跟提供服务的微服务的名,不要写错
          predicates:
            - Path=/payment/lb/**             #断言,路径相匹配的进行路由
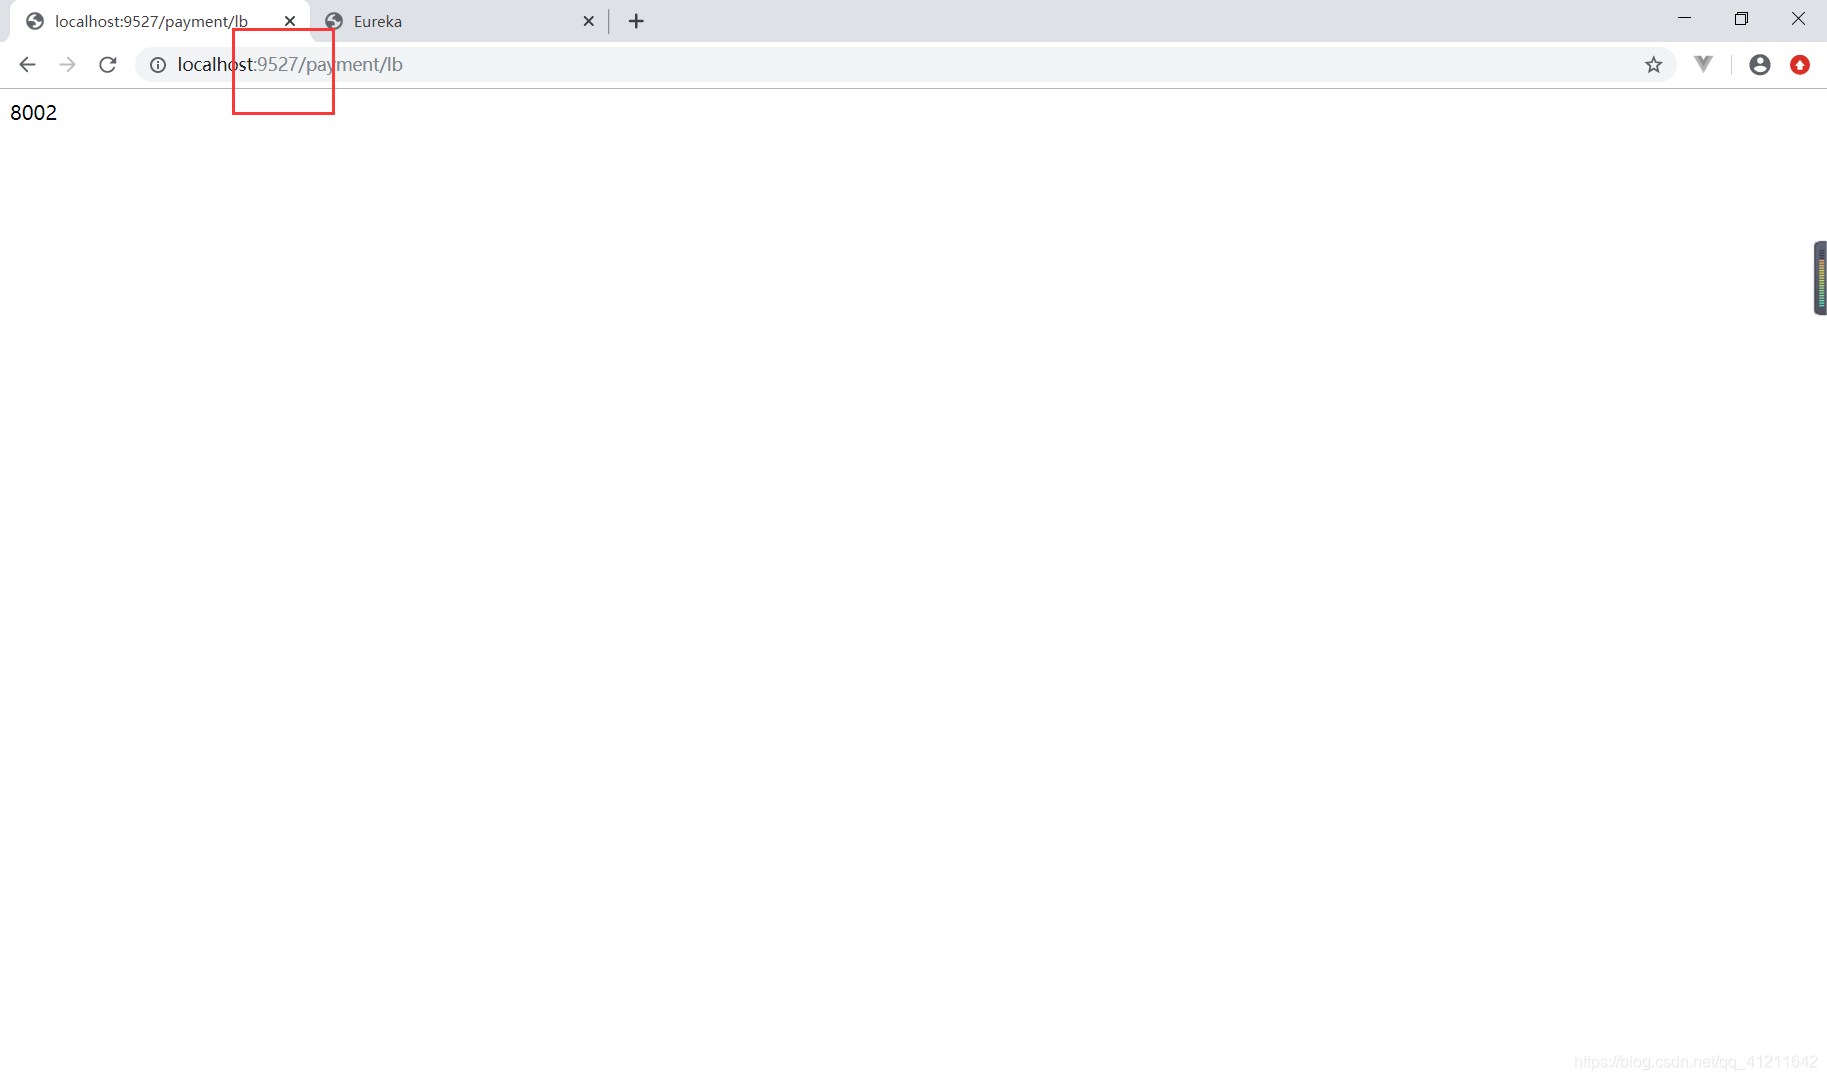
启动9527,测试
两个微服务注册进来,微服务名一定要对应,别写错。现在再来看通过9527 访问服务,也是可以的,并且多次刷新,8001/8002交替出现。
