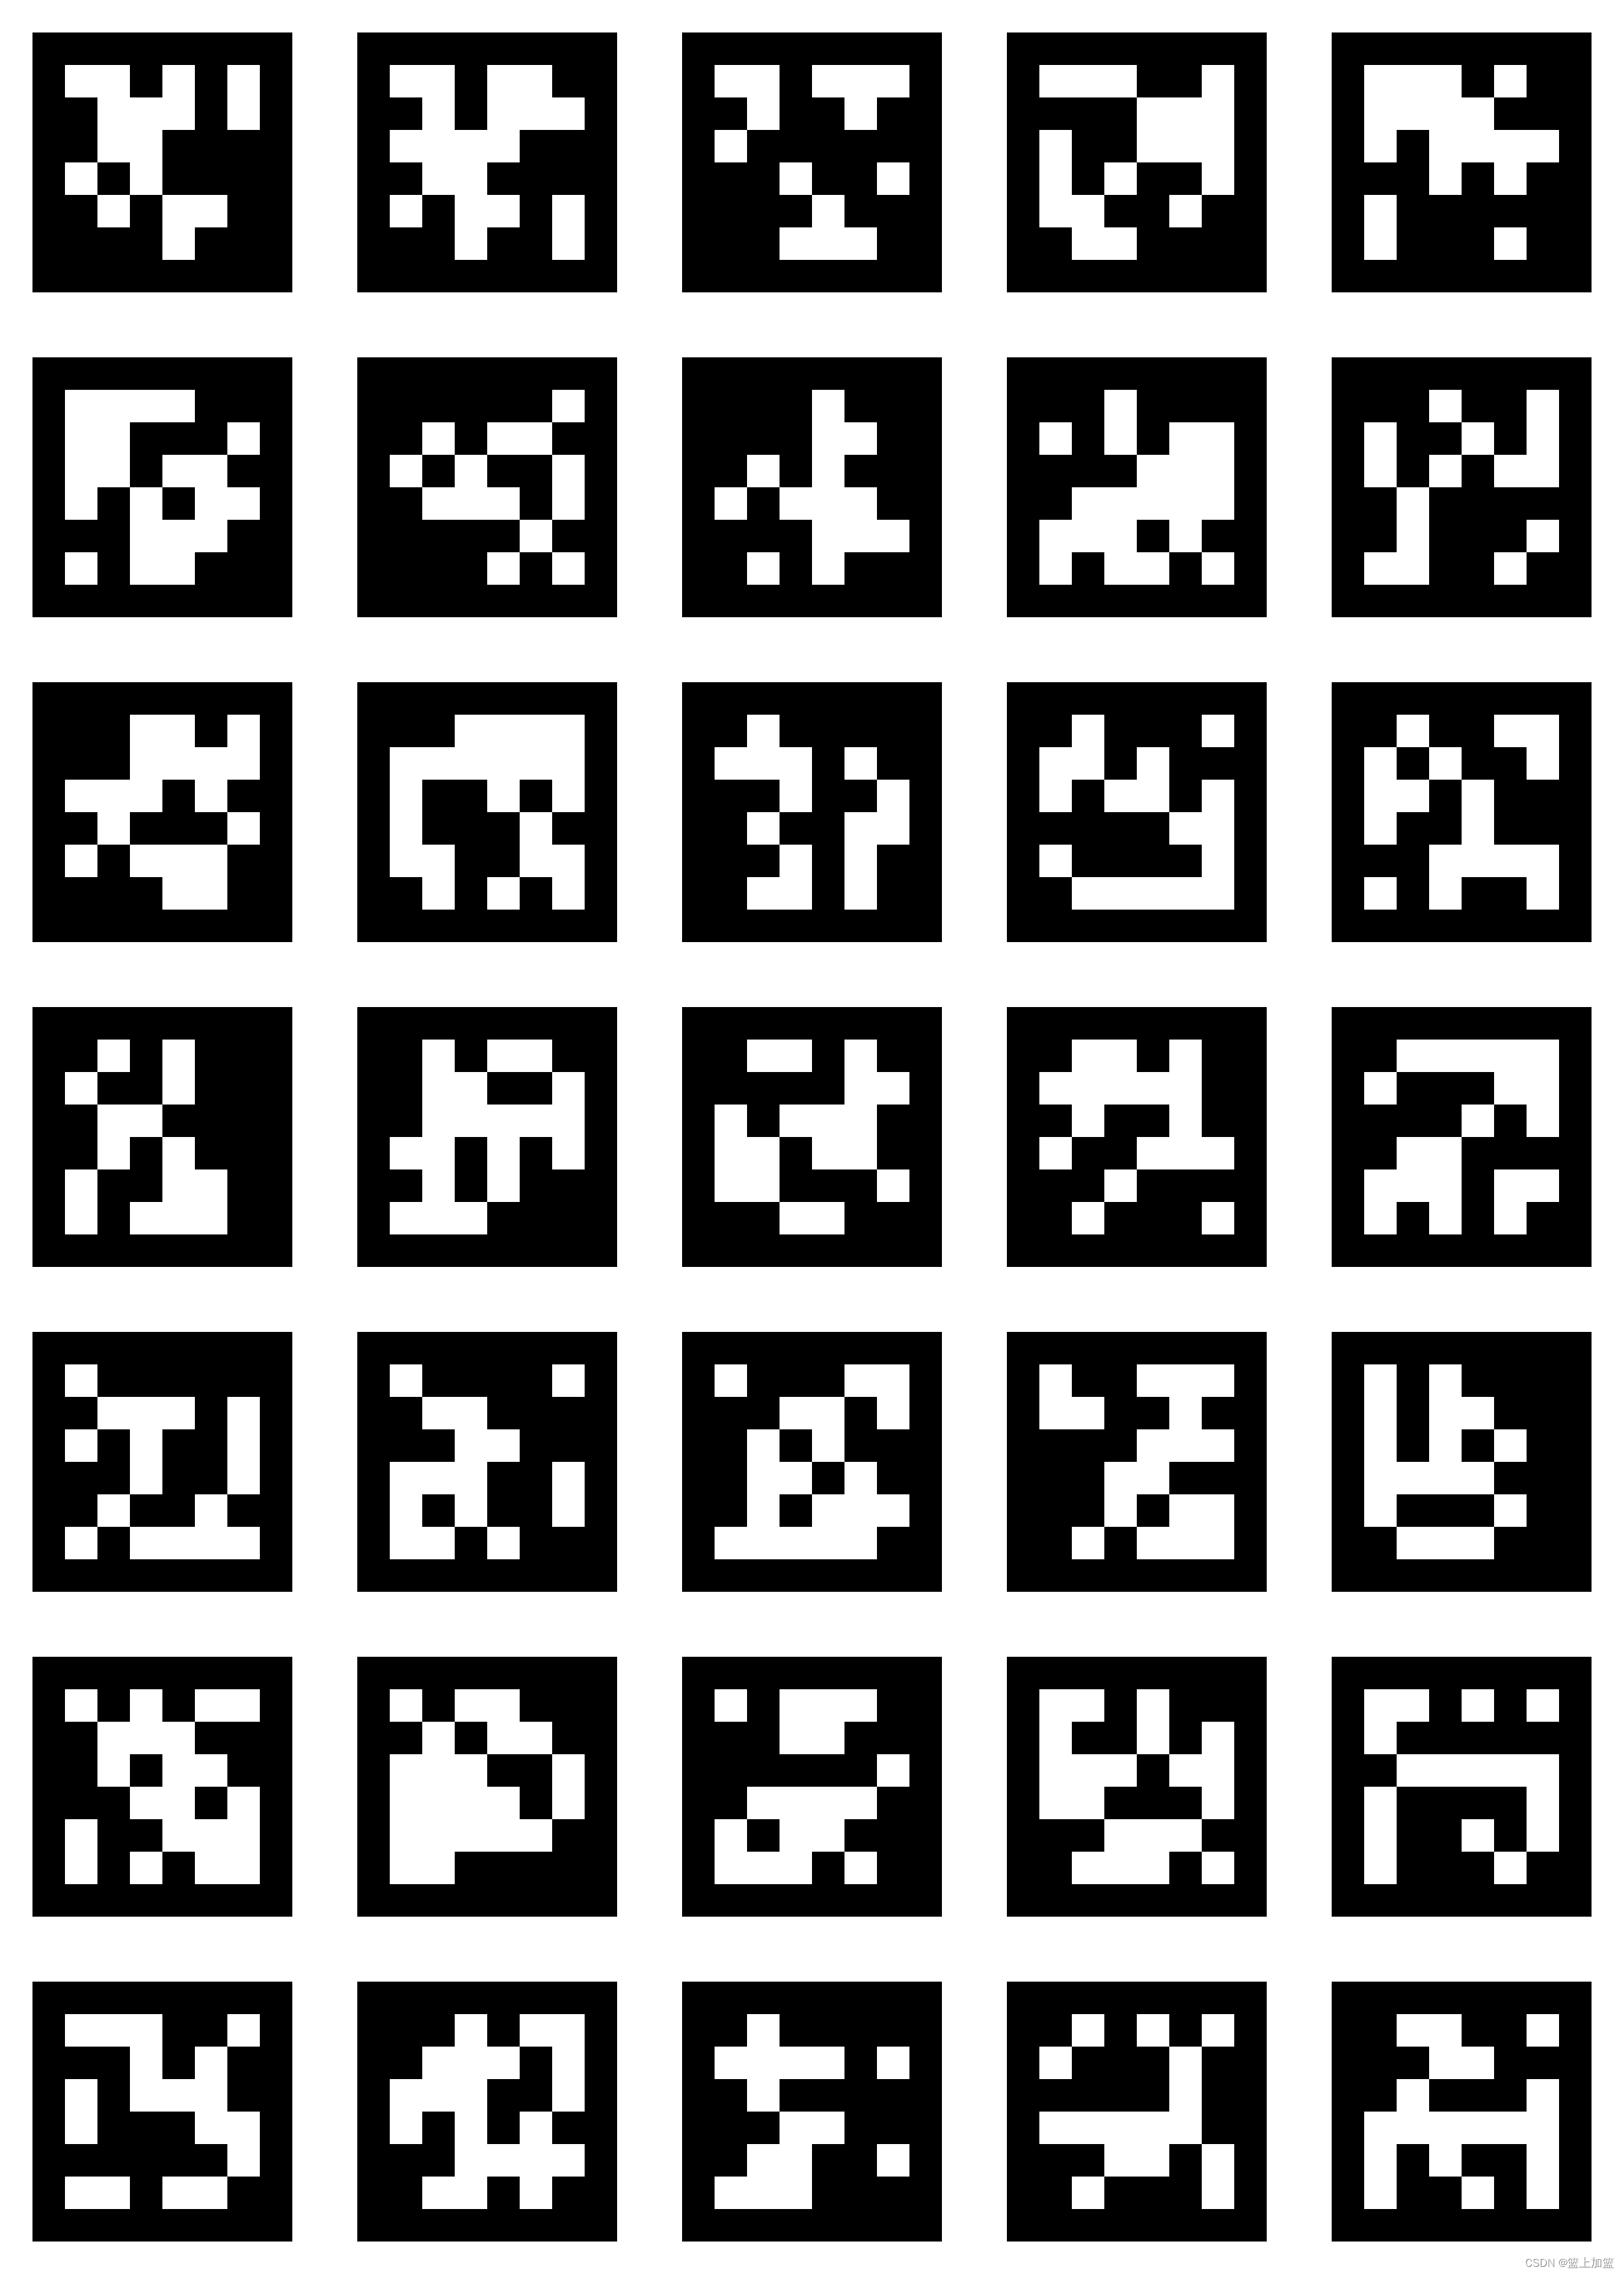
怎么创建自己的Apriltag图案
-
https://april.eecs.umich.edu/software/apriltag 官方说明
-
https://github.com/AprilRobotics/apriltag-imgs 先到这下载所有的图
-
然后使用我下面的代码
import os
import cv2
import numpy as np

def get_sorted_image_paths(folder_path, pattern='tag36_11_000'):
    """
    获取并排序所有符合模式的图像路径。

    :param folder_path: 存放图像的文件夹路径
    :param pattern: 图像文件名模式
    :return: 排序后的图像路径列表
    """
    image_paths = [os.path.join(folder_path, f) for f in os.listdir(folder_path) if f.startswith(pattern) and f.endswith('.png')]
    # 按文件名排序
    image_paths.sort()
    print(image_paths)
    return image_paths

def resize_image(image, size):
    """
    调整图像大小,使其适应指定的尺寸。

    :param image: 输入图像
    :param size: 目标尺寸(宽度,高度)
    :return: 调整大小后的图像
    """
    h, w = image.shape[:2]
    aspect_ratio = w / h
    new_w, new_h = size

    if aspect_ratio > 1:
        new_h = int(new_w / aspect_ratio)
    else:
        new_w = int(new_h * aspect_ratio)

    resized_image = cv2.resize(image, (new_w, new_h), interpolation=cv2.INTER_AREA)

    # 在新图像上居中
    new_image = np.zeros((size[1], size[0], 3), dtype=np.uint8)
    y_offset = (size[1] - new_h) // 2
    x_offset = (size[0] - new_w) // 2
    new_image[y_offset:y_offset+new_h, x_offset:x_offset+new_w] = resized_image

    return new_image

def create_image_grid(image_paths, grid_size=(7, 5),img_size = [500,500]):
    """
    将图像拼接成指定大小的网格。

    :param image_paths: 图像路径列表
    :param grid_size: 网格大小(行,列)
    :return: 拼接后的图像
    """
    #注意调整文件夹中的图片数量,我这里没去判段需要多少张图了
    # 读取图像
    images = [cv2.imread(img_path) for img_path in image_paths]

    # 获取所有图像的最大宽度和高度
    #max_width = max(image.shape[1] for image in images)
    #max_height = max(image.shape[0] for image in images)

    max_width = img_size[0]
    max_height = img_size[1]


    # 调整每个图像的大小
    resized_images = [resize_image(img, (max_width, max_height)) for img in images]

    # 创建一个大的空白图像
    grid_height = max_height * grid_size[0]
    grid_width = max_width * grid_size[1]
    grid_image = np.zeros((grid_height, grid_width, 3), dtype=np.uint8)

    # 将图像填入网格中
    for idx, image in enumerate(resized_images):
        row = idx // grid_size[1]
        col = idx % grid_size[1]
        grid_image[row*max_height:(row+1)*max_height, col*max_width:(col+1)*max_width, :] = image

    return grid_image

def main():
    folder_path = './apriltag-imgs/tag36h11/'  # 替换为实际文件夹路径
    output_path = 'output_image_size500.png'
    grid_size = (7, 5)  #注意调整文件夹中的图片数量,我这里没去判段需要多少张图了

    # 获取排序后的图像路径
    image_paths = get_sorted_image_paths(folder_path)

    # 检查图像数量是否足够
    if len(image_paths) < grid_size[0] * grid_size[1]:
        raise ValueError(f"图像数量不足。需要至少 {grid_size[0] * grid_size[1]} 张图像。")

    # 生成图像网格
    grid_image = create_image_grid(image_paths, grid_size,img_size=[500,500])

    # 保存拼接后的图像
    cv2.imwrite(output_path, grid_image)
    print(f"拼接后的图像已保存到 {output_path}")

if __name__ == '__main__':
    main()
注意调整文件夹中的图片数量,我这里没去判段需要多少张图了
我这是(7, 5) 35张图,tag36h11文件夹中就只放了35张图。
