文章目录
1.基础工程创建
1.创建一个maven工程
依赖如下:
    <dependencies>
        <dependency>
            <groupId>org.springframework</groupId>
            <artifactId>spring-context</artifactId>
            <version>5.2.12.RELEASE</version>
        </dependency>
        <dependency>
            <groupId>org.springframework</groupId>
            <artifactId>spring-beans</artifactId>
            <version>5.2.12.RELEASE</version>
        </dependency>
        <dependency>
            <groupId>org.projectlombok</groupId>
            <artifactId>lombok</artifactId>
            <version>1.18.22</version>
        </dependency>
        <dependency>
            <groupId>org.slf4j</groupId>
            <artifactId>slf4j-simple</artifactId>
            <version>1.7.25</version>
        </dependency>
    </dependencies>
2.创建一个Spring的配置类
@ComponentScan("cn.redocloud.service")
public class AppConfig {
}
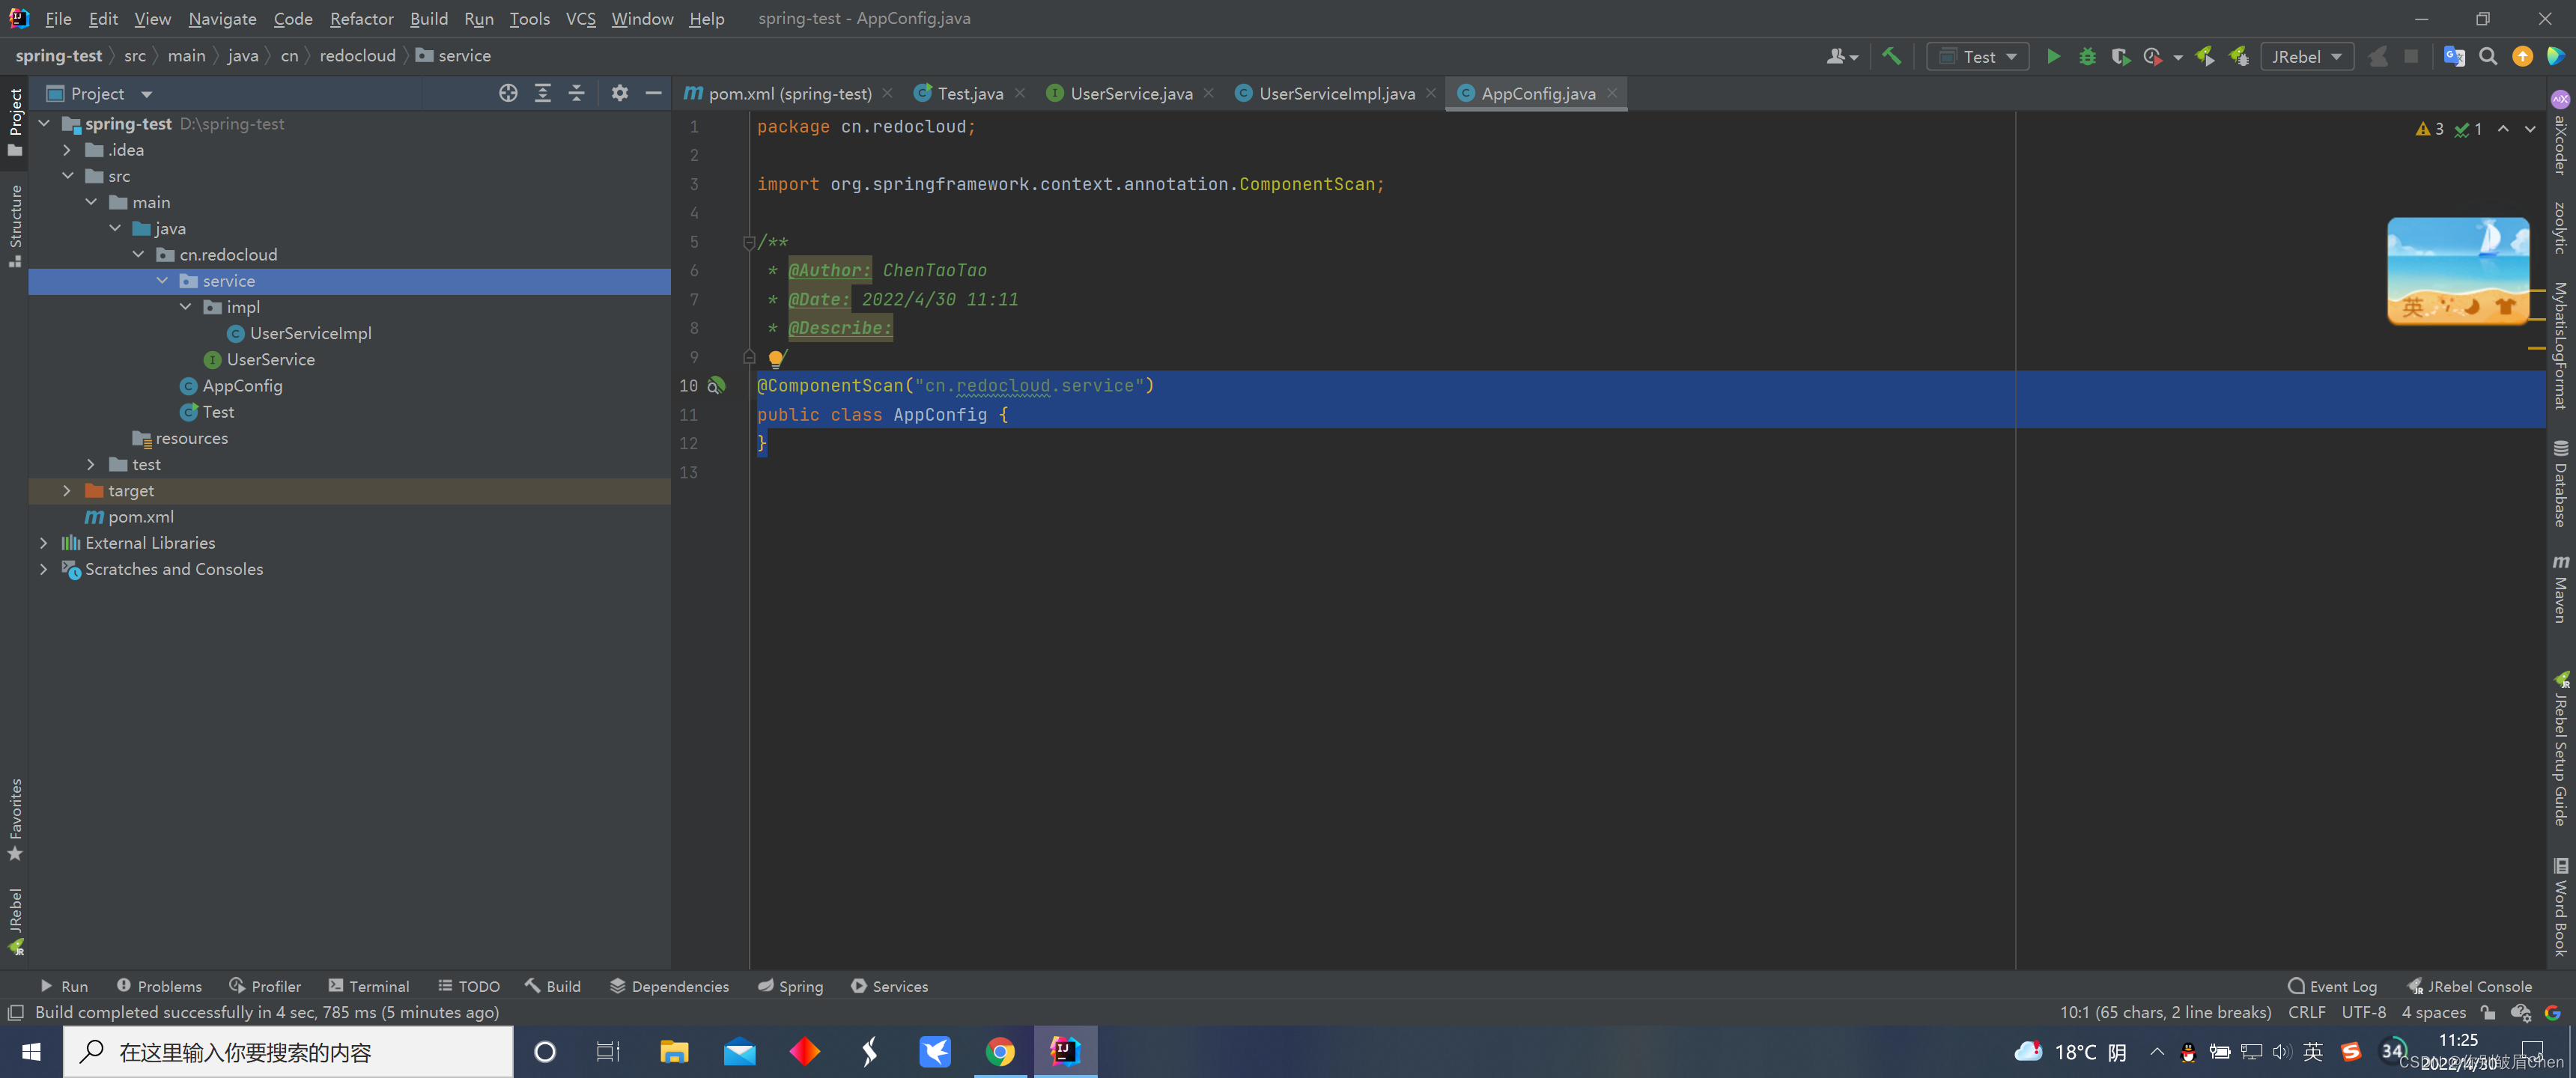
这里需要注意一点,需要放进Spring容器;里或者使用了Spring注解的类,如果不再同一包下时,如果新增一个类,不再原有包下时,需要添加扫描路径,如我最终的扫包为如下
/**
 * @Author: ChenTaoTao
 * @Date: 2022/4/30 11:11
 * @Describe:
 */
@ComponentScan({"cn.redocloud.service","cn.redocloud.mapper","cn.redocloud.config"})
public class AppConfig {
}
其中,"cn.redocloud.service"为我存放业务类的包(主要做包扫描,生成对象后放入Sping容器)
3.模拟Mapper
接口声明
/**
 * @Author: ChenTaoTao
 * @Date: 2022/4/30 11:40
 * @Describe:
 */
public interface UserMapper {
    /**
     * 获取用户
     * @return
     */
    List<User> getUser();
}
模拟实现
/**
 * @Author: ChenTaoTao
 * @Date: 2022/4/30 11:42
 * @Describe:
 */
@Repository
public class UserMapperImpl implements UserMapper {
    @Override
    public List<User> getUser() {
        List<User> users = new ArrayList<>();
        User user = User.builder().username("1800000000").password("123456").build();
        users.add(user);
        return users;
    }
}
4.业务处理
业务接口
/**
 * @Author: ChenTaoTao
 * @Date: 2022/4/30 11:12
 * @Describe:
 */
public interface UserService {
    /**
     * 登录
     * @param username
     * @param password
     * @return
     */
    String login(String username,String password);
}
实现类
/**
 * @Author: ChenTaoTao
 * @Date: 2022/4/30 11:12
 * @Describe:
 */
@Service
@Slf4j
public class UserServiceImpl implements UserService {
    @Override
    public String login(String username, String password) {
        log.info("用户{},执行登录",username);
        return username;
    }
}
2.问题及测试
前置,测试类如下
public class Test {
    public static void main(String[] args) {
        AnnotationConfigApplicationContext applicationContext = new AnnotationConfigApplicationContext(AppConfig.class);
        UserService userService = applicationContext.getBean(UserService.class);
        userService.login("1800000000","123456");
    }
}
1.测试生命周期过程中,我们可以如何在这个过程中介入
修改UserServiceImpl为如下:
/**
 * @Author: ChenTaoTao
 * @Date: 2022/4/30 11:12
 * @Describe:
 */
@Service
@Slf4j
public class UserServiceImpl implements UserService, InitializingBean, BeanNameAware , ApplicationContextAware , BeanFactoryAware {


    @Autowired
    UserMapper userMapper;

    private Map<String, User> userCache = new ConcurrentHashMap<>(10);

    public UserServiceImpl(){
        log.info("这是UserServiceImpl构造方法,userMapper为{}",userMapper);
    }
    @PostConstruct
    public void postConstruct(){
        log.info("这是PostConstruct方法,userMapper为{}",userMapper);
    }

    @Override
    public String login(String username, String password) {
        log.info("用户{},执行登录",username);
        User user = userCache.get(username);
        log.info("该用户完整信息为{}",user);
        return username;
    }

    @Override
    public void afterPropertiesSet() throws Exception {
        List<User> users = userMapper.getUser();
        if(!CollectionUtils.isEmpty(users)){
            users.forEach(user -> userCache.put(user.getUsername(),user));
        }
        log.info("执行初始化方法afterPropertiesSet,userMapper为{}",userMapper);
    }

    @Override
    public void setBeanName(String s) {
        log.info("beanNameAware名:{},userMapper为{}",s,userMapper);
    }

    @Override
    public void setApplicationContext(ApplicationContext applicationContext) throws BeansException {
        log.info("applicationContextAware,userMapper为{}",userMapper);
    }

    @Override
    public void setBeanFactory(BeanFactory beanFactory) throws BeansException {
        log.info("beanFactoryAware,userMapper为{}",userMapper);
    }
}
如上,分別在构造方法、 @PostConstruct注解方法、InitializingBean接口的afterPropertiesSet以及三种Aware接口的子接口BeanNameAware的setBeanName、ApplicationContextAware 接口的setApplicationContext方法、BeanFactoryAware的setBeanFactory接口中打印一些话
测试结果如下:
[main] INFO cn.redocloud.service.impl.UserServiceImpl - 这是UserServiceImpl构造方法,userMapper为null
[main] INFO cn.redocloud.service.impl.UserServiceImpl - beanNameAware名:userServiceImpl,userMapper为cn.redocloud.mapper.impl.UserMapperImpl@646007f4
[main] INFO cn.redocloud.service.impl.UserServiceImpl - beanFactoryAware,userMapper为cn.redocloud.mapper.impl.UserMapperImpl@646007f4
[main] INFO cn.redocloud.service.impl.UserServiceImpl - applicationContextAware,userMapper为cn.redocloud.mapper.impl.UserMapperImpl@646007f4
[main] INFO cn.redocloud.service.impl.UserServiceImpl - 这是PostConstruct方法,userMapper为cn.redocloud.mapper.impl.UserMapperImpl@646007f4
[main] INFO cn.redocloud.service.impl.UserServiceImpl - 执行初始化方法afterPropertiesSet,userMapper为cn.redocloud.mapper.impl.UserMapperImpl@646007f4
[main] INFO cn.redocloud.service.impl.UserServiceImpl - 用户1800000000,执行登录
[main] INFO cn.redocloud.service.impl.UserServiceImpl - 该用户完整信息为User(username=1800000000, password=123456)
说明这些情况下的执行顺序为:构造方法=>BeanNameAware=>BeanFactoryAware=>ApplicationContextAware=>@PostConstruct=>InitializingBean
2.体验Aop编程的实现
1.Spring提供了一些扩展点,如
BeanPostProcessor 接口
public interface BeanPostProcessor {
    @Nullable
    default Object postProcessBeforeInitialization(Object bean, String beanName) throws BeansException {
        return bean;
    }

    @Nullable
    default Object postProcessAfterInitialization(Object bean, String beanName) throws BeansException {
        return bean;
    }
}
如上,上面只是单纯得返回的是传进来的bean,而在这个时候,我们其实可以生成一个代理对象返回,也就实现了我们的Aop
2.Jdk动态代理(此处仅以Jdk代理实现Aop为例,Cglib本质上差不多,只是他不需要实现接口,他是以生成子类对象,调用父类方法来实现的Aop)
代理时,我们的被代理类(UserServiceImpl)中加入一个注解,如下
/**
 * @Author: ChenTaoTao
 * @Date: 2022/4/30 12:41
 * @Describe:
 */
@Retention(RetentionPolicy.RUNTIME)
@Target(ElementType.METHOD)
@Documented
@Inherited
public @interface Required {
}
原UserServiceImpl修改为(只是修改了打印的提示语,外加在login方法上加上了我们新增的Required注解)
/**
 * @Author: ChenTaoTao
 * @Date: 2022/4/30 11:12
 * @Describe:
 */
@Service
@Slf4j
public class UserServiceImpl implements UserService, InitializingBean, BeanNameAware , ApplicationContextAware , BeanFactoryAware {


    @Autowired
    UserMapper userMapper;

    private Map<String, User> userCache = new ConcurrentHashMap<>(10);

    public UserServiceImpl(){
        log.info("这是UserServiceImpl构造方法,userMapper为{}",userMapper);
    }
    @PostConstruct
    public void postConstruct(){
        log.info("这是PostConstruct方法,userMapper为{}",userMapper);
    }

    @Override
    @Required
    public String login(String username, String password) {
        log.info("用户{},执行登录",username);
        User user = userCache.get(username);
        log.info("该用户完整信息为{}",user);
        return username;
    }

    @Override
    public void afterPropertiesSet() throws Exception {
        List<User> users = userMapper.getUser();
        if(!CollectionUtils.isEmpty(users)){
            users.forEach(user -> userCache.put(user.getUsername(),user));
        }
        log.info("执行InitializingBean接口的初始化方法afterPropertiesSet,userMapper为{}",userMapper);
    }

    @Override
    public void setBeanName(String s) {
        log.info("执行beanNameAware的setBeanName方法,Bean的名称为:{},userMapper为{}",s,userMapper);
    }

    @Override
    public void setApplicationContext(ApplicationContext applicationContext) throws BeansException {
        log.info("执行applicationContextAware接口的setApplicationContext方法,userMapper为{}",userMapper);
    }

    @Override
    public void setBeanFactory(BeanFactory beanFactory) throws BeansException {
        log.info("执行beanFactoryAware的setBeanFactory方法,userMapper为{}",userMapper);
    }
}
工具类,从被代理对象中获取到注解信息
/**
 * @Author: ChenTaoTao
 * @Date: 2022/4/30 11:12
 * @Describe: 直接使用代理类时获取方法上的注解是获取不到的,必须要用target(被代理)对象才行
 */
public class DynamicProxyAnnotationUtil {

	public static boolean findAnnotationFromProxy(Class<?> cusAnnotation, Object target, Method method) throws NoSuchMethodException {
		Annotation[] annotations = target.getClass().getMethod(method.getName(), method.getParameterTypes()).getAnnotations();
		boolean hasAnnotation = Arrays.stream(annotations).filter(annotation -> {
			return annotation.annotationType().isAssignableFrom(cusAnnotation);
		}).count() > 0;
		return hasAnnotation;
	}
}
代理对象生成类
@Slf4j
public class AopProxy implements InvocationHandler {
    private Object target;

    public AopProxy(Object target){
        this.target = target;
    }


    public Object createProxy(Object target) {
        this.target = target;
        return createProxy();
    }

    public Object createProxy() {
        if(target == null){
            throw new RuntimeException("target object can not be null");
        }
        return Proxy.newProxyInstance(target.getClass().getClassLoader(),
                target.getClass().getInterfaces(), this);
    }


    /**
     * @param proxy 代理监控对象
     * @param method doSome()方法
     * @param args doSome()方法执行时接收的实参
     * @return
     * @throws Throwable
     */
    @Override
    public Object invoke(Object proxy, Method method, Object[] args) throws Throwable {
        boolean required = DynamicProxyAnnotationUtil.findAnnotationFromProxy(Required.class,target,method);
        if(required){
        //这里只做模拟,Spring中加入了AspectJ的概念和注解,你看,我们这里可以拿到对象,也可以拿到方法,所以字段、方法上有什么我们都能获取到,要做点什么都很好办吧,这不就是Spring里面的@Before方法吗
            log.info("UserService调用前做的增强···");
        }
        //这个地方是不是可能会抛出异常,这不就是Spring中的@AfterThrowing吗
        Object result = method.invoke(target, args);
        if(required){
        //你看,这不就是我们处理完以后的方法吗@After
            log.info("UserService调用后做的增强···");
        }
        return result;
    }

    public Object getTarget() {
        return target;
    }
}
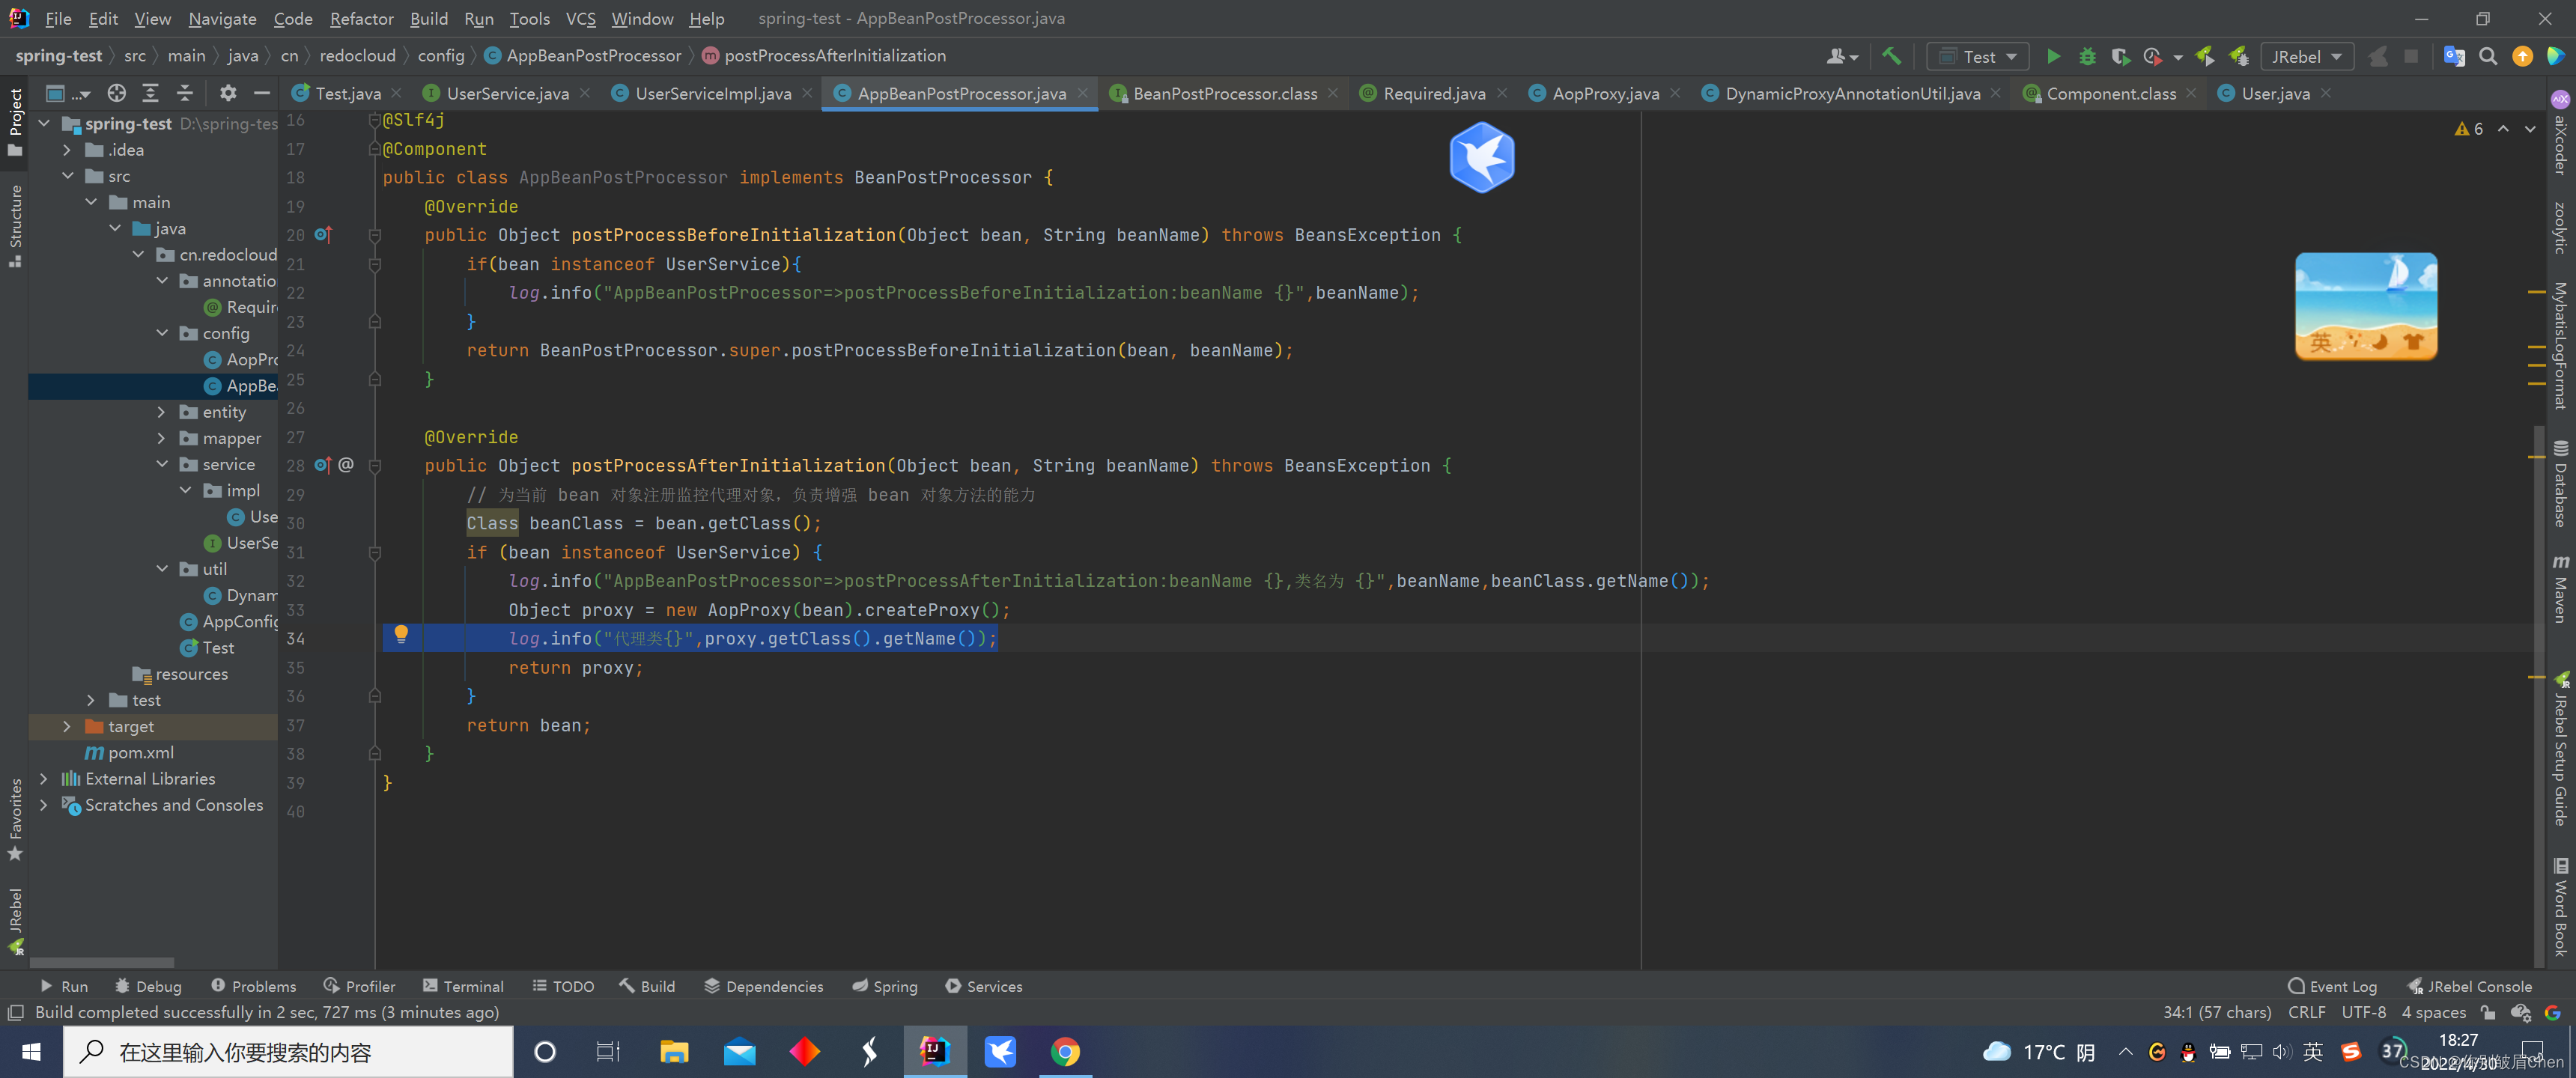
3.实现BeanPostProcessor 接口
我这里做了一个判断,就是属于UserService的实现类时,才需要做一些打印或者处理(主要目的是查看Bean生成的完整顺序)
/**
 * @Author: ChenTaoTao
 * @Date: 2022/4/30 12:23
 * @Describe:
 */
@Slf4j
@Component
public class AppBeanPostProcessor implements BeanPostProcessor {
    @Override
    public Object postProcessBeforeInitialization(Object bean, String beanName) throws BeansException {
        if(bean instanceof UserService){
            log.info("AppBeanPostProcessor=>postProcessBeforeInitialization:beanName {}",beanName);
        }
        return BeanPostProcessor.super.postProcessBeforeInitialization(bean, beanName);
    }

    @Override
    public Object postProcessAfterInitialization(Object bean, String beanName) throws BeansException {
        // 为当前 bean 对象注册监控代理对象,负责增强 bean 对象方法的能力
        Class beanClass = bean.getClass();
        if (bean instanceof UserService) {
            log.info("AppBeanPostProcessor=>postProcessAfterInitialization:beanName {},类名为 {}",beanName,beanClass.getName());
            //JDK生成代理类
            Object proxy = new AopProxy(bean).createProxy();
            log.info("代理类{}",proxy.getClass().getName());
            return proxy;
        }
        return bean;
    }
}
此时的运行结果如下:
[main] INFO cn.redocloud.service.impl.UserServiceImpl - 这是UserServiceImpl构造方法,userMapper为null
[main] INFO cn.redocloud.service.impl.UserServiceImpl - 执行beanNameAware的setBeanName方法,Bean的名称为:userServiceImpl,userMapper为cn.redocloud.mapper.impl.UserMapperImpl@df27fae
[main] INFO cn.redocloud.service.impl.UserServiceImpl - 执行beanFactoryAware的setBeanFactory方法,userMapper为cn.redocloud.mapper.impl.UserMapperImpl@df27fae
[main] INFO cn.redocloud.service.impl.UserServiceImpl - 执行applicationContextAware接口的setApplicationContext方法,userMapper为cn.redocloud.mapper.impl.UserMapperImpl@df27fae
[main] INFO cn.redocloud.config.AppBeanPostProcessor - AppBeanPostProcessor=>postProcessBeforeInitialization:beanName userServiceImpl
[main] INFO cn.redocloud.service.impl.UserServiceImpl - 这是PostConstruct方法,userMapper为cn.redocloud.mapper.impl.UserMapperImpl@df27fae
[main] INFO cn.redocloud.service.impl.UserServiceImpl - 执行InitializingBean接口的初始化方法afterPropertiesSet,userMapper为cn.redocloud.mapper.impl.UserMapperImpl@df27fae
[main] INFO cn.redocloud.config.AppBeanPostProcessor - AppBeanPostProcessor=>postProcessAfterInitialization:beanName userServiceImpl,类名为 cn.redocloud.service.impl.UserServiceImpl
[main] INFO cn.redocloud.config.AppBeanPostProcessor - 代理类com.sun.proxy.$Proxy13
[main] INFO cn.redocloud.config.AopProxy - UserService调用前做的增强···
[main] INFO cn.redocloud.service.impl.UserServiceImpl - 用户1800000000,执行登录
[main] INFO cn.redocloud.service.impl.UserServiceImpl - 该用户完整信息为User(username=1800000000, password=123456)
[main] INFO cn.redocloud.config.AopProxy - UserService调用后做的增强···
可以看到Spring提供的BeanPostProcessor扩展点对生命周期的影响节点为Aware接口后,@PostConstruct前;以及InitializingBean提供的afterPropertiesSet接口后
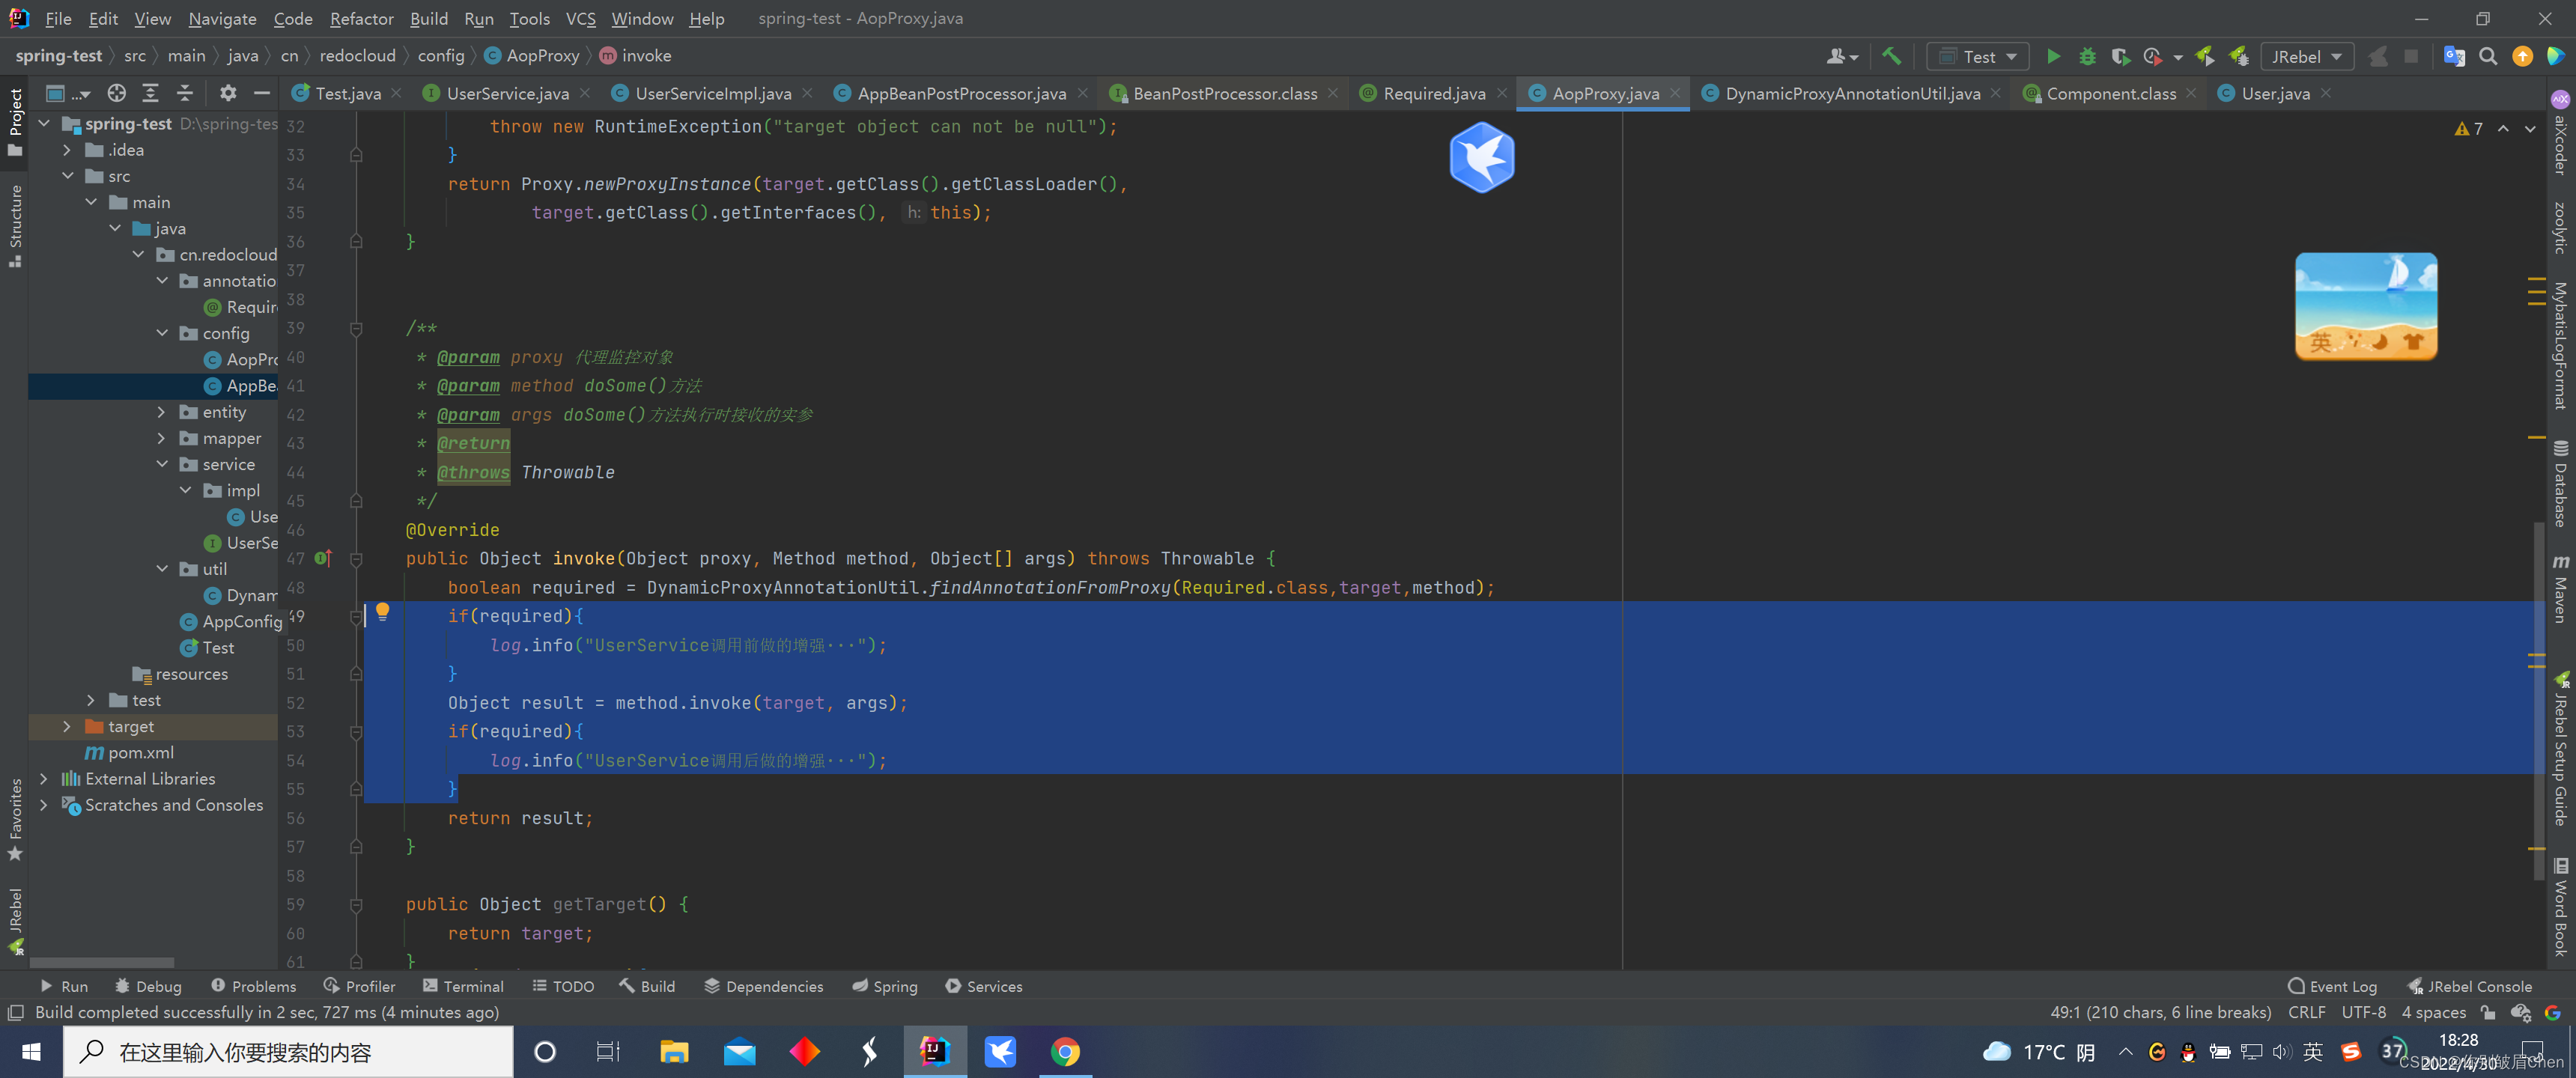
最后生成的代理类:
通过上面的运行结果,也就可以看出在AopProxy中加入的两个打印也生效了
由于UserServiceImpl方法中只有一个login方法,且加上了@Required注解,现在新增一个接口,测试下看是否会影响结果:
UserServiceImpl类新增方法
    @Override
    public String test() {
        log.info("test");
        return "test";
    }
此方法上没有添加我们自定义的注解@Required
修改测试类为如下
public class Test {
    public static void main(String[] args) {
        AnnotationConfigApplicationContext applicationContext = new AnnotationConfigApplicationContext(AppConfig.class);
        UserService userService = applicationContext.getBean(UserService.class);
//        userService.login("1800000000","123456");
        userService.test();
    }
}
执行结果
[main] INFO cn.redocloud.service.impl.UserServiceImpl - 这是UserServiceImpl构造方法,userMapper为null
[main] INFO cn.redocloud.service.impl.UserServiceImpl - 执行beanNameAware的setBeanName方法,Bean的名称为:userServiceImpl,userMapper为cn.redocloud.mapper.impl.UserMapperImpl@df27fae
[main] INFO cn.redocloud.service.impl.UserServiceImpl - 执行beanFactoryAware的setBeanFactory方法,userMapper为cn.redocloud.mapper.impl.UserMapperImpl@df27fae
[main] INFO cn.redocloud.service.impl.UserServiceImpl - 执行applicationContextAware接口的setApplicationContext方法,userMapper为cn.redocloud.mapper.impl.UserMapperImpl@df27fae
[main] INFO cn.redocloud.config.AppBeanPostProcessor - AppBeanPostProcessor=>postProcessBeforeInitialization:beanName userServiceImpl
[main] INFO cn.redocloud.service.impl.UserServiceImpl - 这是PostConstruct方法,userMapper为cn.redocloud.mapper.impl.UserMapperImpl@df27fae
[main] INFO cn.redocloud.service.impl.UserServiceImpl - 执行InitializingBean接口的初始化方法afterPropertiesSet,userMapper为cn.redocloud.mapper.impl.UserMapperImpl@df27fae
[main] INFO cn.redocloud.config.AppBeanPostProcessor - AppBeanPostProcessor=>postProcessAfterInitialization:beanName userServiceImpl,类名为 cn.redocloud.service.impl.UserServiceImpl
[main] INFO cn.redocloud.config.AppBeanPostProcessor - 代理类com.sun.proxy.$Proxy13
[main] INFO cn.redocloud.service.impl.UserServiceImpl - test
以上则说明没有@Required注解时,是不会通过我们编写的额外逻辑(Aop)的,Spring声明式事务的实现也许就是如此


