1.新建launch文件
nav05_path.launch
<launch>

    <node pkg="move_base" type="move_base" respawn="false" name="move_base" output="screen" clear_params="true">
        <rosparam file="$(find nav_demo)/param/costmap_common_params.yaml" command="load" ns="global_costmap" />
        <rosparam file="$(find nav_demo)/param/costmap_common_params.yaml" command="load" ns="local_costmap" />
        <rosparam file="$(find nav_demo)/param/local_costmap_params.yaml" command="load" />
        <rosparam file="$(find nav_demo)/param/global_costmap_params.yaml" command="load" />
        <rosparam file="$(find nav_demo)/param/base_local_planner_params.yaml" command="load" />
    </node>

</launch>
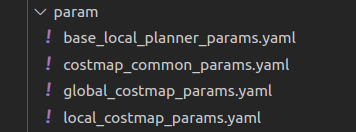
2.根据launch文件引用的 .yaml 文件路径还有名称,创建对应文件
costmap_common_params.yaml
local_costmap_params.yaml
global_costmap_params.yaml
base_local_planner_params.yaml
3.复制粘贴这些 .yaml 文件的内容
3.1costmap_common_params.yaml
该文件是move_base 在全局路径规划与本地路径规划时调用的通用参数,包括:机器人的尺寸、距离障碍物的安全距离、传感器信息等。配置参考如下:
#机器人几何参,如果机器人是圆形,设置 robot_radius,如果是其他形状设置 footprint
robot_radius: 0.12 #圆形
# footprint: [[-0.12, -0.12], [-0.12, 0.12], [0.12, 0.12], [0.12, -0.12]] #其他形状

obstacle_range: 3.0 # 用于障碍物探测,比如: 值为 3.0,意味着检测到距离小于 3 米的障碍物时,就会引入代价地图
raytrace_range: 3.5 # 用于清除障碍物,比如:值为 3.5,意味着清除代价地图中 3.5 米以外的障碍物


#膨胀半径,扩展在碰撞区域以外的代价区域,使得机器人规划路径避开障碍物
inflation_radius: 0.2
#代价比例系数,越大则代价值越小
cost_scaling_factor: 3.0

#地图类型
map_type: costmap
#导航包所需要的传感器
observation_sources: scan
#对传感器的坐标系和数据进行配置。这个也会用于代价地图添加和清除障碍物。例如,你可以用激光雷达传感器用于在代价地图添加障碍物,再添加kinect用于导航和清除障碍物。
scan: {sensor_frame: laser, data_type: LaserScan, topic: scan, marking: true, clearing: true}
3.2global_costmap_params.yaml
该文件用于全局代价地图参数设置:
global_costmap:
  global_frame: map #地图坐标系
  robot_base_frame: base_footprint #机器人坐标系
  # 以此实现坐标变换

  update_frequency: 1.0 #代价地图更新频率
  publish_frequency: 1.0 #代价地图的发布频率
  transform_tolerance: 0.5 #等待坐标变换发布信息的超时时间

  static_map: true # 是否使用一个地图或者地图服务器来初始化全局代价地图,如果不使用静态地图,这个参数为false.
3.3local_costmap_params.yaml
该文件用于局部代价地图参数设置:
local_costmap:
  global_frame: odom #里程计坐标系
  robot_base_frame: base_footprint #机器人坐标系

  update_frequency: 10.0 #代价地图更新频率
  publish_frequency: 10.0 #代价地图的发布频率
  transform_tolerance: 0.5 #等待坐标变换发布信息的超时时间

  static_map: false  #不需要静态地图,可以提升导航效果
  rolling_window: true #是否使用动态窗口,默认为false,在静态的全局地图中,地图不会变化
  width: 3 # 局部地图宽度 单位是 m
  height: 3 # 局部地图高度 单位是 m
  resolution: 0.05 # 局部地图分辨率 单位是 m,一般与静态地图分辨率保持一致
3.4base_local_planner_params
基本的局部规划器参数配置,这个配置文件设定了机器人的最大和最小速度限制值,也设定了加速度的阈值。
TrajectoryPlannerROS:

# Robot Configuration Parameters
  max_vel_x: 0.5 # X 方向最大速度
  min_vel_x: 0.1 # X 方向最小速速

  max_vel_theta:  1.0 #
  min_vel_theta: -1.0
  min_in_place_vel_theta: 1.0

  acc_lim_x: 1.0 # X 加速限制
  acc_lim_y: 0.0 # Y 加速限制
  acc_lim_theta: 0.6 # 角速度加速限制

# Goal Tolerance Parameters,目标公差
  xy_goal_tolerance: 0.10
  yaw_goal_tolerance: 0.05

# Differential-drive robot configuration
# 是否是全向移动机器人
  holonomic_robot: false

# Forward Simulation Parameters,前进模拟参数
  sim_time: 0.8
  vx_samples: 18
  vtheta_samples: 20
  sim_granularity: 0.05
4.launch文件集成
如果要实现导航,需要集成Gazebo仿真环境,地图服务、amcl 、move_base 与 Rviz 等,集成示例如下:
(为了省事,我把Gazebo仿真环境的launch文件也集成在这里了,没有按照教程说的单独启动,目前没有出现问题)
<launch>
    <!-- 集成Gazebo仿真环境 -->
    <include file="$(find urdf02_gazebo)/launch/deamo03_car_world.launch" />
    <!-- 设置地图的配置文件 -->
    <arg name="map" default="nav.yaml" />
    <!-- 运行地图服务器,并且加载设置的地图-->
    <include file="$(find nav_demo)/launch/nav03_map_server.launch" />
    <!-- <node name="map_server" pkg="map_server" type="map_server" args="$(find mycar_nav)/map/$(arg map)"/> -->
    <!-- 启动AMCL节点 -->
    <include file="$(find nav_demo)/launch/nv04_amcl.launch" />

    <!-- 运行move_base节点 -->
    <include file="$(find nav_demo)/launch/nav05_path.launch" />
    <!-- 运行rviz -->

    <node pkg="joint_state_publisher" name="joint_state_publisher" type="joint_state_publisher" />
    <node pkg="robot_state_publisher" name="robot_state_publisher" type="robot_state_publisher" />

    <node pkg="rviz" type="rviz" name="rviz" />
</launch>
5.运行查看效果
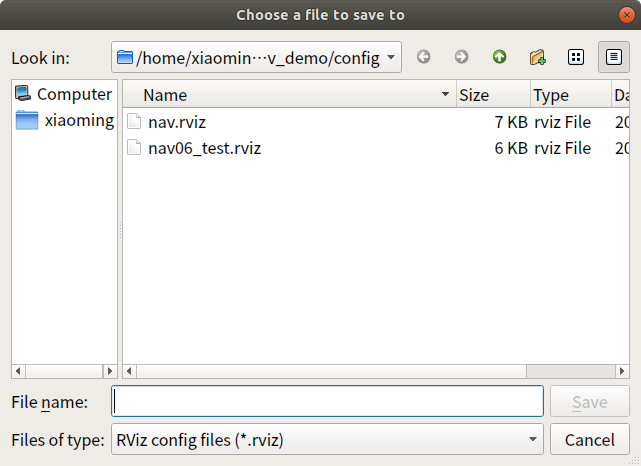
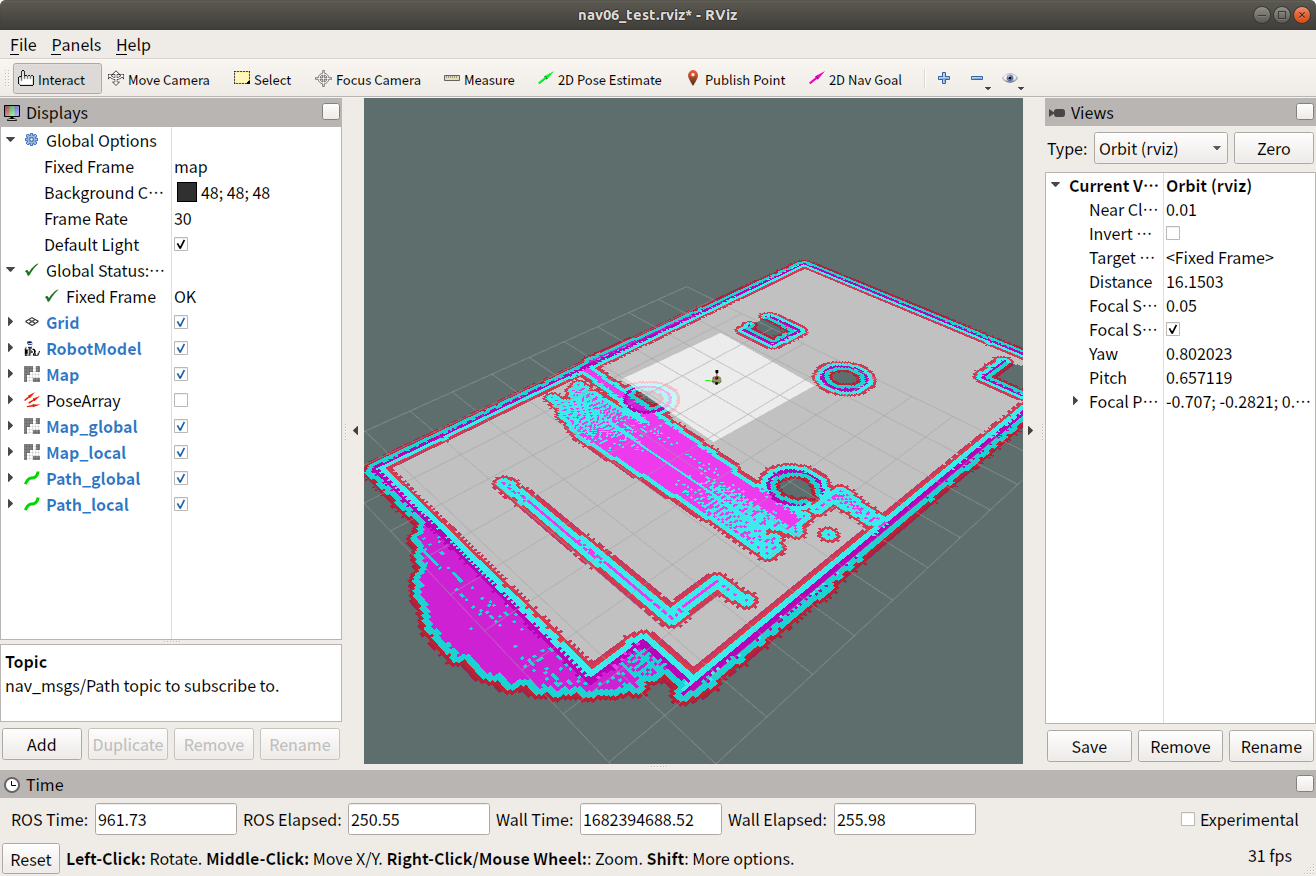
运行集大成的launch文件,在rviz里面添加需要的组件,保存rviz文件到工程文件夹里面
要注意的是在设置路径规划的组件的时候,全局路径规划的组件要选择
/move_base/NavfnROS/plan 话题
局部选择 /move_base/TrajectoryPlannerROS/local_plan 话题
把rviz添加完组件的的文件也集成到launch文件里
<launch>
    <!-- 集成Gazebo仿真环境 -->
    <include file="$(find urdf02_gazebo)/launch/deamo03_car_world.launch" />
    <!-- 设置地图的配置文件 -->
    <arg name="map" default="nav.yaml" />
    <!-- 运行地图服务器,并且加载设置的地图-->
    <include file="$(find nav_demo)/launch/nav03_map_server.launch" />
    <!-- <node name="map_server" pkg="map_server" type="map_server" args="$(find mycar_nav)/map/$(arg map)"/> -->
    <!-- 启动AMCL节点 -->
    <include file="$(find nav_demo)/launch/nv04_amcl.launch" />

    <!-- 运行move_base节点 -->
    <include file="$(find nav_demo)/launch/nav05_path.launch" />
    <!-- 运行rviz -->

    <node pkg="joint_state_publisher" name="joint_state_publisher" type="joint_state_publisher" />
    <node pkg="robot_state_publisher" name="robot_state_publisher" type="robot_state_publisher" />

    <node pkg="rviz" type="rviz" name="rviz" args="-d $(find nav_demo)/config/nav06_test.rviz"/>
</launch>


