链式二叉树详解
整个链式二叉树以递归定义为主,需要详细了解递归的相关概念:递归定义在第六条
最需要记住的是:递归定义中的return是退出到上一级,而不是整个程序
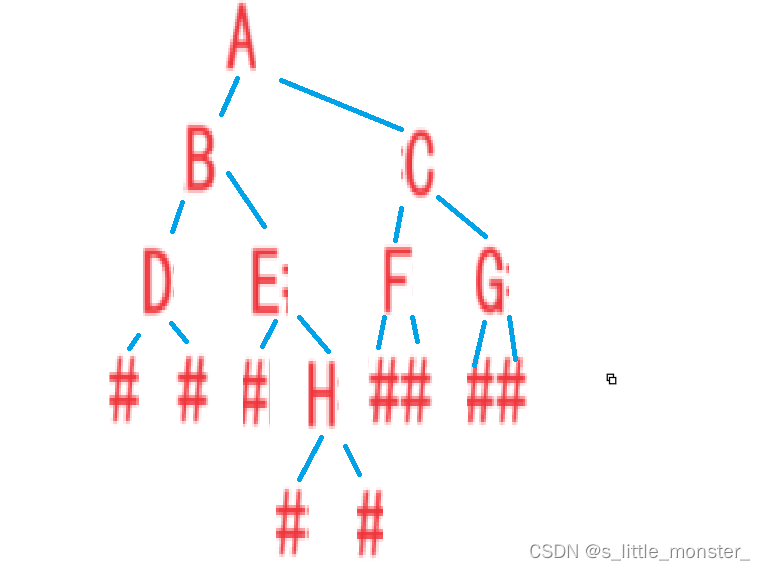
1、通过前序遍历的数组来构建二叉树
BTNode* BinaryTreeCreate(BTDataType* a,int n, int* pi)
{
    if (*pi >= n || a[*pi] == '#')
    {
   	    // 如果到达数组末尾或遇到#,则返回NULL
        (*pi)++;//移动到下一个数据
        return NULL;
    }
    BTNode* node = BuyNode(a[*pi]);
    (*pi)++; // 移动到下一个数据

    node->left = BinaryTreeCreate(a, n, pi); // 递归创建左子树
    node->right = BinaryTreeCreate(a, n, pi); // 递归创建右子树

    return node;
}
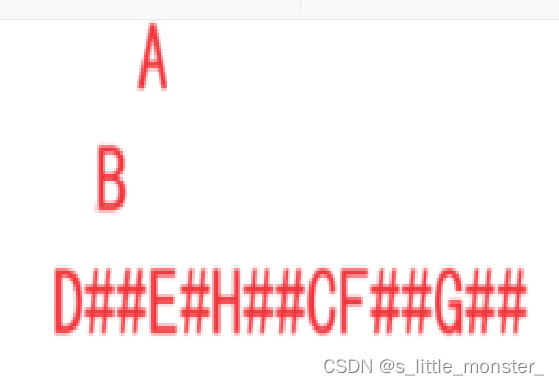
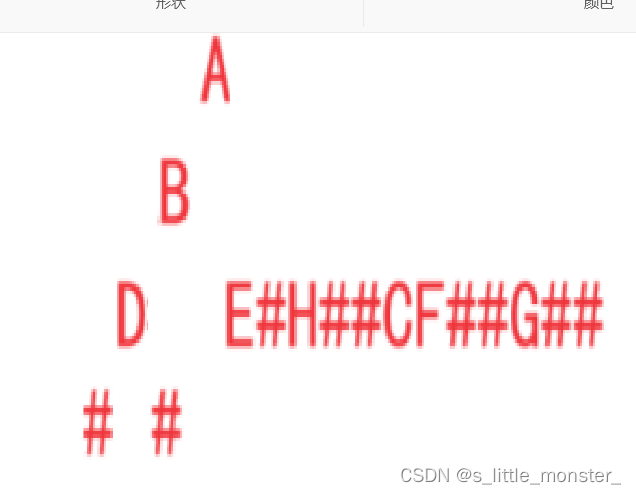
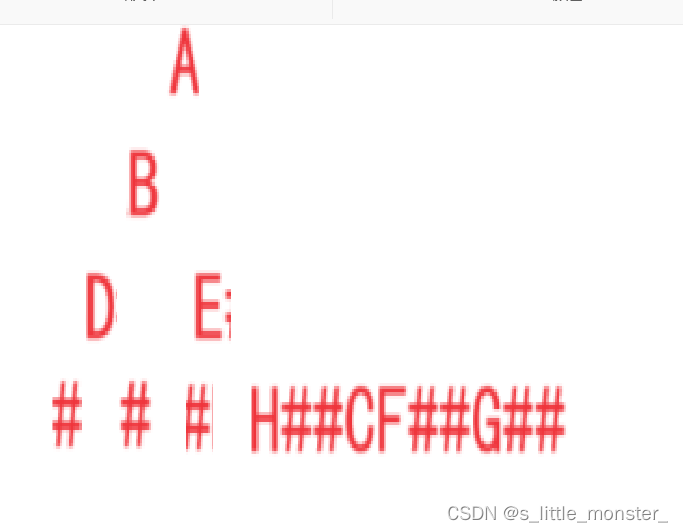
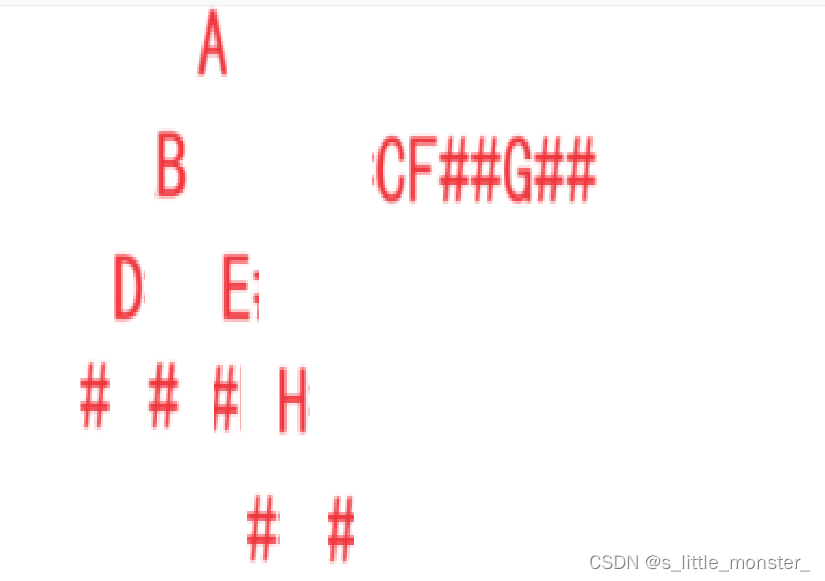
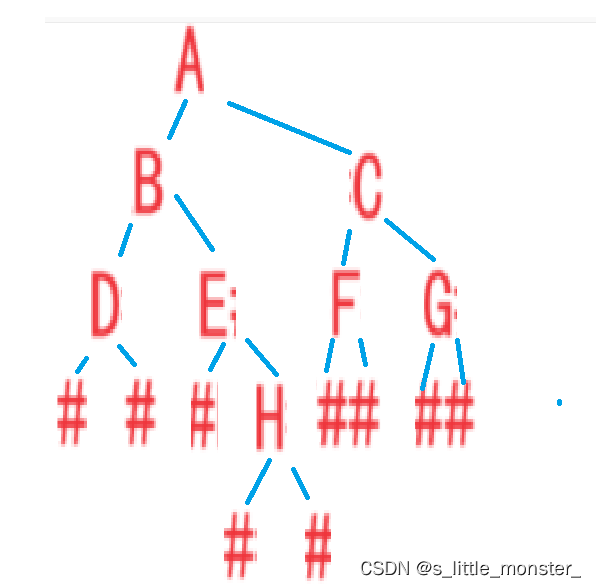
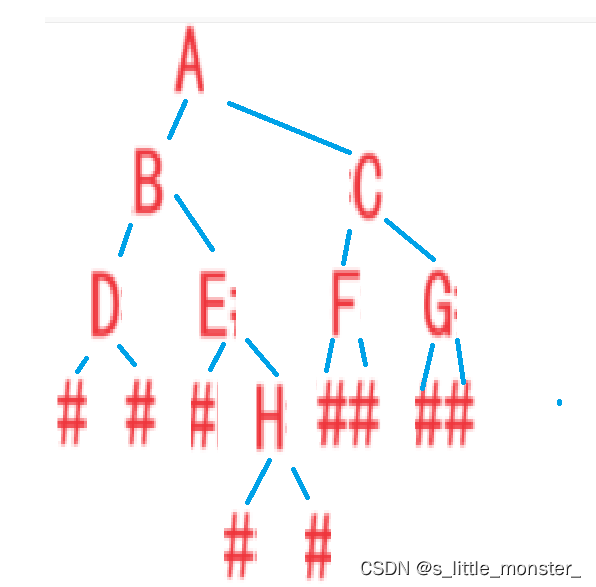
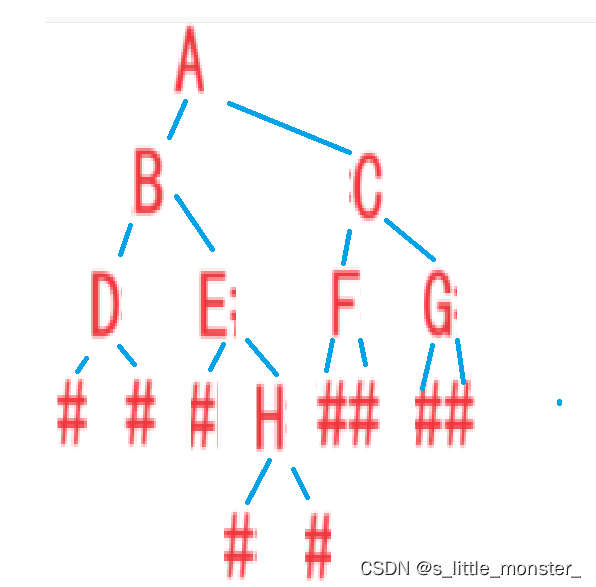
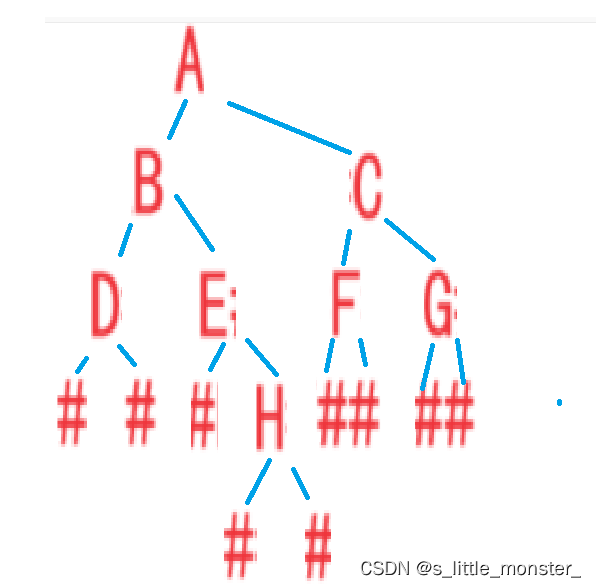
建树过程(部分过程省略):
2、二叉树的销毁
二叉树销毁是不能够从第一层开始销毁的,这样我们不能销毁所有的节点,从叶节点开始销毁,递归释放,才能销毁二叉树所有节点
void BinaryTreeDestory(BTNode* root)
{
	if (root == NULL)
		return;
	BinaryTreeDestory(root->left);//找到底层左节点
	BinaryTreeDestory(root->right);//找完左节点找右节点
	free(root);
}
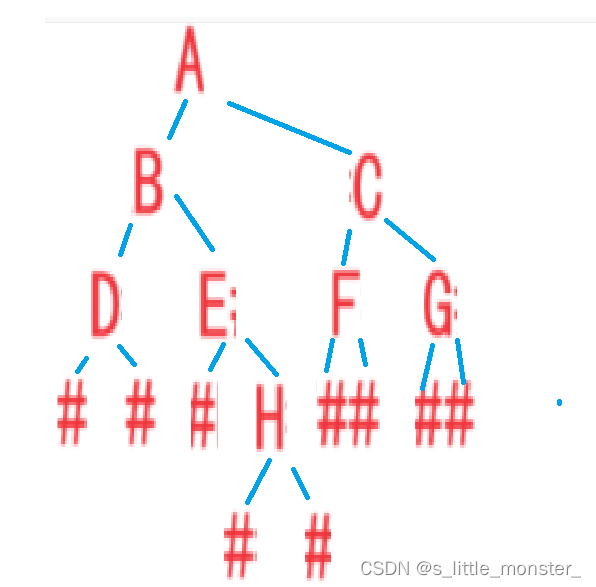
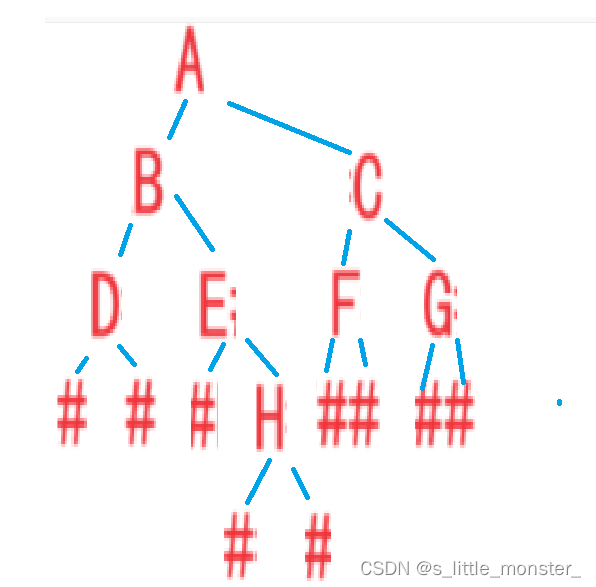
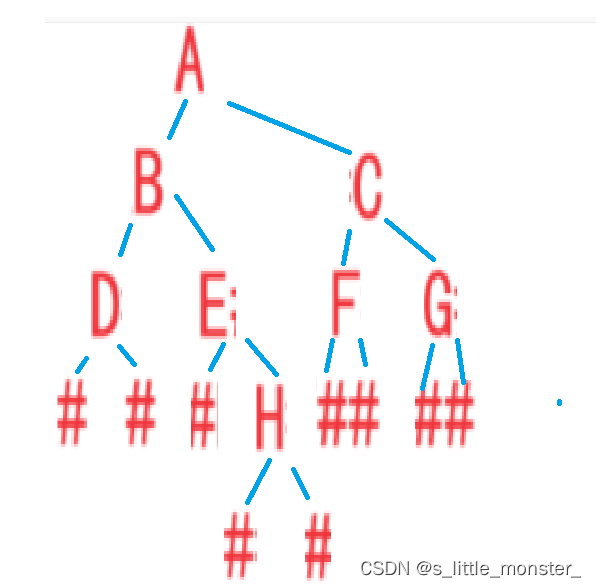
找到D的左子结点,是#返回,再找D的右节点,是#返回,然后释放掉D节点,此时B的root->left结束,进行root->right,以此类推,这样会从最底下的叶节点开始将所有节点释放
3、二叉树节点个数
int BinaryTreeSize(BTNode* root)
{
	//return root == NULL ? 0 : BinaryTreeSize(root->left) + BinaryTreeSize(root->right) + 1;
	if (root == NULL)
		return 0;
	return BinaryTreeSize(root->left) + BinaryTreeSize(root->right) + 1;
}
两种表达方式,一种是普通表达,另一种是三目表达
如果当前节点为空,返回0,如果左右子节点都遍历完了,将结果+1返回
递归走到D的左子结点,返回到D,return 0
右子节点,返回到D,return 0
函数走完返回到B,return 0+0+1
以此类推
4、二叉树叶子节点个数
int BinaryTreeLeafSize(BTNode* root)
{
	if (root == NULL)
		return 0;
	if (root->left == NULL && root->right == NULL)
		return 1;
	return BinaryTreeLeafSize(root->left) + BinaryTreeLeafSize(root->right);
}
当前节点为空时,返回0
当前节点不为空且左右子节点都为空时,说明该节点为叶节点,返回1
将左子树的叶节点与右子树的叶节点相加就是二叉树总共的叶子结点个数
A走到B,B走到D,D的左右节点都为空,D是叶子结点,返回1,返回到B
再走E的左子结点,为空,返回0,走E节点,E节点的左右子节点为空,为叶子节点返回1,以此类推
5、二叉树第k层节点个数
int BinaryTreeLevelKSize(BTNode* root, int k)
{
	assert(k > 0);
	if (root == NULL)
		return 0;
	if (k == 1)
		return 1;
	return BinaryTreeLevelKSize(root->left, k - 1) + BinaryTreeLevelKSize(root->right, k - 1);
}
当节点为0时,返回0
当k为1时,只有根节点,返回1
每次递归会使k减1,到第k层时k=1,然后就开始返回,这样递归的定义可以保证第k层的所有个数都可以算到
当我们想要求第三层的节点个数时,我们找到BC两棵子树,此时对于BC来说,它们需要找到它第二层的节点个数,再向下递归,此时k==1,将它们不为空的节点返回1
6、二叉树查找
BTNode* BinaryTreeFind(BTNode* root, BTDataType x)
{
	if (root == NULL)
		return NULL;
	if (root->data = x)
		return root;
	BTNode* ret1 = BinaryTreeFind(root->left, x);

	if (ret1)
		return ret1;//不为空就返回

	BTNode* ret2 = BinaryTreeFind(root->right, x);

	if (ret2)
		return ret2;//不为空就返回

	return NULL;
}
当节点为空时,返回空
当节点数据为想要查找的数据时,返回该节点指针
递归调用,当左子树中存在这个数时,ret1不为空,返回的就是那个值,右子树同上,都没有就返回空
7、前序遍历
void BinaryTreePrevOrder(BTNode* root)
{
	if (root == NULL)
	{
		printf("N ");
		return;
	}
	printf("%c ", root->data);
	BinaryTreePrevOrder(root->left);
	BinaryTreePrevOrder(root->right);
}
前序遍历的顺序:根节点->左子树->右子树
先将根节点A打印之后,递归到左子结点B,打印B,递归到B的左子结点D,打印D,D的左子节点为空,打印N,查看右子节点,也为空,打印N,返回到B,查看右子结点,打印E,以此类推
8、中序遍历
void BinaryTreeInOrder(BTNode* root)
{
	if (root == NULL)
	{
		printf("N ");
		return;
	}
	BinaryTreeInOrder(root->left);
	printf("%c ", root->data);
	BinaryTreeInOrder(root->right);
}
中序遍历顺序:左子树->根->右子树
A到B,B到D,D到最底的左子节点,为空,打印N,再打印根D,右子节点,为空,打印N,然后回到B看E,以此类推
9、后序遍历
void BinaryTreePostOrder(BTNode* root)
{
	if (root == NULL)
	{
		printf("N ");
		return;
	}
	BinaryTreeInOrder(root->left);
	BinaryTreeInOrder(root->right);
	printf("%c ", root->data);
}
后序遍历顺序:左子树->右子树->根
A到B,B到D,D到最底的左子节点,为空,打印N,看D的右子节点,为空,打印N,最后打印D
去到B的右子节点E,以此类推
10、层序遍历与检查二叉树是否为完全二叉树
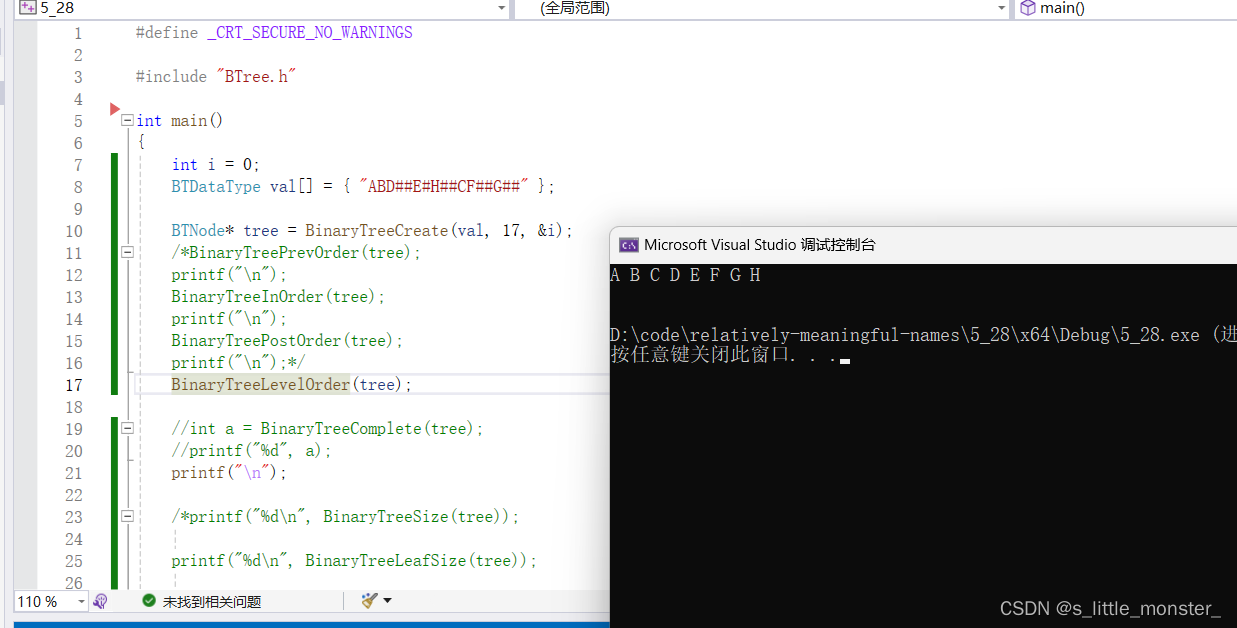
层序遍历即一层一层的遍历,从第一层开始,此时我们需要一个队列,因为队列可以实现先入先出,并且可以存储数据
Queue.h
#pragma once

#include <stdio.h>
#include <stdlib.h>
#include <assert.h>


typedef struct BinaryTreeNode* QDataType;

// 链式结构:表示队列
typedef struct QListNode
{
	struct QListNode* pNext;
	QDataType data;
}QNode;
// 队列的结构
typedef struct Queue
{
	QNode* front;
	QNode* rear;
	int size;
}Queue;
// 初始化队列
void QueueInit(Queue* q);
// 队尾入队列
void QueuePush(Queue* q, QDataType node);
// 队头出队列
void QueuePop(Queue* q);
// 获取队列头部元素
QDataType QueueFront(Queue* q);
// 检测队列是否为空,如果为空返回非零结果,如果非空返回0
int QueueEmpty(Queue* q);
// 销毁队列
void QueueDestroy(Queue* q);
Queue.c
队列我就不添加注释了,前边的文章-栈和队列中都有,可以自行翻阅
#include "Queue.h"


void QueueInit(Queue* q)
{
	assert(q);
	q->front = q->rear = NULL;
	q->size = 0;
}

void QueuePush(Queue* pq, QDataType x)
{
	assert(pq);

	QNode* newnode = (QNode*)malloc(sizeof(QNode));
	if (newnode == NULL)
	{
		perror("malloc fail\n");
		return;
	}
	newnode->data = x;
	newnode->pNext = NULL;
	if (pq->rear == NULL)
	{
		assert(pq->front == NULL);

		pq->front = pq->rear = newnode;
	}
	else
	{
		pq->rear->pNext = newnode;
		pq->rear = newnode;
	}
	pq->size++;
}

void QueuePop(Queue* q)
{
	assert(q);
	assert(!QueueEmpty(q));
	if (q->front->pNext == NULL)
	{
		free(q->front);
		q->front = q->rear = NULL;
	}
	else
	{
		QNode* next = q->front->pNext;
		free(q->front);
		q->front = next;
	}
	q->size--;
}

QDataType QueueFront(Queue* q)
{
	assert(q);
	assert(!QueueEmpty(q));
	if (q->front == NULL)
	{
		return NULL;
	}
	return q->front->data;
}

int QueueEmpty(Queue* q)
{
	assert(q);

	return q->size == 0;
}

void QueueDestroy(Queue* q)
{
	assert(q);
	QNode* pur = q->front;
	while (pur)
	{
		QNode* next = pur->pNext;
		free(pur);
		pur = next;
	}
	q->front = q->rear = NULL;
	q->size = 0;
}
层序遍历代码
void BinaryTreeLevelOrder(BTNode* root)
{
	Queue q;
	QueueInit(&q);

	if (root)
		QueuePush(&q, root);//把根节点作为队列的队头

	while (!QueueEmpty(&q))
	{
		BTNode* front = QueueFront(&q);
		//将要出队的队头数据存储一下
		QueuePop(&q);//将队头弹出

		printf("%c ", front->data);//打印被存储的队头数据

		if (front->left)
			QueuePush(&q, front->left);

		if (front->right)
			QueuePush(&q, front->right);
	}//从队头开始检查左右子节点,若不为空则添加入队
	printf("\n");
	QueueDestroy(&q);
}
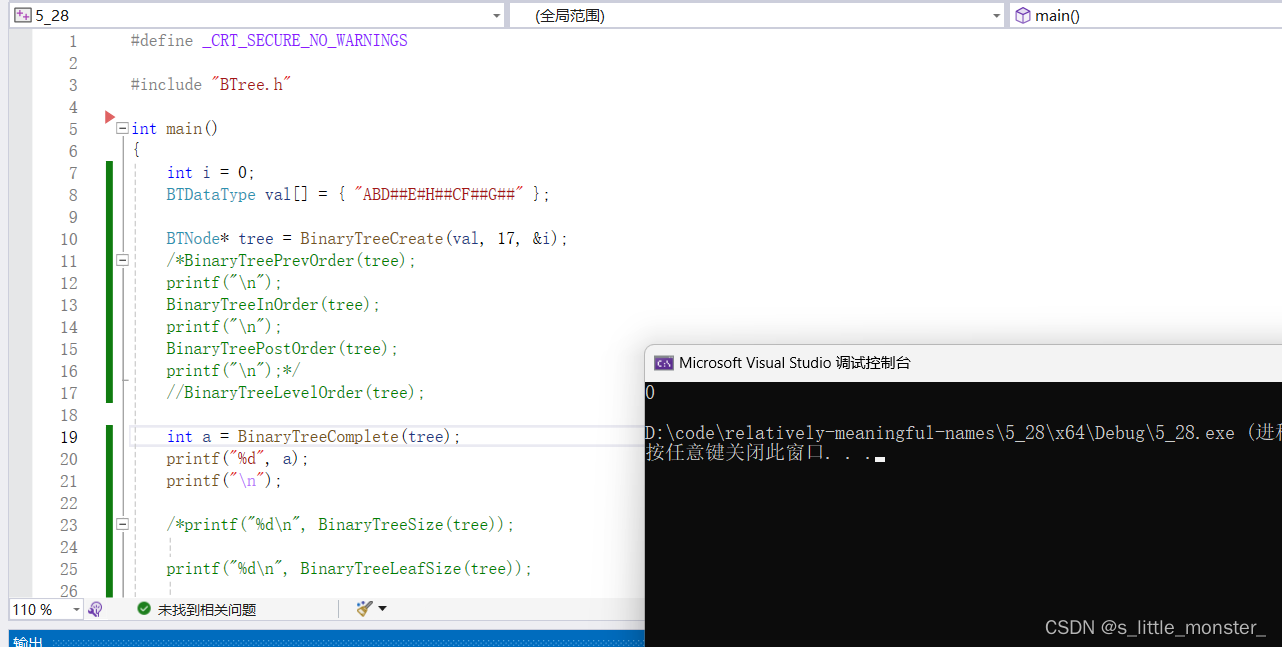
完全二叉树判断
int BinaryTreeComplete(BTNode* root)
{
	Queue q;
	QueueInit(&q);

	if (root)
		QueuePush(&q, root);

	while (!QueueEmpty(&q))
	{
		BTNode* front = QueueFront(&q);
		QueuePop(&q);
//到此的解释如上层序遍历同

		if (front == NULL)
			break;
// 遇到空就跳出,只要有空,后面也是空的话,那就是完全二叉树,如果后面不都为空,那么就不是
		QueuePush(&q, front->left);
		QueuePush(&q, front->right);
		//将空之前的数据全部入队
	}

	// 检查后面的节点有没有非空

	while (!QueueEmpty(&q))
	{
		BTNode* front = QueueFront(&q);
		QueuePop(&q);

		if (front)
		{
			QueueDestroy(&q);
			return 0;
		}
	}

	QueueDestroy(&q);
	return 1;
}
今日分享完毕,瑞思拜~
我的博客即将同步至腾讯云开发者社区,邀请大家一同入驻:https://cloud.tencent.com/developer/support-plan?invite_code=uh9vxxb2uwoi

