参考:canvas之放大镜效果_WHTGS的博客-CSDN博客_canvas 放大镜
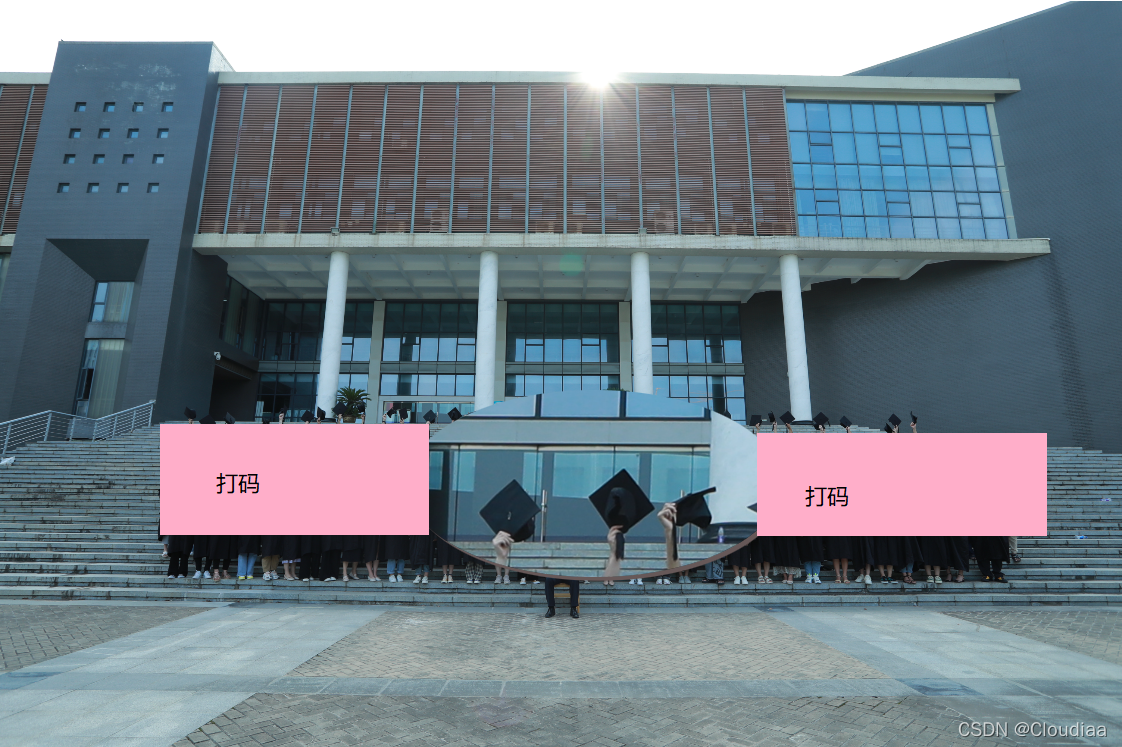
效果:
代码:
<!DOCTYPE html>
<html lang="en">

<head>
    <meta charset="UTF-8">
    <title>canvas_magnifier</title>
    <link rel="stylesheet" href="canvas_magnifier.css">

</head>

<body>
    <div>
        <canvas width="3000" height="2000" id="canvas1"></canvas>
        <canvas width="1000" height="500" id="canvas2"></canvas>
    </div>
    <script src="canvas_magnifier.js"></script>
</body>

</html>
div {
position: relative;
}
div canvas {
position: absolute;
left: 0;
top: 0;
margin: 0 auto;
}
div #canvas2 {
border-radius: 50%;
box-shadow: 10px 10px #665858;
}
var canvas1 = document.querySelector("#canvas1");
var canvas2 = document.querySelector("#canvas2");
var div = document.querySelector("div");
var ctx1 = canvas1.getContext('2d');
var ctx2 = canvas2.getContext('2d');

var img = new Image();
img.src = 'graduate2020.png';
img.addEventListener("load", loadHandler);

function loadHandler(e) {
    div.addEventListener("mousemove", mouseHandler)
        // 2、3参数决定开始剪切的x坐标位置、开始剪切的y坐标位置。
        // 3、4参数决定被剪切图像的宽度、高度。
    ctx1.drawImage(img, 0, 0, 3000, 2000);
}

function mouseHandler(e) {
    console.log(e.clientX, e.clientY);
    canvas2.style.left = e.clientX + 'px';
    canvas2.style.top = e.clientY + 'px';
    // 1、2参数决定要清除的矩形左上角的x坐标、y坐标。
    // 3、4参数决定要清除的矩形的宽度、高度,以像素计。
    ctx2.clearRect(0, 0, 1000, 500);
    // 5、6参数决定在画布上放置图像的 x、y 坐标位置。
    // 7、8参数决定要使用的图像的宽度、高度(伸展或缩小图像)。
    ctx2.drawImage(img, e.clientX * (img.width / 3000), e.clientY * (img.height / 2000), 1000, 500, 0, 0, 2000, 1000);
}
注意:
使用canvas时出现Uncaught TypeError: Cannot read property ‘getContext‘ of null 错误。
这是因为浏览器还没有加载htnml文件的时候就已经执行了文件。
