提供ViewPager与Fragment的简单实用方法,提供一个使用思路。
供初学者使用,不喜勿喷。
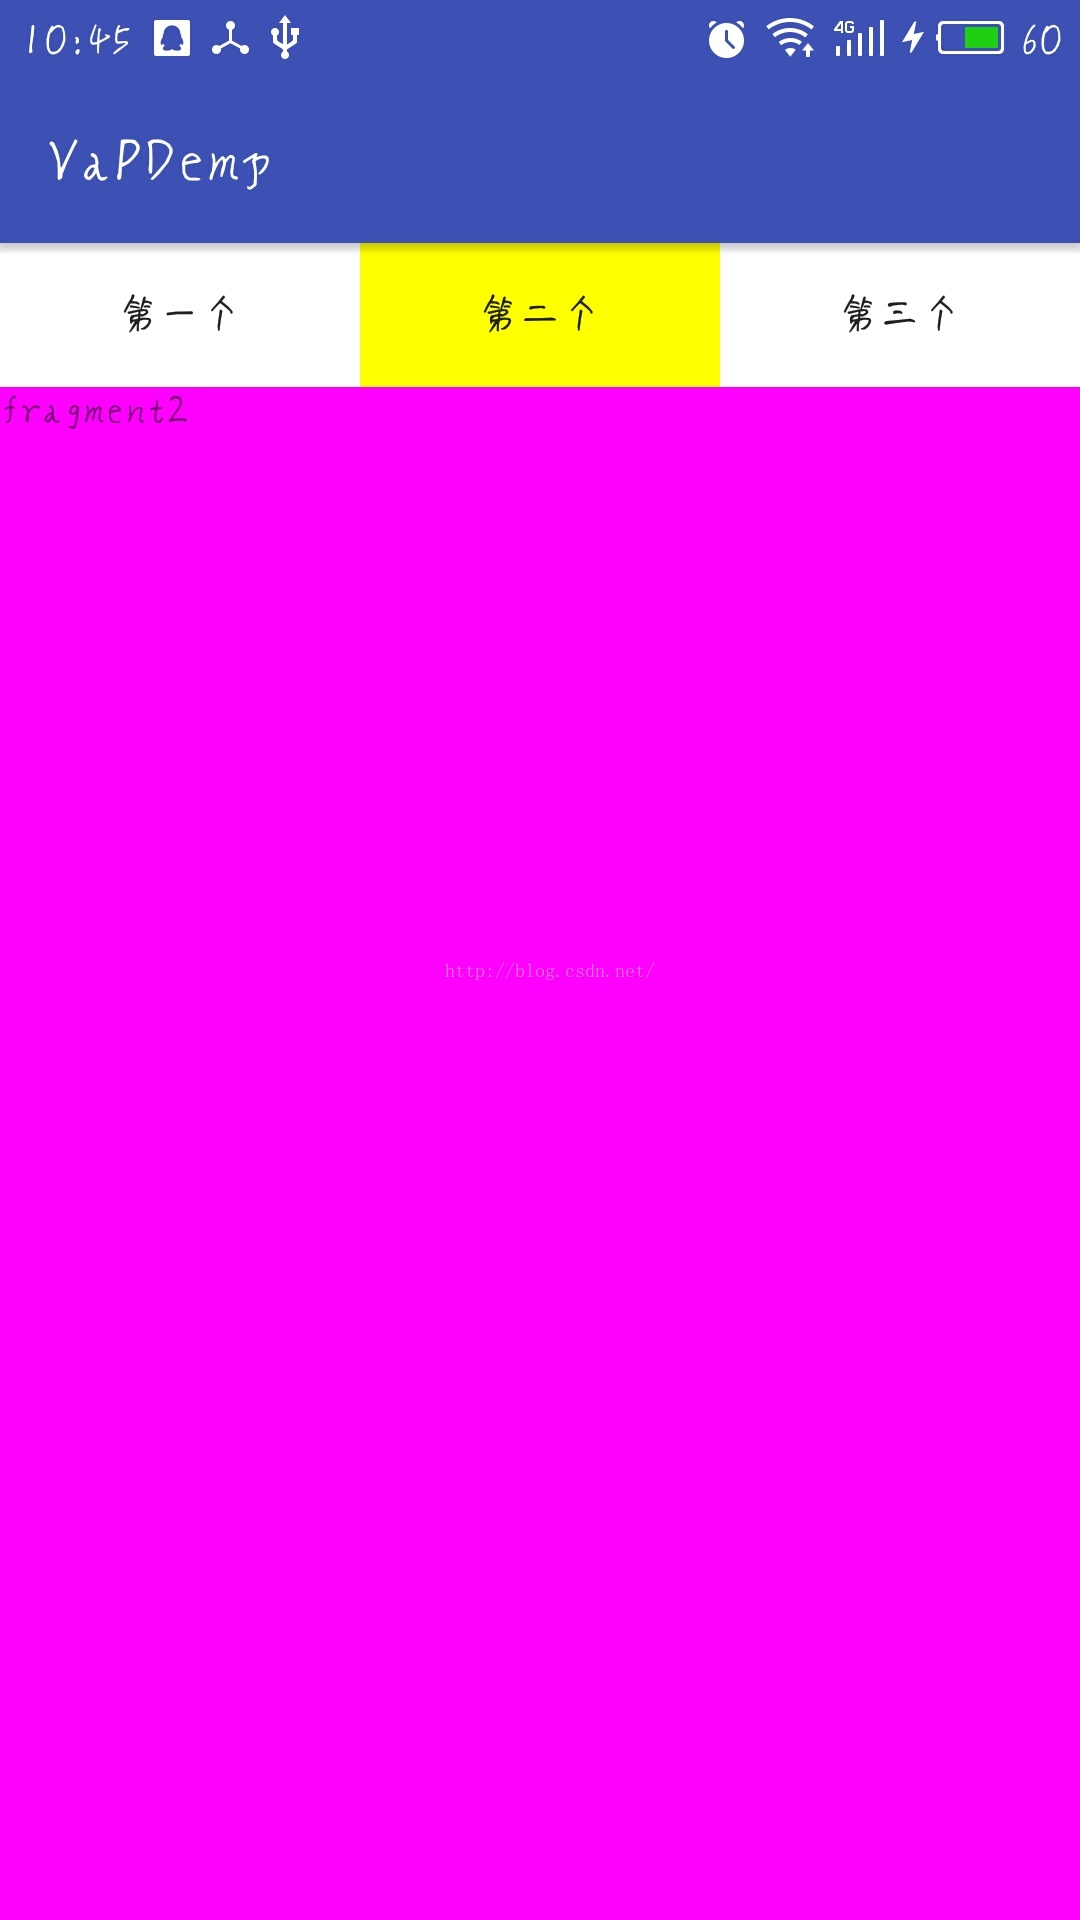
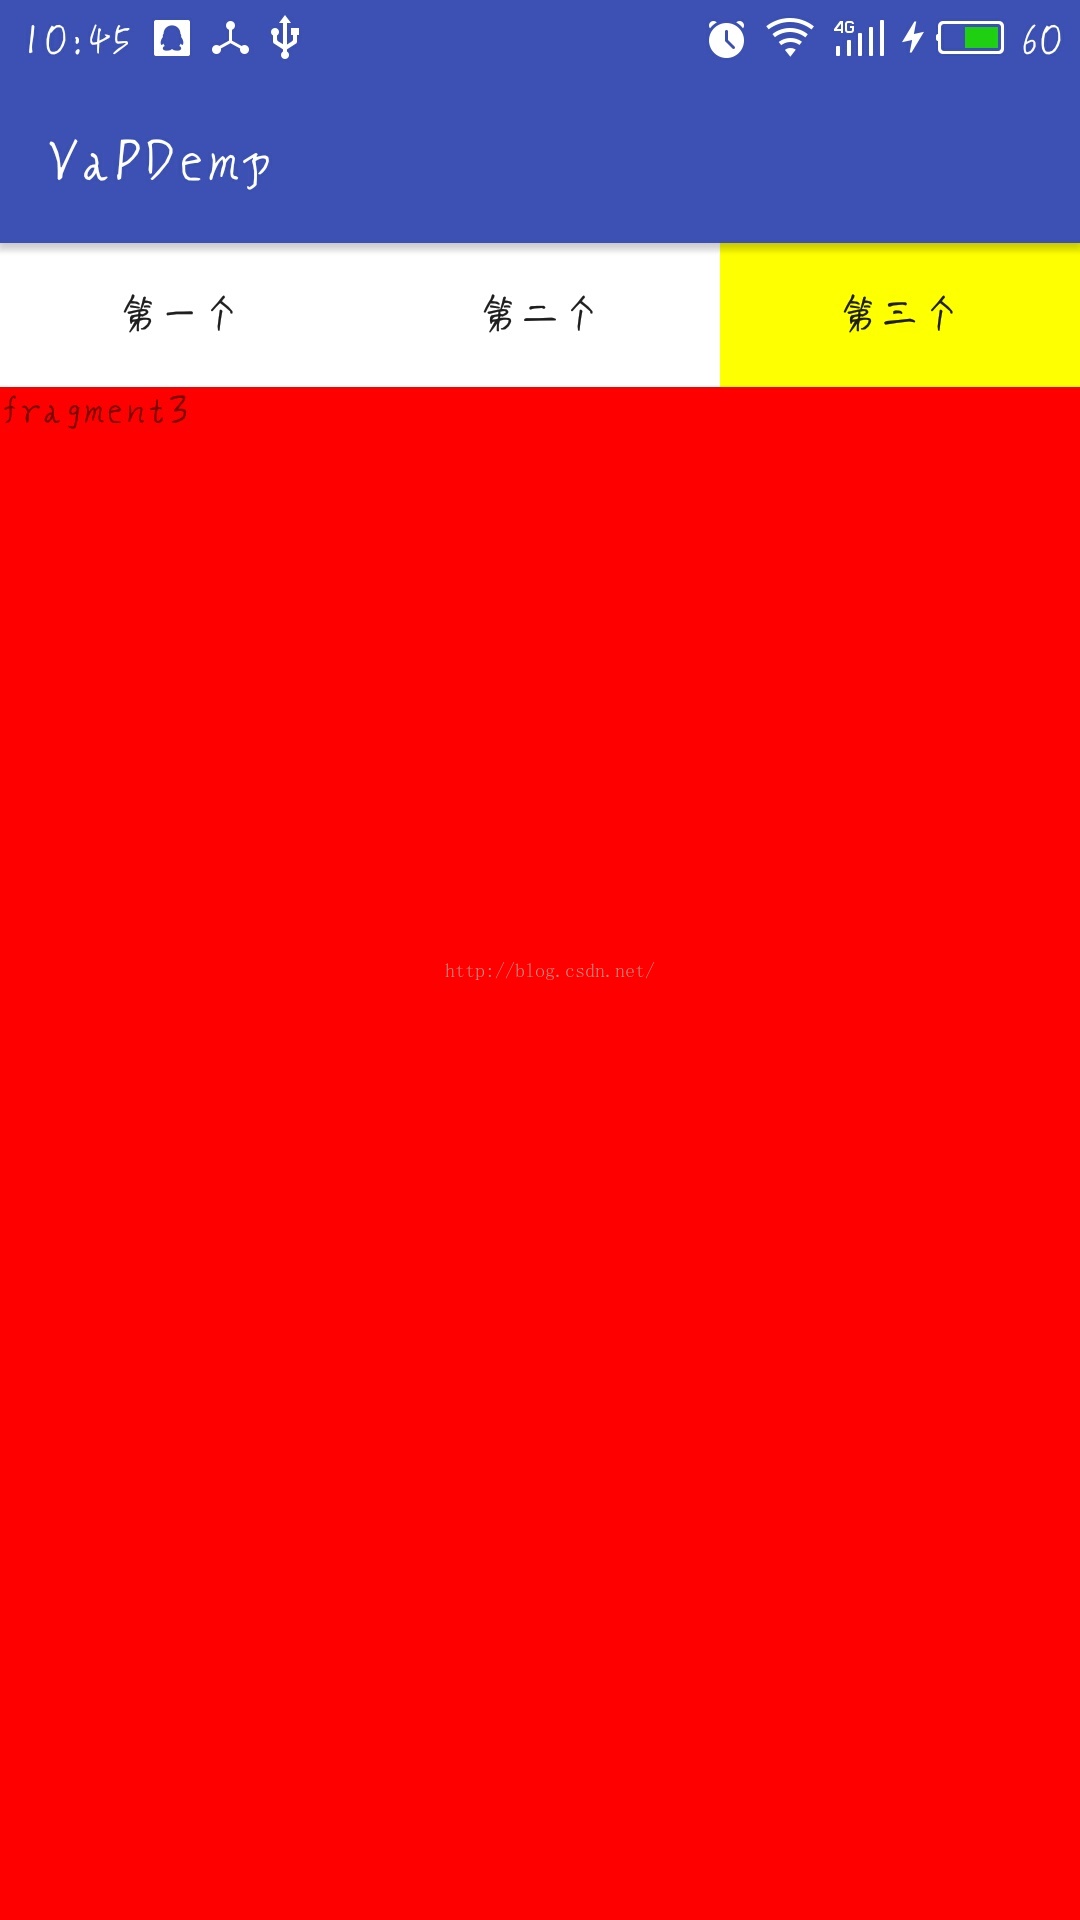
效果如下
使用方法:
1.首先我们要有自己的控件(这不是废话么!!)上边有三个按钮,下边放Viewpager
<RelativeLayout xmlns:android="http://schemas.android.com/apk/res/android"
    xmlns:tools="http://schemas.android.com/tools"
    android:layout_width="match_parent"
    android:layout_height="match_parent"
    tools:context="text.an.com.vapdemp.MainActivity">
    <LinearLayout
        android:layout_width="match_parent"
        android:layout_height="wrap_content"
        android:orientation="horizontal"
        android:id="@+id/linearLayout">
        <Button
            android:id="@+id/but1"
            android:layout_width="0dp"
            android:layout_height="wrap_content"
            android:layout_weight="1"
            android:background="#ff0"
            android:text="第一个"/>
        <Button
            android:id="@+id/but2"
            android:layout_width="0dp"
            android:layout_height="wrap_content"
            android:layout_weight="1"
            android:background="#fff"
            android:text="第二个"/>
        <Button
            android:id="@+id/but3"
            android:layout_width="0dp"
            android:layout_height="wrap_content"
            android:layout_weight="1"
            android:background="#fff"
            android:text="第三个"/>

    </LinearLayout>

    <android.support.v4.view.ViewPager
        android:layout_width="wrap_content"
        android:layout_height="wrap_content"
        android:id="@+id/vp"
        android:layout_below="@+id/linearLayout"
        android:layout_alignParentStart="true" />
</RelativeLayout>
2.适配自己的fragment,以便使用,这里我们只给一个简单的一个布局
----布局,只给一个简单的文本布局,再给一个北京就好了,可以自选颜色,
<LinearLayout xmlns:android="http://schemas.android.com/apk/res/android"
    android:layout_width="match_parent"
    android:layout_height="match_parent">
    <TextView
        android:id="@+id/fragment1"
        android:layout_width="match_parent"
        android:layout_height="match_parent"
        android:background="#ff0"
        android:text="fragment1"/>
</LinearLayout>
----代码示意,简单点容易了解
public class Fragment1 extends Fragment{

    private View view;

    @Nullable
    @Override
    public View onCreateView(LayoutInflater inflater, @Nullable ViewGroup container, @Nullable Bundle savedInstanceState) {
        view = inflater.inflate(R.layout.fragment1, container, false);
        return view;
    }
}
(1),创建适配器:viewPager.setAdapter(new FragmentPagerAdapter( getSupportFragmentManager())
切记,一定要加getSupportFragmentManager()
(2),重写里边的方法 在 getCount() 中返回的是Framgent的个数
在 getItem中条目展示类型.vp.setAdapter(new FragmentPagerAdapter(
getSupportFragmentManager()) {
//
@Override
public int getCount() {
return 3;
}
//条目展示类型.
@Override
public Fragment getItem(int position) {
Fragment fragment = null;
switch (position) {
case 0:
fragment = new Fragment1();
break;
case 1:
fragment = new Fragment2();
break;
case 2:
fragment = new Fragment3();
break;
}
return fragment;
}
});4.给每一个按钮一个点击事件,通过点击事件给边按钮的背景色,以及vp的item
    @Override
    public void onClick(View view) {
        switch (view.getId()){
            case R.id.but1:
                switchBut(1);
                vp.setCurrentItem(0);
                break;
            case R.id.but2:
                switchBut(2);
                vp.setCurrentItem(1);
                break;
            case R.id.but3:
                switchBut(3);
                vp.setCurrentItem(2);
                break;
        }
} private void switchBut(int i) {
switch (i){
case 1:
but1.setBackgroundColor(Color.YELLOW);
but2.setBackgroundColor(Color.WHITE);
but3.setBackgroundColor(Color.WHITE);
break;
case 2:
but1.setBackgroundColor(Color.WHITE);
but2.setBackgroundColor(Color.YELLOW);
but3.setBackgroundColor(Color.WHITE);
break;
case 3:
but1.setBackgroundColor(Color.WHITE);
but2.setBackgroundColor(Color.WHITE);
but3.setBackgroundColor(Color.YELLOW);
break;
}
}5.给ViewPager一个监听事件
vp.setOnPageChangeListener(new ViewPager.OnPageChangeListener() {
            @Override
            public void onPageScrolled(int position, float positionOffset, int positionOffsetPixels) {
            }
            @Override
            public void onPageSelected(int position) {
                switch (position){
                    case 0:
                        switchBut(1);
                        break;
                    case 1:
                        switchBut(2);
                        break;
                    case 2:
                        switchBut(3);
                        break;
                }
            }
            @Override
            public void onPageScrollStateChanged(int state) {

            }
        });