前言
本文软件由网友
P家单推人推荐;
网友月初就推荐了,但当时还没有出官方镜像,就暂时搁置了几天。现在虽然已经有了,似乎也不是很稳定,按官方的说法
Note: We are in early stages of development and do not support self hosting yet. You can run Maxun locally.
但老苏难以按捺折腾的冲动,周末抽空研究了一下,过程有点复杂,但基本上跑起来是没问题的
不过老苏不建议大家现在就折腾,还是等相对成熟一点再说吧
简介
什么是 Maxun ?
Maxun是一个开源的无代码网络数据提取平台,旨在让用户能够轻松地将网站转化为API和电子表格。
主要特点:
- 无代码解决方案:用户无需编写代码即可创建数据提取机器人,快速实现网络数据抓取。
- 自动化:用户可以训练机器人在几分钟内自动执行数据提取,支持定期调度任务。
- 多种提取方式:机器人可以执行多种操作,包括捕获列表、文本和截图。
- 支持代理:用户可以连接外部代理,以绕过反机器人保护。
- 云服务:
Maxun提供托管云版本,用户可以在不管理基础设施的情况下进行大规模数据提取。
安装
在群晖上以 Docker 方式安装。
虽然说是采用 docker 部署,但第一步还是需要下载 Maxun 的源码
下载代码
群晖上下载源码,首先需要有 Git 客户端,不管是用套件还是容器都可以
文章传送门:在群晖上安装Git客户端
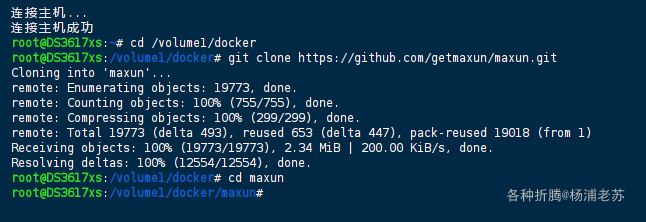
下载代码的步骤如下
# 进入 docker 目录
cd /volume1/docker

# 下载源码
git clone https://github.com/getmaxun/maxun.git

# 进行 maxun 目录
cd maxun
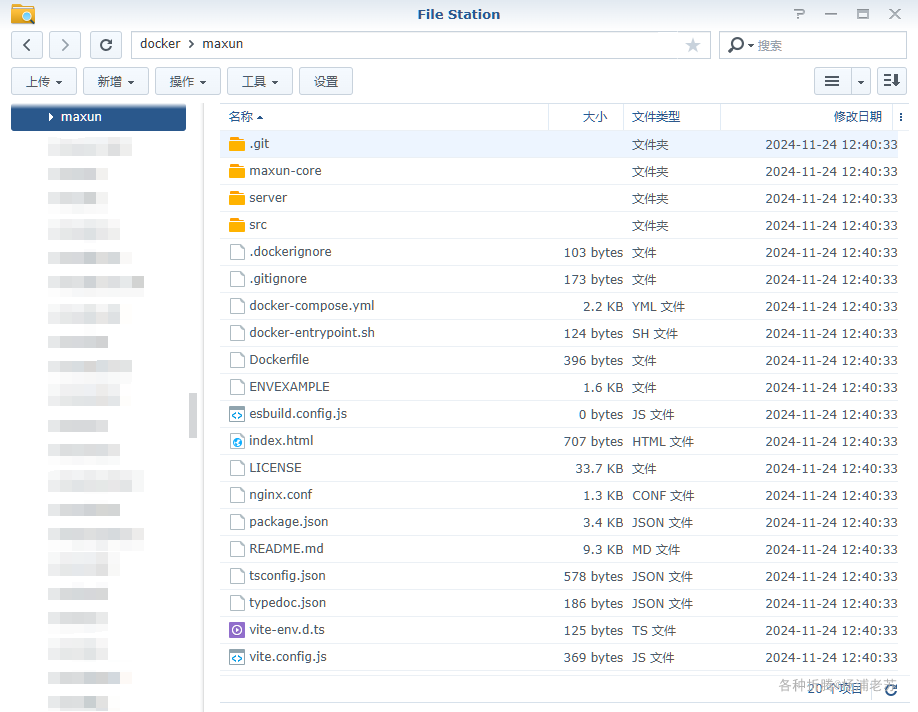
在 FileStation 中查看
修改文件
在开始运行前,还需要做一些必要的修改
env.txt
为了方便编辑,老苏将 ENVEXAMPLE改名为了 env.txt。这是环境变量文件,包括了 Maxun 相关的设置
# App Setup
NODE_ENV=production                     # Set to 'development' or 'production' as required
JWT_SECRET=a9Z$kLq7^f03GzNw!bP9dH4xV6sT2yXl3O8vR@uYq3          # Replace with a secure JWT secret key
DB_NAME=maxun                           # Your PostgreSQL database name
DB_USER=postgres                        # PostgreSQL username
DB_PASSWORD=postgres                    # PostgreSQL password
DB_HOST=postgres                        # Host for PostgreSQL in Docker
DB_PORT=5432                            # Port for PostgreSQL (default: 5432)
ENCRYPTION_KEY=f4d5e6a7b8c9d0e1f23456789abcdef01234567890abcdef123456789abcdef0      # Key for encrypting sensitive data (passwords and proxies)
MINIO_ENDPOINT=minio                    # MinIO endpoint in Docker
MINIO_PORT=9000                         # Port for MinIO (default: 9000)
MINIO_ACCESS_KEY=minio_access_key       # MinIO access key
MINIO_SECRET_KEY=minio_secret_key       # MinIO secret key
REDIS_HOST=redis                        # Redis host in Docker
REDIS_PORT=6379                         # Redis port (default: 6379)

# Backend URLs
BACKEND_URL=http://192.168.0.197:5174        # Internal URL for backend service
VITE_BACKEND_URL=http://192.168.0.197:5174   # URL used by frontend to connect to backend

# Optional Google OAuth settings for Google Sheet Integration
GOOGLE_CLIENT_ID=your_google_client_id
GOOGLE_CLIENT_SECRET=your_google_client_secret
GOOGLE_REDIRECT_URI=your_google_redirect_uri

# Telemetry Settings - Please keep it enabled. Keeping it enabled helps us understand how the product is used and assess the impact of any new changes.
MAXUN_TELEMETRY=true
其中老苏只修改了两处:
BACKEND_URL:从http://localhost:8080改为了http://192.168.0.197:5174。其中192.168.0.197为群晖主机IP,而5174则是准备给Maxun的Web端口,具体可以看docker-compose.yml部分;VITE_BACKEND_URL:和BACKEND_URL是一样的;
关于环境变量的含义,可以参考官方文档:https://github.com/getmaxun/maxun#environment-variables
nginx.conf
nginx.conf 是 nginx 的配置文件。老苏主要修改了三处
- 新增了
http{}及其他; - 修改了
location / {}部分; - 新增了
location /login和location /register;
#user  nobody;
worker_processes  1;

#error_log  logs/error.log;
#error_log  logs/error.log  notice;
#error_log  logs/error.log  info;

#pid        logs/nginx.pid;

events {
    worker_connections  1024;
}

http {
    server {
    listen 80;

    location / {
        proxy_pass http://frontend:5173;
        proxy_http_version 1.1;
        proxy_set_header Upgrade $http_upgrade;
        proxy_set_header Connection 'upgrade';
        proxy_set_header Host $host;
        proxy_cache_bypass $http_upgrade;
    }

    location /login {
        proxy_pass http://frontend:5173;
        proxy_http_version 1.1;
        proxy_set_header Upgrade $http_upgrade;
        proxy_set_header Connection 'upgrade';
        proxy_set_header Host $host;
        proxy_cache_bypass $http_upgrade;
    }

    location /register {
        proxy_pass http://frontend:5173;
        proxy_http_version 1.1;
        proxy_set_header Upgrade $http_upgrade;
        proxy_set_header Connection 'upgrade';
        proxy_set_header Host $host;
        proxy_cache_bypass $http_upgrade;
    }

    location /api {
        proxy_pass http://backend:8080;
        proxy_http_version 1.1;
        proxy_set_header Upgrade $http_upgrade;
        proxy_set_header Connection 'upgrade';
        proxy_set_header Host $host;
        proxy_cache_bypass $http_upgrade;

        # Add timeout configurations
        proxy_connect_timeout 60s;
        proxy_send_timeout 60s;
        proxy_read_timeout 60s;

        # Add error handling
        proxy_intercept_errors on;
        error_page 502 503 504 /50x.html;
    }

    location ~ ^/(record|workflow|storage|auth|integration|proxy|api-docs|recording|socket.io) {
        proxy_pass http://backend:8080;
        proxy_http_version 1.1;
        proxy_set_header Upgrade $http_upgrade;
        proxy_set_header Connection 'keep-alive';  # Ensure connections remain open
        proxy_set_header Connection 'upgrade';
        proxy_set_header Host $host;
        proxy_cache_bypass $http_upgrade;

        # Timeout configurations
        proxy_connect_timeout 60s;
        proxy_send_timeout 60s;
        proxy_read_timeout 60s;

        # Error handling for these routes
        proxy_intercept_errors on;
        error_page 502 503 504 /50x.html;
    }
    }
}
docker-compose.yml
docker-compose.yml 需要按下面的今天调整,除了微调的部分外,新增了 nginx 容器
version: '3.8'

services:
  postgres:
    image: postgres:13
    container_name: maxun-db
    environment:
      POSTGRES_USER: ${DB_USER}
      POSTGRES_PASSWORD: ${DB_PASSWORD}
      POSTGRES_DB: ${DB_NAME}
    # ports:
    #   - "5432:5432"
    volumes:
      - ./pdata:/var/lib/postgresql/data
    healthcheck:
      test: ["CMD-SHELL", "pg_isready -U postgres"]
      interval: 10s
      timeout: 5s
      retries: 5

  redis:
    image: redis:6
    container_name: maxun-redis
    environment:
      REDIS_HOST: ${REDIS_HOST}
      REDIS_PORT: ${REDIS_PORT}
    # ports:
    #   - "6379:6379"
    volumes:
      - ./rdata:/data

  minio:
    image: minio/minio
    container_name: maxun-minio
    environment:
      MINIO_ROOT_USER: ${MINIO_ACCESS_KEY}
      MINIO_ROOT_PASSWORD: ${MINIO_SECRET_KEY}
    command: server /data --console-address :9001
    # ports:
    #   - "9000:9000"  # API port
    #   - "9001:9001"  # WebUI port
    volumes:
      - ./mdata:/data

  backend:
    image: getmaxun/maxun-backend:v0.0.2
    container_name: maxun-backend
    # ports:
    #   - "8750:8080"
    env_file: env.txt
    environment:
      # to ensure Playwright works in Docker
      PLAYWRIGHT_BROWSERS_PATH: /ms-playwright
      PLAYWRIGHT_SKIP_BROWSER_DOWNLOAD: 0
      # DEBUG: pw:api
      # PWDEBUG: 1  # Enables debugging
      CHROMIUM_FLAGS: '--disable-gpu --no-sandbox --headless=new'
    security_opt:
    - seccomp=unconfined  # This might help with browser sandbox issues
    # Increase shared memory size for Chromium
    shm_size: '2gb'
    mem_limit: 2g  # Set a 2GB memory limit
    depends_on:
      - postgres
      - redis
      - minio
    volumes:
      - ./server:/app/server      # Mount server source code for hot reloading
      - ./maxun-core:/app/maxun-core  # Mount maxun-core for any shared code updates
      - /var/run/dbus:/var/run/dbus

  frontend:
    image: getmaxun/maxun-frontend:v0.0.1
    container_name: maxun-frontend
    # ports:
    #  - "5173:5173"
    env_file: env.txt
    volumes:
      - ./:/app             # Mount entire frontend app directory for hot reloading
      - /app/node_modules    # Anonymous volume to prevent overwriting node_modules
    depends_on:
      - backend

  nginx:
    image: nginx:alpine
    container_name: maxun-nginx
    ports:
      - "5174:80"
    volumes:
      - ./nginx.conf:/etc/nginx/nginx.conf
    depends_on:
      - frontend
      - backend
启动
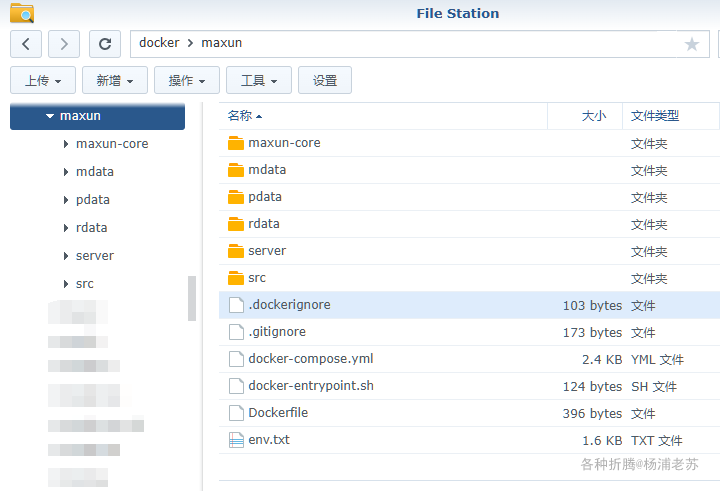
然后执行下面的命令,再新建 3 个目录,分别用于持久化数据库等
# 新建文件夹 maxun 和 子目录
mkdir -p /volume1/docker/maxun/{mdata,pdata,rdata}

# 进入 maxun 目录
cd /volume1/docker/maxun

# 一键启动
docker-compose --env-file env.txt up -d
涉及镜像较多,执行启动过程也比较长,如果出现超时,可以通过命令,避免出现下面的情况
# 设置 Docker Compose 在与 Docker daemon 交互时的超时时间
export COMPOSE_HTTP_TIMEOUT=6000
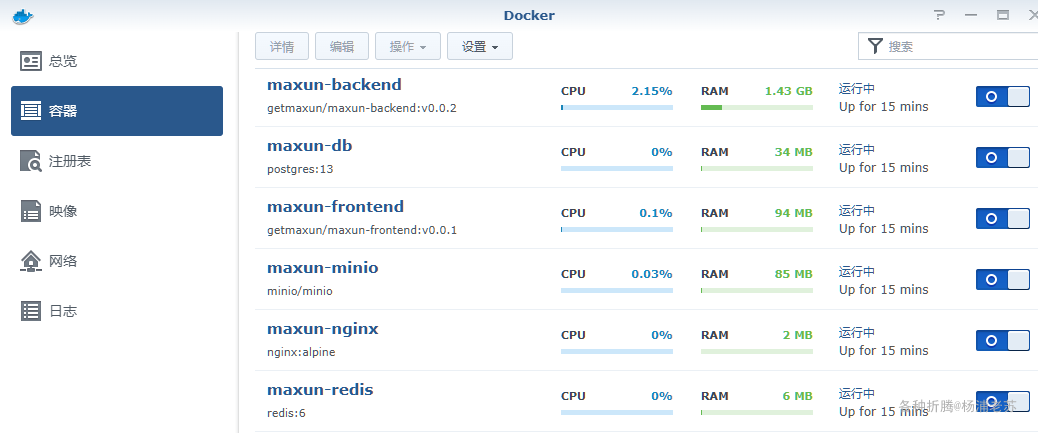
如果没意外的话,会启动 6 个容器
如果某个容器不能启动,可以看看详细的日志
运行
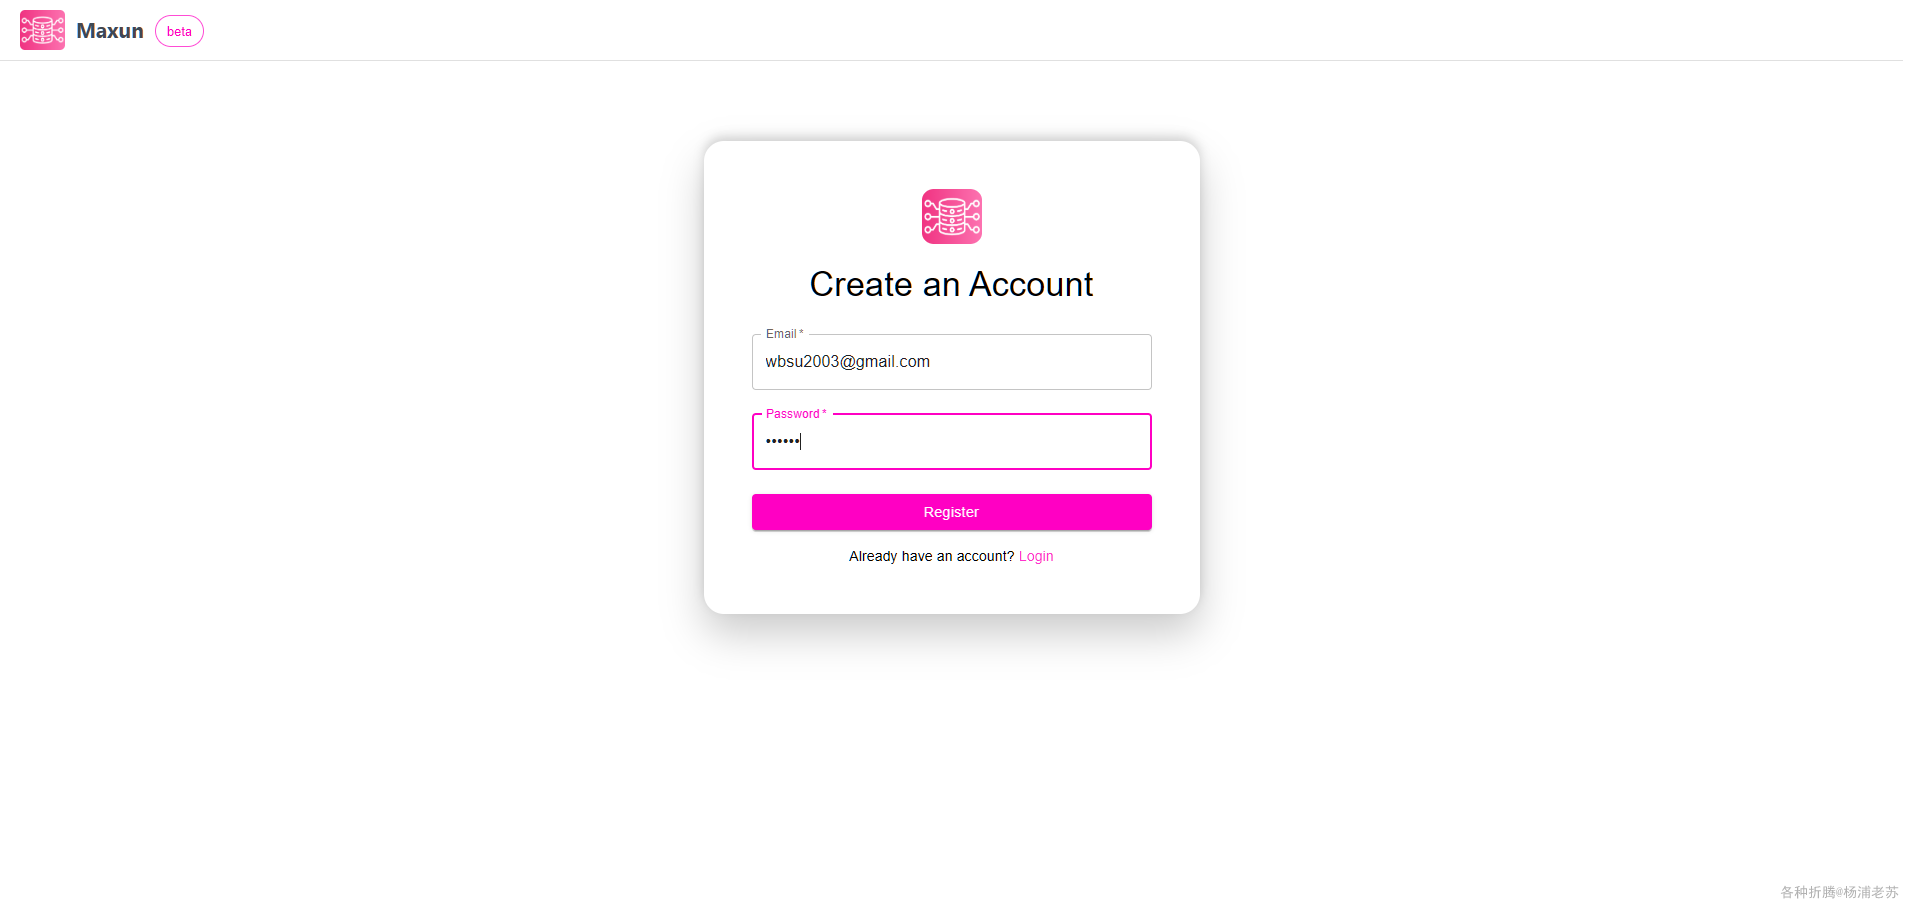
在浏览器中输入 http://群晖IP:5174 就能看到登录界面
第一次需要点 Register 注册账号
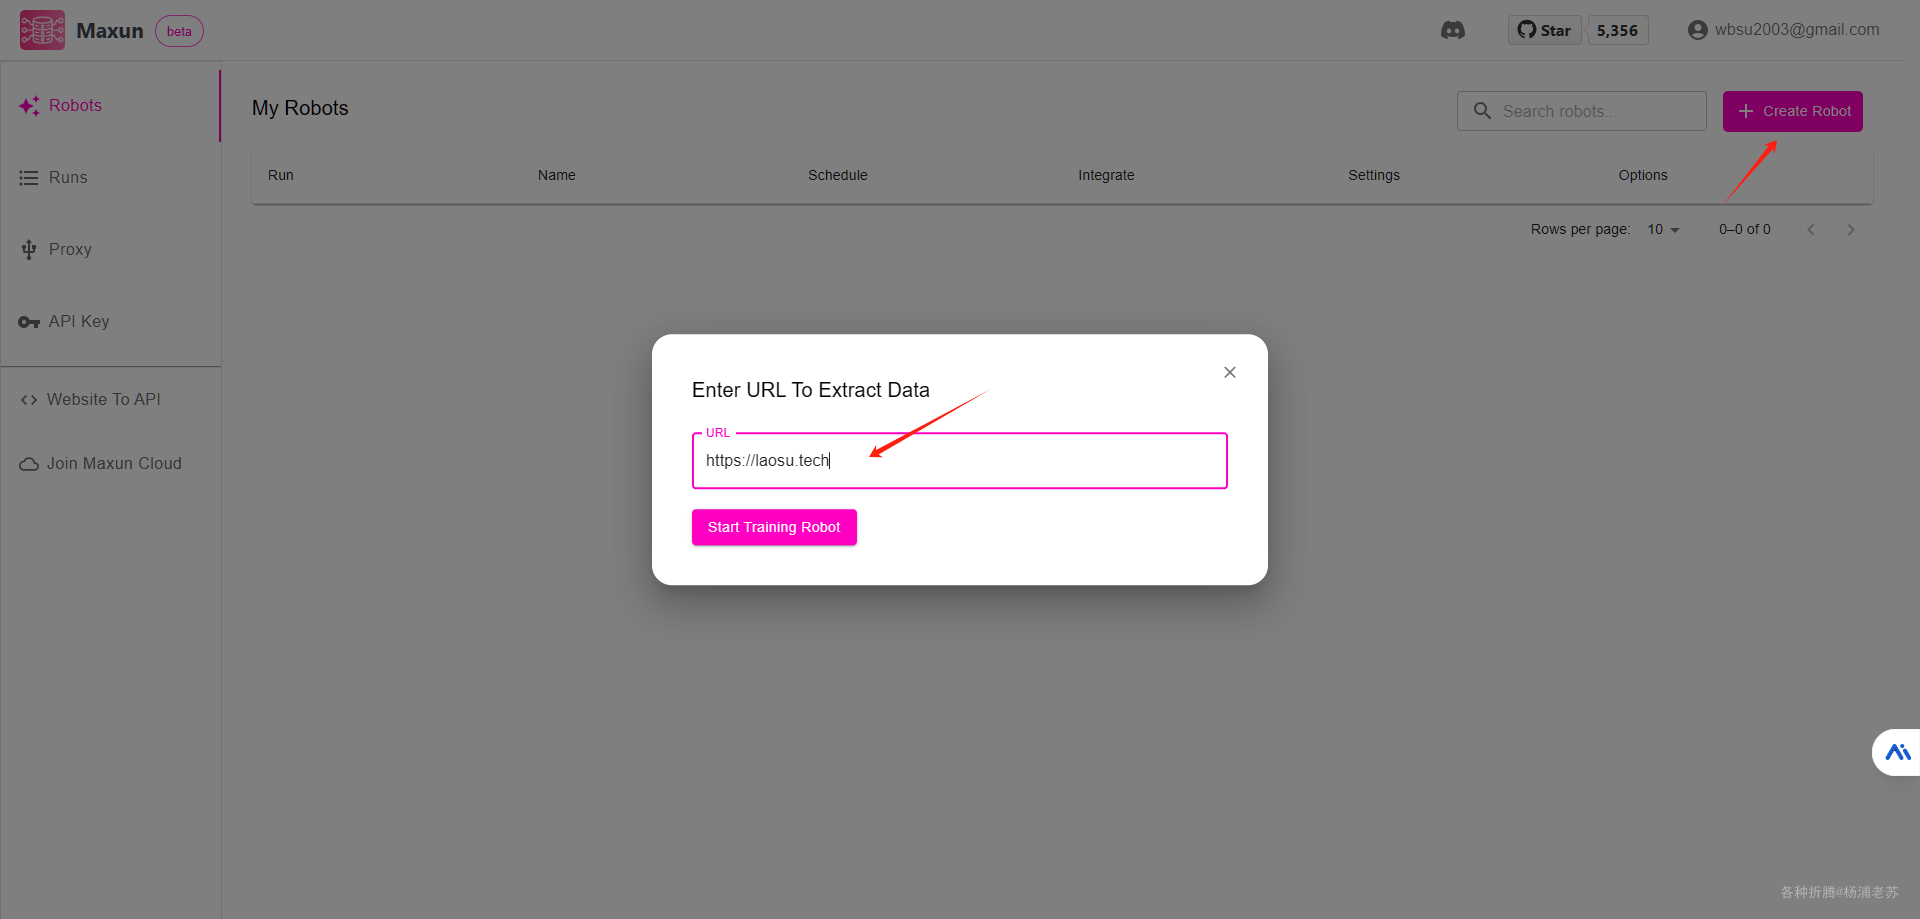
注册成功后,会跳转到主界面
点 Create Robot,输入要抓取的网址
点 Start Training Robot
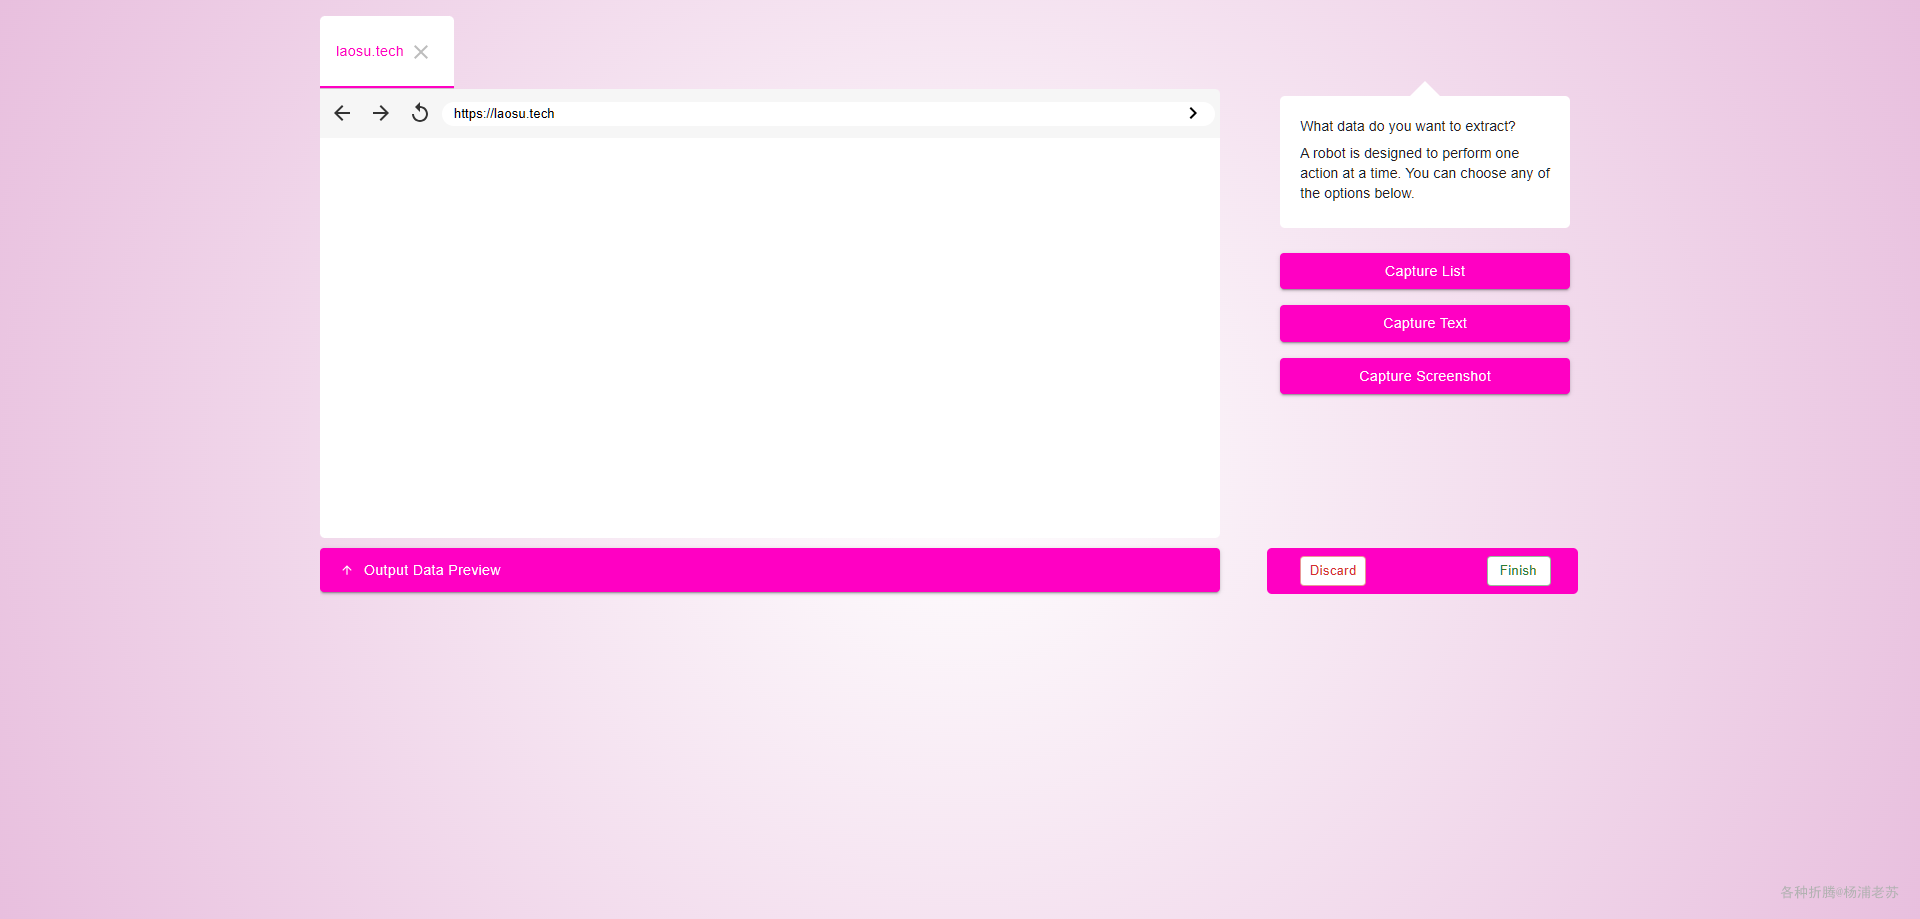
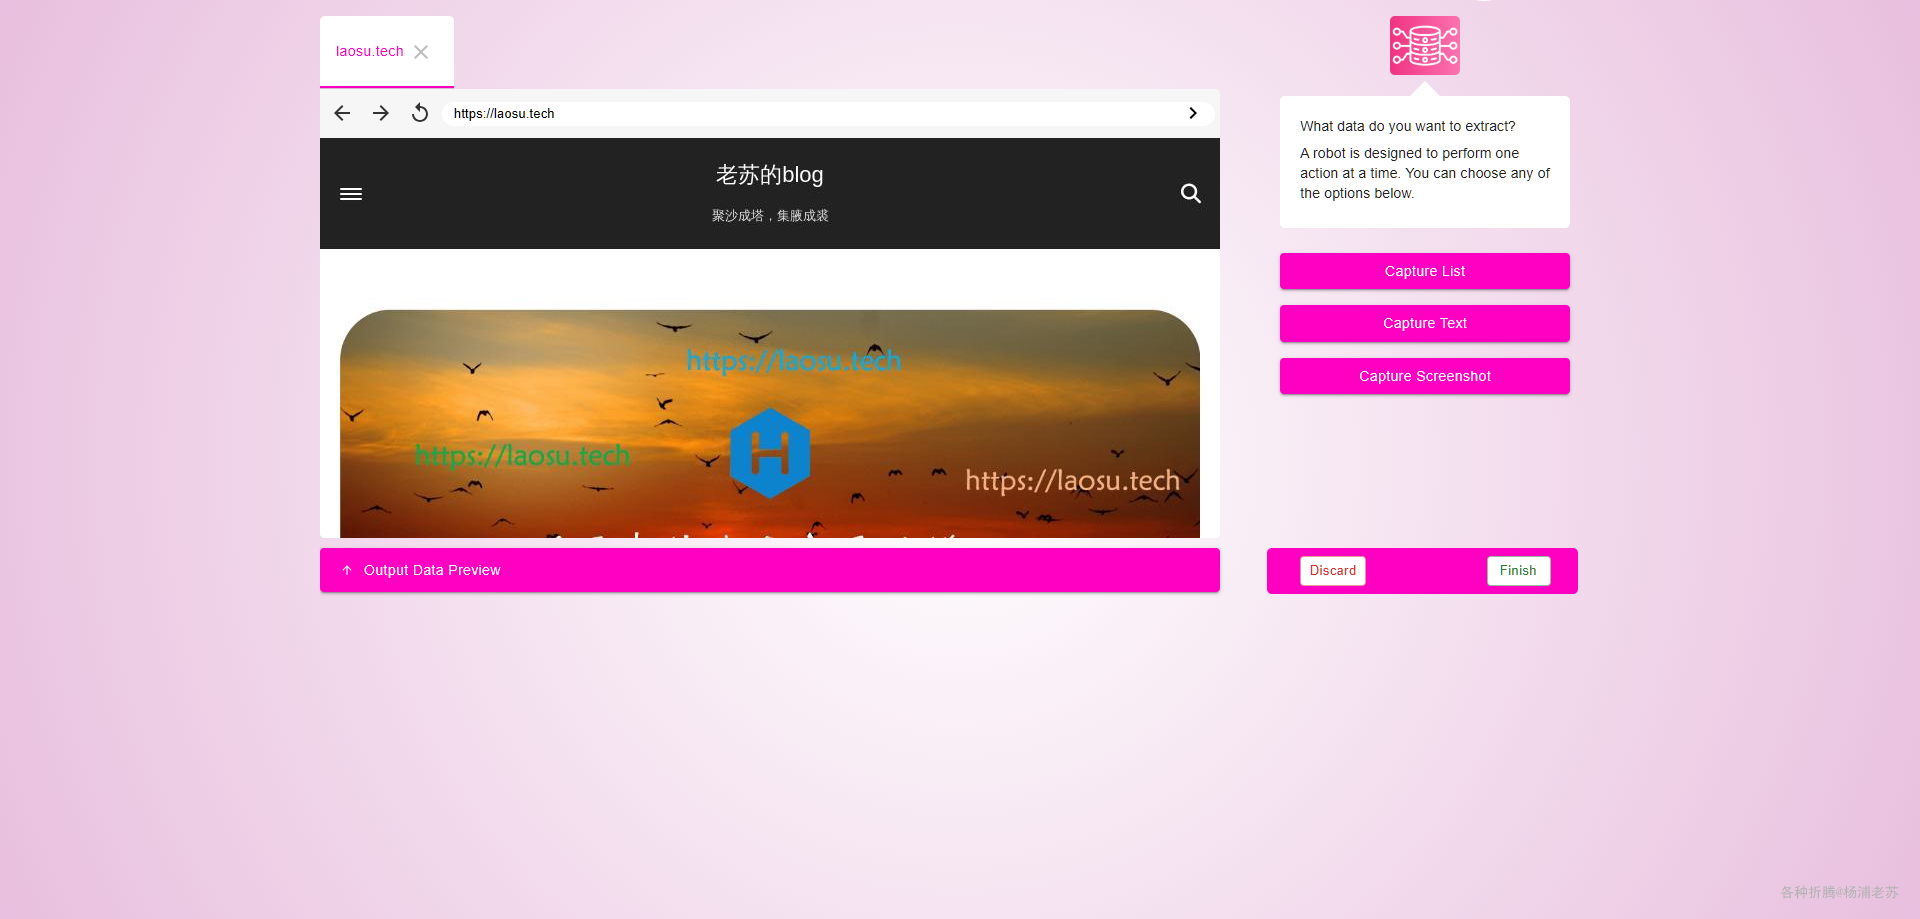
等一会儿,如果出现空白,很可能是后端容器挂了,也有可能是你访问的网站的问题
正常的话是会看到页面的,这里面用到了 Playwright
Playwright是一个由Microsoft开发的用于浏览器测试和网页抓取的开源自动化库。于2020年推出,它的功能类似于Selenium、Pyppeteer等,都可以驱动浏览器进行各种自动化操作。Playwright提供了使用单个API在Chromium、Firefox和WebKit中自动执行浏览器任务的能力。
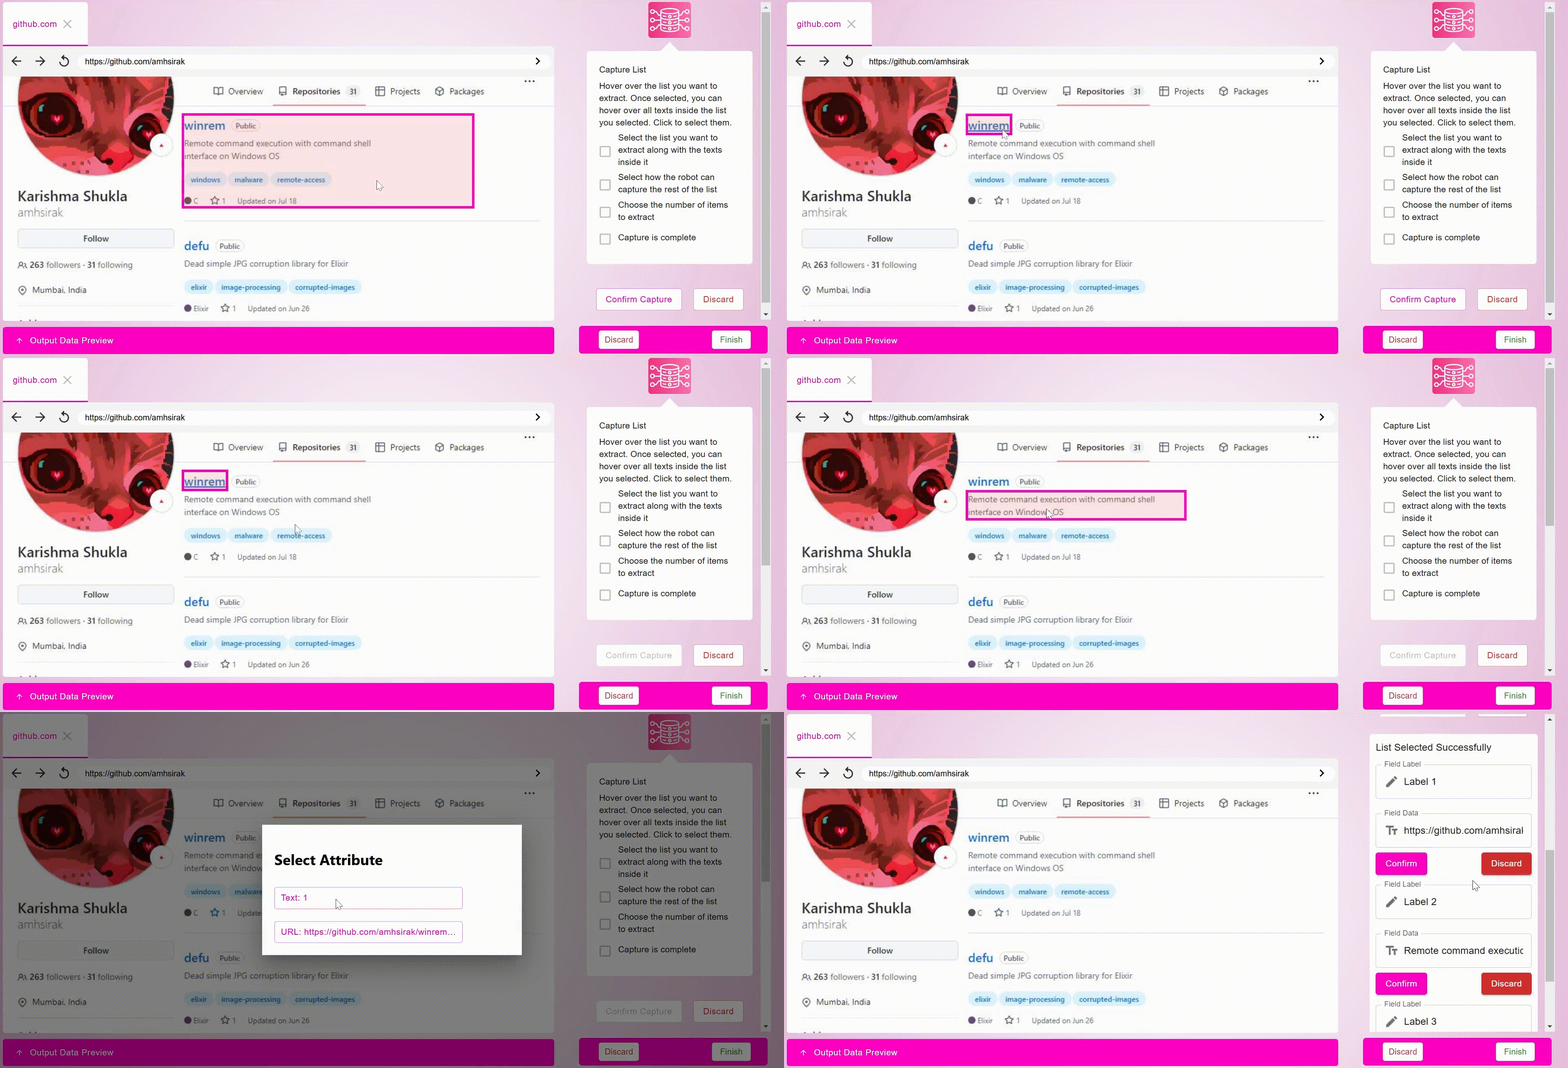
接下来可以在界面上选择元素,具体使用方法可以看官方的视频
Maxun 功能演示
参考文档
getmaxun/maxun: Free, open-source no-code web data extraction platform. Build custom robots to automate data scraping [In Beta]
地址:https://github.com/getmaxun/maxun
Maxun - YouTube
地址:https://www.youtube.com/@MaxunOSS/videos

