https://blog.csdn.net/wust_lh/article/details/86685912
https://www.jianshu.com/p/9673b2aeb0d3
定制化展示数据
https://blog.csdn.net/qw943571775/article/details/99634577
环境说明:
jdk = 1.8
python = 3.5.3
allure-commandline = 2.13.0
文档及下载地址:https://docs.qameta.io/allure/#_commandline
GitHub:https://github.com/allure-framework/allure2/releases
一、下载安装allure-commandline,配置环境变量
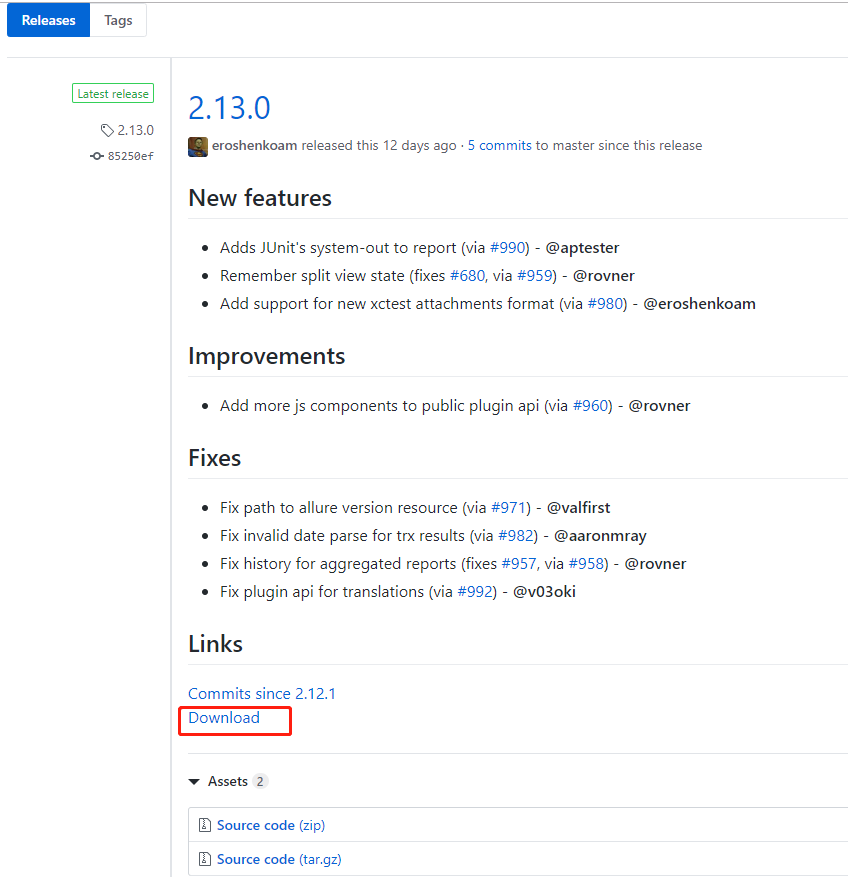
1.1 下载合适版本 https://github.com/allure-framework/allure2/releases
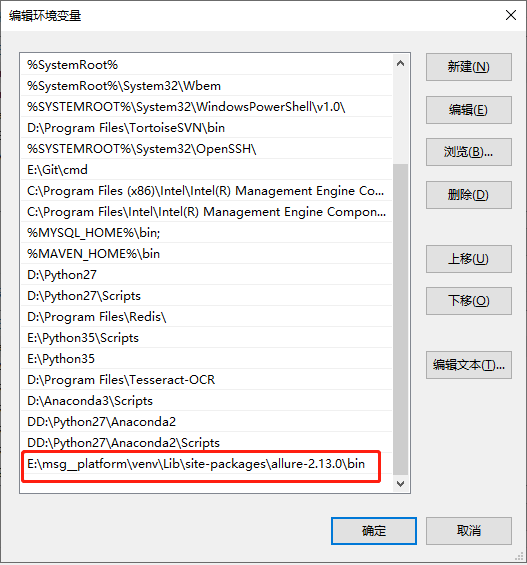
1.2 解压文件并将 bin目录添加到Path环境变量中
1.3 验证allure
输入allure --version,返回版本信息则安装成功
二、安装pytest和pytest-allure
pip install pytest
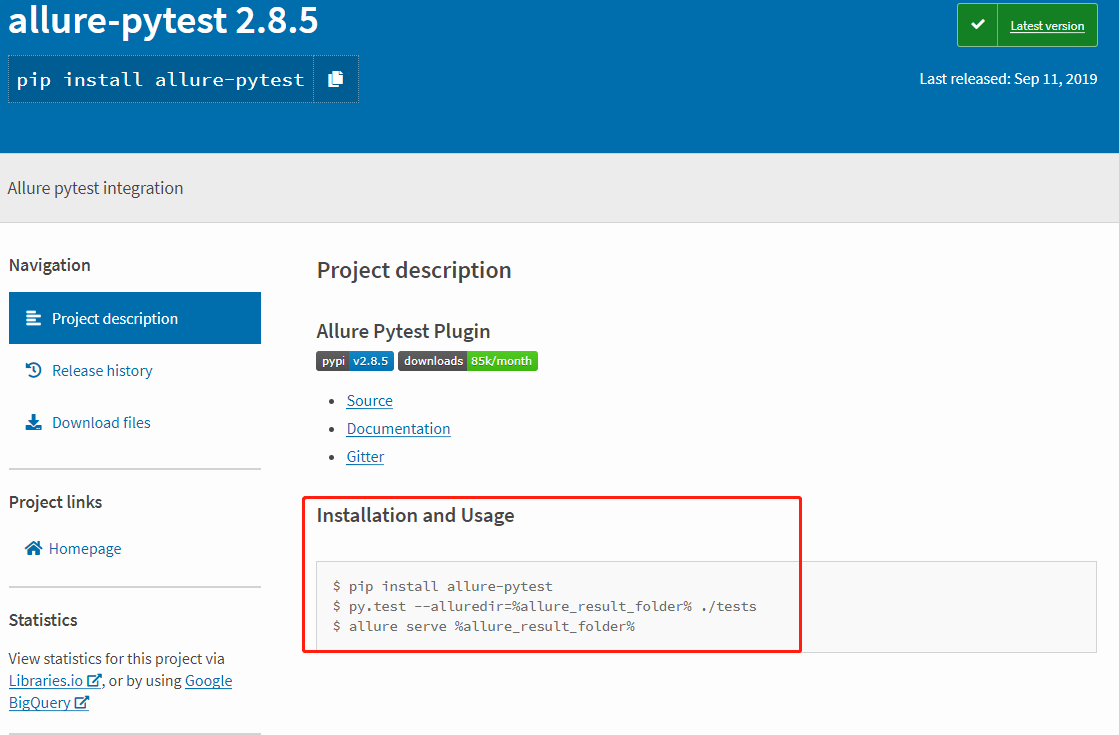
pip install allure-pytest
注意:网上大多数是安装pytest-allure-adaptor,这是allure1,现在是allure2了,官方已经不维护1了。
pypi中具体用法已经说得很清楚了https://pypi.org/project/allure-pytest/
三、编写用例
Test.py
import allure
import pytest

@allure.feature("Test")
class Test:
    @allure.story("比较数值")
    def test_01(self):
        """
        这是1号用例
        :return:
        """
        assert 0 == 0

    @allure.story("比体积")
    def test_02(self):
        """
        这是2号用例
        :return:
        """
        assert 0 == 1
四、执行用例
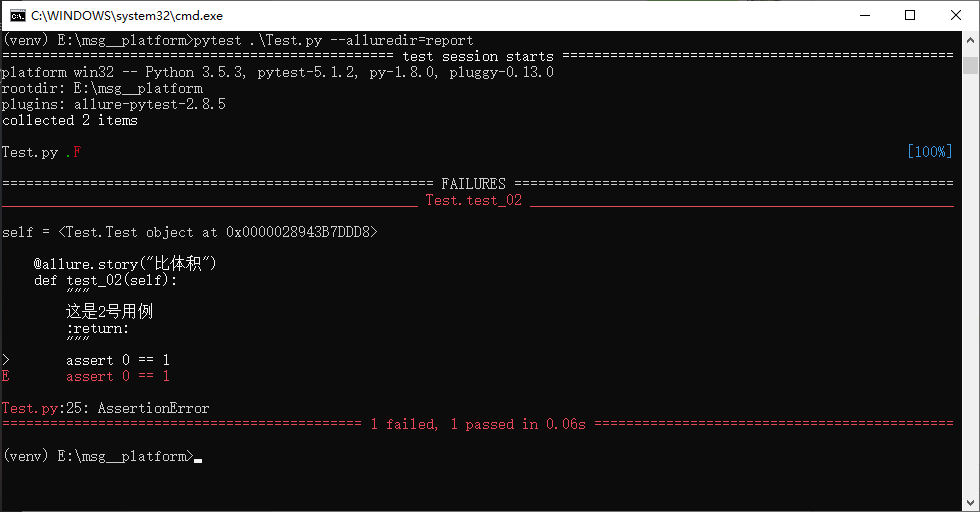
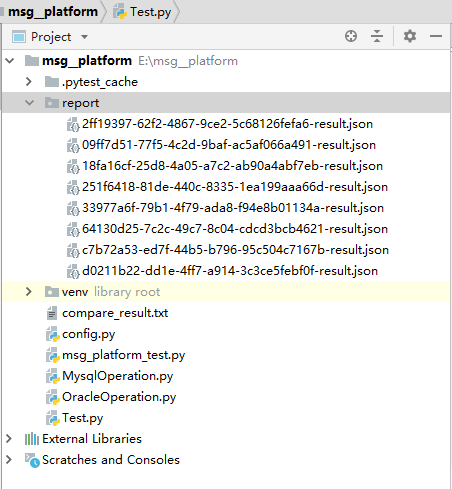
在项目根目录下执行如下命令,就会执行Test.py模块中的用例,生成report文件里面存放的是后面报告需要解析的json文件,包含了用例的所有信息。
执行这个Test.py模块下的用例,--alluredir=report 生成report目录存放数据,--clean-alluredir 清除原有的存放数据路径
pytest .\Test.py --alluredir=report --clean-alluredir
五、生成报告
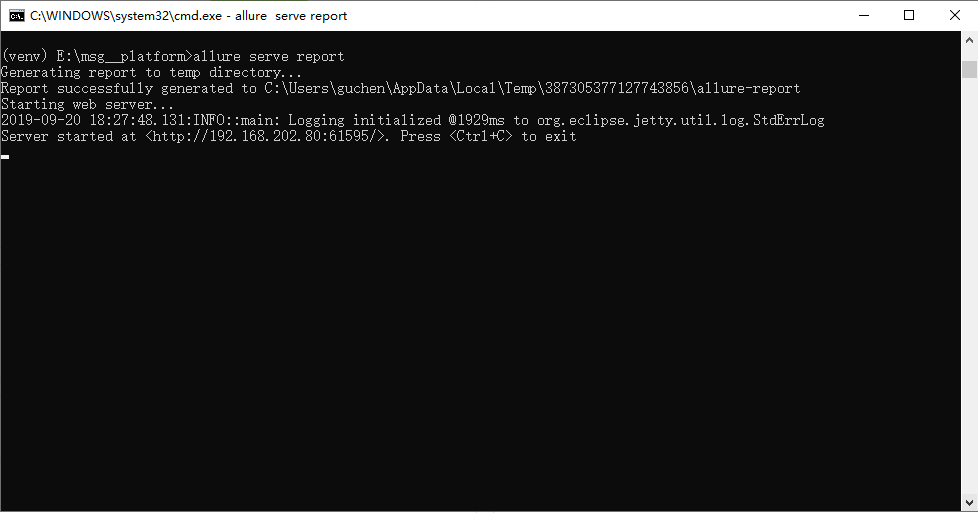
执行命令解析json文件并生成html报告,并启动服务
allure serve report
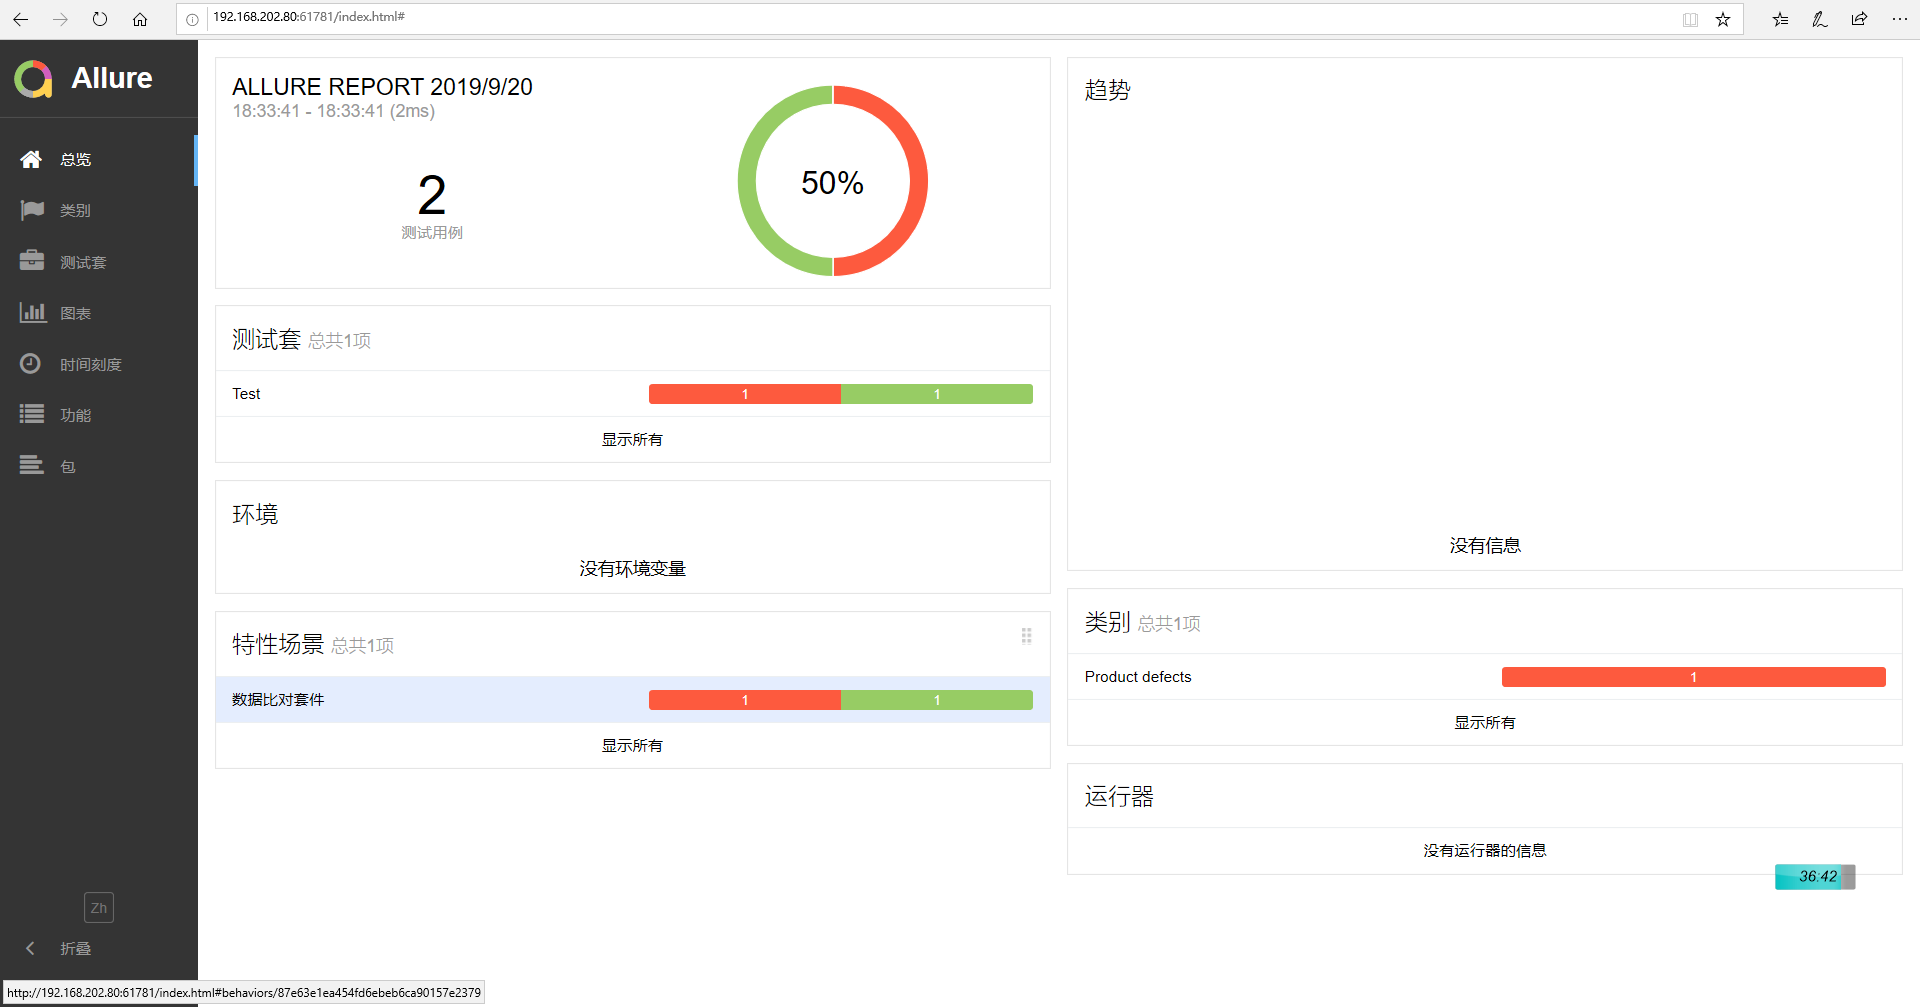
六、查看报告
