参考:
google插件支持:
https://blog.csdn.net/weixin_42357472/article/details/140412993
这里是把前面做的TodoList做成google插件,具体网页可以参考下面链接
TodoList网页:
https://blog.csdn.net/weixin_42357472/article/details/140594704
1、代码部分
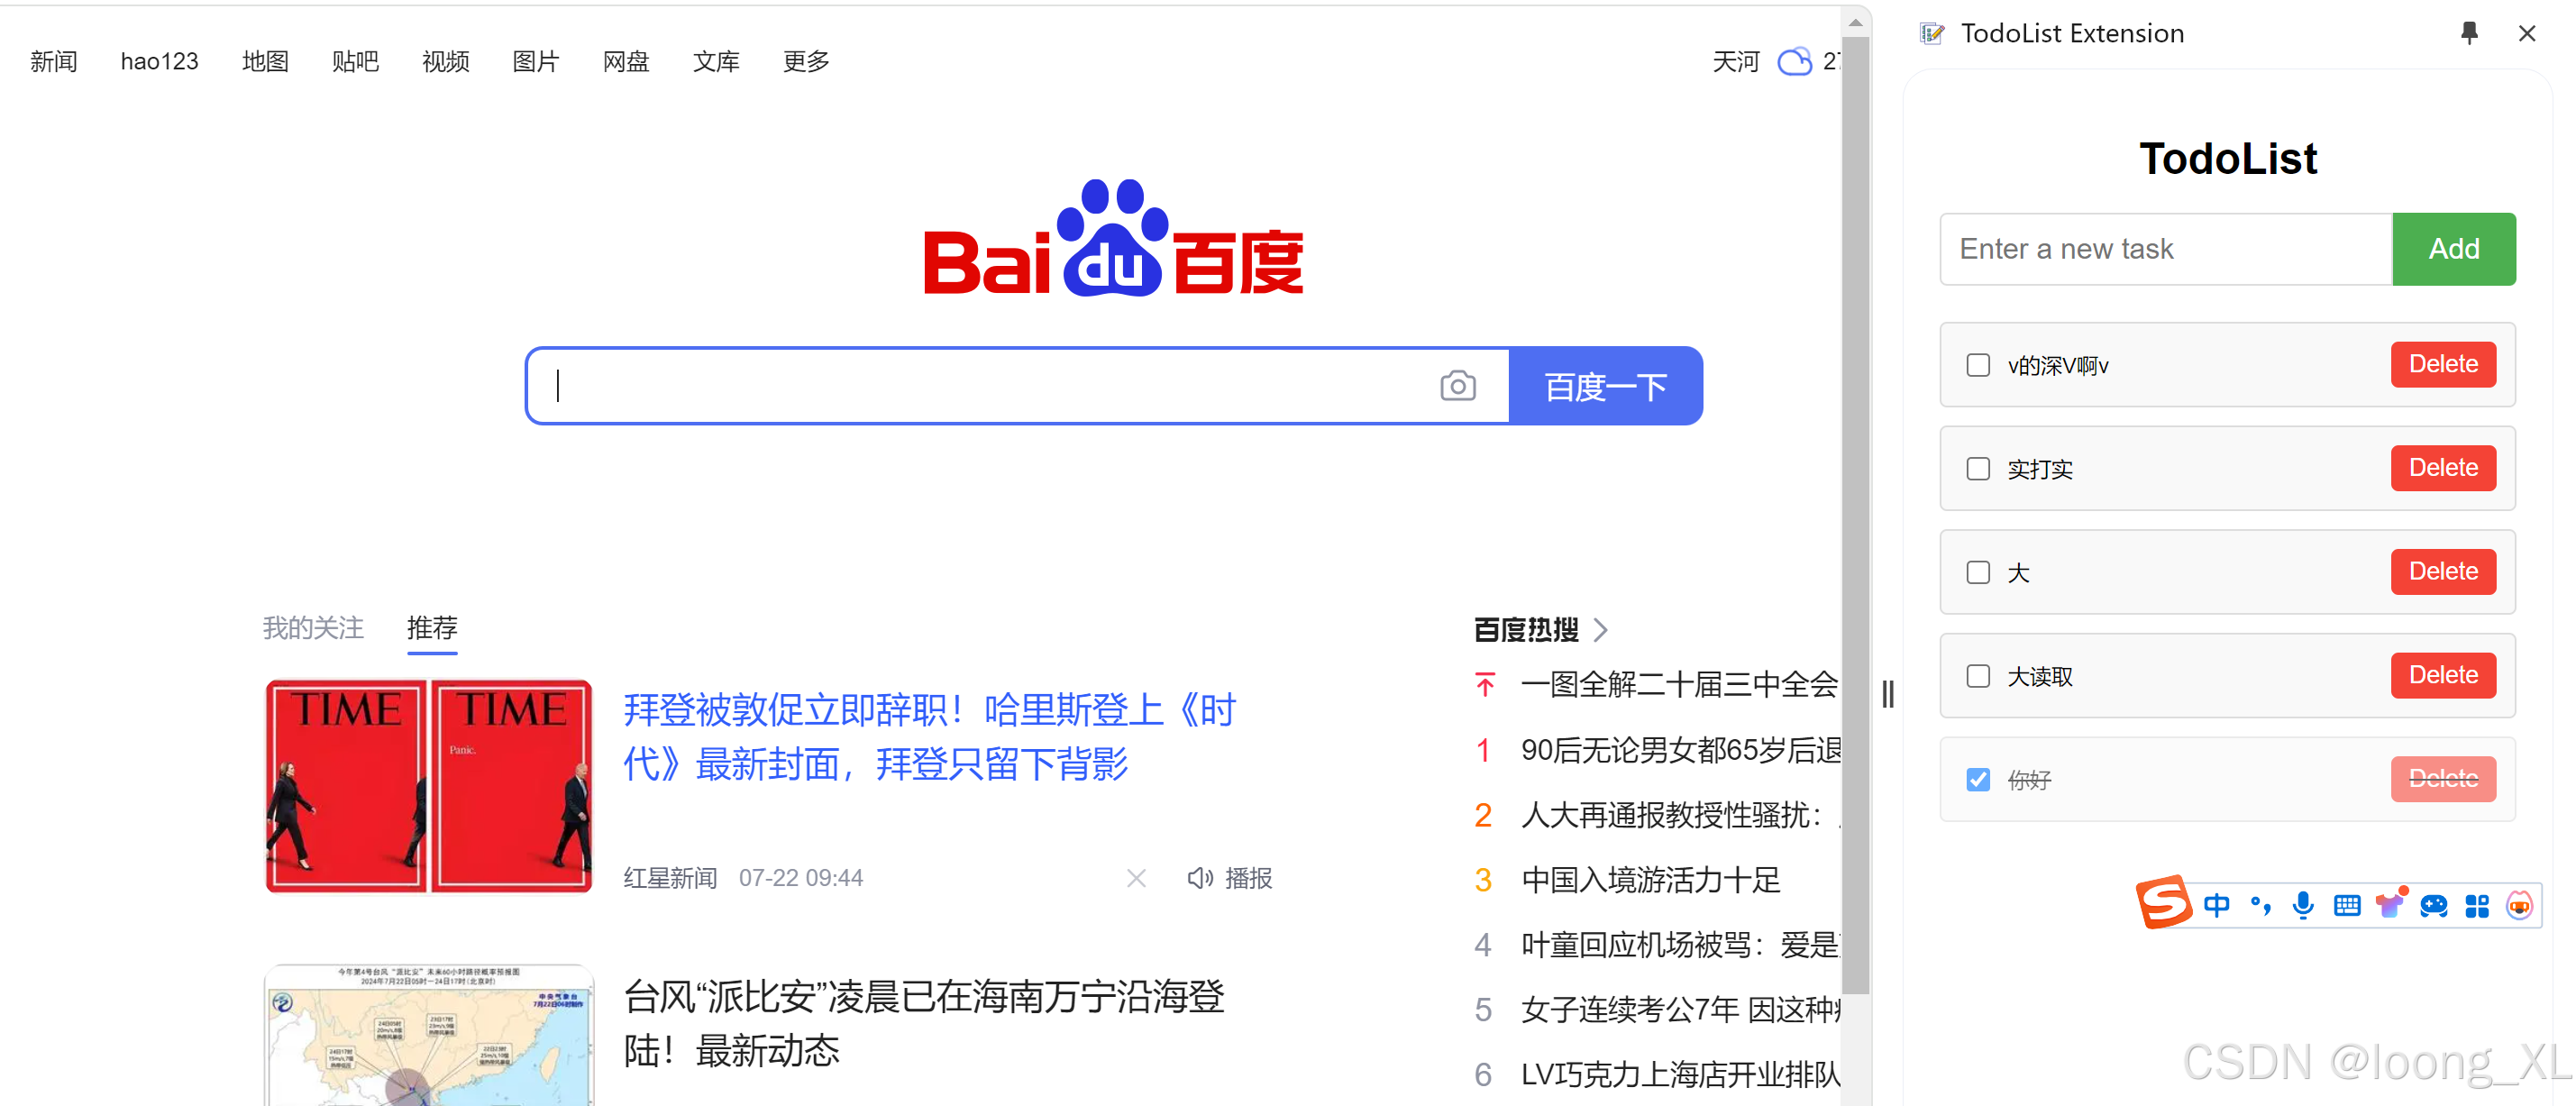
下面开始把内容转成google插件:
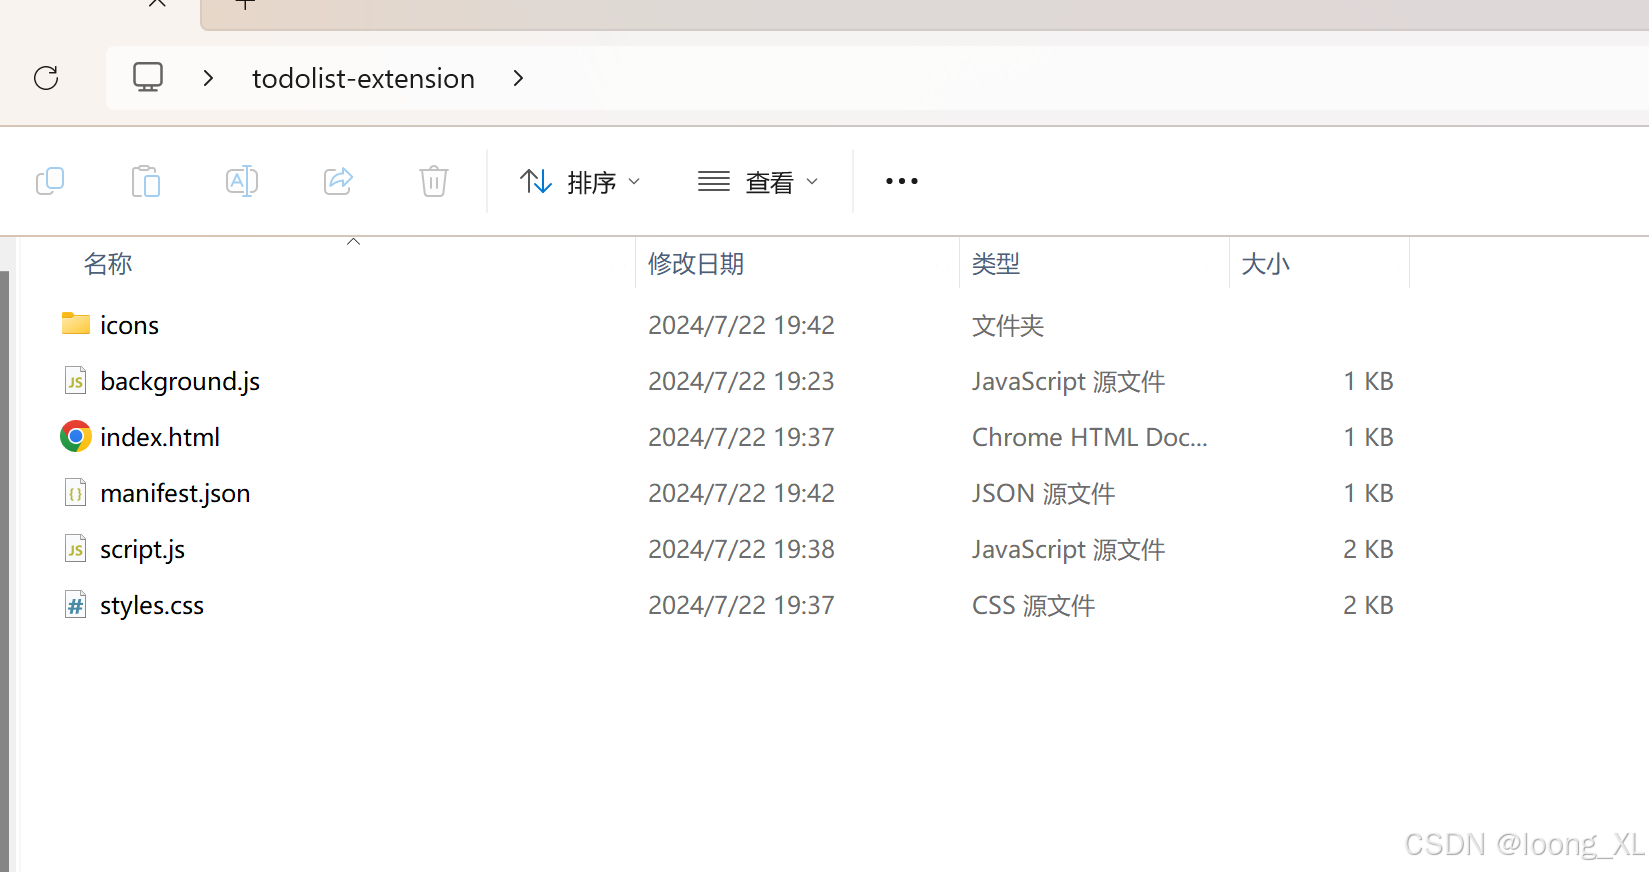
为扩展准备三个不同尺寸的图标(16x16, 48x48, 128x128像素),并将它们放在 icons 文件夹中
manifest.json
google浏览器差距定义文件

{
    "manifest_version": 3,
    "name": "TodoList Extension",
    "version": "1.0",
    "description": "A simple TodoList Chrome extension",
    "action": {
      "default_icon": {
        "16": "icons/icon16.png",
        "48": "icons/icon48.png",
        "128": "icons/icon128.png"
      }
    },
    "permissions": ["storage", "sidePanel"],
    "background": {
      "service_worker": "background.js"
    },
    "icons": {
      "16": "icons/icon16.png",
      "48": "icons/icon48.png",
      "128": "icons/icon128.png"
    },
    "side_panel": {
      "default_path": "index.html"
    }
  }
background.js
想在侧边栏打开
chrome.sidePanel.setPanelBehavior({ openPanelOnActionClick: true });
index.html
<!DOCTYPE html>
<html lang="en">
<head>
    <meta charset="UTF-8">
    <meta name="viewport" content="width=device-width, initial-scale=1.0">
    <title>TodoList</title>
    <link rel="stylesheet" href="styles.css">
</head>
<body>
    <h1>TodoList</h1>
    <form id="todo-form">
        <input type="text" id="todo-input" placeholder="Enter a new task" required>
        <button type="submit" id="add-button">Add</button>
    </form>
    <ul id="todo-list"></ul>

    <script src="script.js"></script>
</body>
</html>
script.js
const todoForm = document.getElementById('todo-form');
const todoInput = document.getElementById('todo-input');
const todoList = document.getElementById('todo-list');

function loadTodos() {
    chrome.storage.sync.get(['todos'], function(result) {
        const todos = result.todos || [];
        todos.forEach(todo => {
            addTodoToDOM(todo.text, todo.completed);
        });
    });
}

function saveTodos() {
    const todos = Array.from(todoList.children).map(li => ({
        text: li.querySelector('span').textContent,
        completed: li.classList.contains('completed')
    }));
    chrome.storage.sync.set({todos: todos});
}

function addTodoToDOM(text, completed = false) {
    const li = document.createElement('li');
    li.className = 'todo-item' + (completed ? ' completed' : '');
    li.innerHTML = `
        <input type="checkbox" ${completed ? 'checked' : ''}>
        <span>${text}</span>
        <button class="delete-button">Delete</button>
    `;

    li.querySelector('input[type="checkbox"]').addEventListener('change', function() {
        li.classList.toggle('completed');
        if (li.classList.contains('completed')) {
            todoList.appendChild(li);
        } else {
            todoList.insertBefore(li, todoList.firstChild);
        }
        saveTodos();
    });

    li.querySelector('.delete-button').addEventListener('click', function() {
        li.remove();
        saveTodos();
    });

    if (completed) {
        todoList.appendChild(li);
    } else {
        todoList.insertBefore(li, todoList.firstChild);
    }
}

todoForm.addEventListener('submit', function(e) {
    e.preventDefault();
    if (todoInput.value.trim() === '') return;

    addTodoToDOM(todoInput.value);
    saveTodos();
    todoInput.value = '';
});

loadTodos();
styles.css
body {
    font-family: Arial, sans-serif;
    max-width: 500px;
    margin: 0 auto;
    padding: 20px;
}
h1 {
    text-align: center;
}
#todo-form {
    display: flex;
    margin-bottom: 20px;
}
#todo-input {
    flex-grow: 1;
    padding: 10px;
    font-size: 16px;
    border: 1px solid #ddd;
    border-radius: 4px 0 0 4px;
}
#add-button {
    padding: 10px 20px;
    font-size: 16px;
    background-color: #4CAF50;
    color: white;
    border: none;
    border-radius: 0 4px 4px 0;
    cursor: pointer;
}
#todo-list {
    list-style-type: none;
    padding: 0;
}
.todo-item {
    display: flex;
    align-items: center;
    padding: 10px;
    background-color: #f9f9f9;
    border: 1px solid #ddd;
    margin-bottom: 10px;
    border-radius: 4px;
}
.todo-item.completed {
    text-decoration: line-through;
    opacity: 0.6;
}
.todo-item input[type="checkbox"] {
    margin-right: 10px;
}
.delete-button {
    margin-left: auto;
    background-color: #f44336;
    color: white;
    border: none;
    padding: 5px 10px;
    border-radius: 4px;
    cursor: pointer;
}
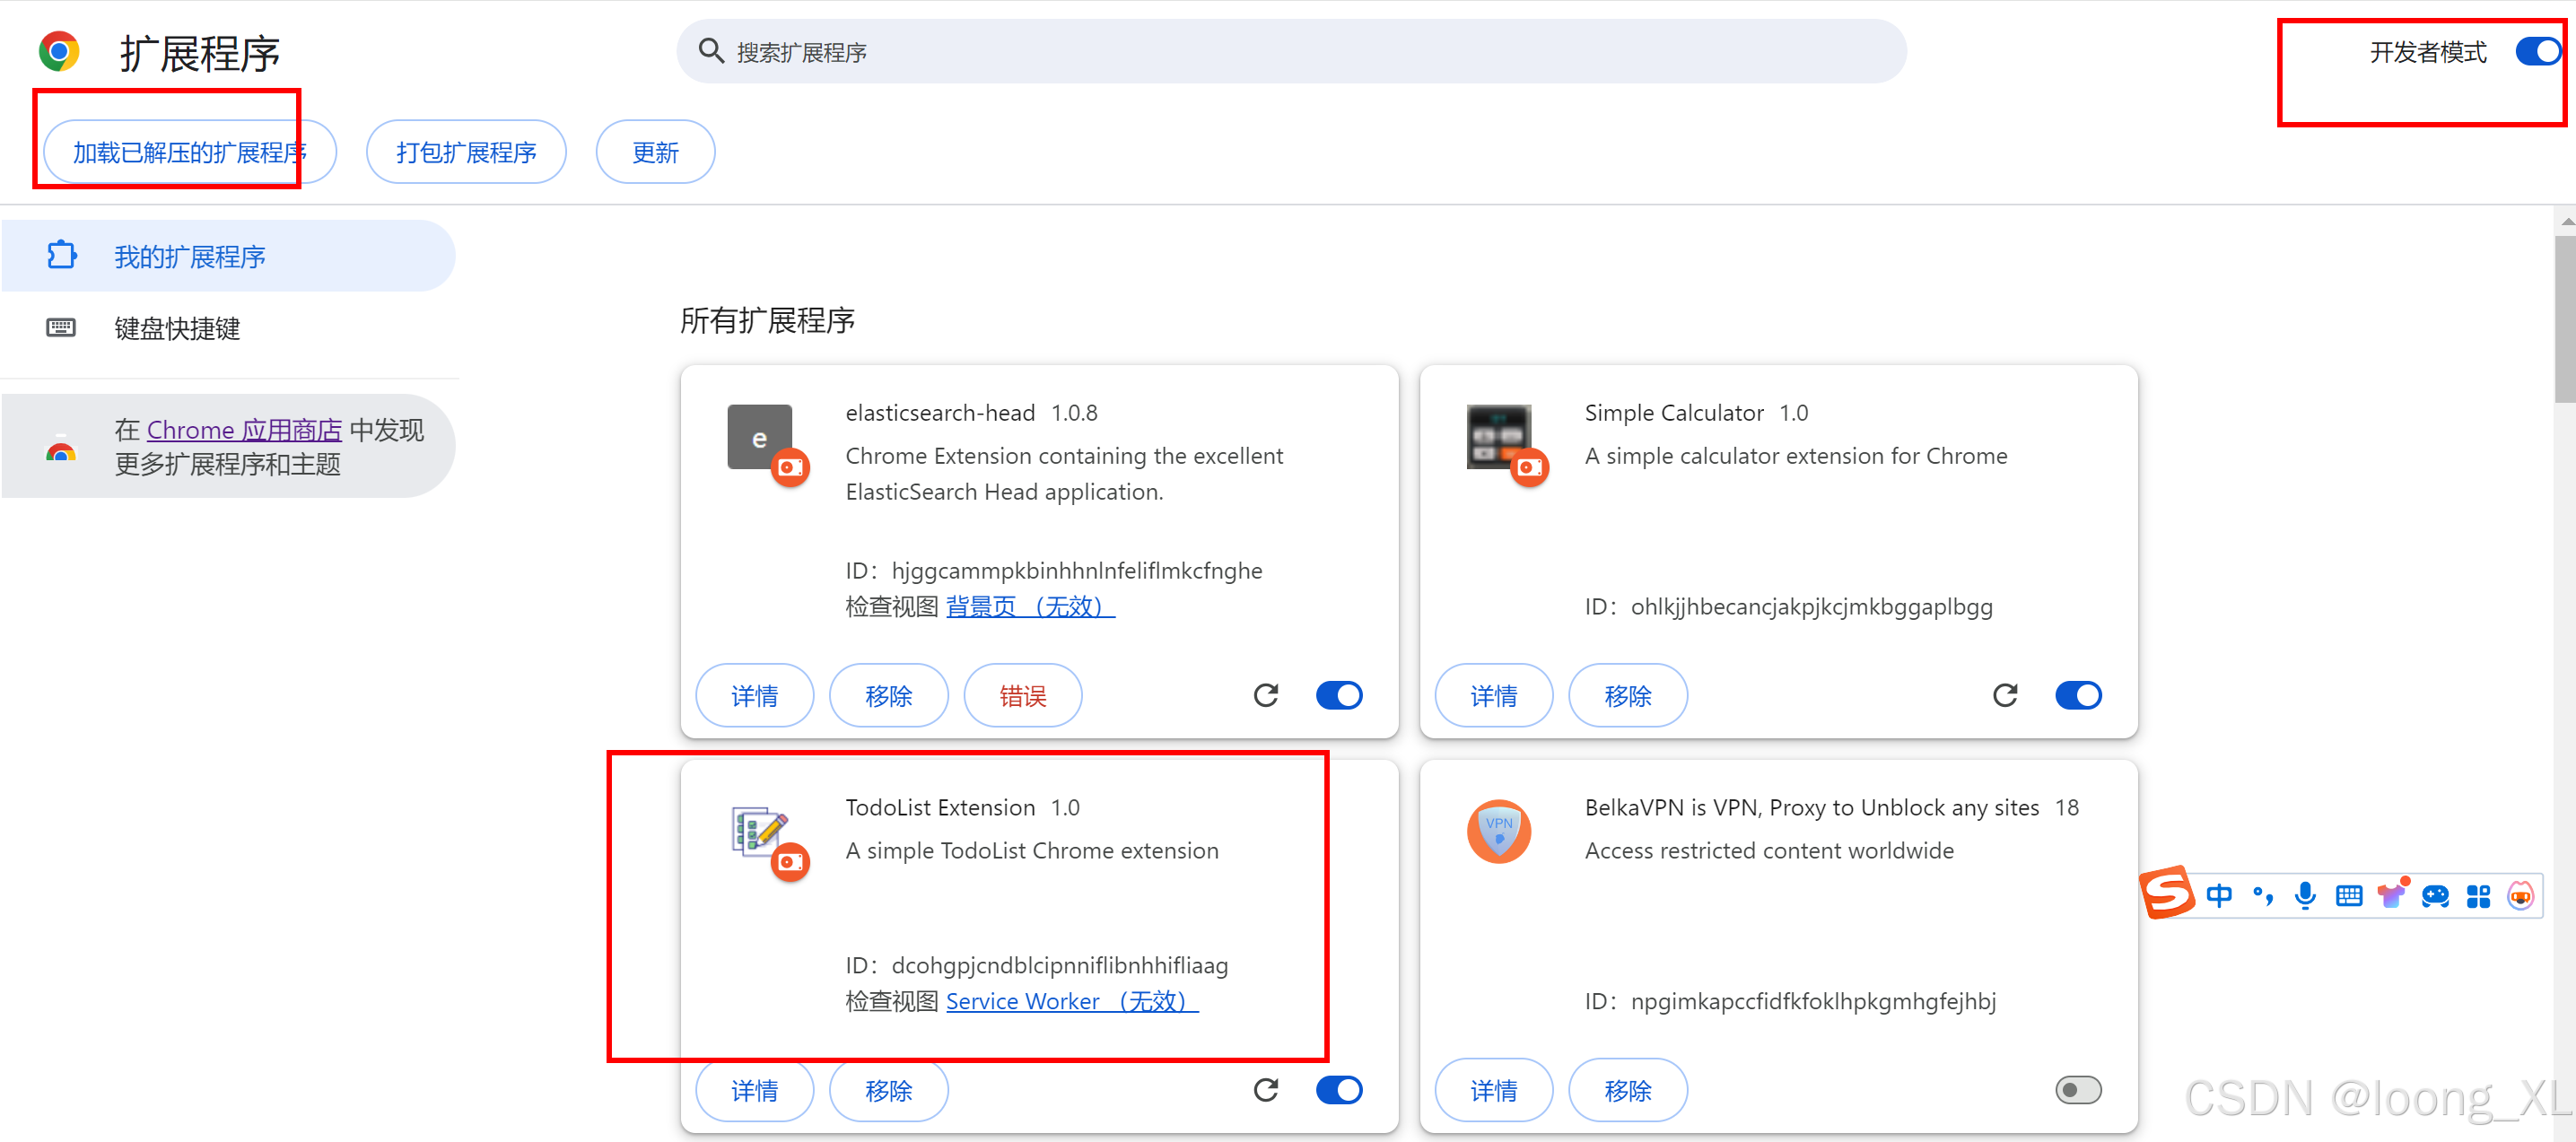
2、加载使用
在插件中心加载上面的文件夹,注意提前打开开发者模型
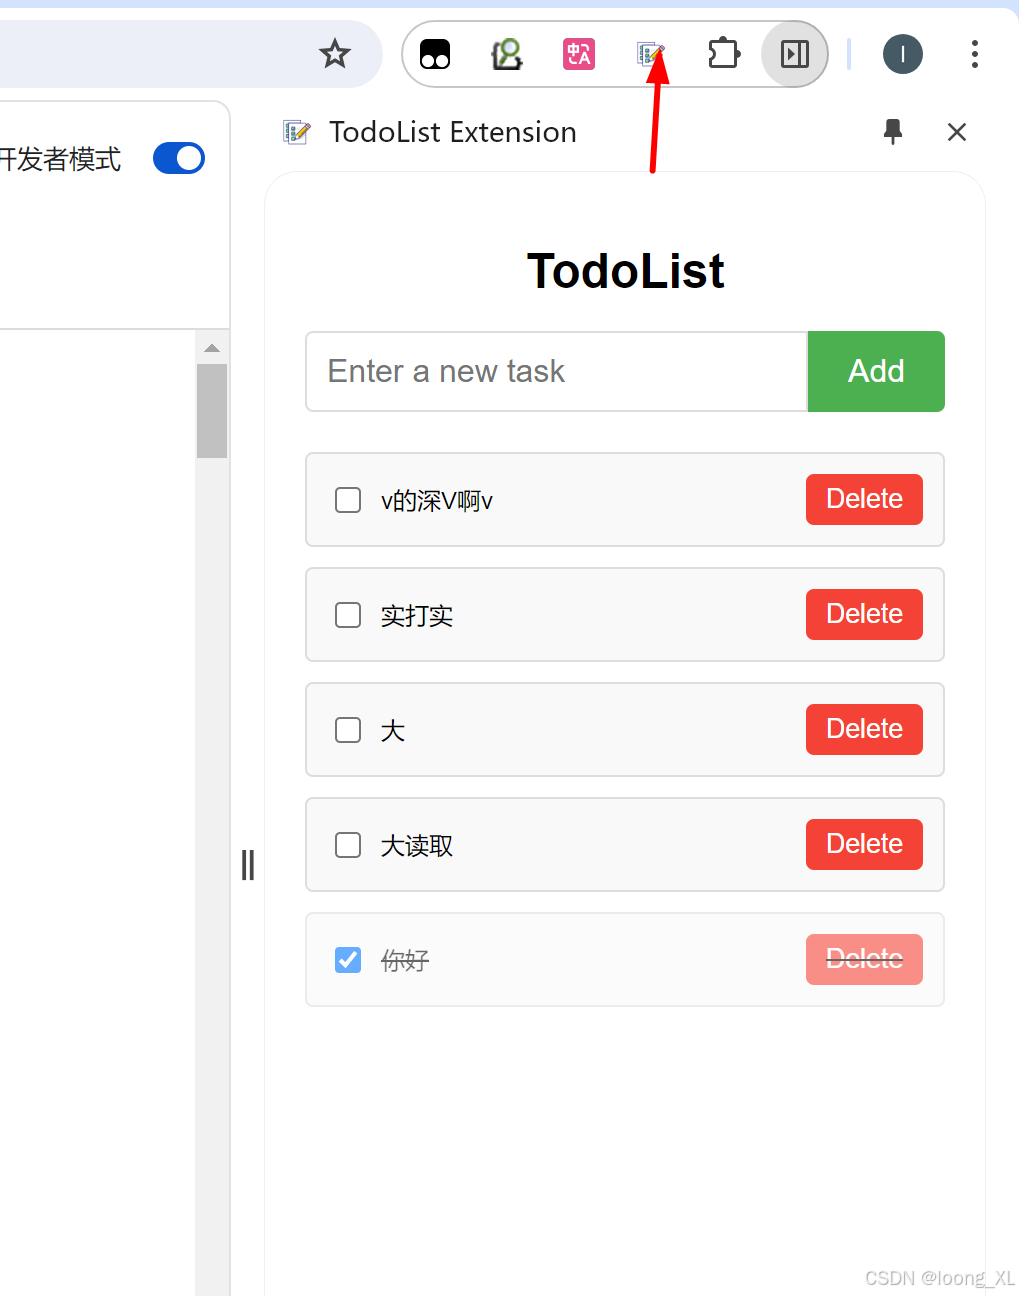
然后点击右上角对应的todolist插件即可
3、打包成crx离线包
chrome://extensions
打包插件
在"扩展程序"页面,点击"打包扩展程序"按钮
在"扩展程序根目录"中,选择你的插件文件夹
如果是第一次打包,可以不填"私有密钥文件"
点击"打包扩展程序"
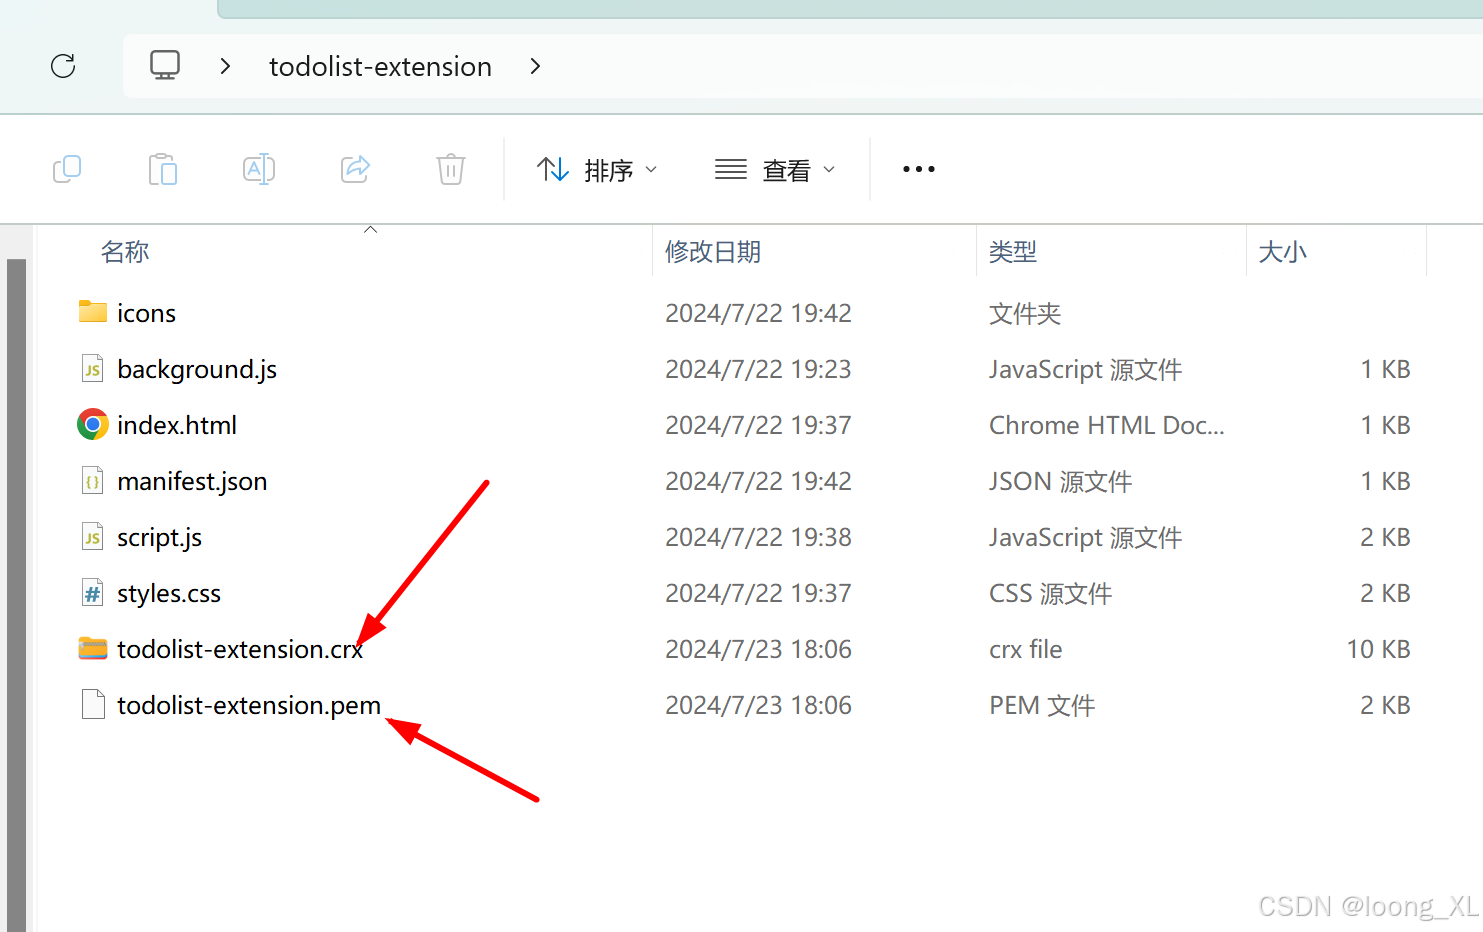
打包回生成两个文件:

Chrome会生成两个文件:一个.crx文件和一个.pem文件
.crx文件就是你需要的离线安装包
.pem文件是私钥,用于后续更新,请妥善保管