前言
YOLO11作为Ultralytics推出的最新目标检测模型,凭借其高精度、轻量化、多任务支持的特性,已成为工业界与学术界的焦点。本文将手把手教你从零搭建YOLO11训练环境,覆盖数据集标注、模型训练、性能优化、FastAPI接口部署全流程,助你快速落地实际项目!文末附避坑指南与源码链接,建议收藏⭐。
一、数据集准备与标注
1. 数据收集与整理
- 公开数据集:COCO、VOC等经典数据集可直接使用,推荐从Roboflow获取预处理好的YOLO格式数据。
- 自制数据集:通过爬虫或实际拍摄获取图像,建议按场景分类存储(如
train/images,val/images)。 - 数据增强:使用Albumentations或Roboflow进行旋转、缩放、色彩变换等操作,提升泛化性。
2. 使用Labelme标注数据
- 标注工具安装:通过Anaconda创建独立环境安装Labelme(避免Python版本冲突):
conda create -n labelimg python=3.8
conda activate labelimg
pip install labelimg
conda env list #查看conda环境  即可查看到已安装的环境列表
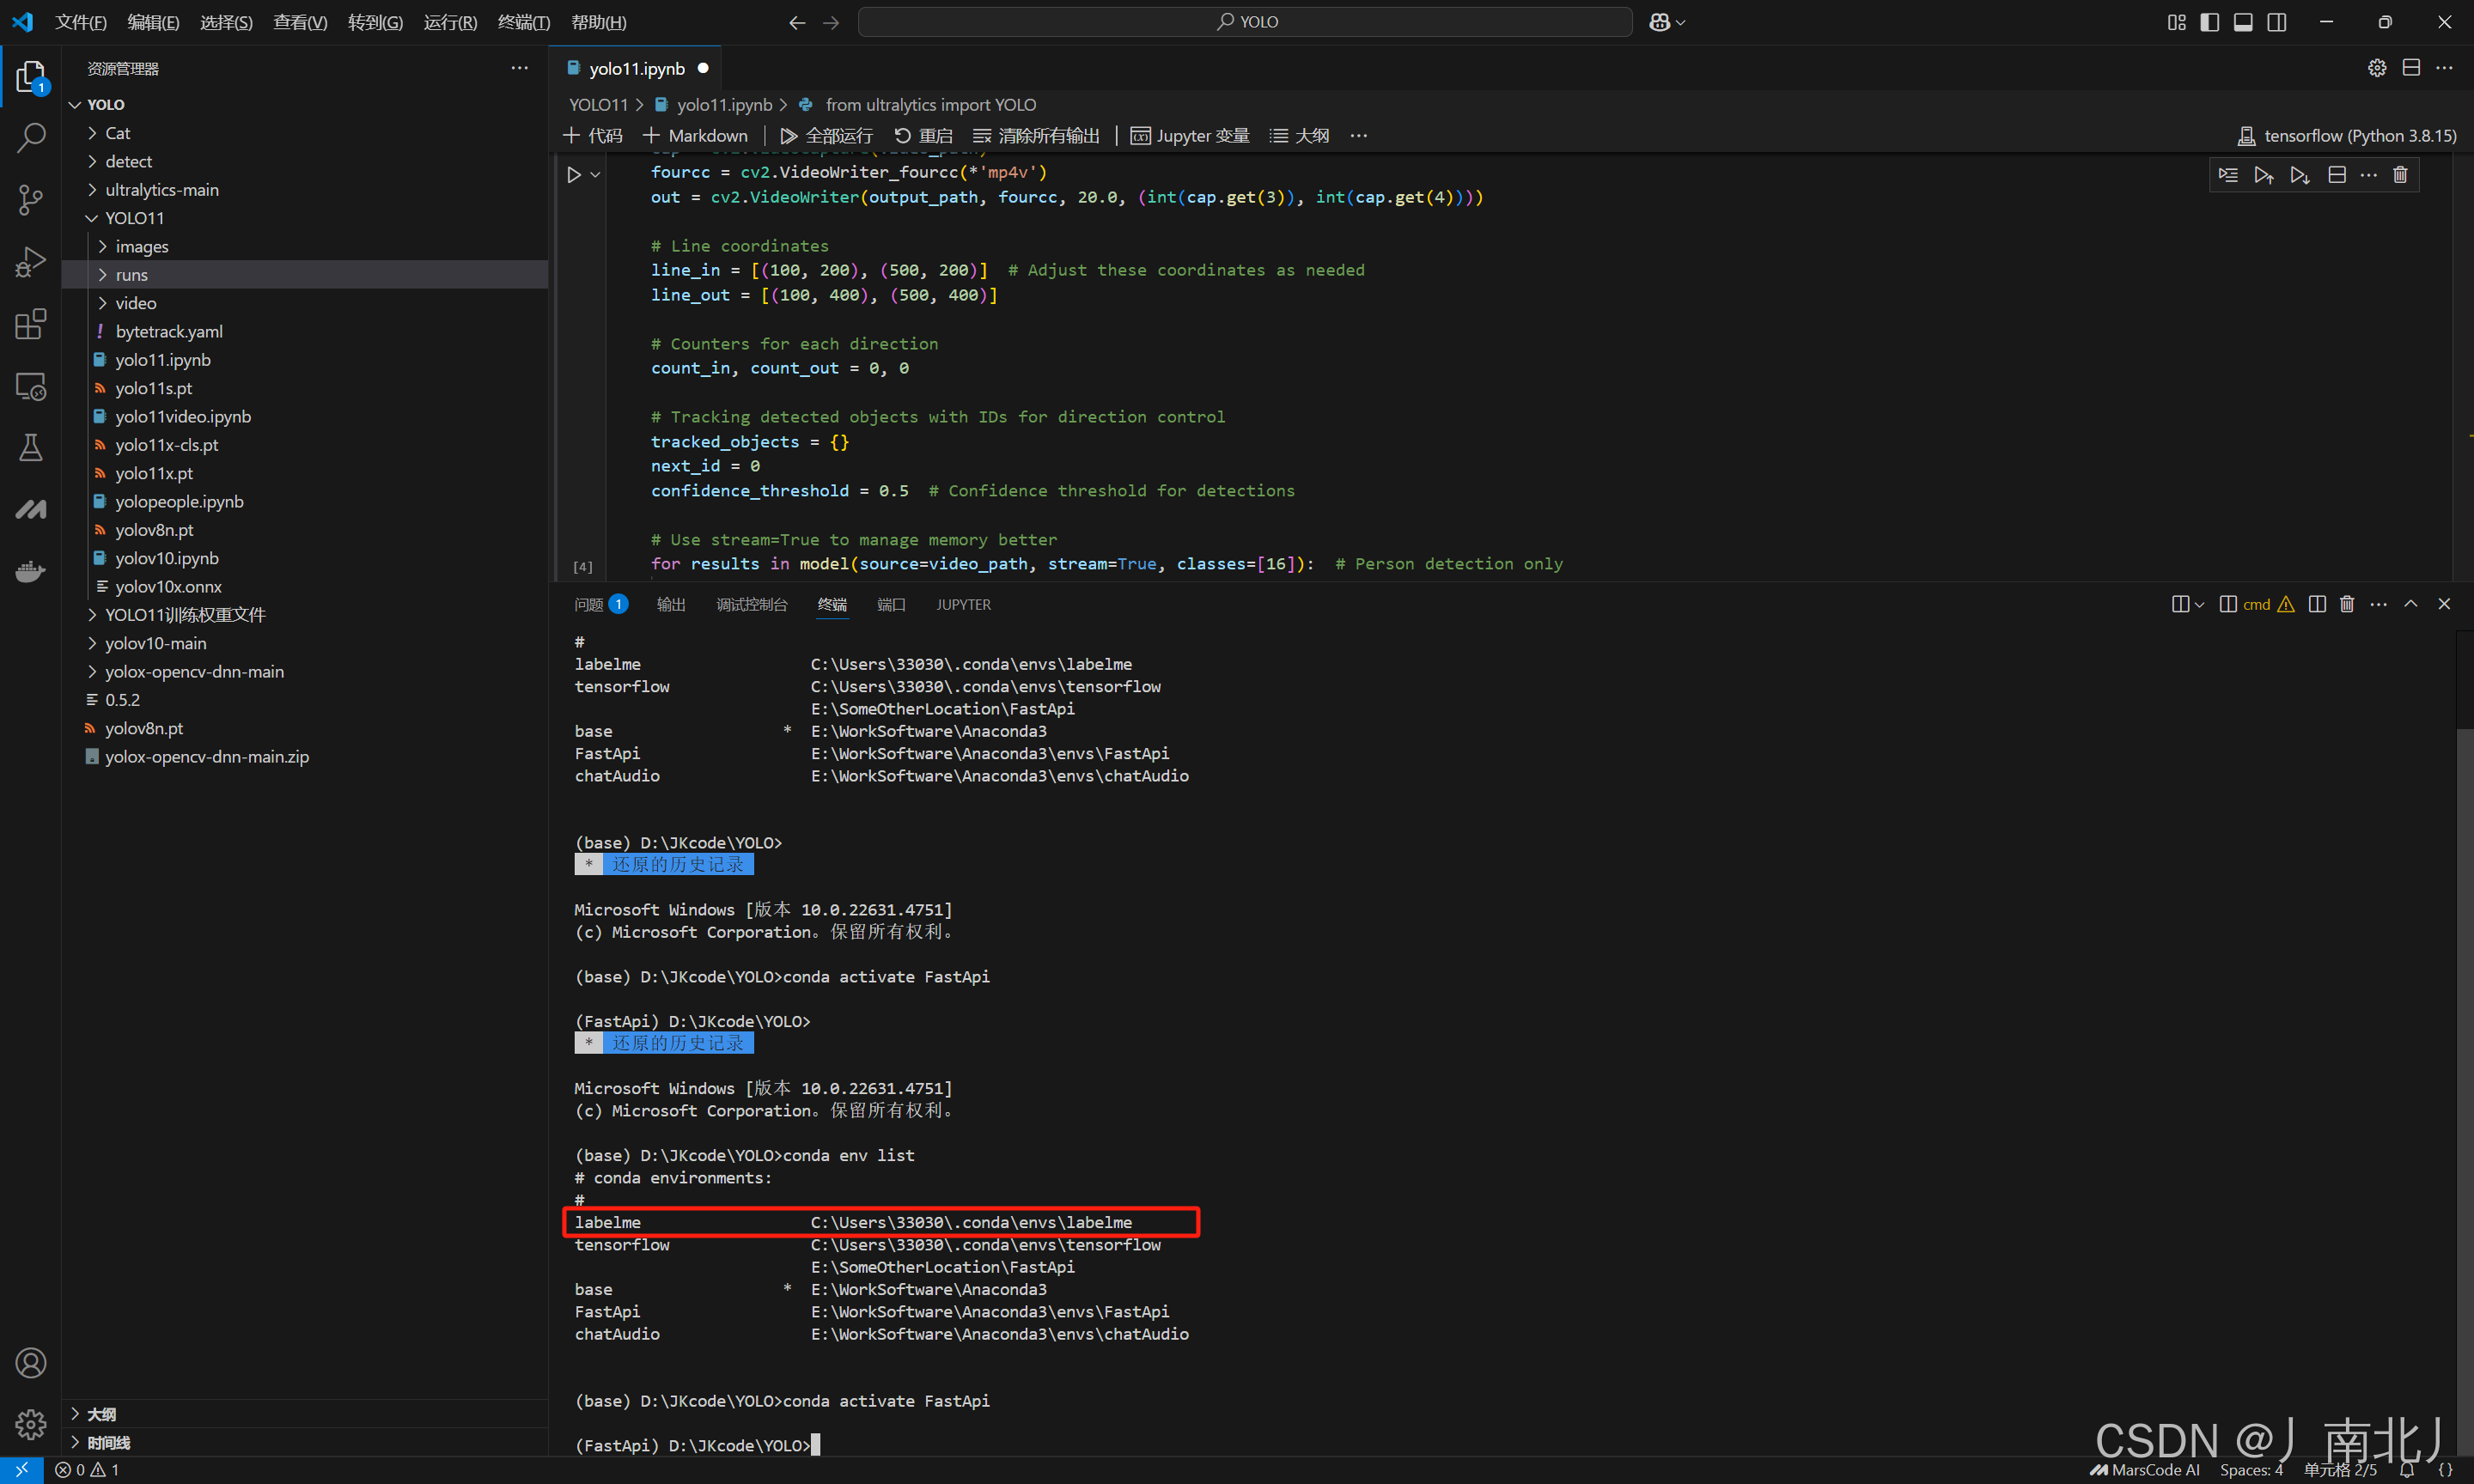
labelimg #即可启动
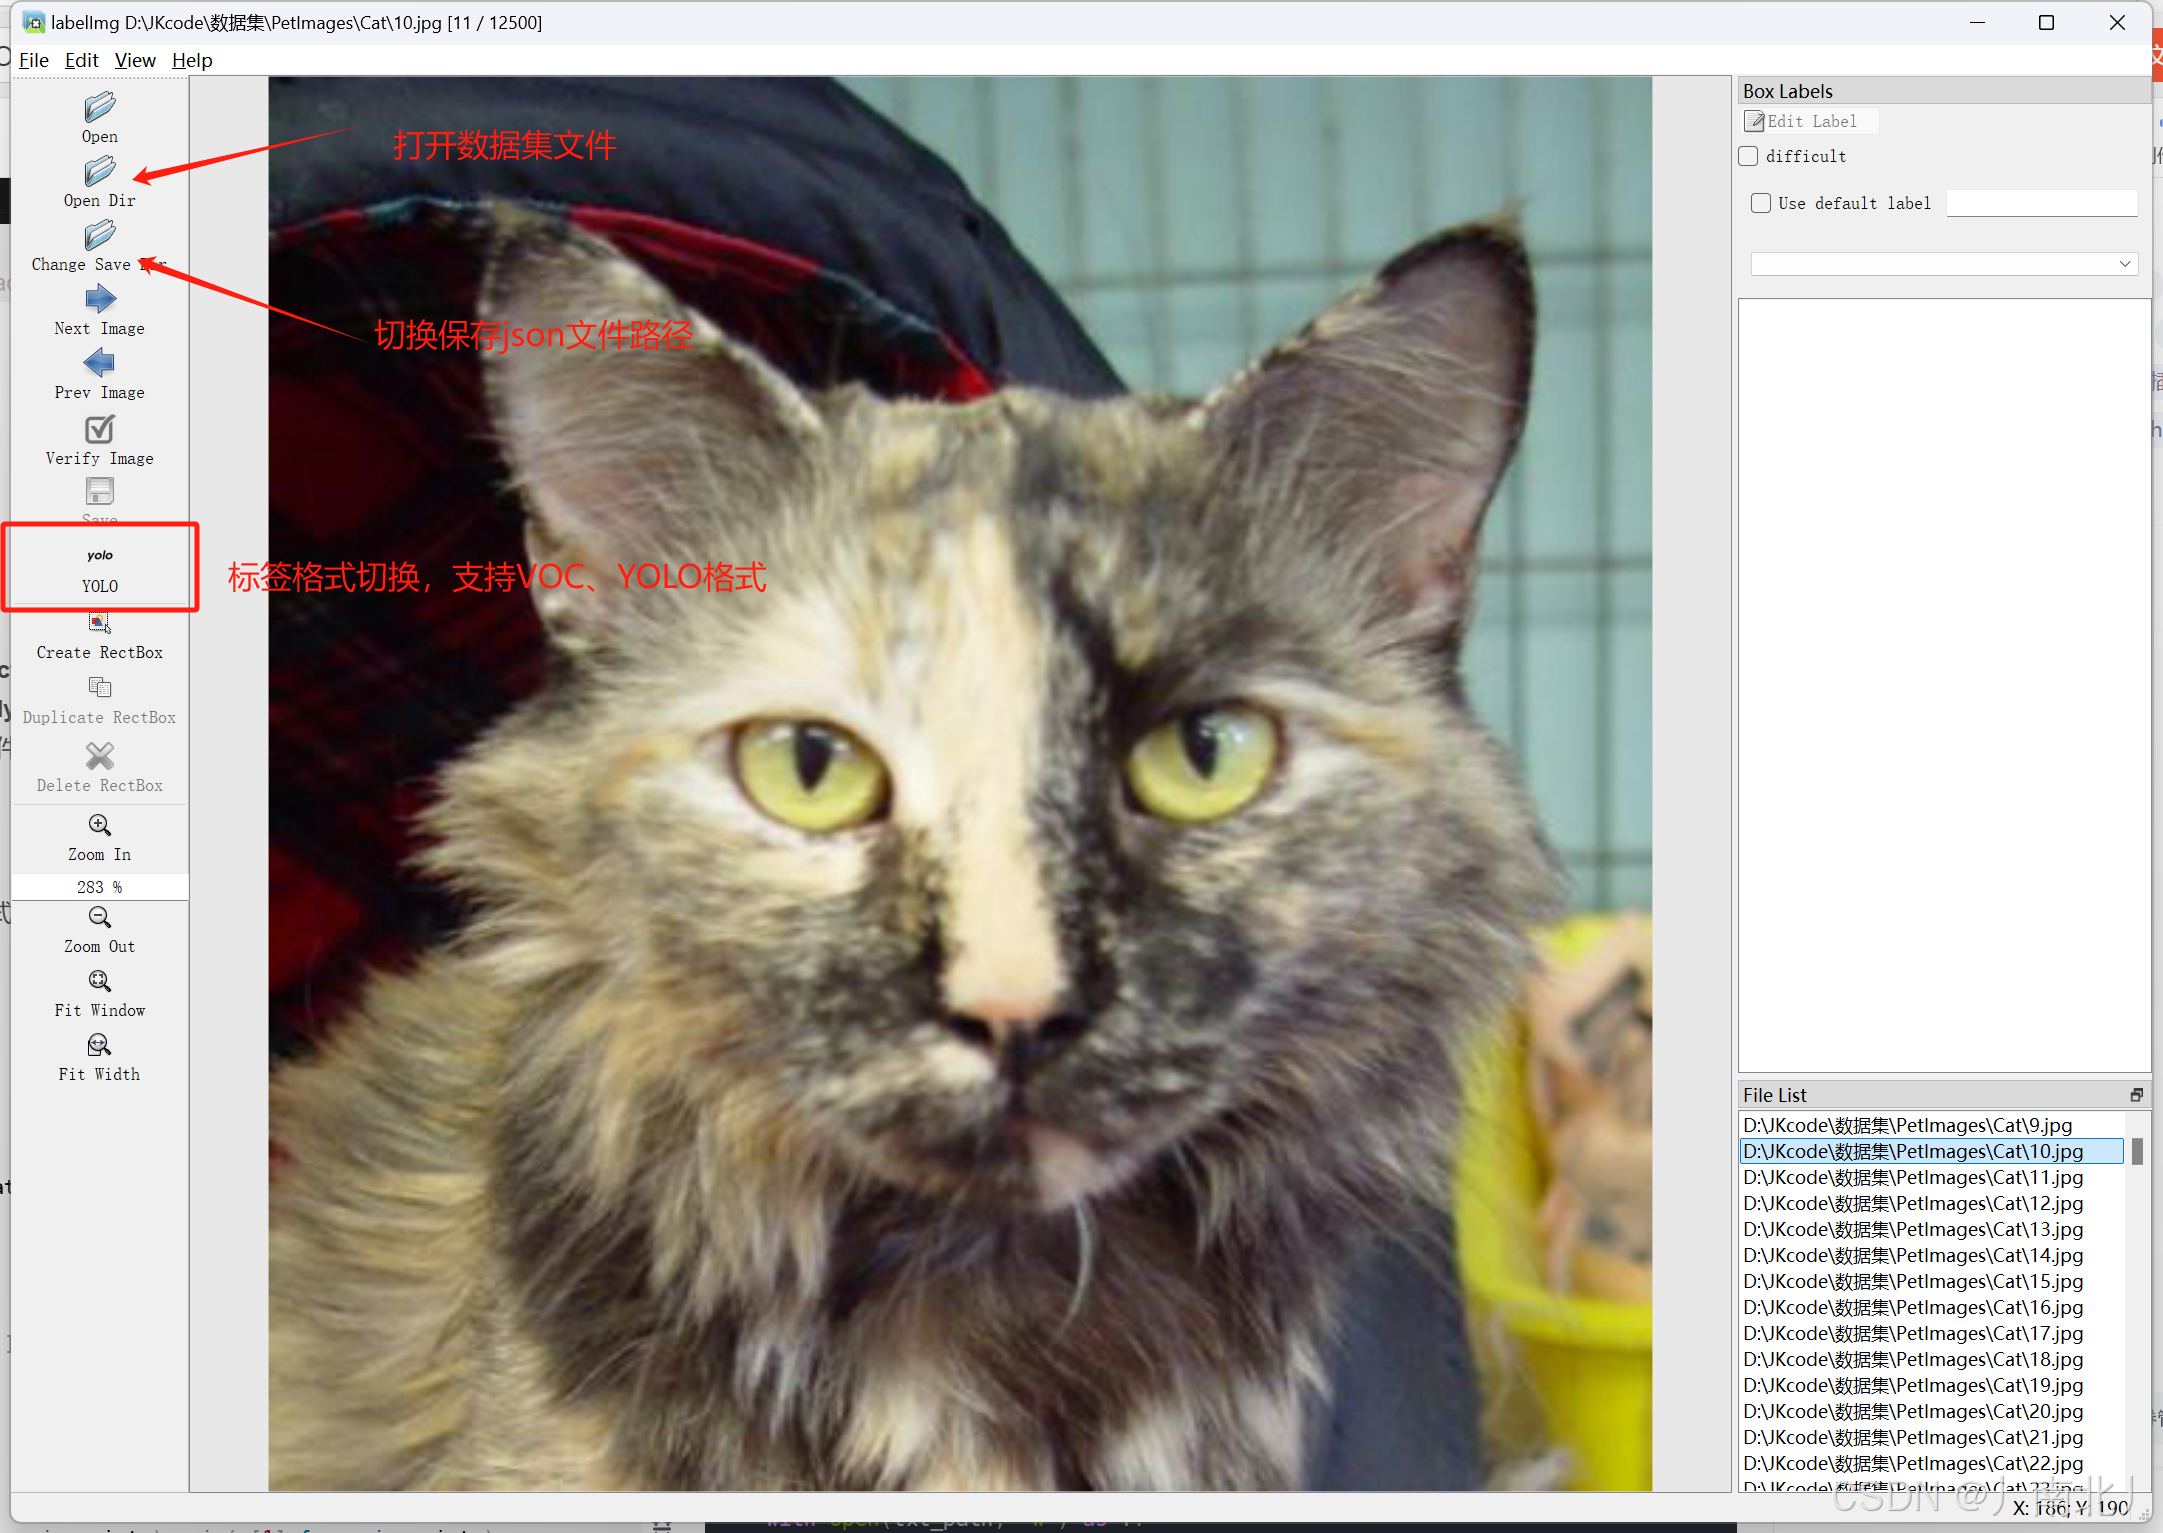
- 标注技巧:
- 目标检测:选择**矩形框(Create Rectangle)**标注物体边界。
- 实例分割:使用**多边形(Create Polygons)**精确标注轮廓。
- 保存格式:生成与图片同名的
.json文件,包含类别、坐标等信息。
3. 转换标注格式(可选)
将Labelme的JSON标签转换为YOLO格式的TXT文件(每行格式:class_id x_center y_center width height):
# 代码示例:JSON转YOLO格式(目标检测)
import json
import os

def convert_labelme_to_yolo(json_path, output_dir, label_map):
    with open(json_path, 'r') as f:
        data = json.load(f)
    img_width = data['imageWidth']
    img_height = data['imageHeight']
    txt_lines = []
    for shape in data['shapes']:
        label = shape['label']
        points = shape['points']
        x_min, y_min = min(p[0] for p in points), min(p[1] for p in points)
        x_max, y_max = max(p[0] for p in points), max(p[1] for p in points)
        x_center = (x_min + x_max) / 2 / img_width
        y_center = (y_min + y_max) / 2 / img_height
        width = (x_max - x_min) / img_width
        height = (y_max - y_min) / img_height
        txt_lines.append(f"{label_map[label]} {x_center:.6f} {y_center:.6f} {width:.6f} {height:.6f}")
    txt_path = os.path.join(output_dir, os.path.splitext(os.path.basename(json_path))[0] + '.txt')
    with open(txt_path, 'w') as f:
        f.write('\n'.join(txt_lines))
二、YOLO11环境配置与模型训练
1. 环境搭建
- CUDA与PyTorch:安装CUDA 12.1 + cuDNN 8.9.7,PyTorch选择GPU版本(如
torch==2.1.0+cu121)。 - 依赖库安装:
conda create -n yolov11 python=3.10
conda activate yolov11
pip install ultralytics opencv-python matplotlib
2. 配置文件准备
- 数据集YAML:创建
data.yaml定义路径与类别:path: ./datasets/custom train: train/images val: val/images names: 0: cat 1: dog - 模型YAML:选择
yolo11.yaml调整nc(类别数)与scales(模型尺寸)。
3. 模型训练
- 启动训练:使用Ultralytics API快速训练:
from ultralytics import YOLO model = YOLO('yolo11n.pt') # 加载预训练权重 model.train( data='data.yaml', epochs=100, batch=16, imgsz=640, device='0', # GPU ID optimizer='AdamW', project='runs/train' ) - 关键参数:
mosaic=True:启用马赛克增强(提升小目标检测)。close_mosaic=10:最后10个epoch关闭mosaic防止过拟合。
三、模型验证与优化
1. 性能评估
model.val(data='data.yaml', split='val', batch=8)
- 关注指标:[email protected]、Recall、Precision。
- 混淆矩阵:分析类别间误检情况,针对性优化数据集。
2. 模型导出
导出为ONNX/TensorRT格式加速推理:
model.export(format='onnx', dynamic=True, simplify=True)
四、FastAPI后端接口部署
1. 接口开发
from fastapi import FastAPI, File, UploadFile
import cv2
import numpy as np
from ultralytics import YOLO

app = FastAPI()
model = YOLO('yolo11n.onnx')

@app.post("/predict")
async def predict(file: UploadFile = File(...)):
    image = cv2.imdecode(np.frombuffer(await file.read(), np.uint8), cv2.IMREAD_COLOR)
    results = model.predict(image, conf=0.5)
    return {
        "detections": [
            {
                "class": model.names[int(box.cls)],
                "confidence": float(box.conf),
                "bbox": [int(x) for x in box.xyxy[0].tolist()]
            } for box in results[0].boxes
        ]
    }
2. 服务启动
uvicorn main:app --host 0.0.0.0 --port 8000
五、避坑指南
- 显存不足:降低
batch_size或使用imgsz=320。 - 标注错误:检查TXT标签是否归一化,避免坐标超出[0,1]。
- 训练发散:尝试冻结骨干网络(
freeze=10)或减小学习率(lr0=0.001)。 - 部署报错:确保ONNX模型输入尺寸与推理代码一致。
立即动手,打造你的第一个YOLO11应用!如有疑问,欢迎评论区互动讨论~ 🚀