文章目录
APT采集页面路由信息
一. APT
注解(Annotation)
注解处理器(Annotation Processing Tool)
1.1 流程
定义注解,编写注解处理器,调用注解与注解处理器
二. 页面路由
URL,根据映射关系表,来打开特定页面的组件.
标记页面,收集页面,生成文档,注册映射.打开页面
2.1 映射关系表,采集页面
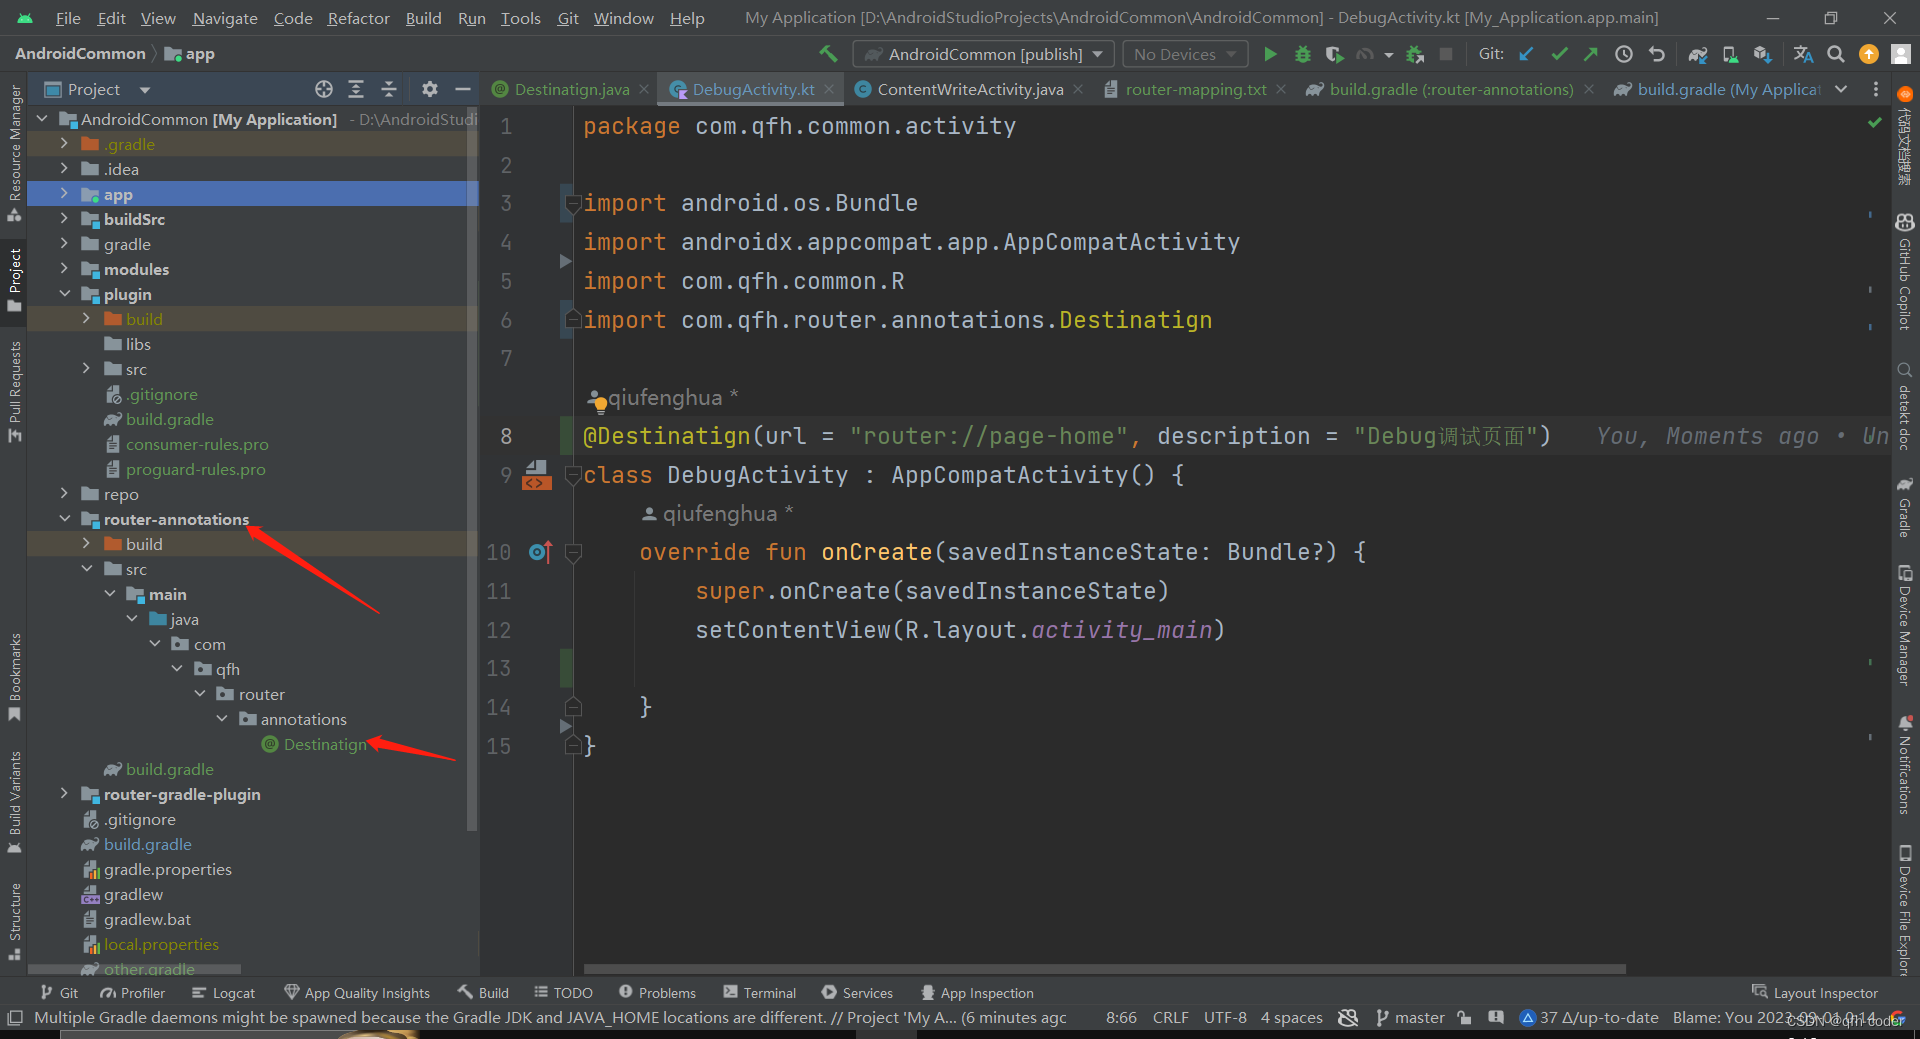
定义注解: @Destination,实现 DestinationProcessor,发布与使用
2.2 定义注解
定义注解
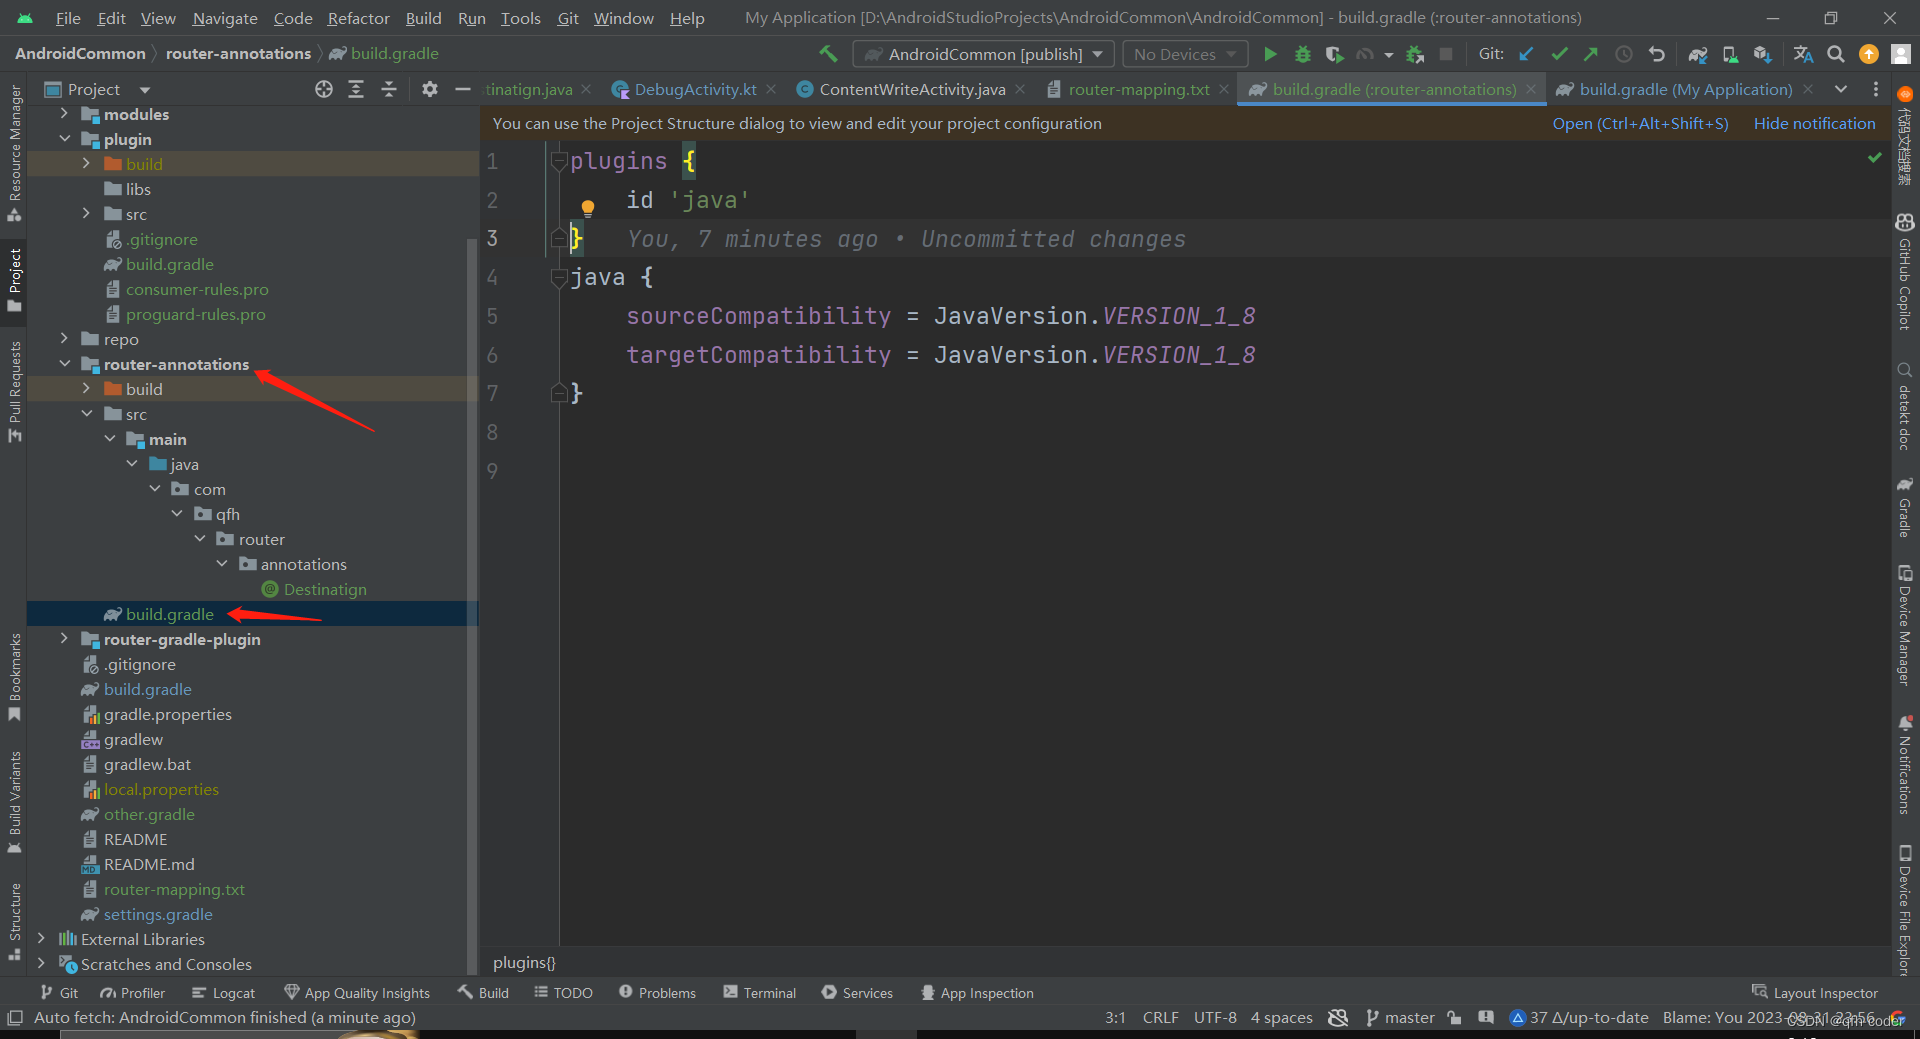
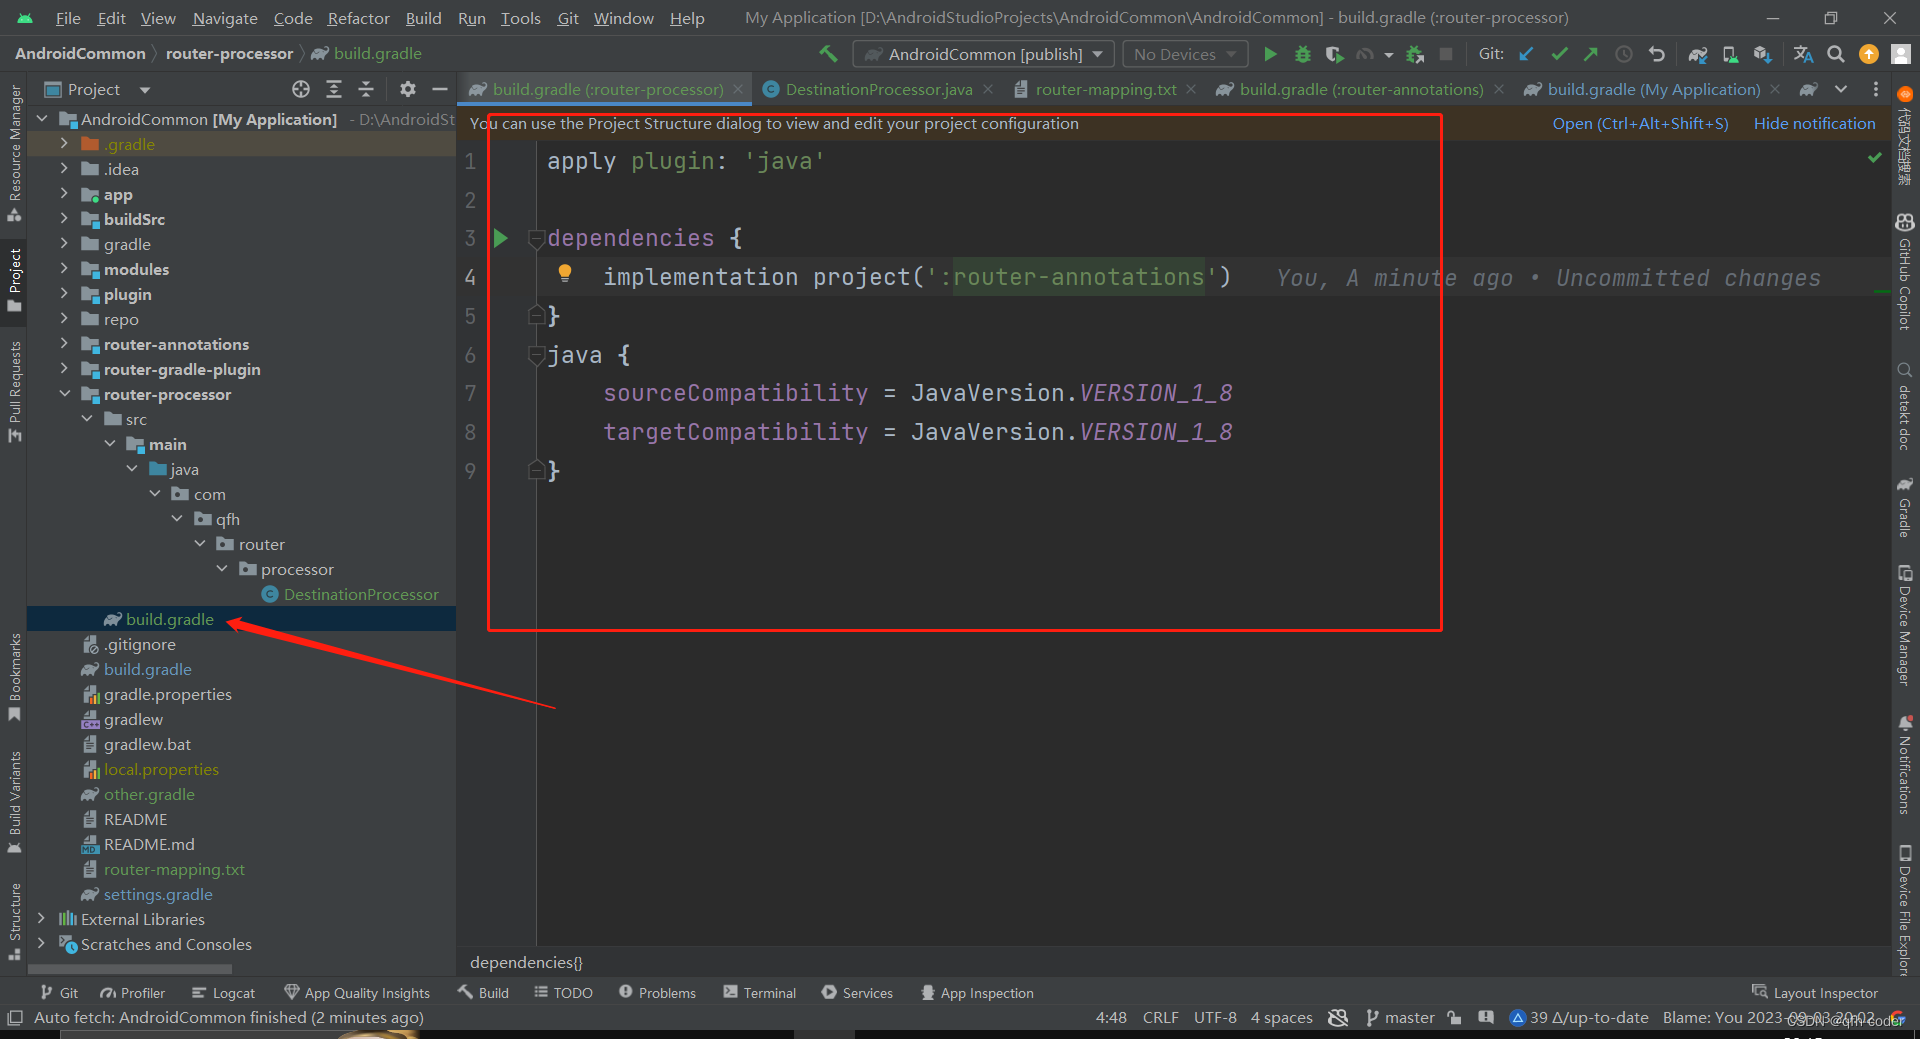
在新建的module下配置java信息
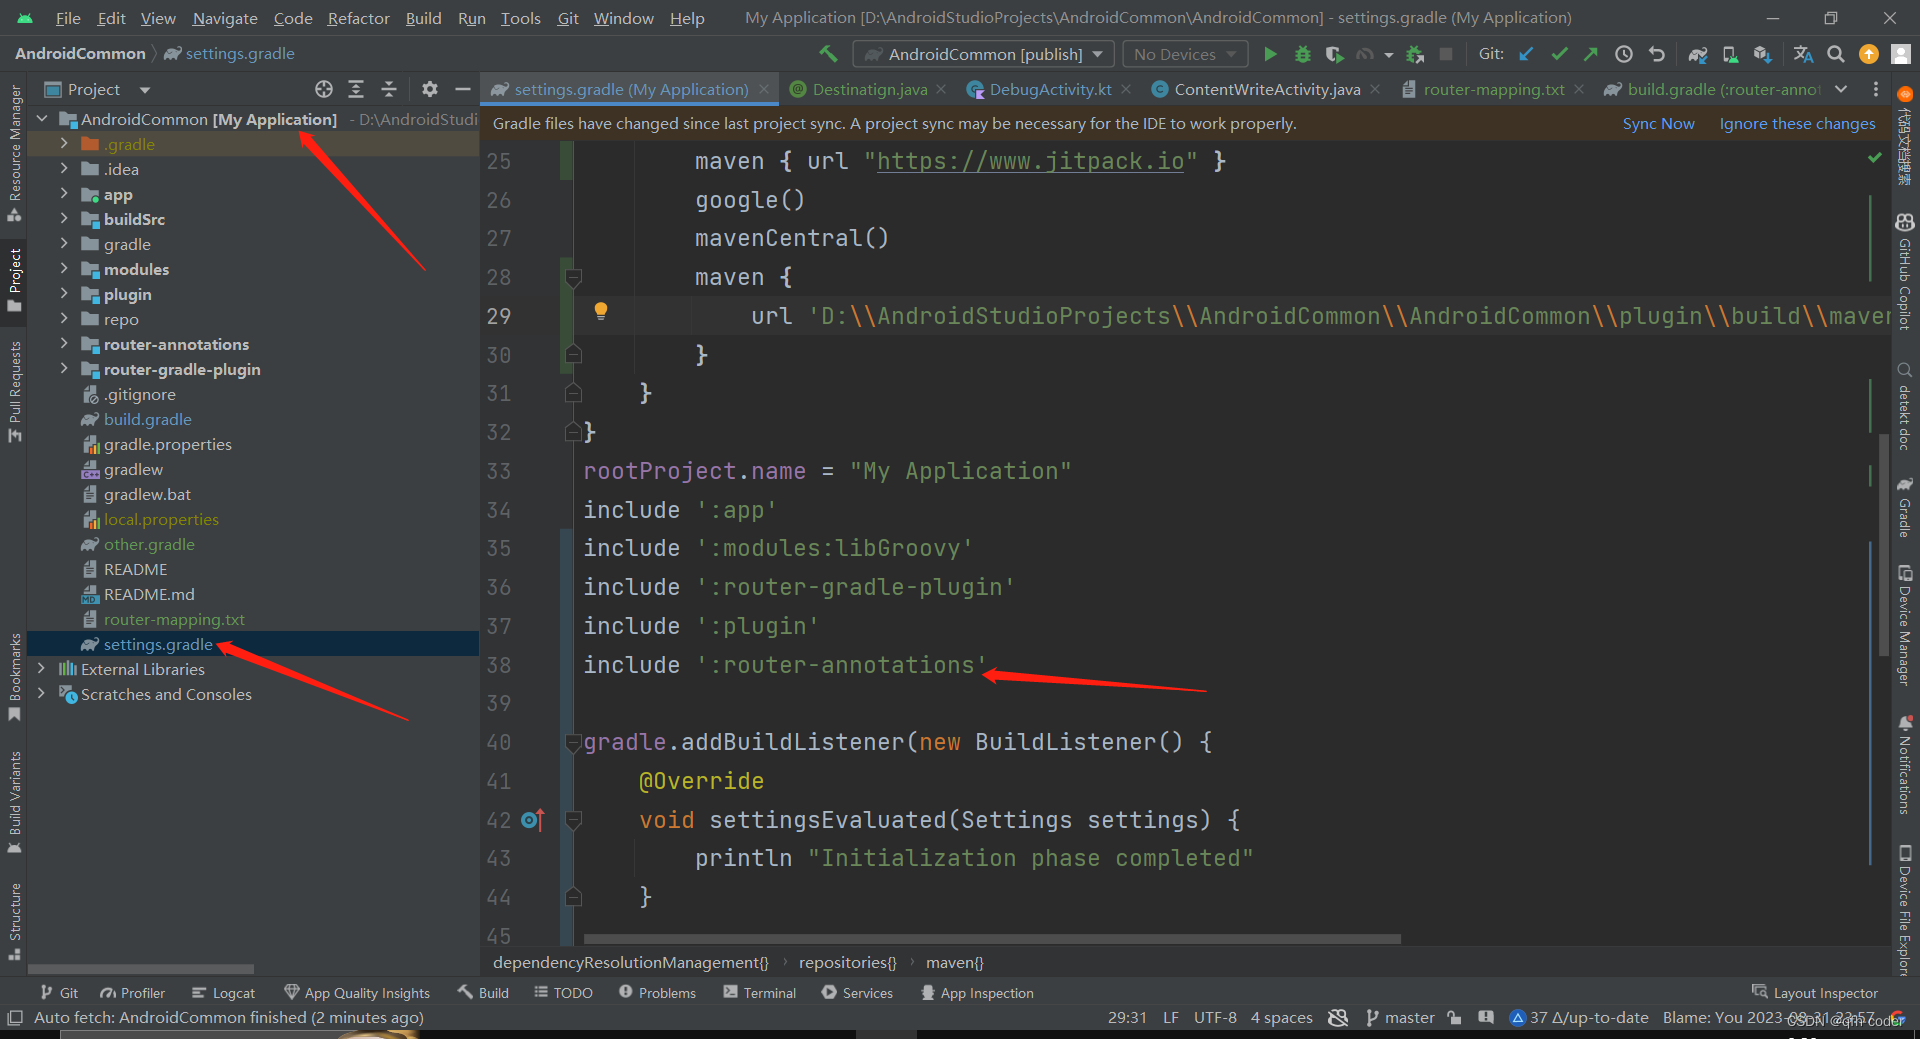
打开根目录setting.gradle文件,添加依赖
2.3 使用注解
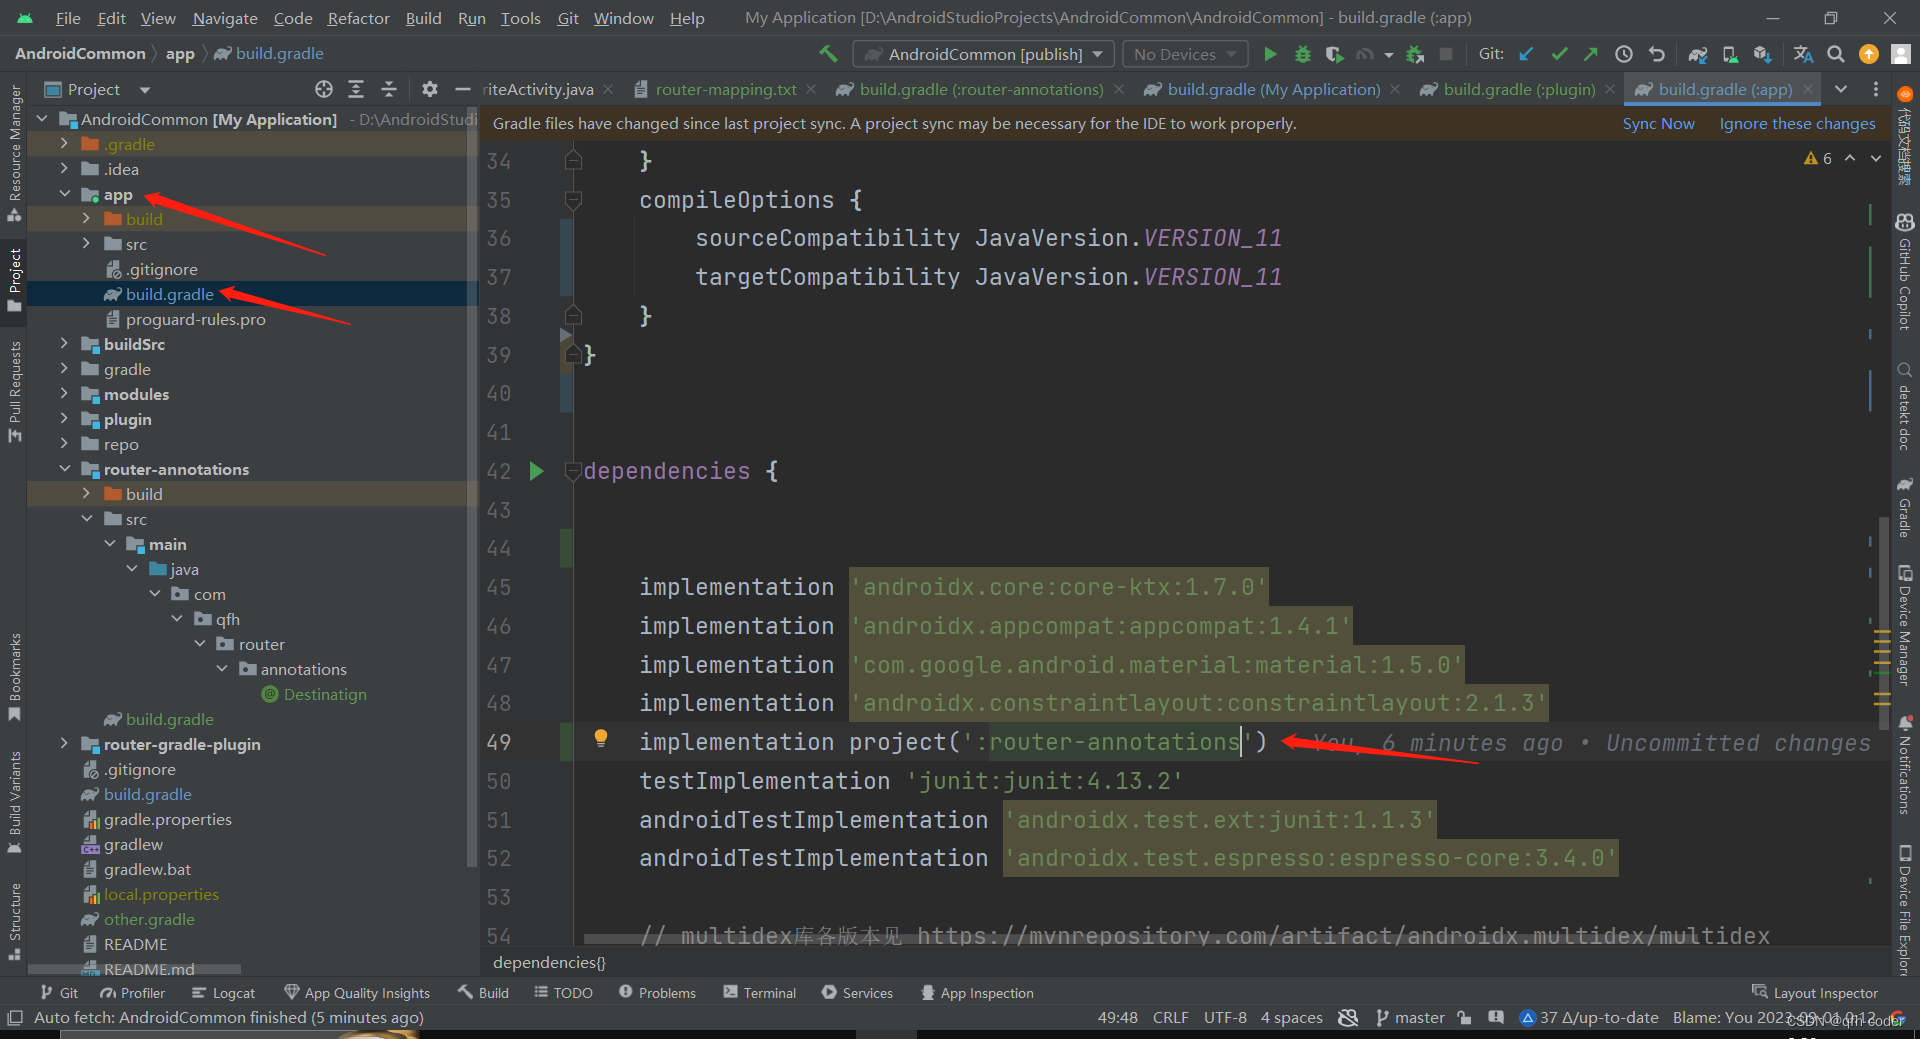
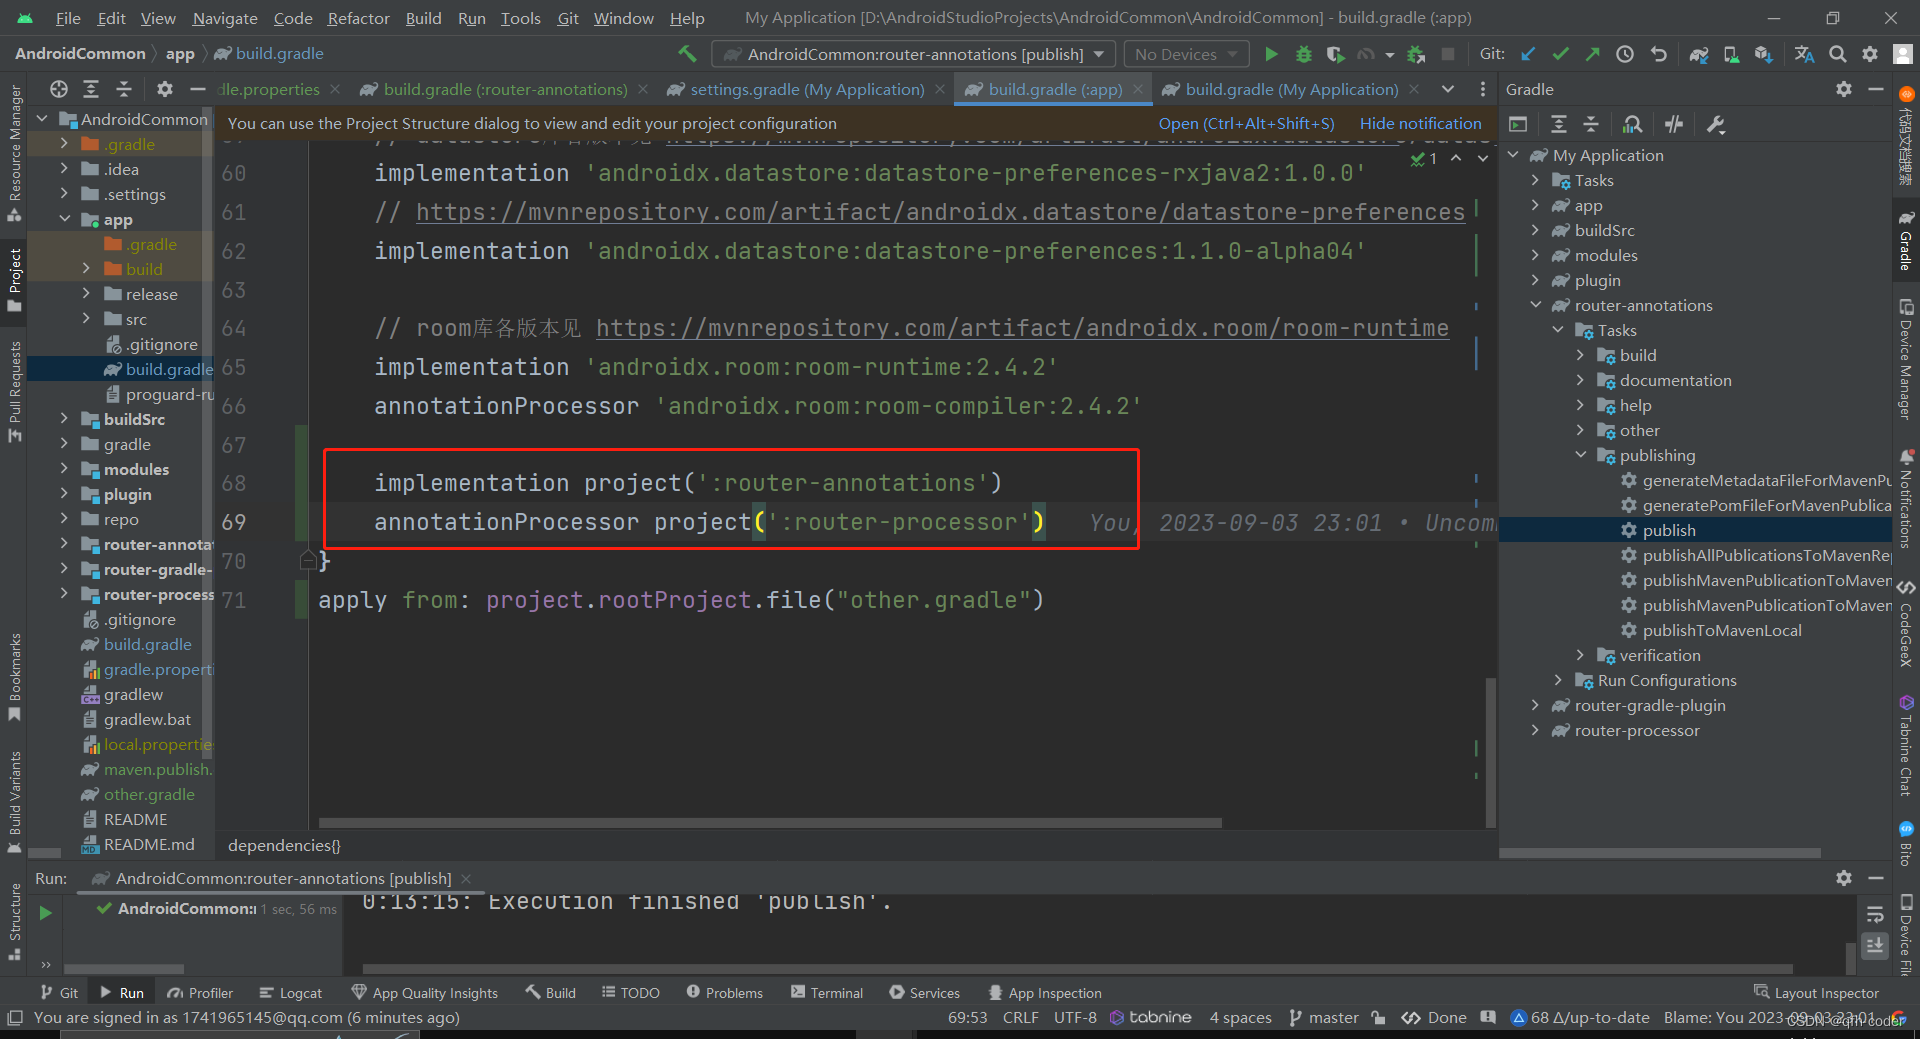
app模块下依赖子工程。
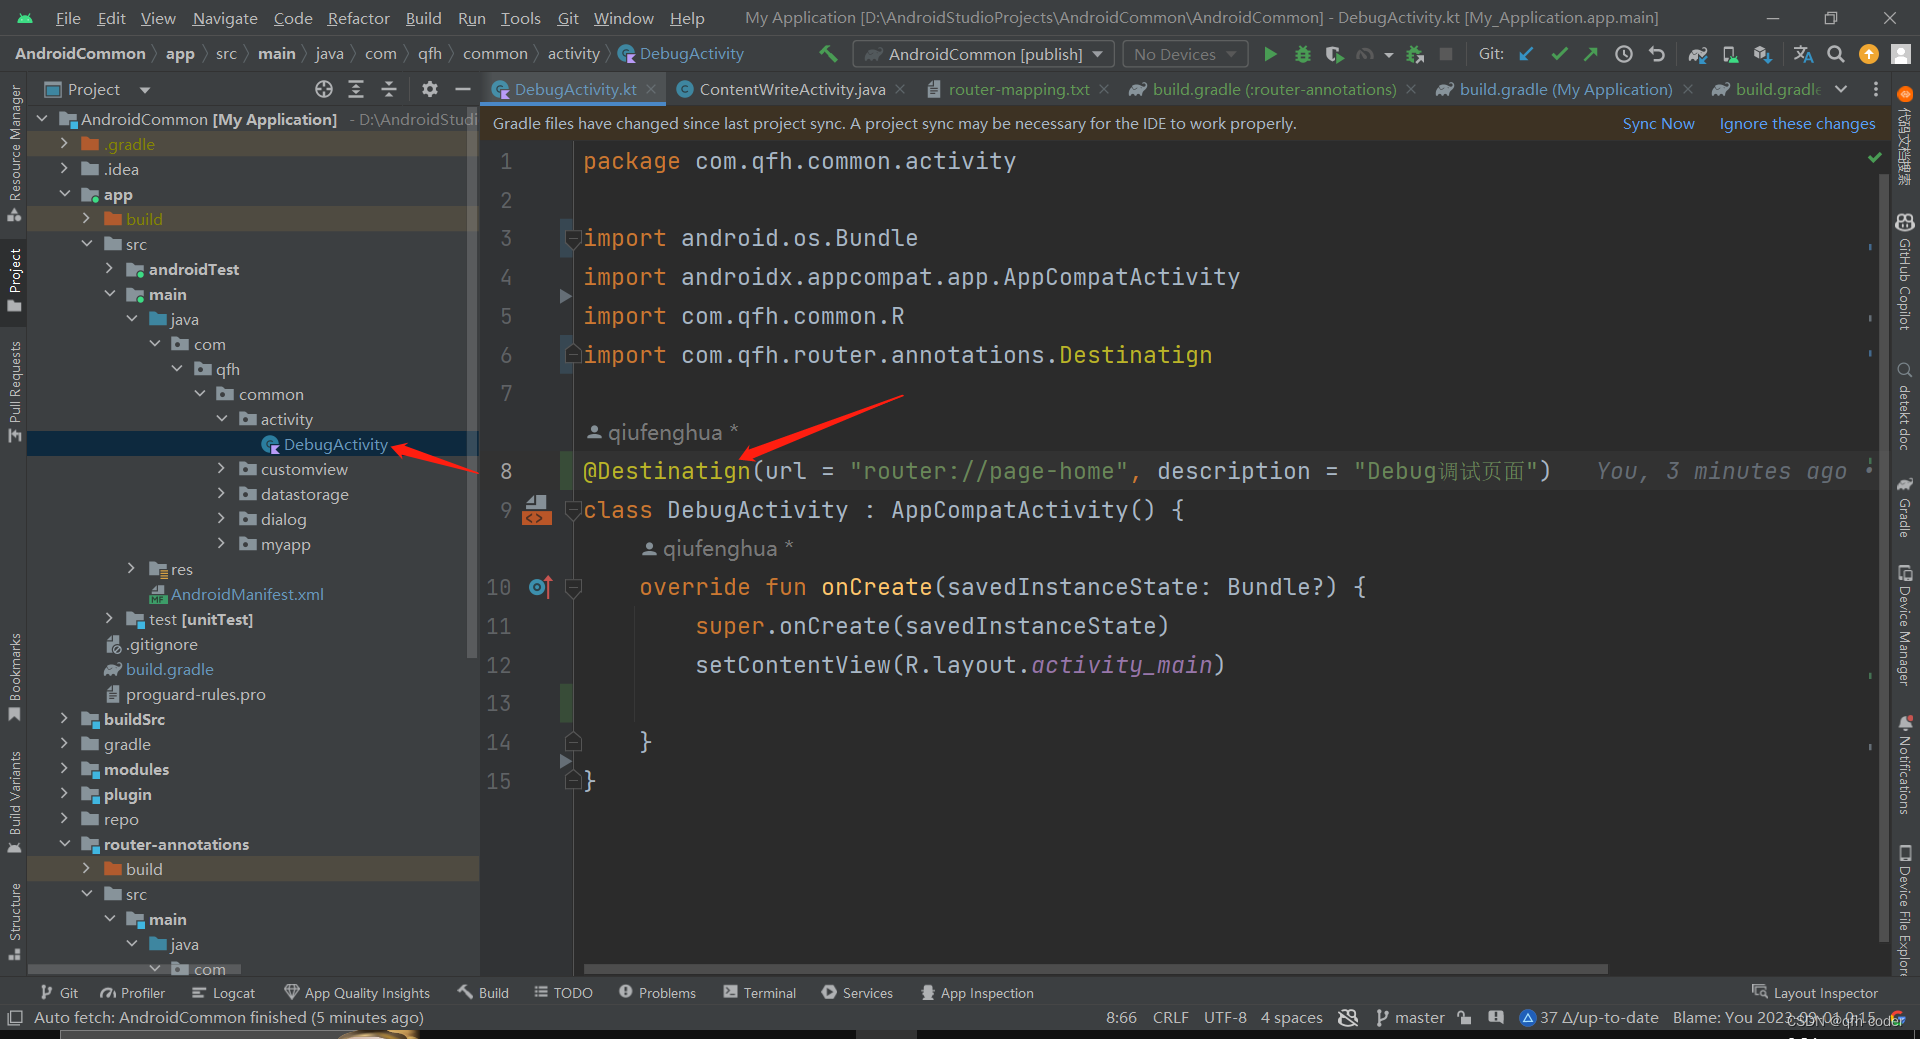
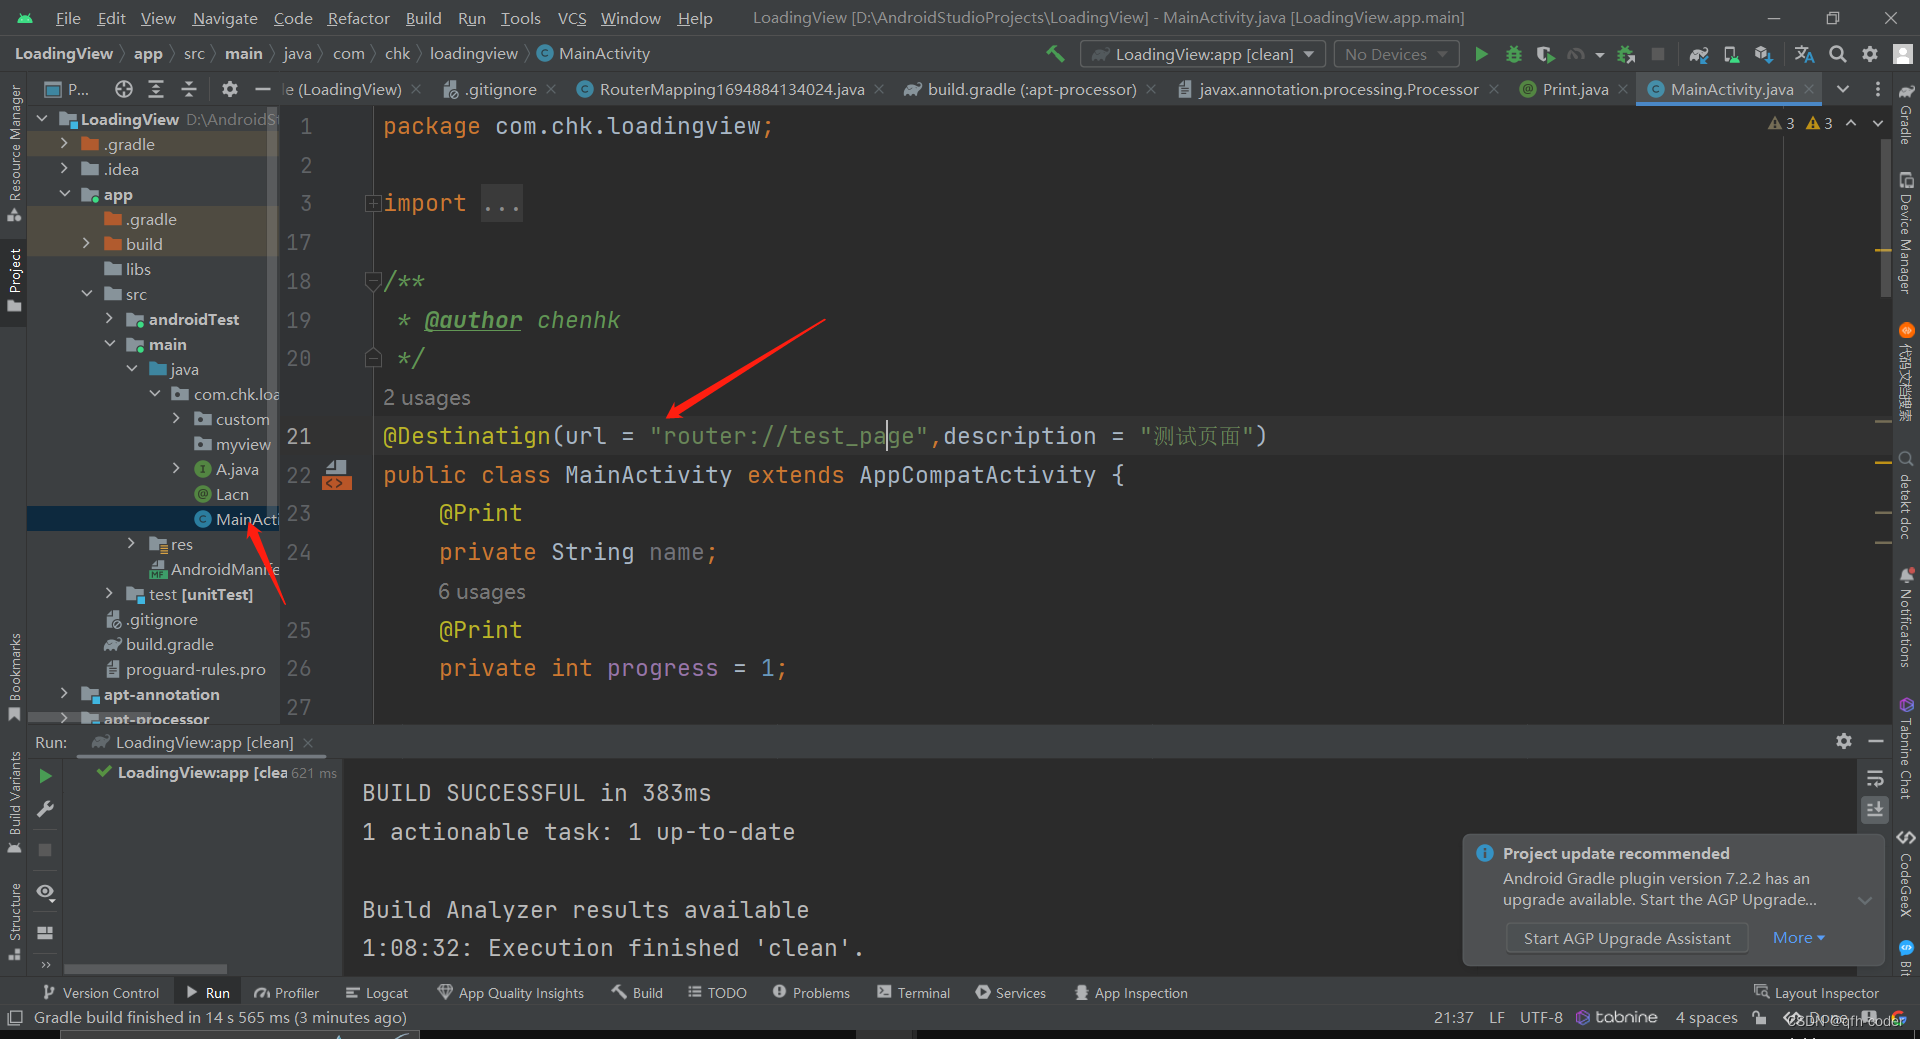
在Activity页面中使用注解
2.4 注解处理器
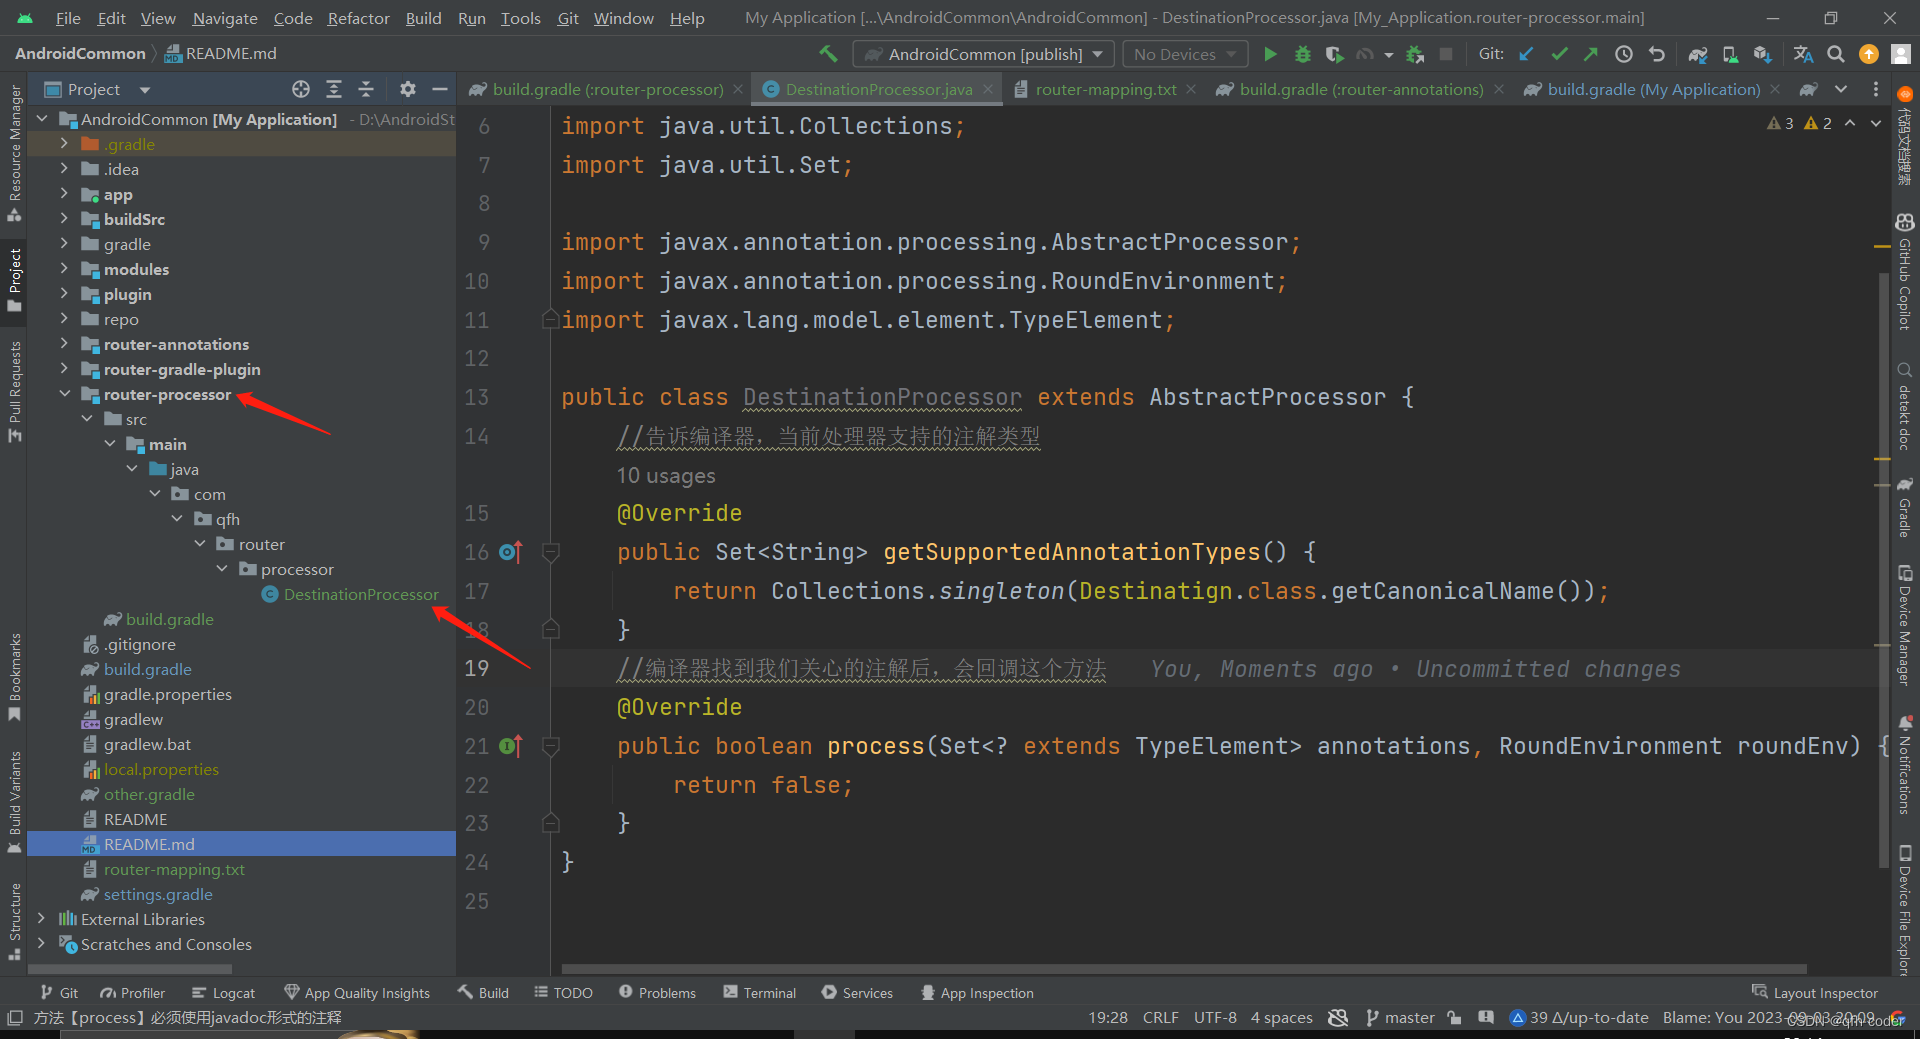
新建一个模块作为注解处理器,并且实现两个方法
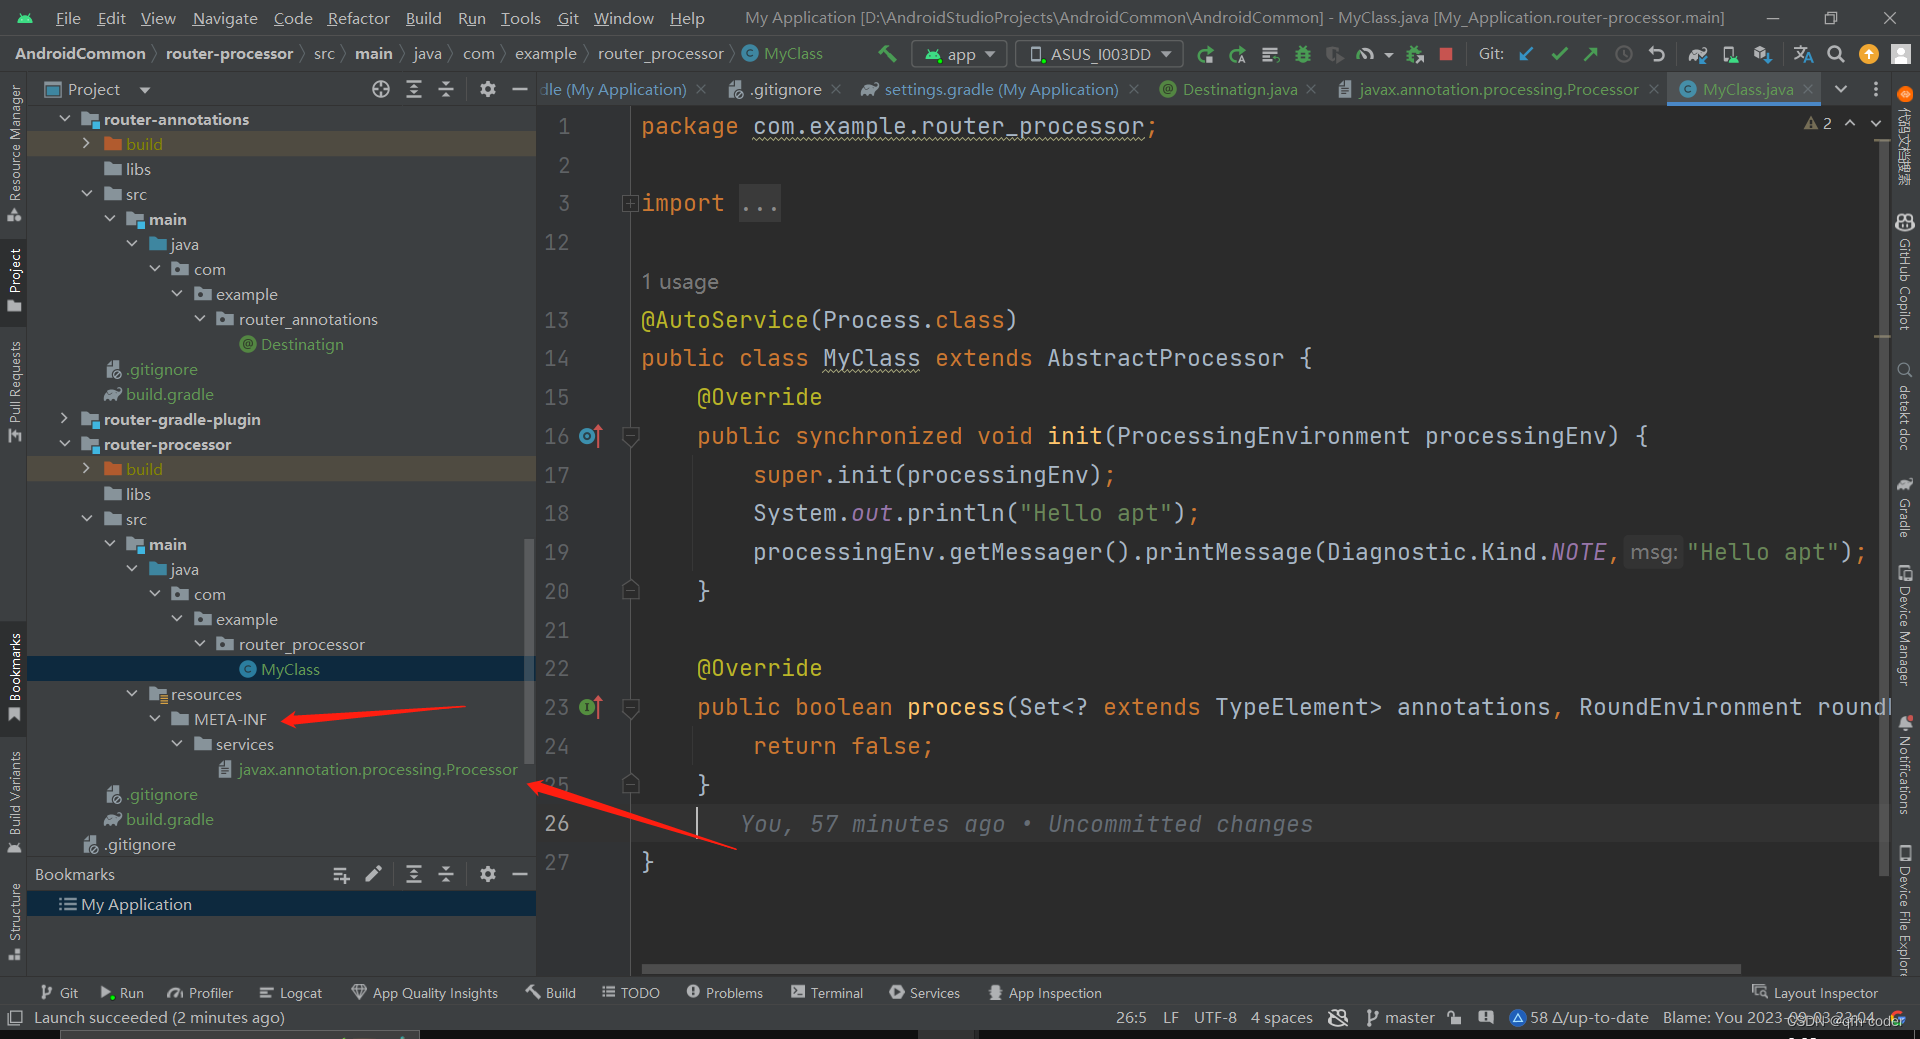
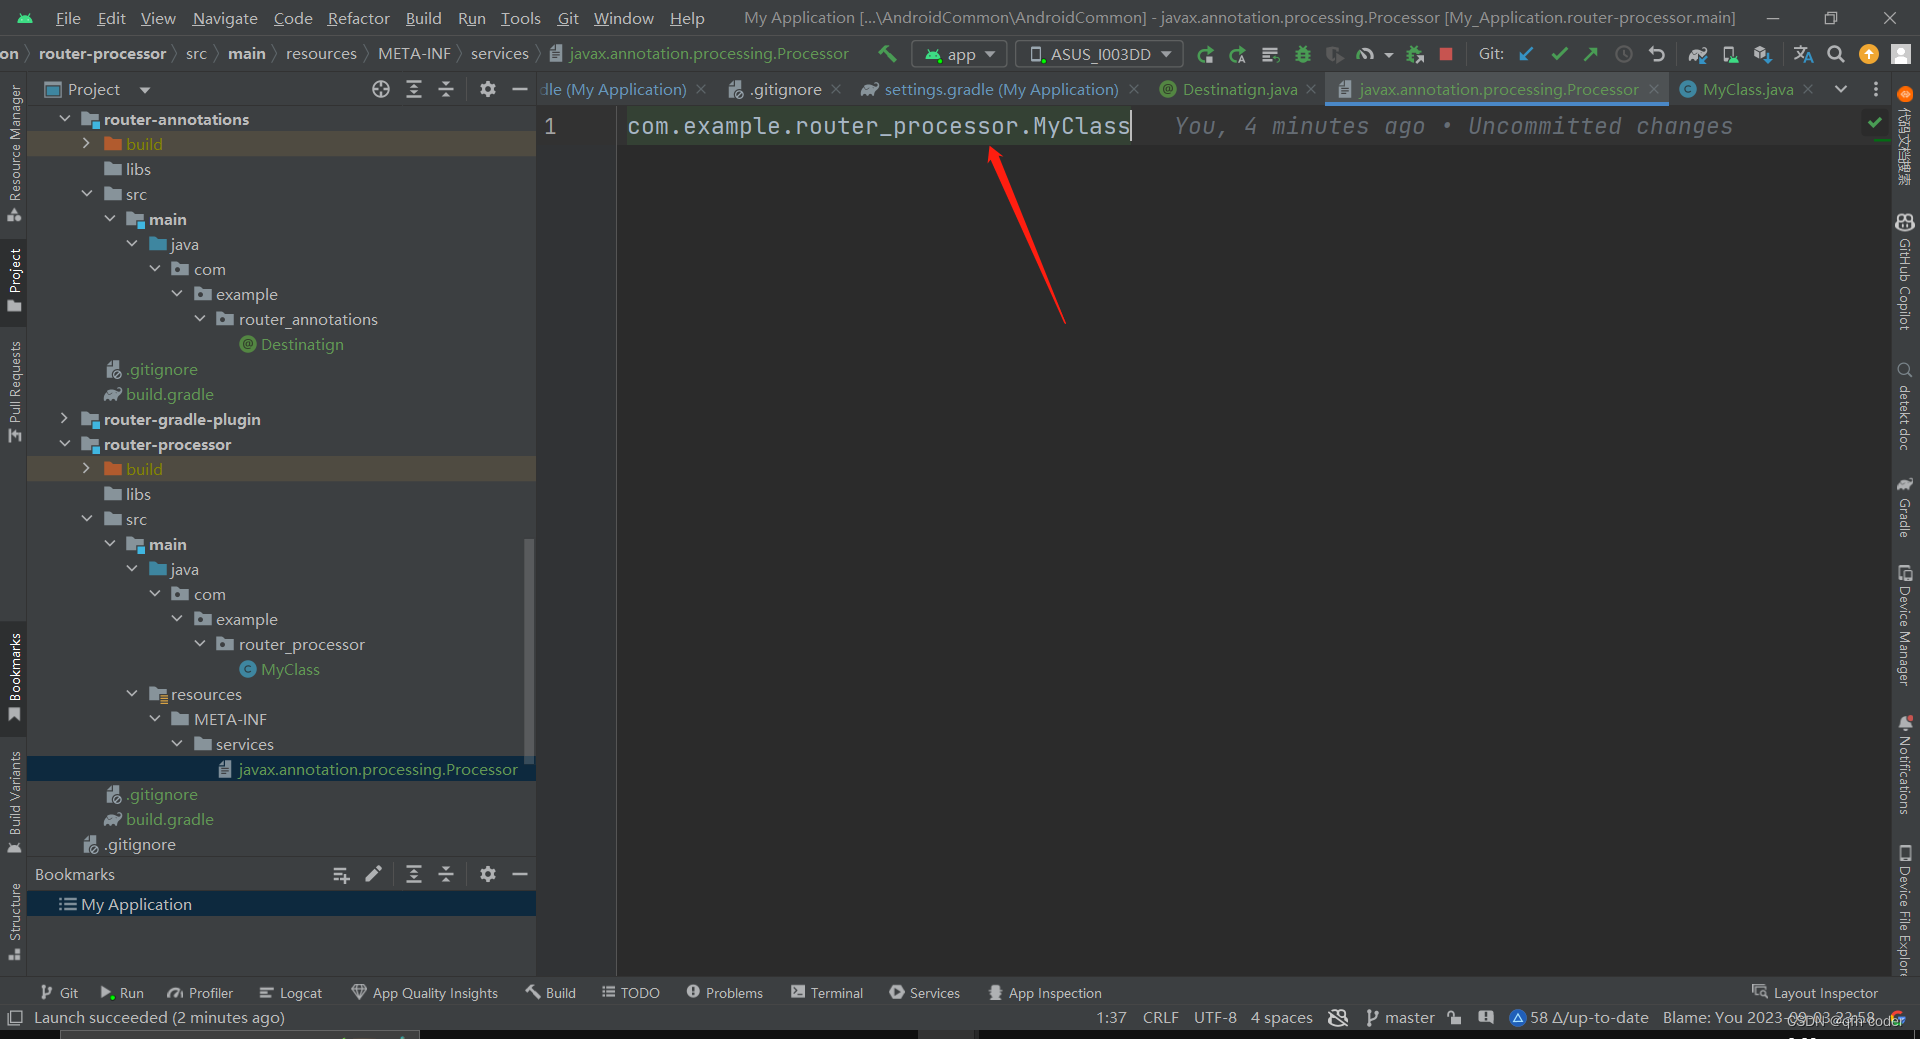
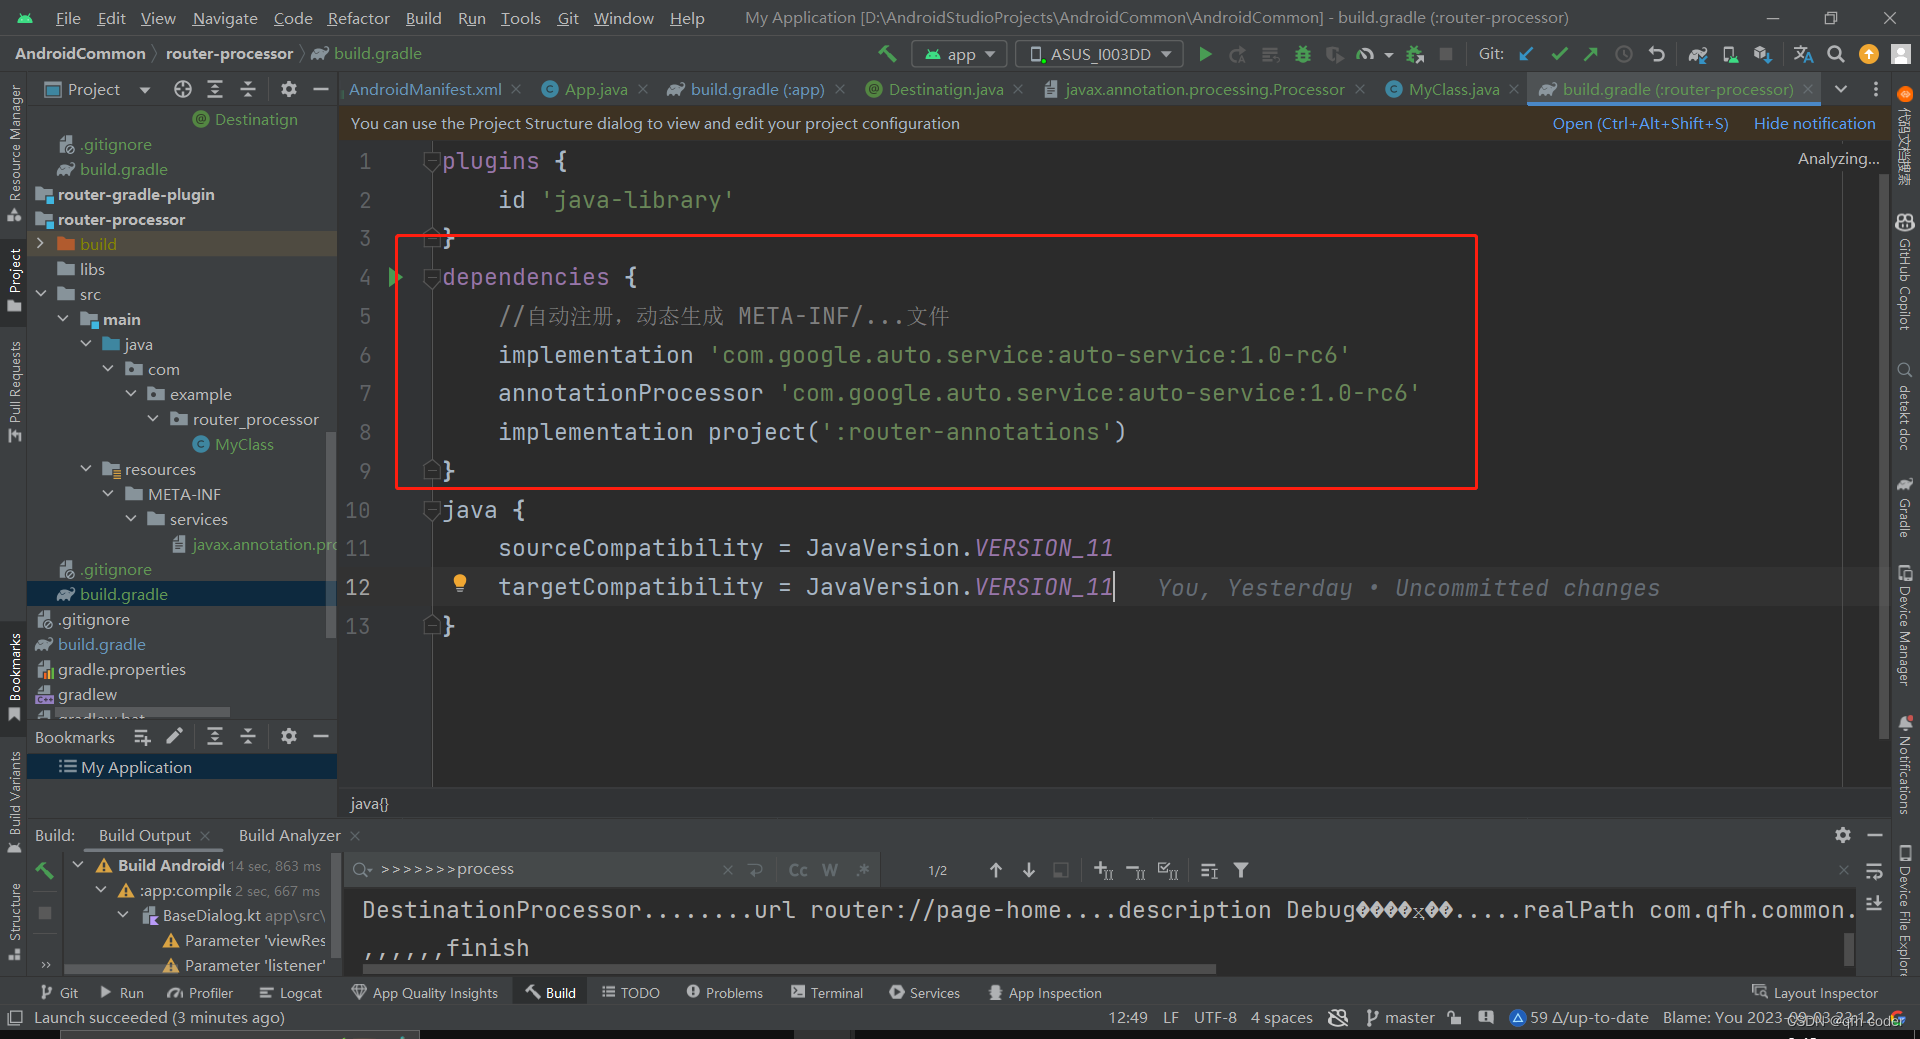
手动生成资源文件META-INF否则注解处理器可能不起作用
配置java编译环境
2.5 采集注解
@AutoService(Process.class)
public class MyClass extends AbstractProcessor {
    @Override
    public synchronized void init(ProcessingEnvironment processingEnv) {
        super.init(processingEnv);
        System.out.println("Hello apt1111");
        processingEnv.getMessager().printMessage(Diagnostic.Kind.NOTE,"Hello apt");
    }

    private static final String TAG = "DestinationProcessor";

    //告诉编译器,当前处理器支持的注解类型
    @Override
    public Set<String> getSupportedAnnotationTypes() {
        HashSet<String> hashSet = new HashSet<>();
        hashSet.add(Destinatign.class.getCanonicalName());
        return hashSet;
    }
    @Override
    public SourceVersion getSupportedSourceVersion() {
        return processingEnv.getSourceVersion();
    }

    //编译器找到我们关心的注解后,会回调这个方法
    @Override
    public boolean process(Set<? extends TypeElement> annotations, RoundEnvironment roundEnv) {
        //避免多次调用process
        if (roundEnv.processingOver()){
            return false;
        }
        System.out.println(TAG + ">>>>>>>process.....");
        //获取所有标记了@Destination 注解的类的信息
        Set<? extends Element> elements = roundEnv.getElementsAnnotatedWith(Destinatign.class);

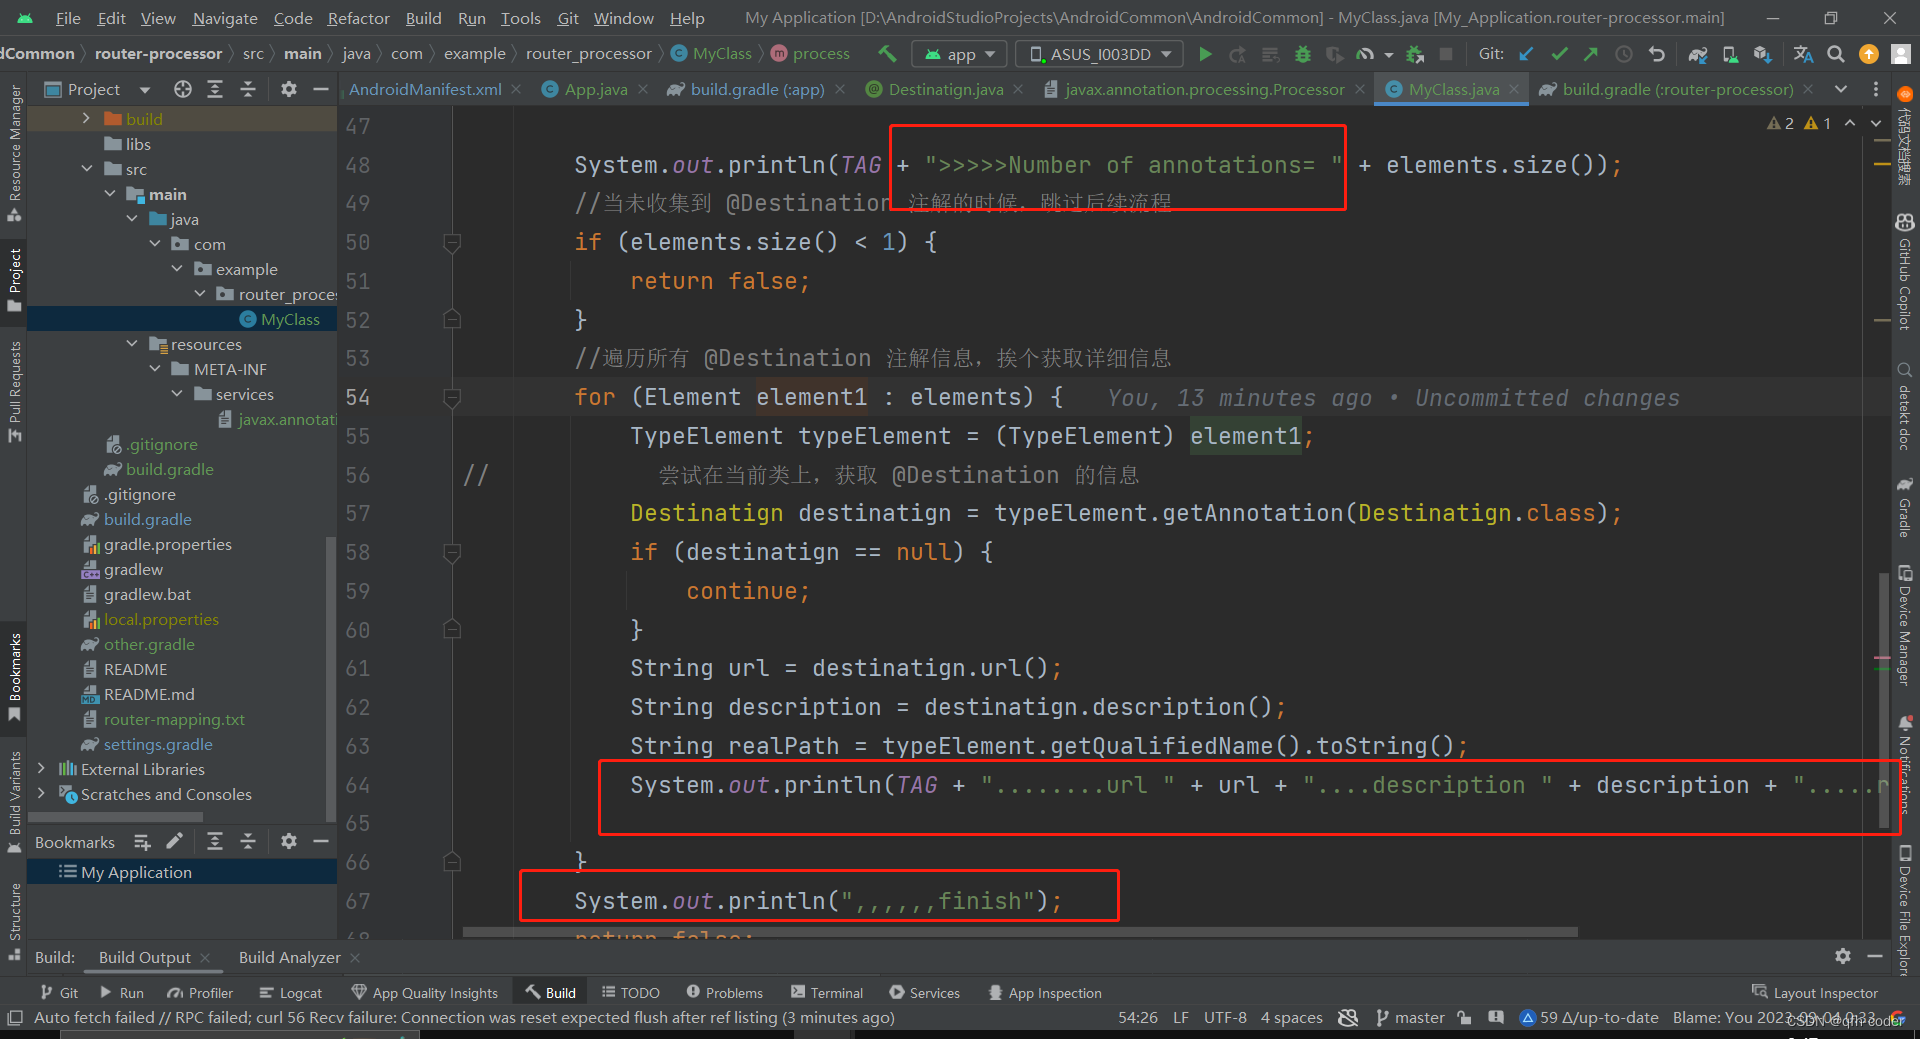
        System.out.println(TAG + ">>>>>Number of annotations= " + elements.size());
        //当未收集到 @Destination 注解的时候,跳过后续流程
        if (elements.size() < 1) {
            return false;
        }
        //遍历所有 @Destination 注解信息,挨个获取详细信息
        for (Element element1 : elements) {
            TypeElement typeElement = (TypeElement) element1;
//            尝试在当前类上,获取 @Destination 的信息
            Destinatign destinatign = typeElement.getAnnotation(Destinatign.class);
            if (destinatign == null) {
                continue;
            }
            String url = destinatign.url();
            String description = destinatign.description();
            String realPath = typeElement.getQualifiedName().toString();
            System.out.println(TAG + "........url " + url + "....description " + description + ".....realPath " + realPath);

        }
        System.out.println(",,,,,,finish");
        return false;
    }

}
2.6 注册注解处理器
javac并不知道我们的注解处理器到底是哪个类,即便我们在app模块中引入了其所在的子模块。
添加Google的官方依赖
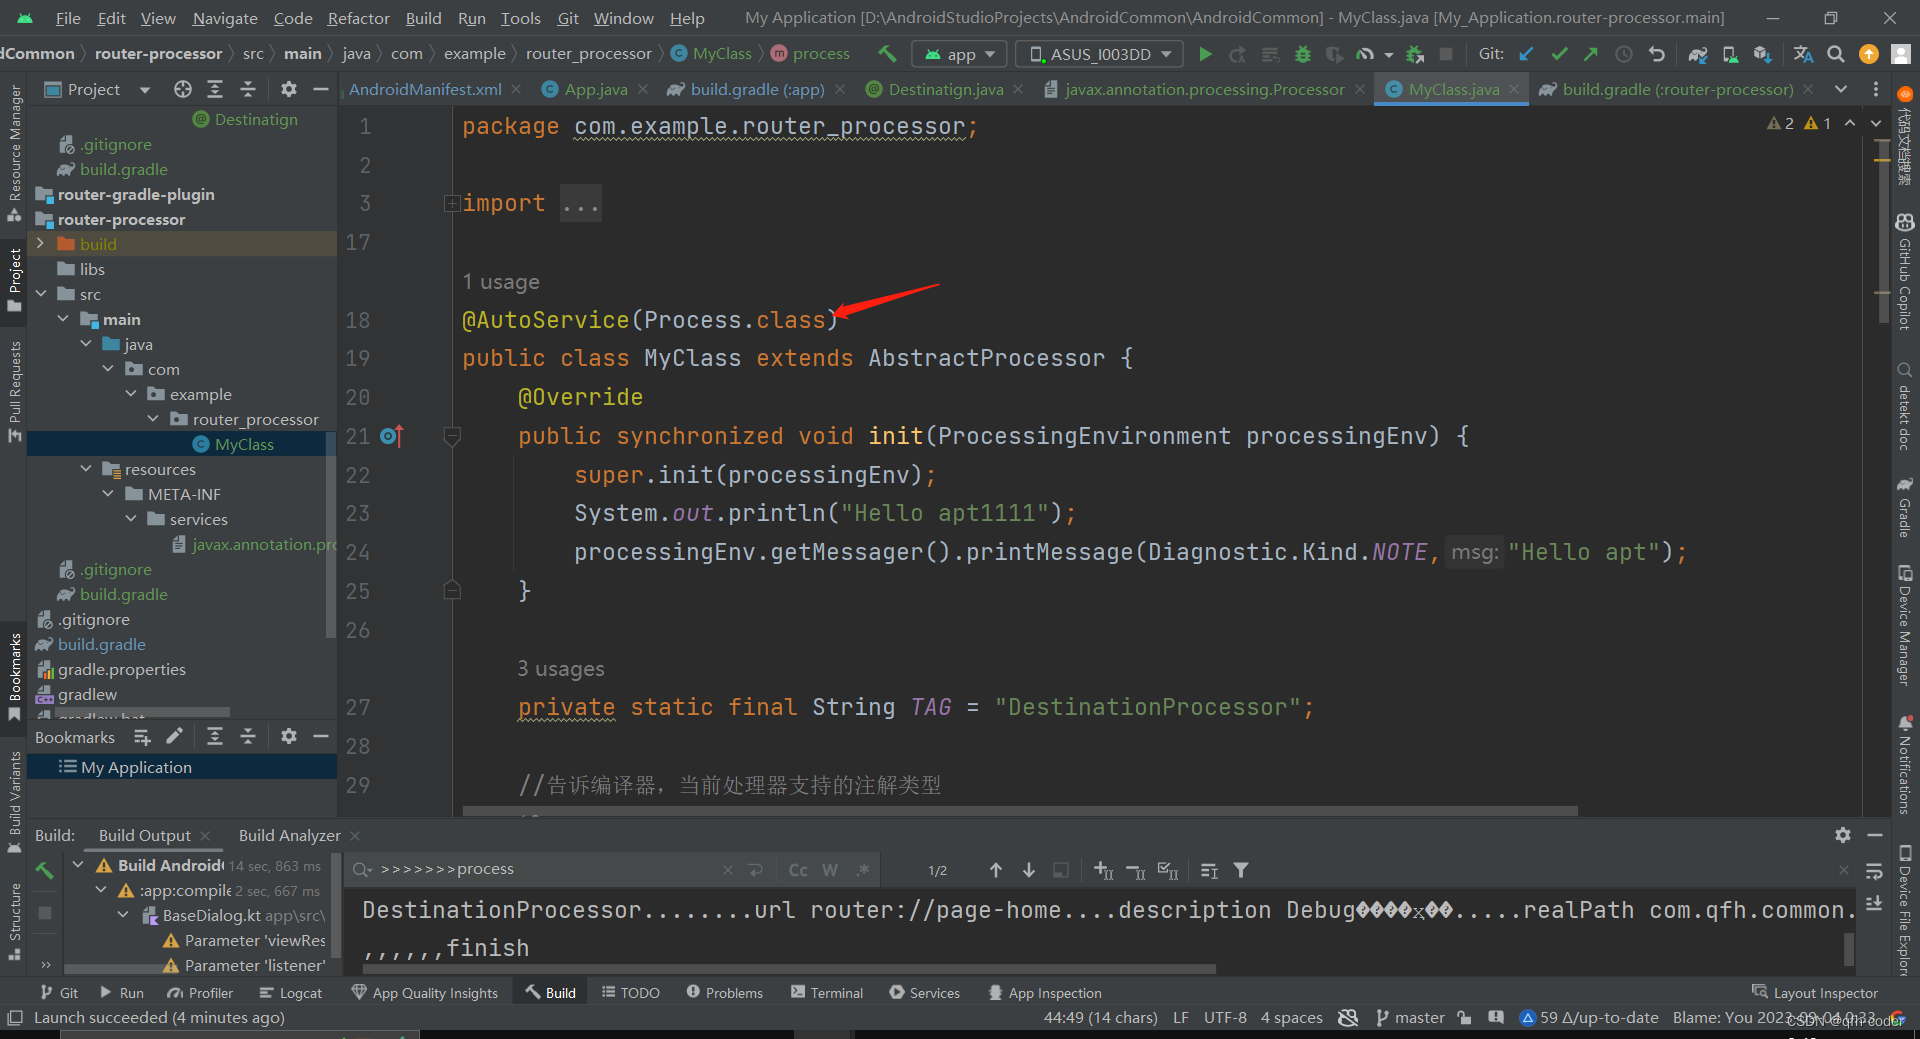
声明@AutoService(Process.class)
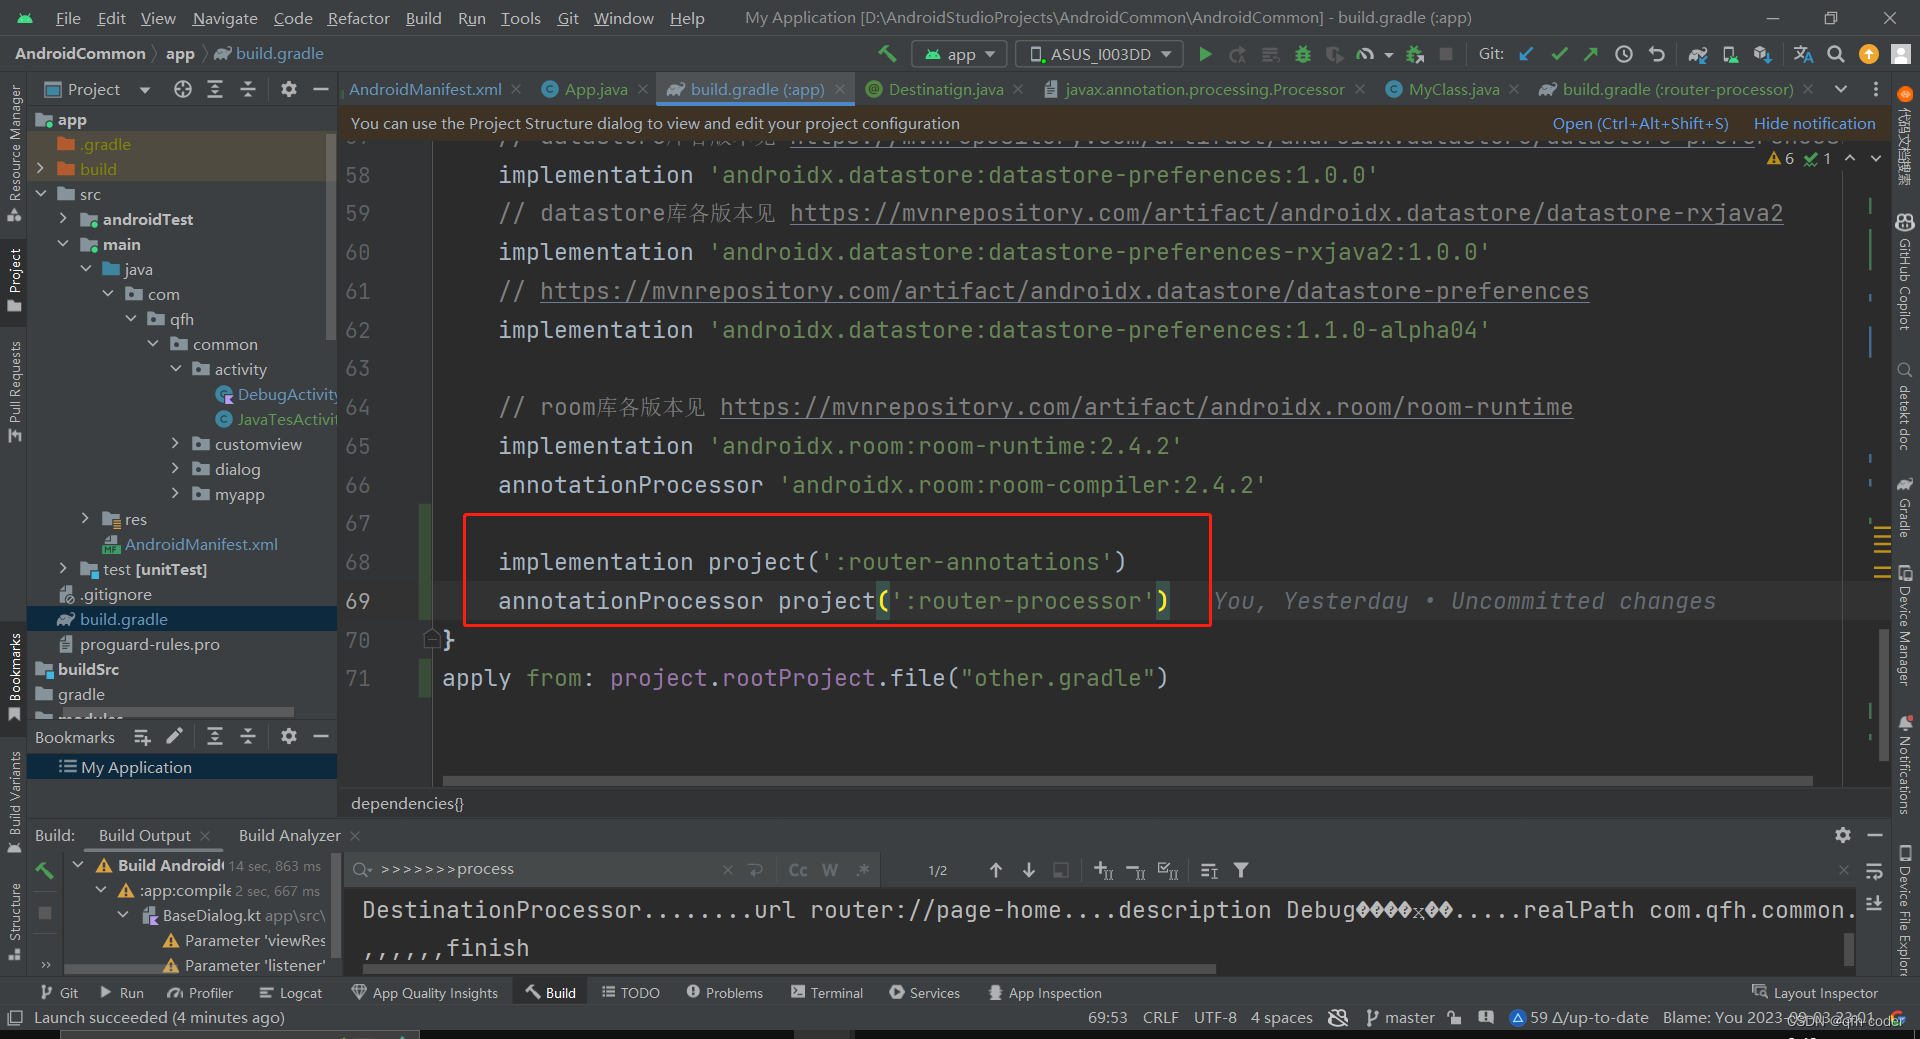
app模块中引入依赖
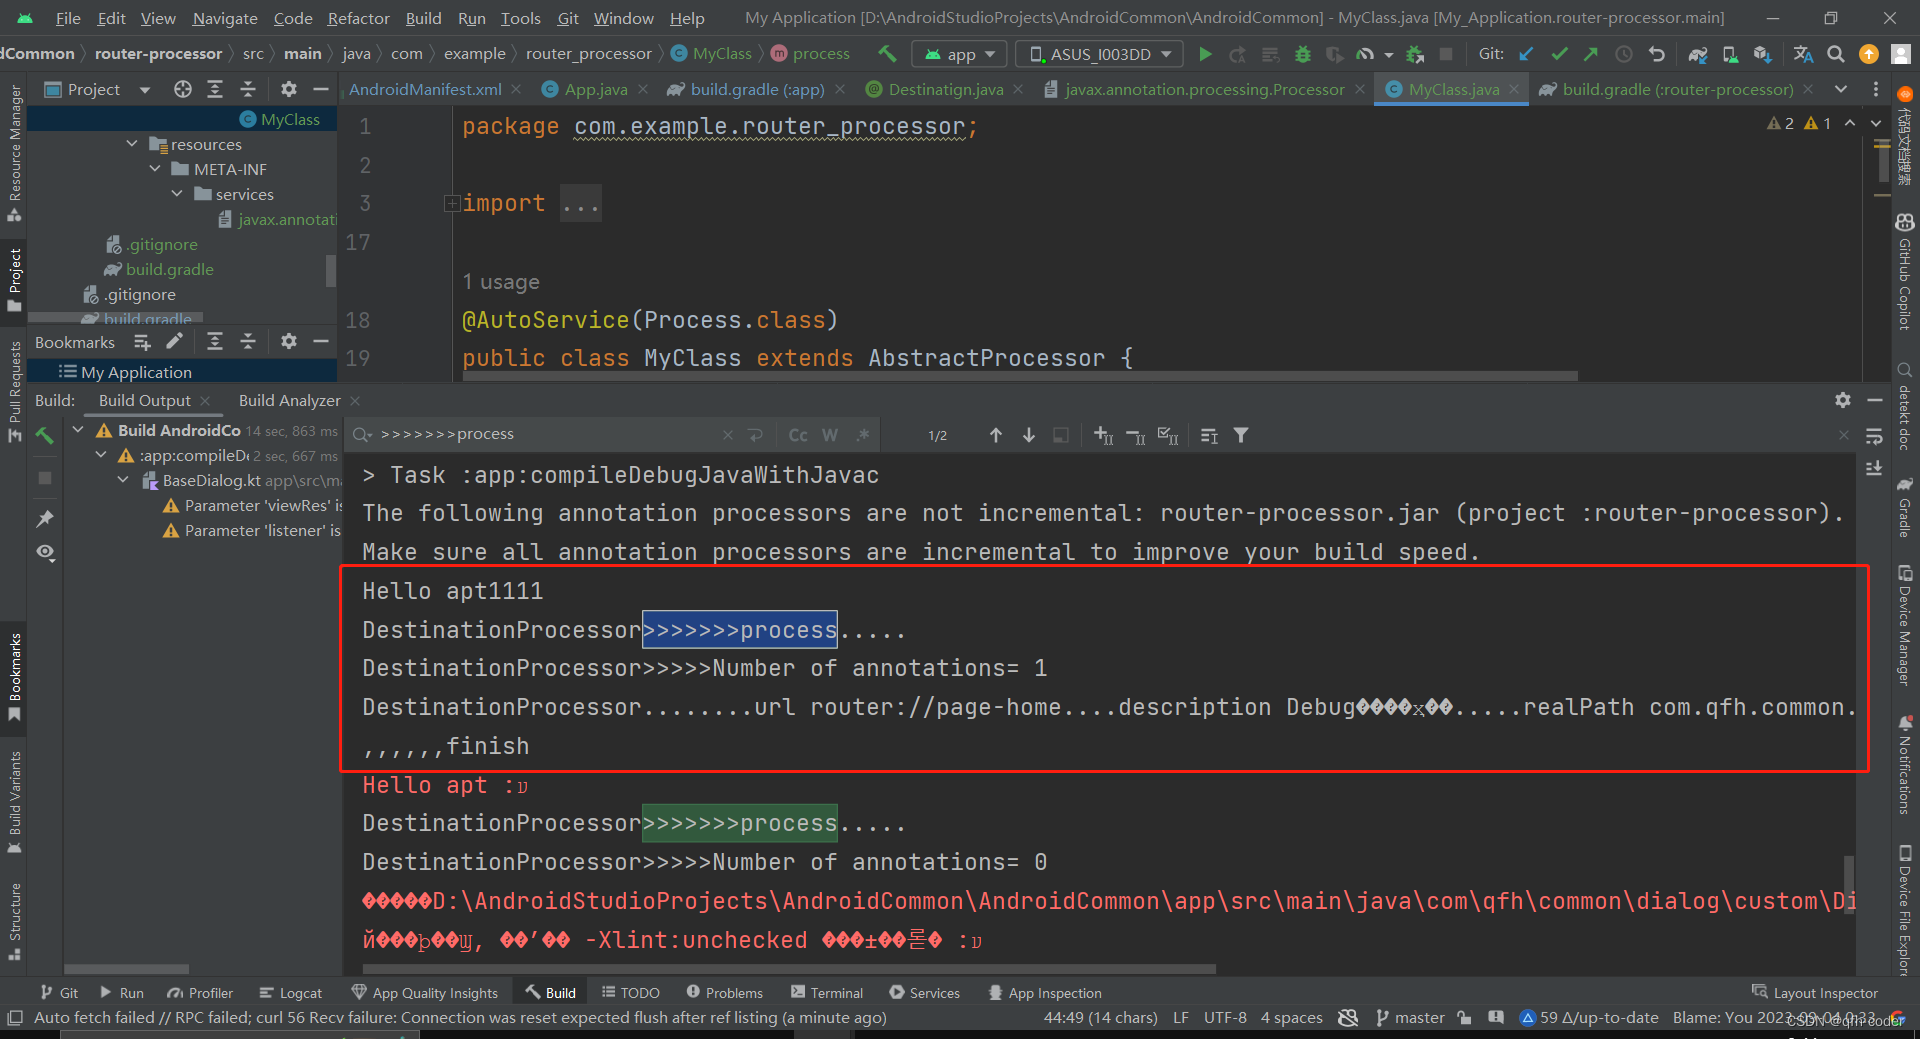
运行程序,输出注解处理器中的代码说明成功
2.7 生成映射表的类信息
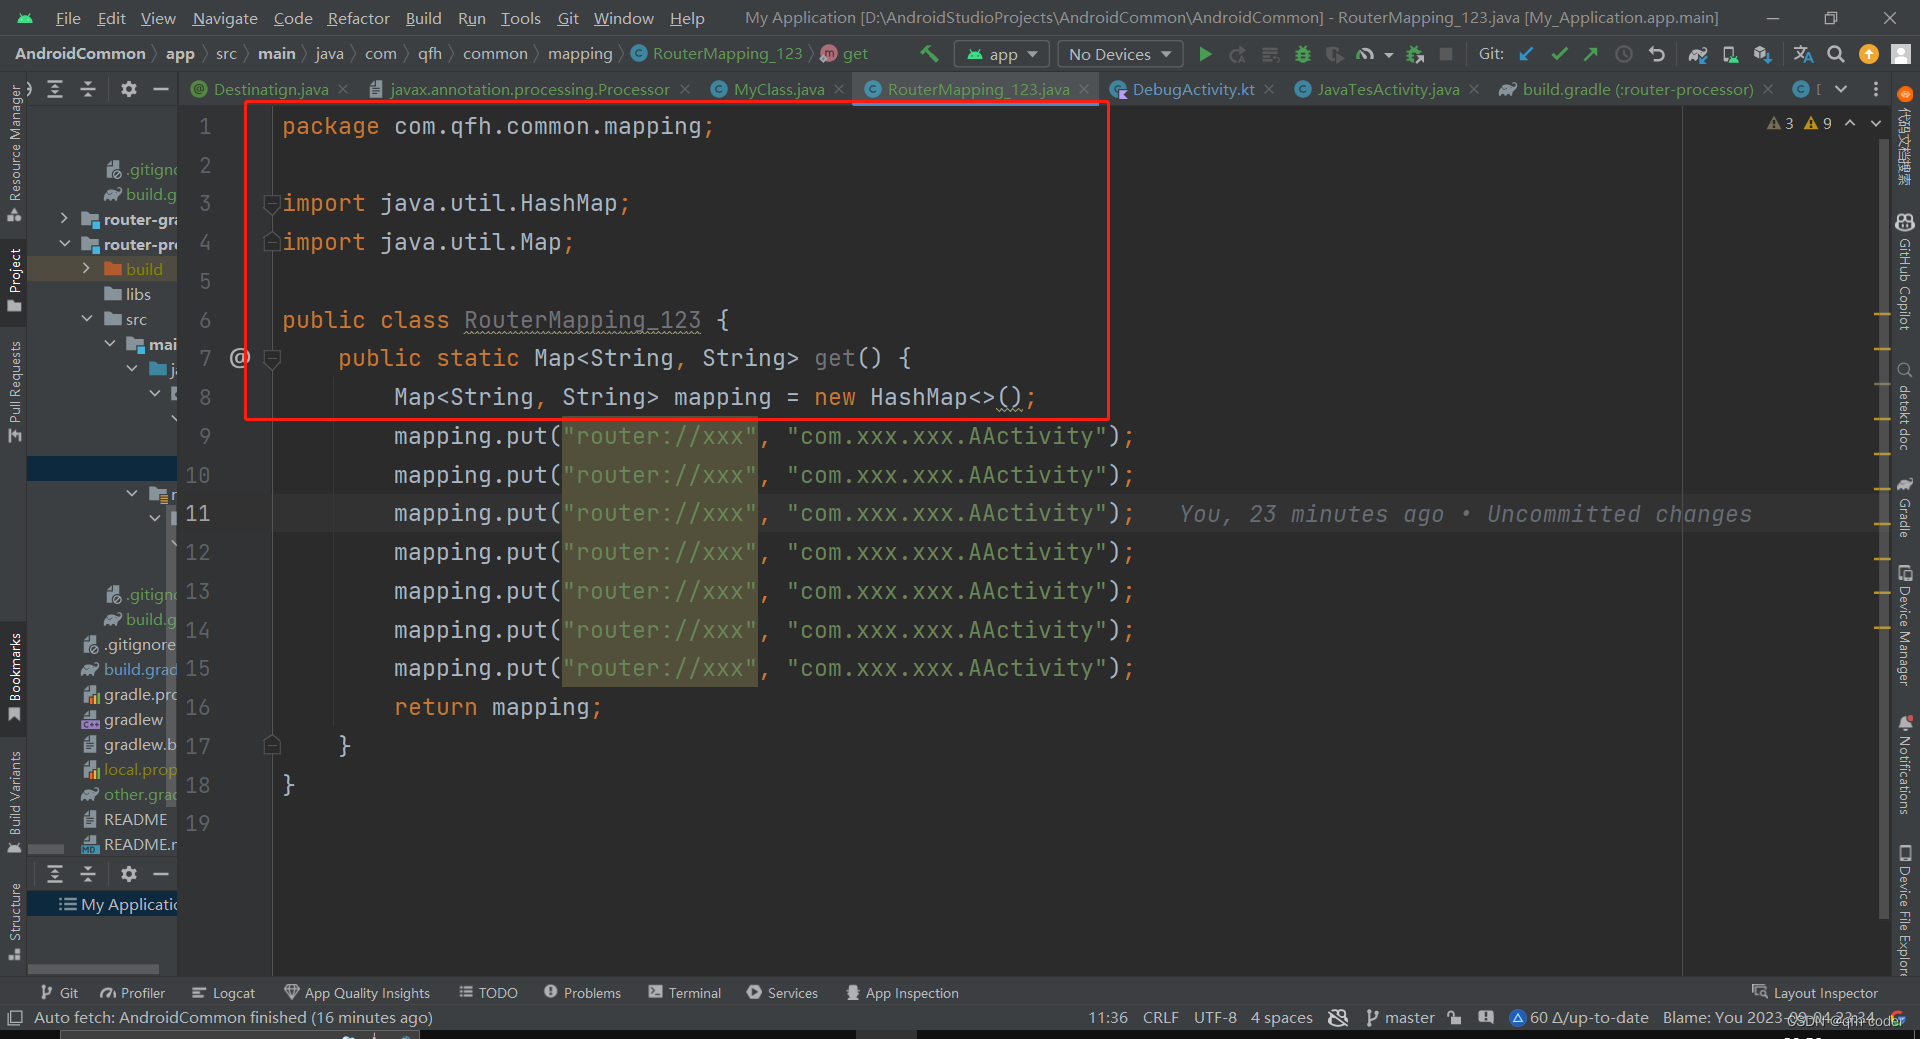
生成一个类
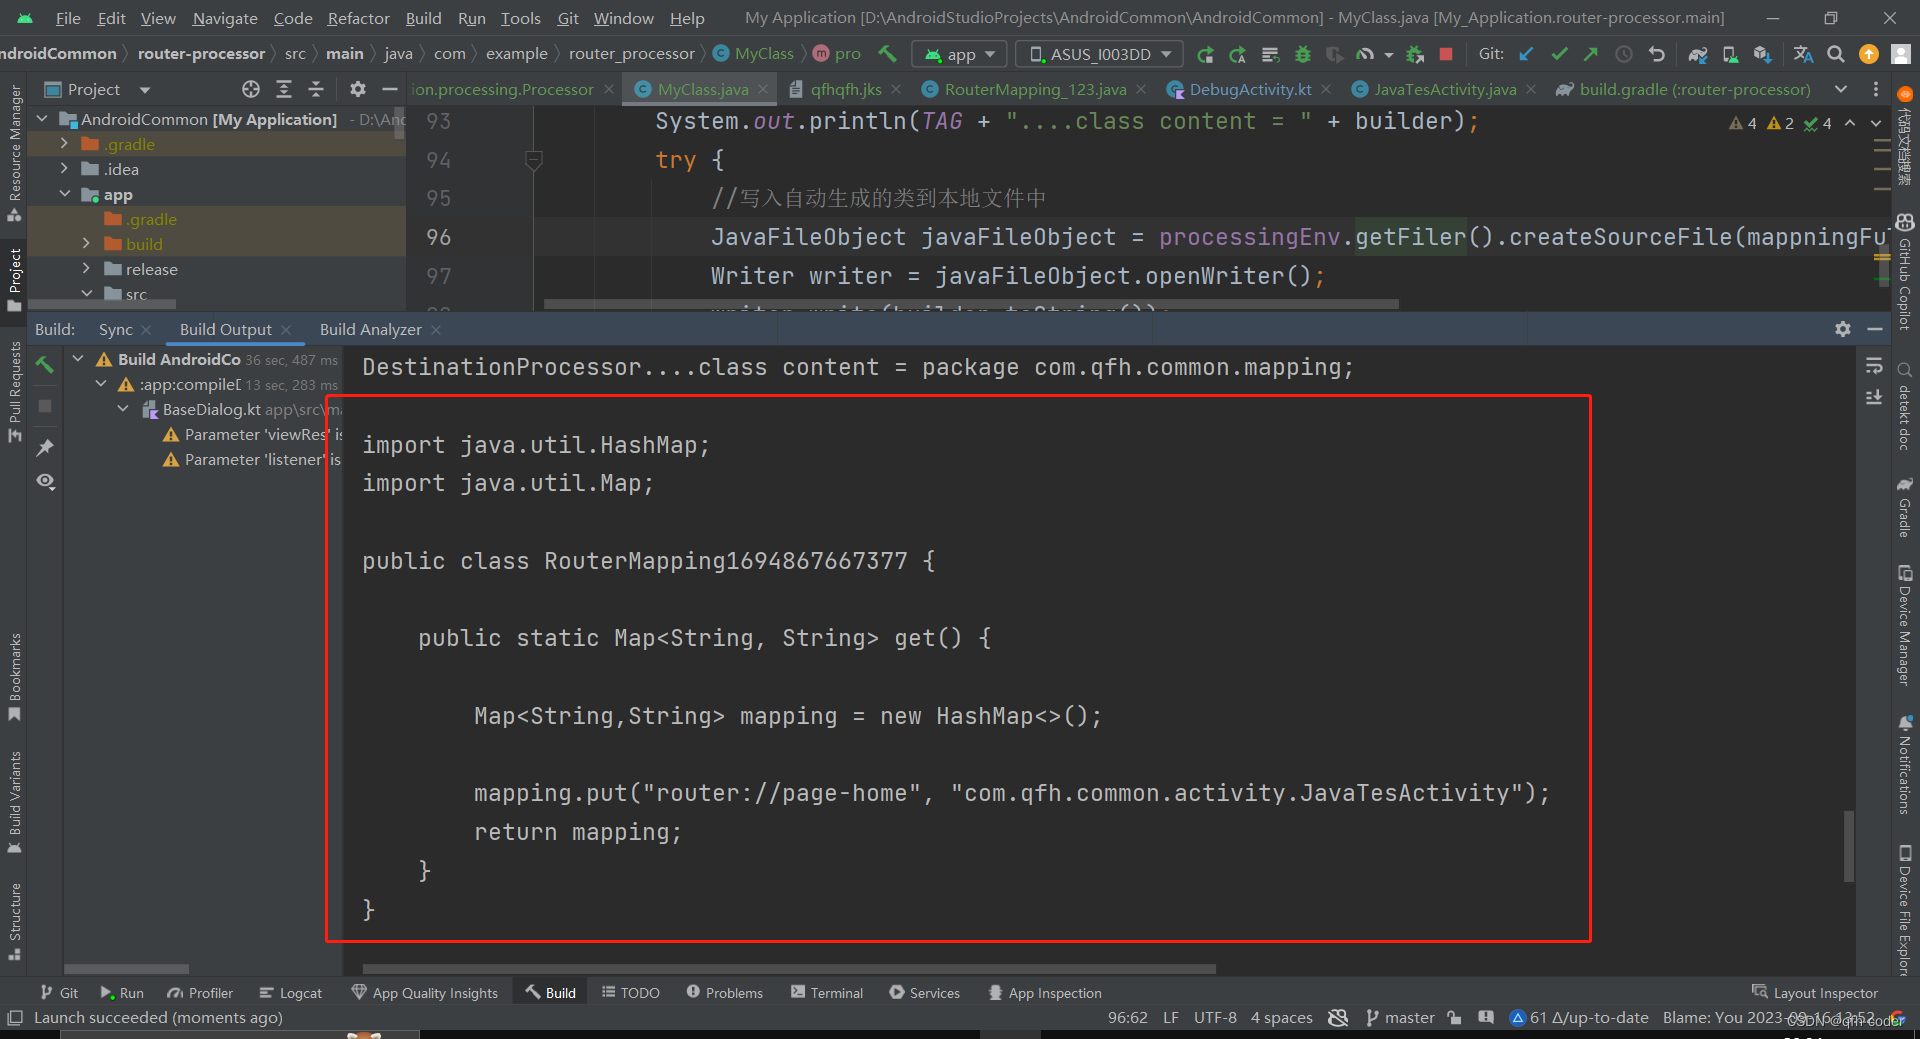
我们期望生成一个类,里面包含有类路径和router的一个映射关系。在运行期访问这个类的get方法就可以拿到这个map映射关系。拿到这个map信息就可以拿到对应的url,然后就能找到对应的类,然后就能打开对应的页面了。
规划好这个类之后,去实现。
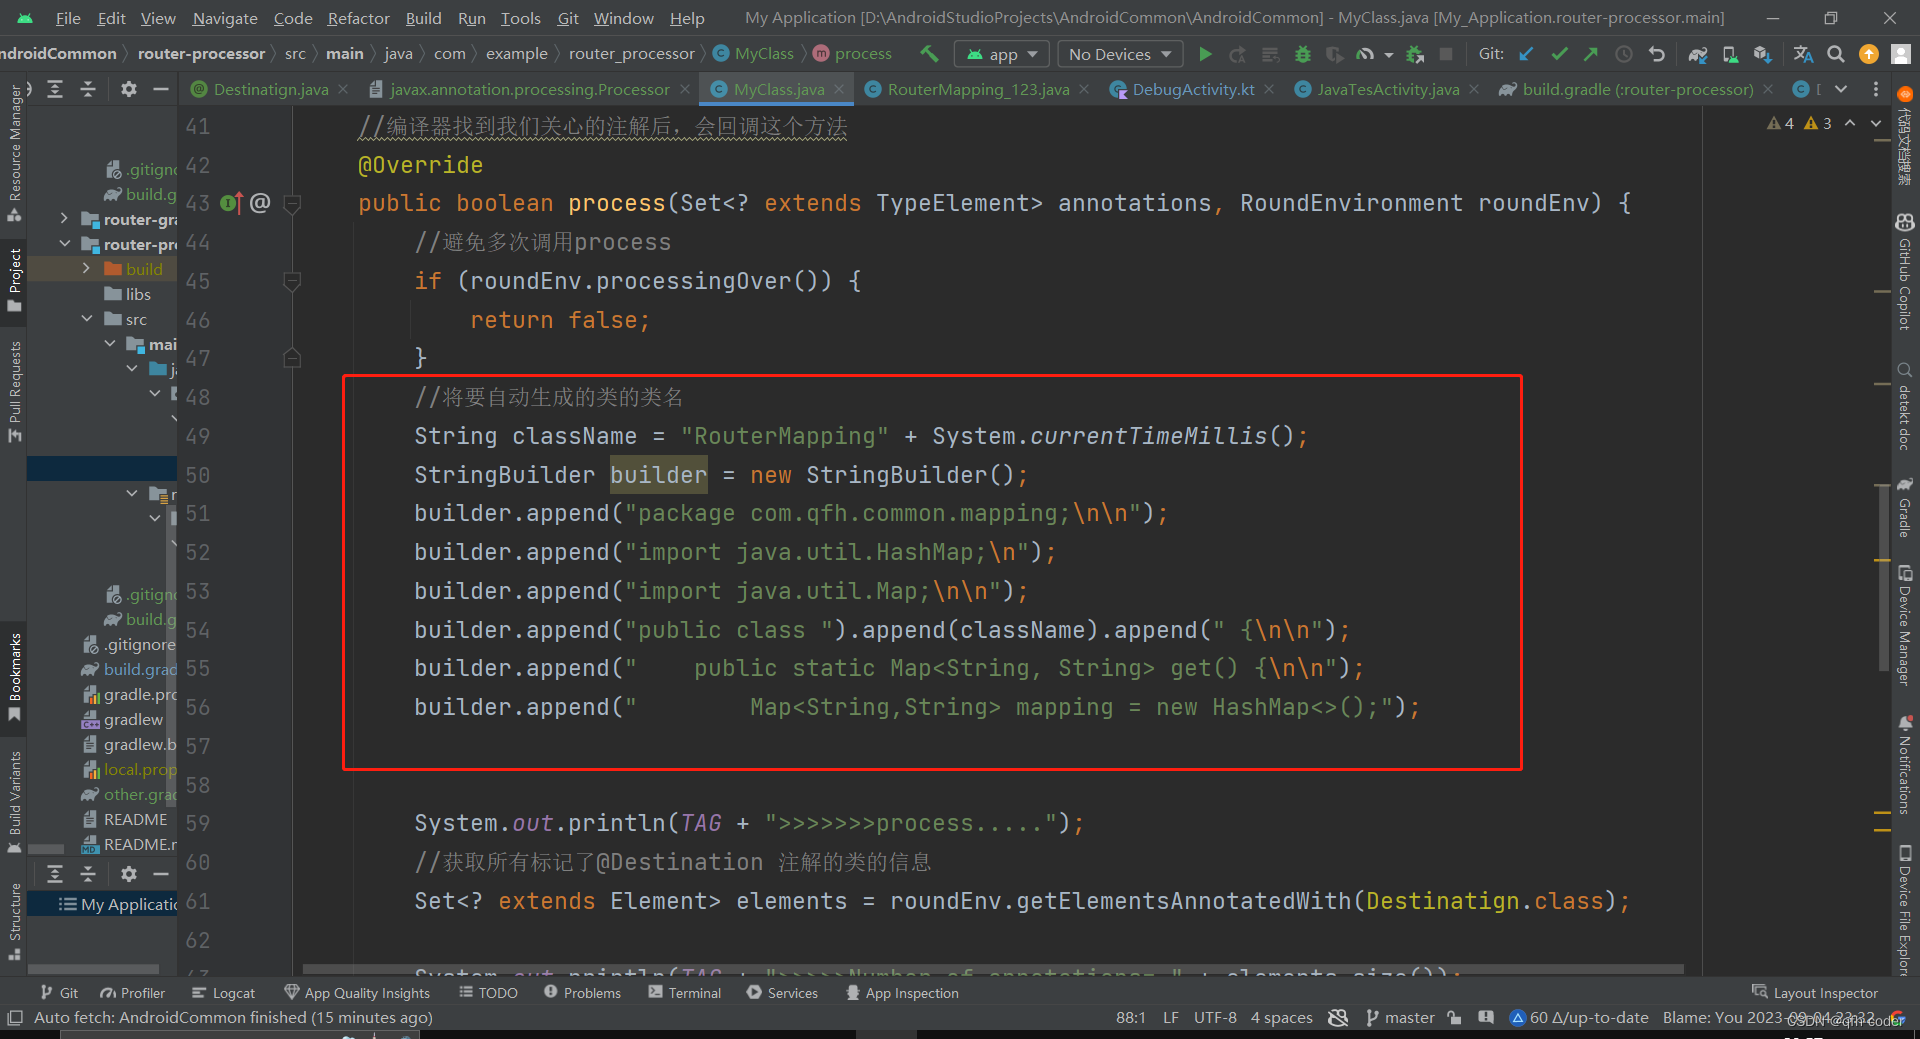
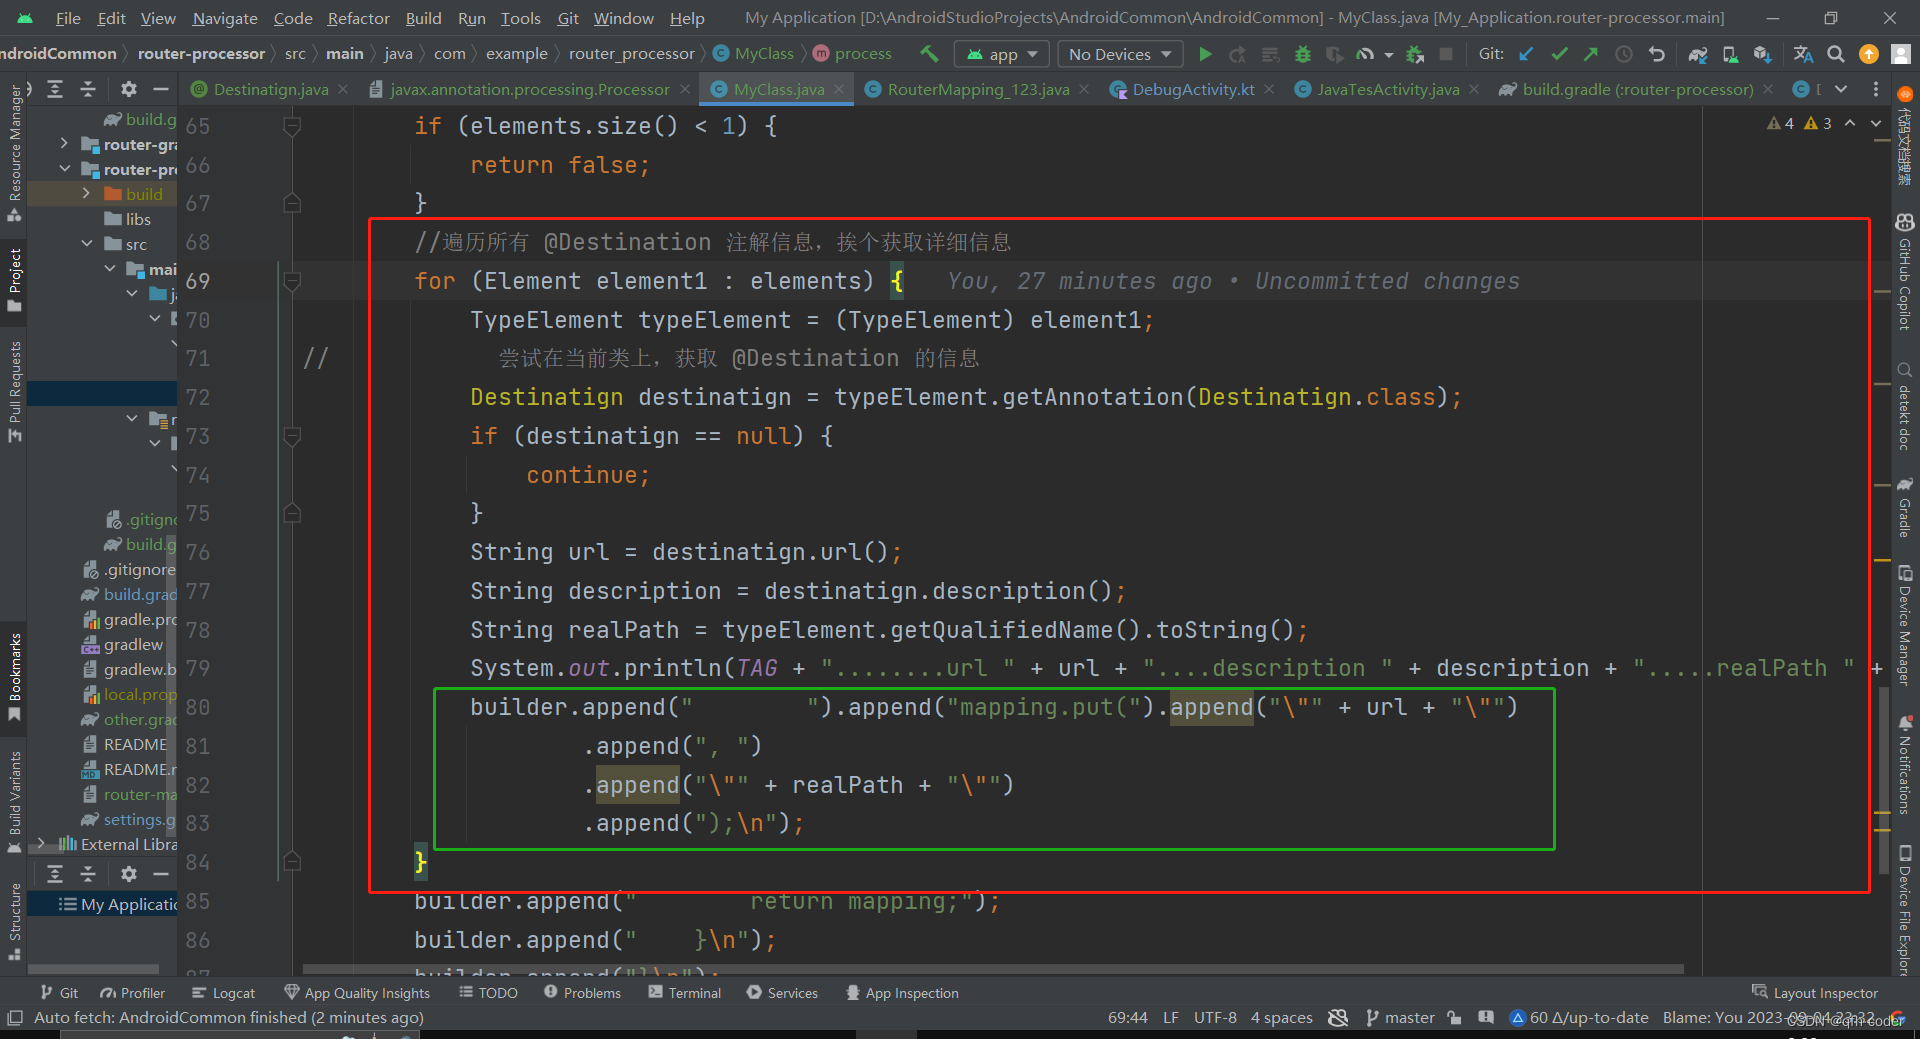
在注解中去生成拼接这个类的信息。
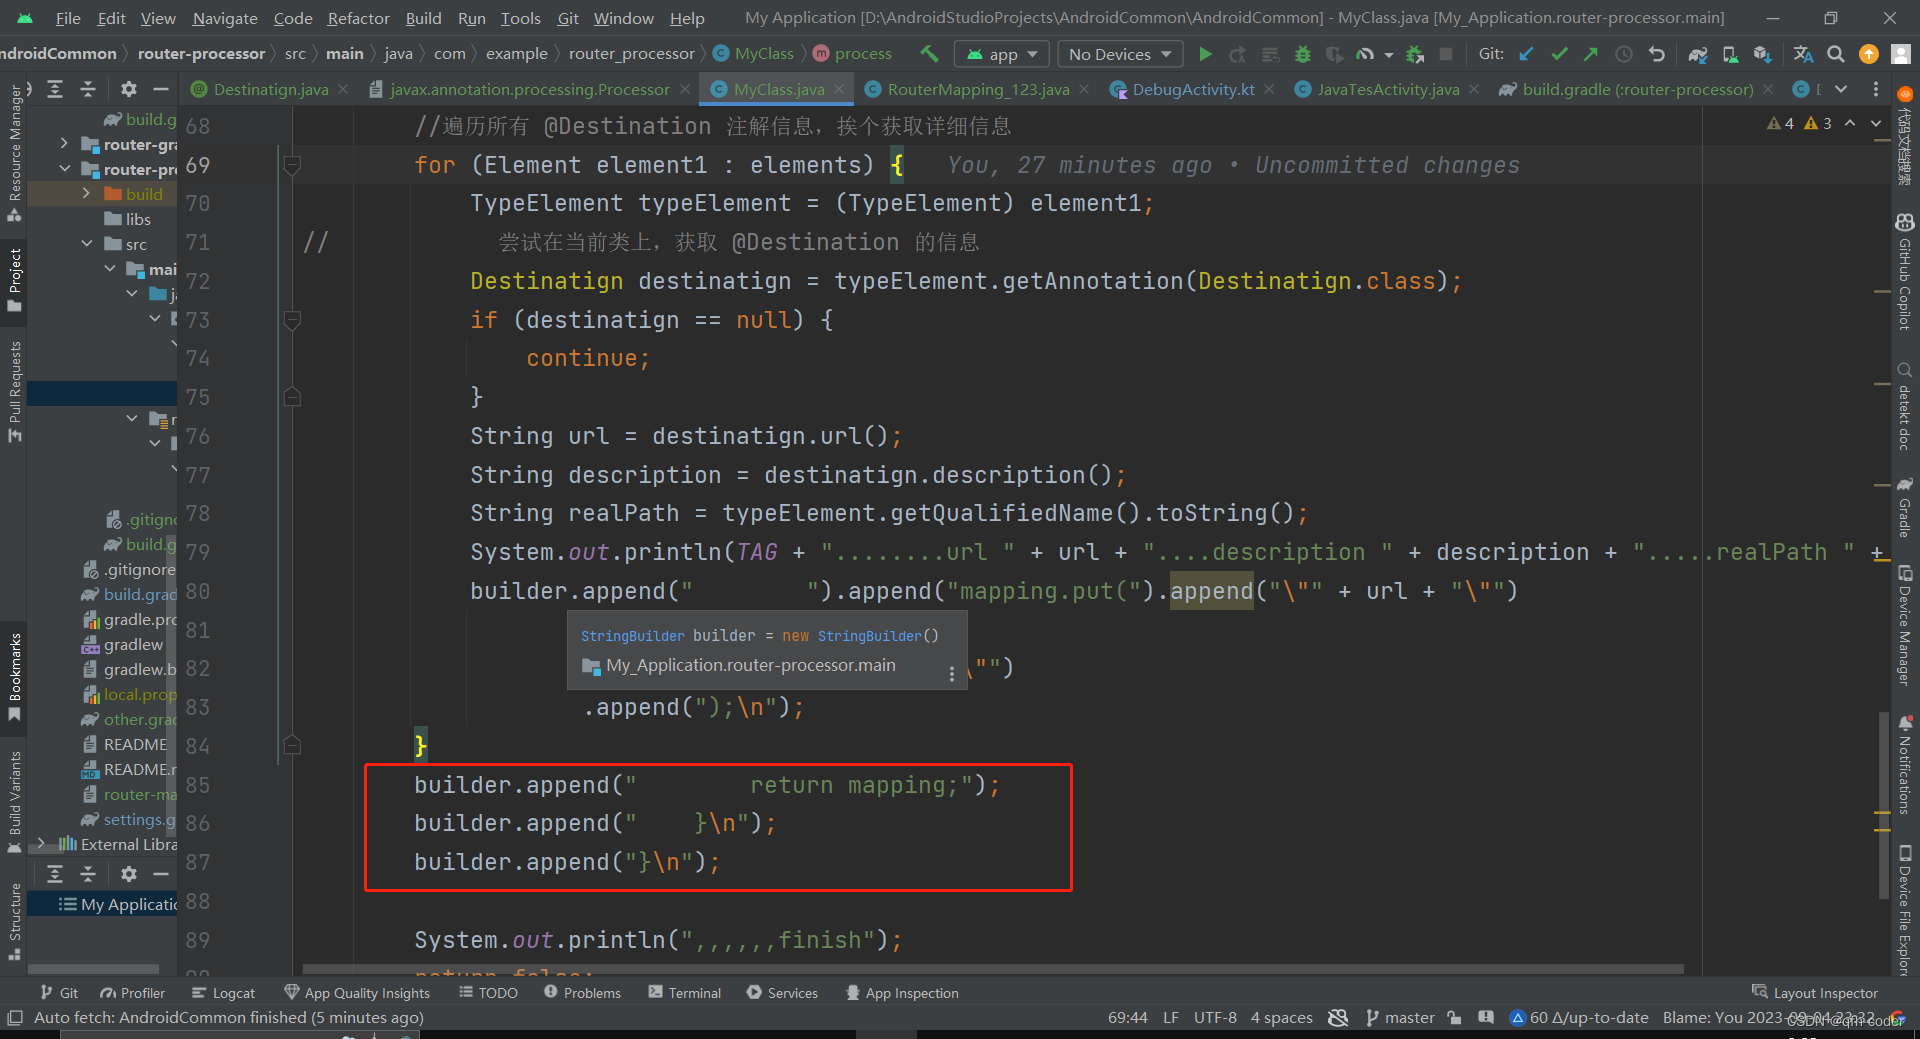
和下面这一部分信息对应
在循环中拼接我们的url和对应的类的信息
最后
注解处理器中process回调方法测试代码
@Override
    public boolean process(Set<? extends TypeElement> annotations, RoundEnvironment roundEnv) {
        //避免多次调用process
        if (roundEnv.processingOver()) {
            return false;
        }
        String rootDir = processingEnv.getOptions().get("root_project_dir");
        System.out.println("root_project_dir = " + rootDir);
        //        if (rootDir != null) {
//            throw new RuntimeException("root_project_dir = " + rootDir);
//        }
        //将要自动生成的类的类名
        String className = "RouterMapping" + System.currentTimeMillis();
        StringBuilder builder = new StringBuilder();
        builder.append("package com.qfh.common.mapping;\n\n");
        builder.append("import java.util.HashMap;\n");
        builder.append("import java.util.Map;\n\n");
        builder.append("public class ").append(className).append(" {\n\n");
        builder.append("    public static Map<String, String> get() {\n\n");
        builder.append("        Map<String,String> mapping = new HashMap<>();\n\n");

        JsonArray jsonArray = new JsonArray();
        System.out.println(TAG + ">>>>>>>process.....");
        //获取所有标记了@Destination 注解的类的信息
        Set<? extends Element> elements = roundEnv.getElementsAnnotatedWith(Destinatign.class);

        System.out.println(TAG + ">>>>>Number of annotations= " + elements.size());
        //当未收集到 @Destination 注解的时候,跳过后续流程
        if (elements.size() < 1) {
            return false;
        }
        //遍历所有 @Destination 注解信息,挨个获取详细信息
        for (Element element1 : elements) {
            TypeElement typeElement = (TypeElement) element1;
//            尝试在当前类上,获取 @Destination 的信息
            Destinatign destinatign = typeElement.getAnnotation(Destinatign.class);
            if (destinatign == null) {
                continue;
            }
            String url = destinatign.url();
            String description = destinatign.description();
            String realPath = typeElement.getQualifiedName().toString();
            System.out.println(TAG + "........url " + url + "....description " + description + ".....realPath " + realPath);
            builder.append("        ").append("mapping.put(").append("\"" + url + "\"")
                    .append(", ")
                    .append("\"" + realPath + "\"")
                    .append(");\n");
            JsonObject jsonObject = new JsonObject();
            jsonObject.addProperty("url", url);
            jsonObject.addProperty("description", description);
            jsonObject.addProperty("realPath", realPath);
            jsonArray.add(jsonObject);
        }
        builder.append("        return mapping;\n");
        builder.append("    }\n");
        builder.append("}\n");

        String mappningFullclassName = "com.qfh.common.mapping." + className;
        System.out.println(TAG + ".....mappningFullclassName = " + mappningFullclassName);
        System.out.println(TAG + "....class content = " + builder);
        try {
            //写入自动生成的类到本地文件中
            JavaFileObject javaFileObject = processingEnv.getFiler().createSourceFile(mappningFullclassName);
            Writer writer = javaFileObject.openWriter();
            writer.write(builder.toString());
            writer.flush();
            writer.close();
        } catch (Exception e) {
            throw new RuntimeException("Error while create " + e);
        }
        //写入JSON到本地文件中
        File rootFile = new File(rootDir);
        if (!rootFile.exists()) {
            throw new RuntimeException("root_project_dir not exist" + rootFile);
        }
//        创建router_mapping 子目录
        File jsonFile = new File(rootFile, "router_mapping");
        if (!jsonFile.exists()) {
            jsonFile.mkdir();
        }
        File mappingFile = new File(jsonFile, className + "mapping_" + System.currentTimeMillis() + ".json");
        //写入json内容
        try {
            BufferedWriter writer = new BufferedWriter(new FileWriter(mappingFile));
            String  json = jsonArray.toString();
            writer.write(json);
            writer.flush();
            writer.close();
        } catch (Throwable e) {
            throw new RuntimeException("Error while create " + e);
        }


        System.out.println(",,,,,,finish");
        return false;
    }
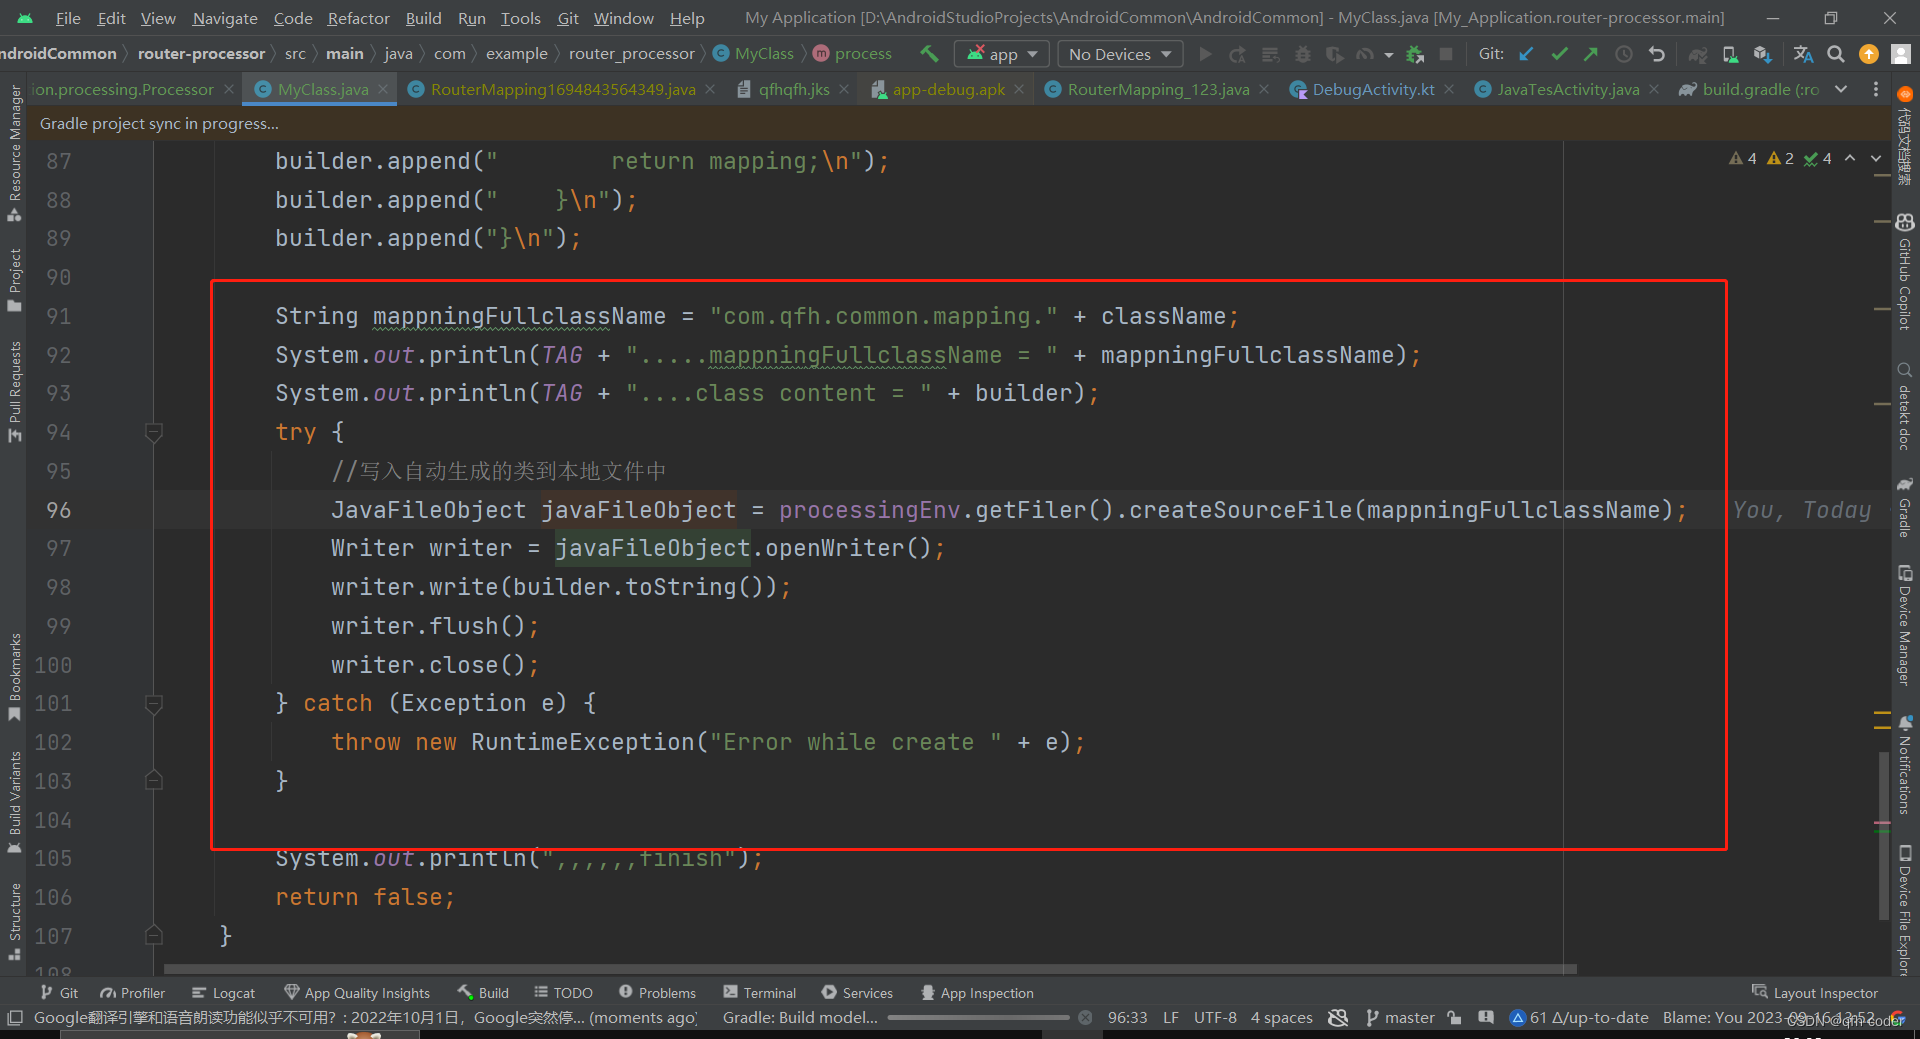
2.8 生成类-类信息写入本地java文件
javac才会把文件包含到我们的编译过程,然后打包到apk里面去。
运行apk我们发现我们输出了刚刚拼接的类的信息
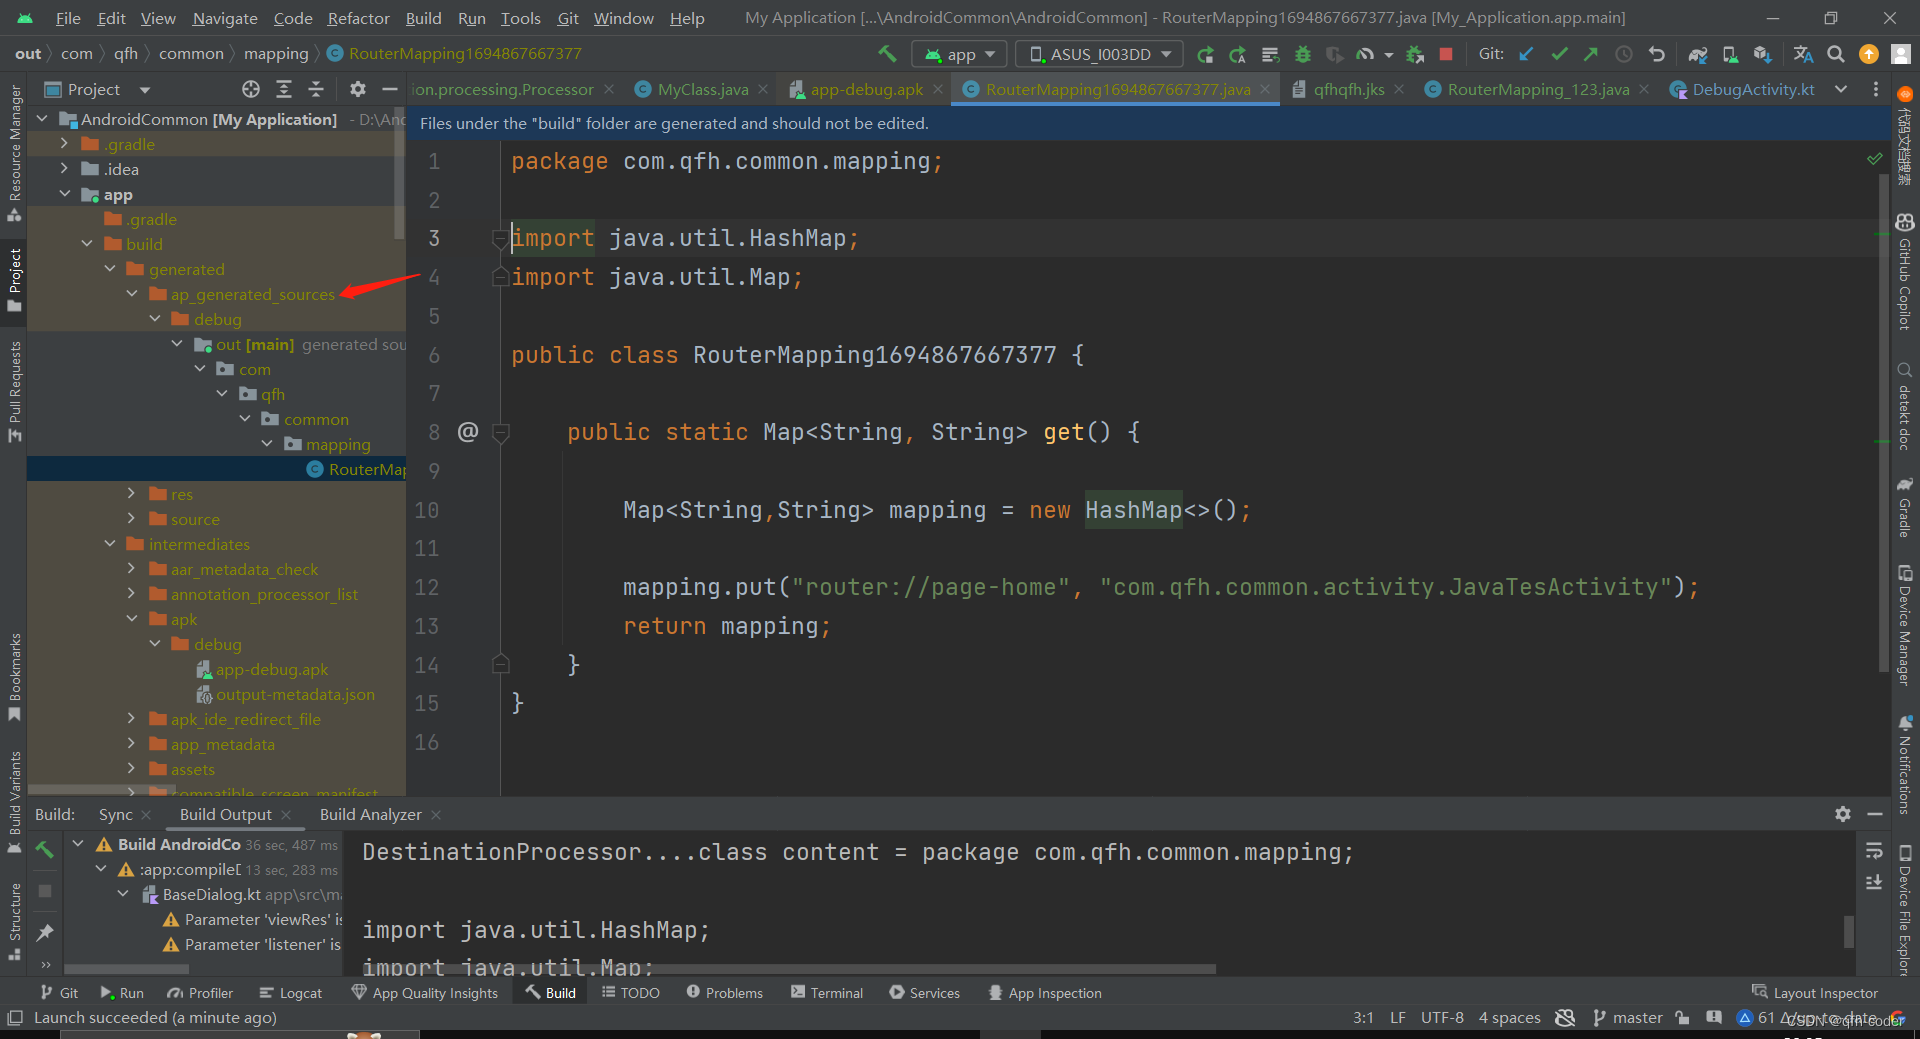
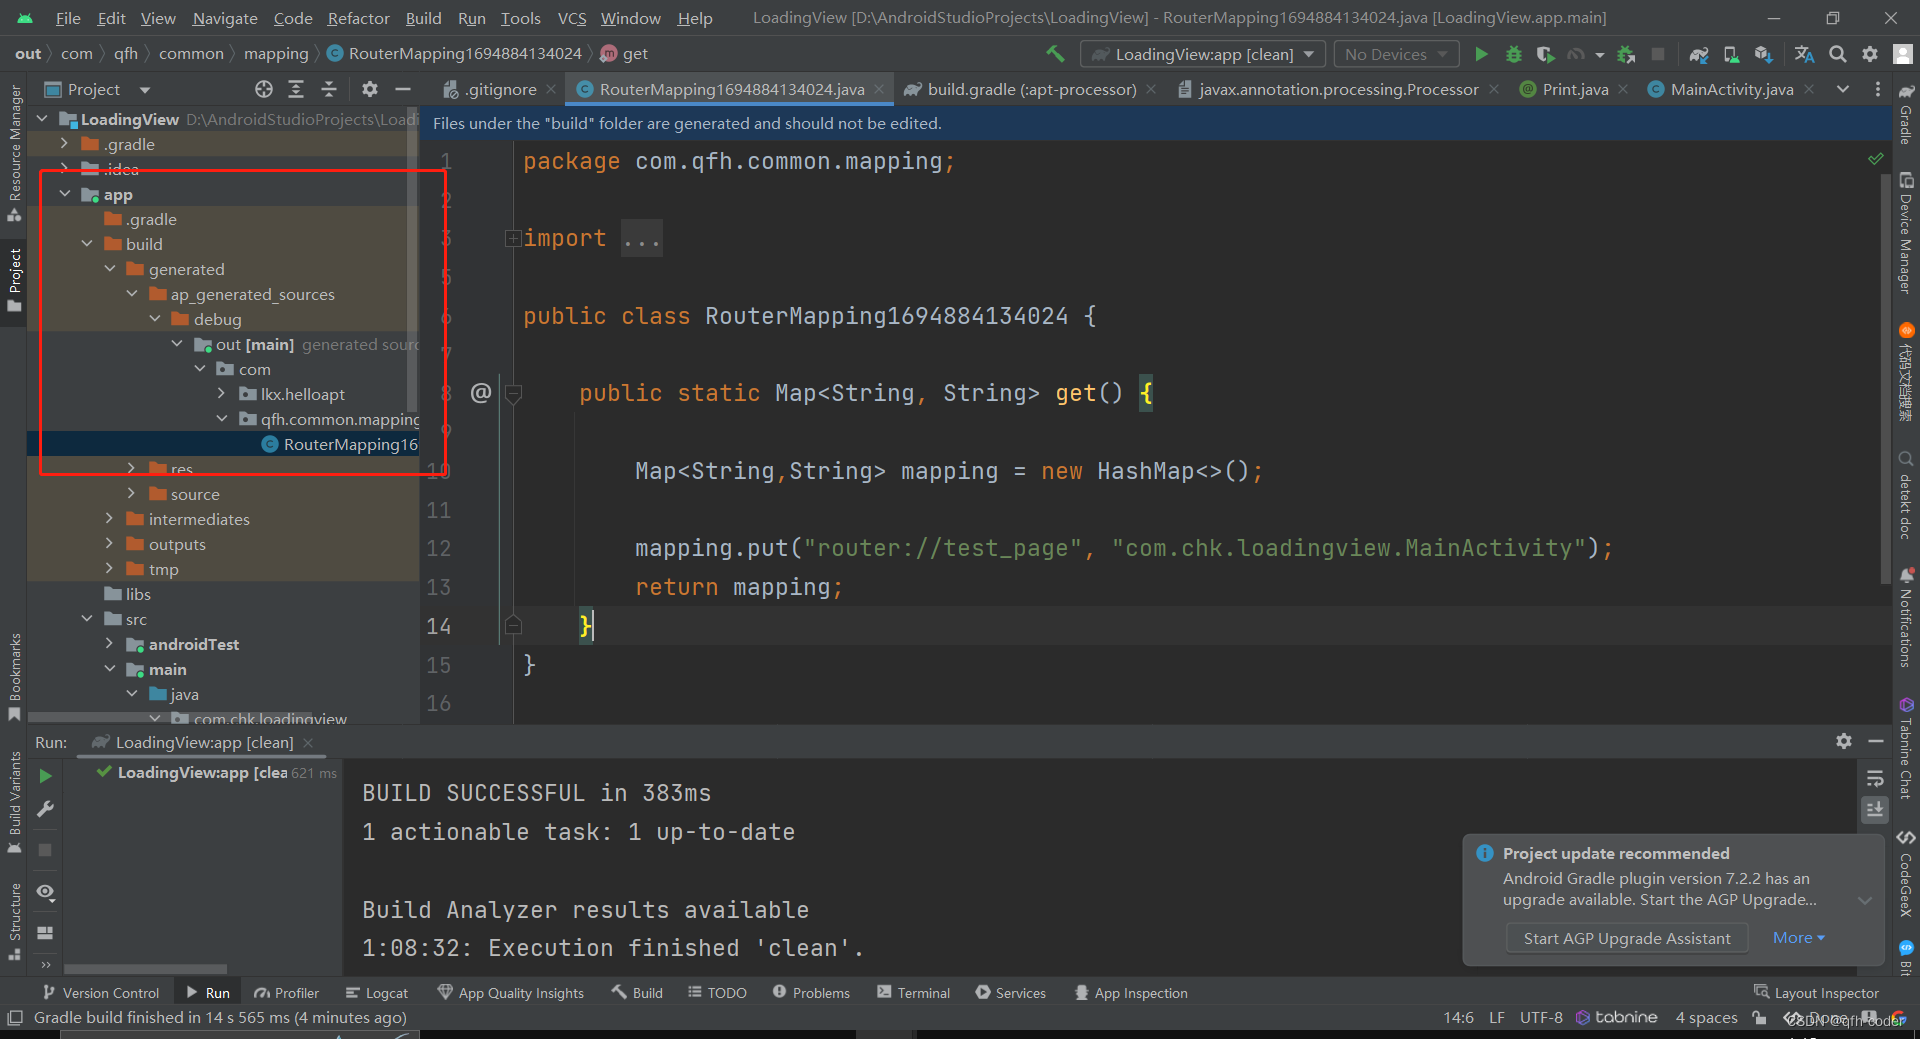
查看我们注解处理器生成的源代码,都在这个目录下
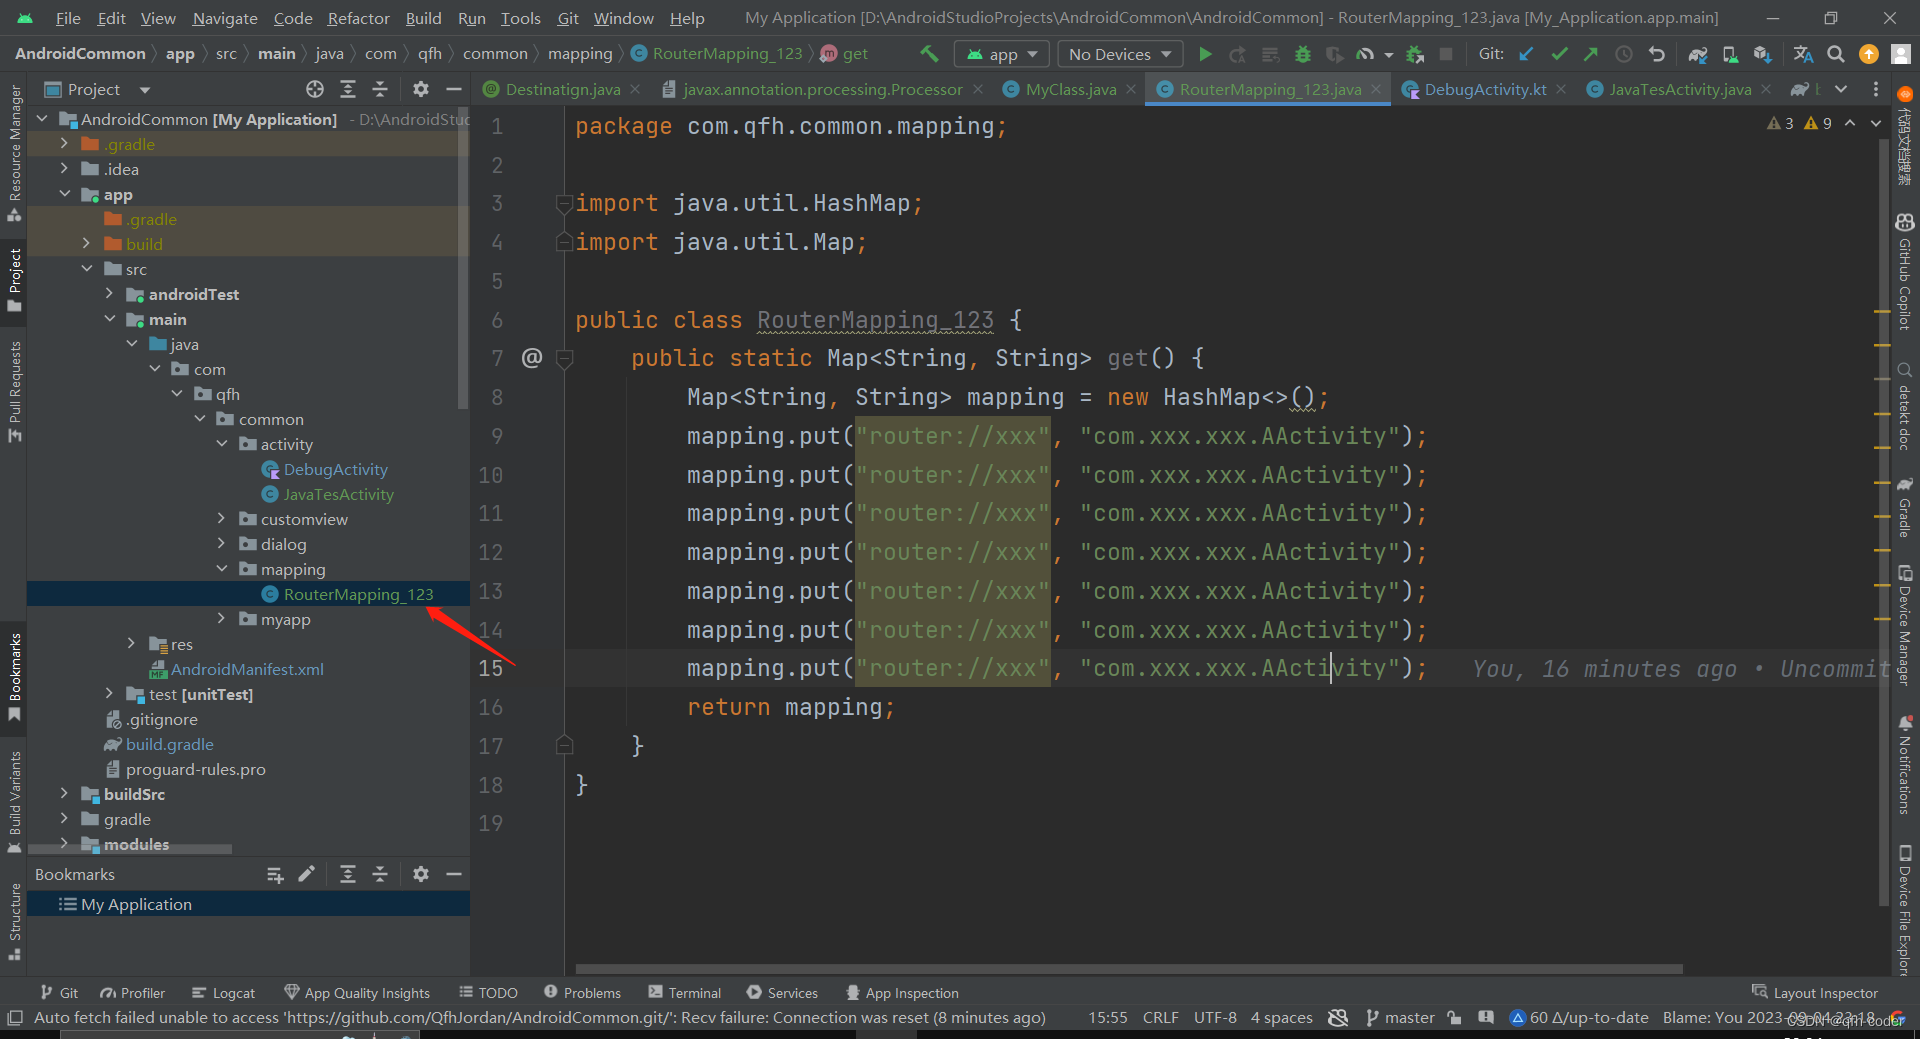
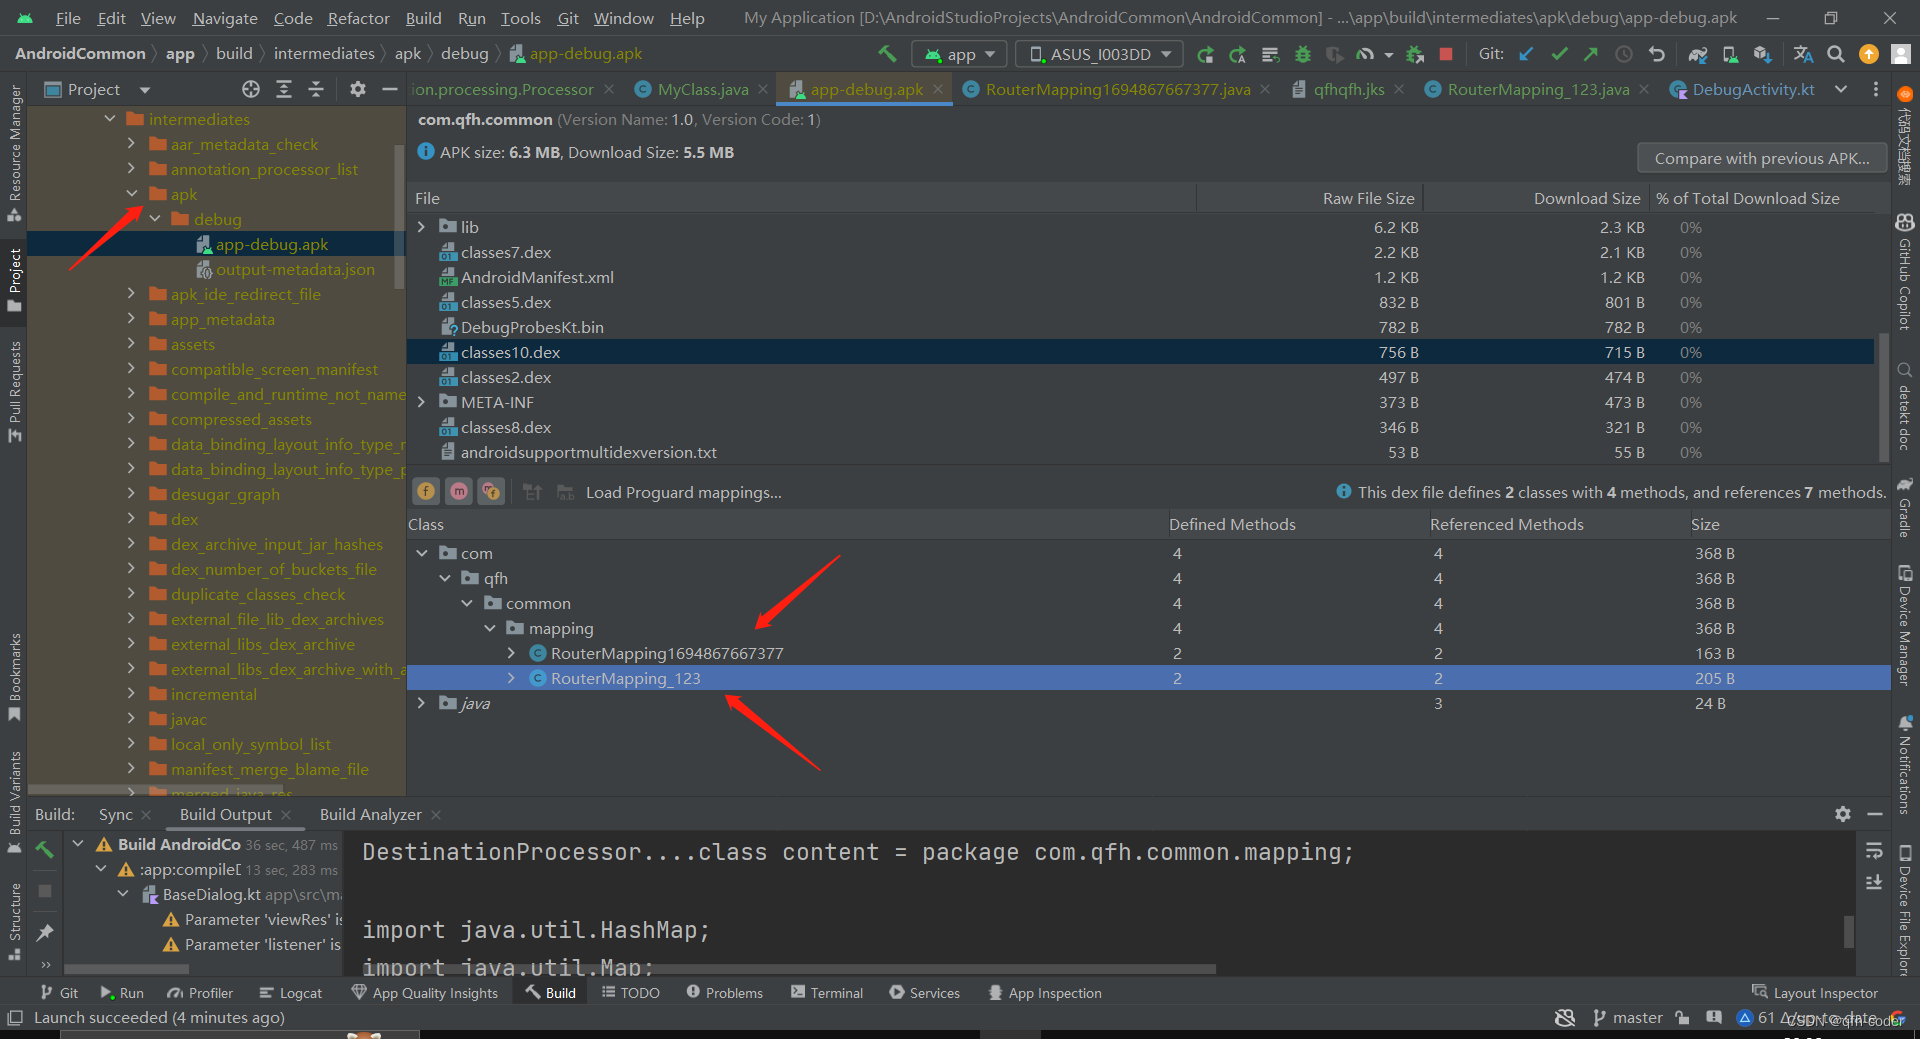
在apk_debug中查看我们刚刚使用注解处理器生成的类,打包到了apk中。
三.发布
1.编写发布脚本,发布到本地仓库
为了把我们编写的注解和注解处理器module发给其他项目团队使用
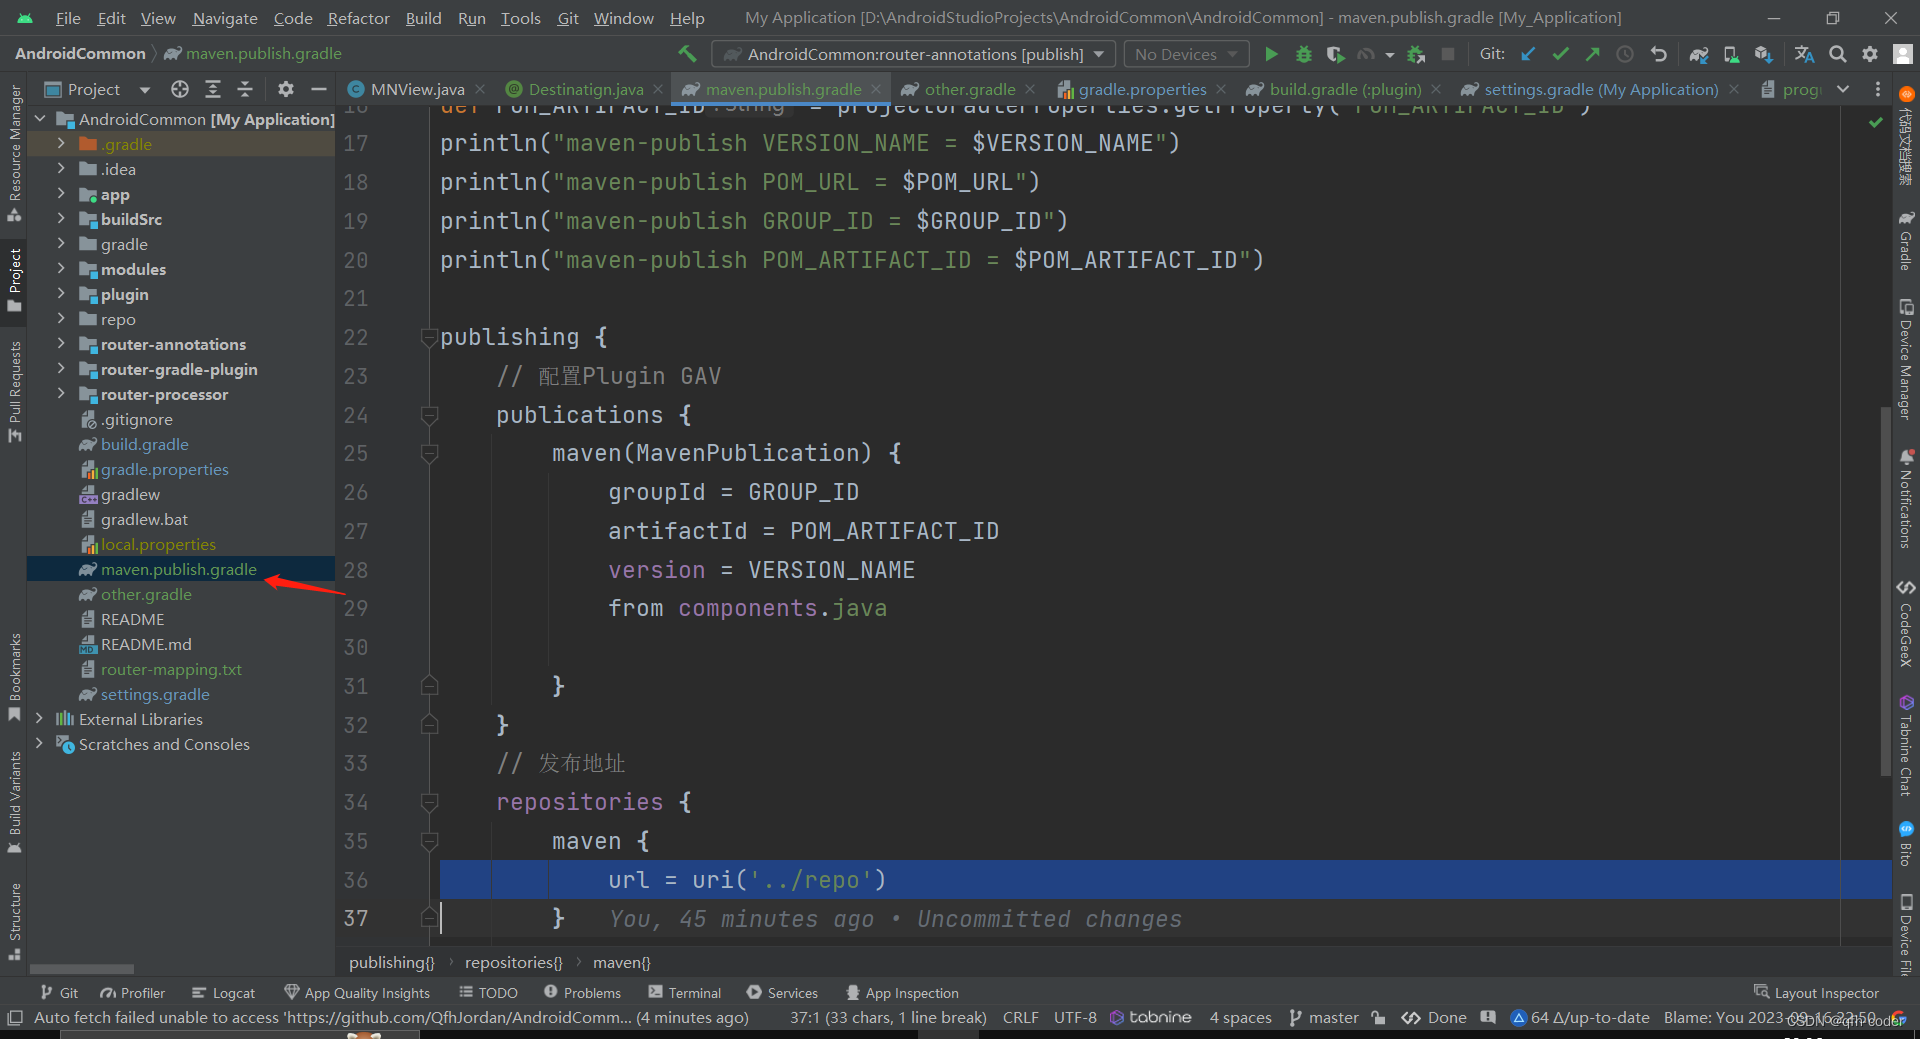
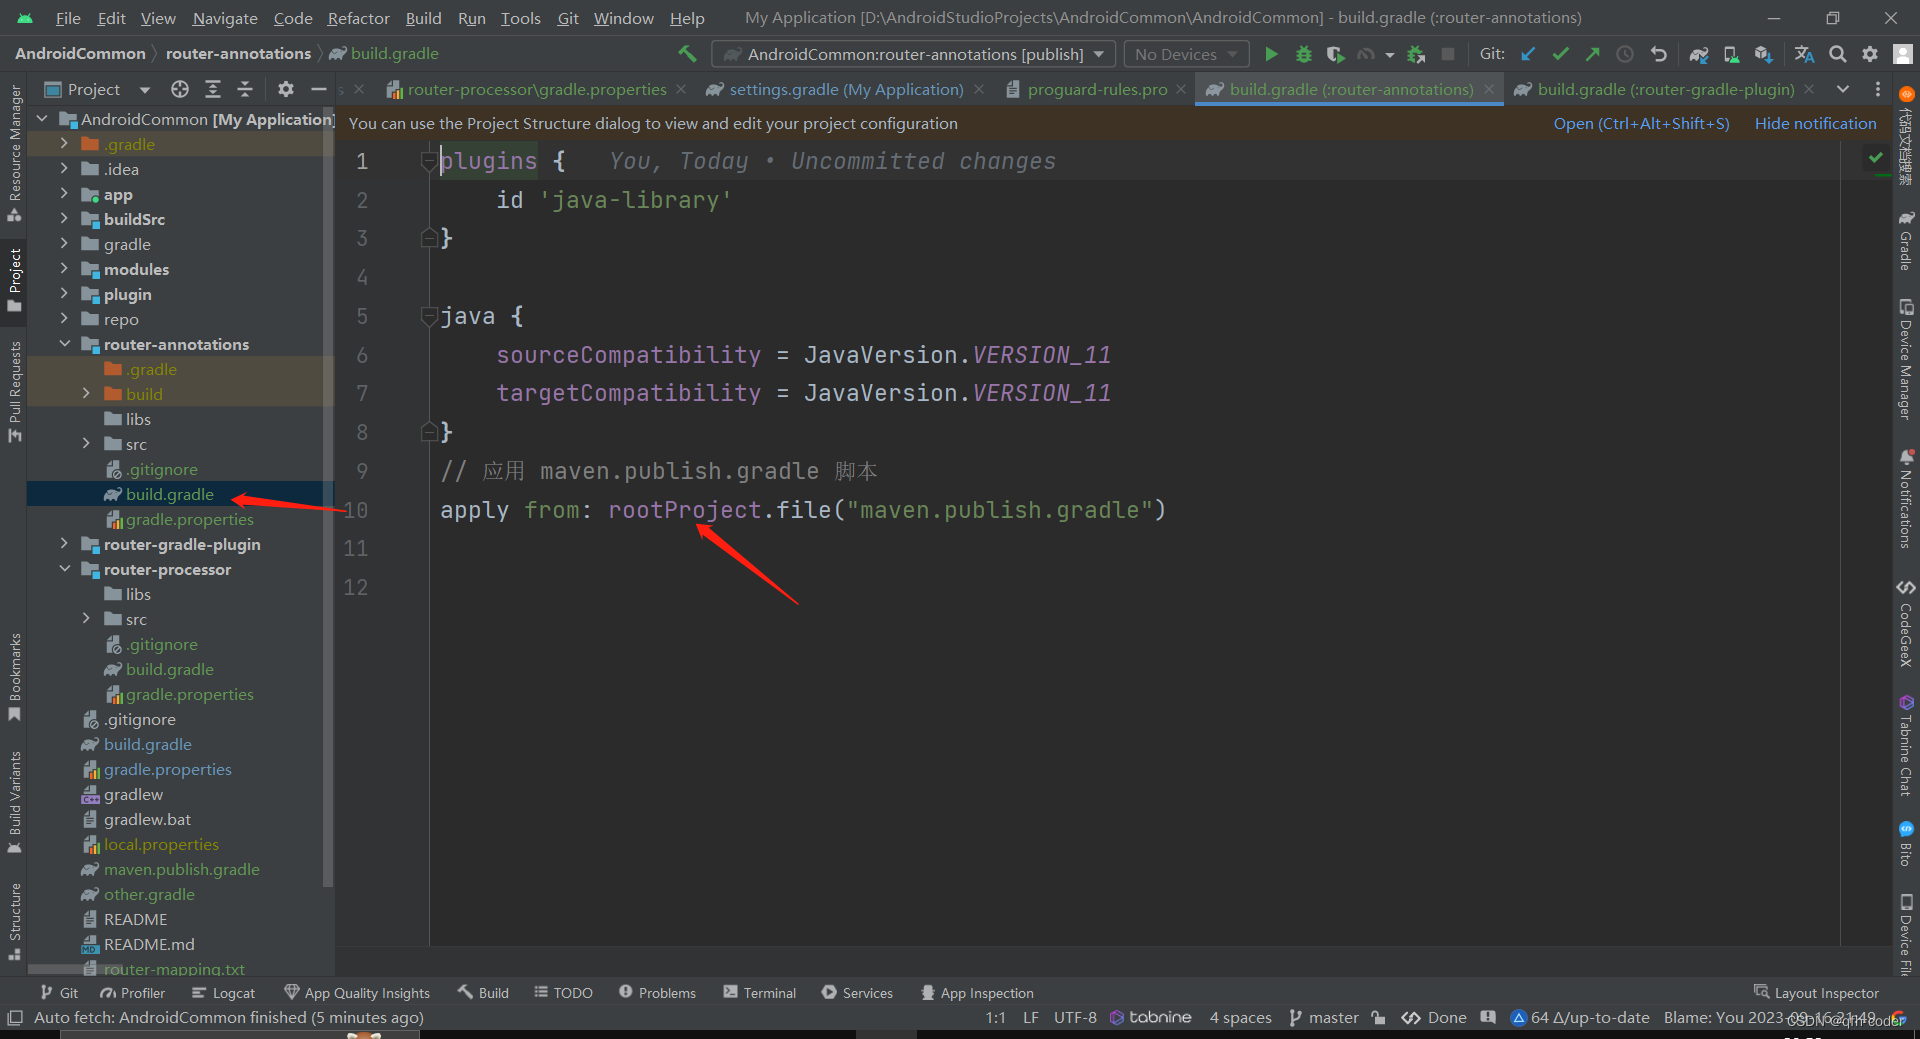
新建脚本文件
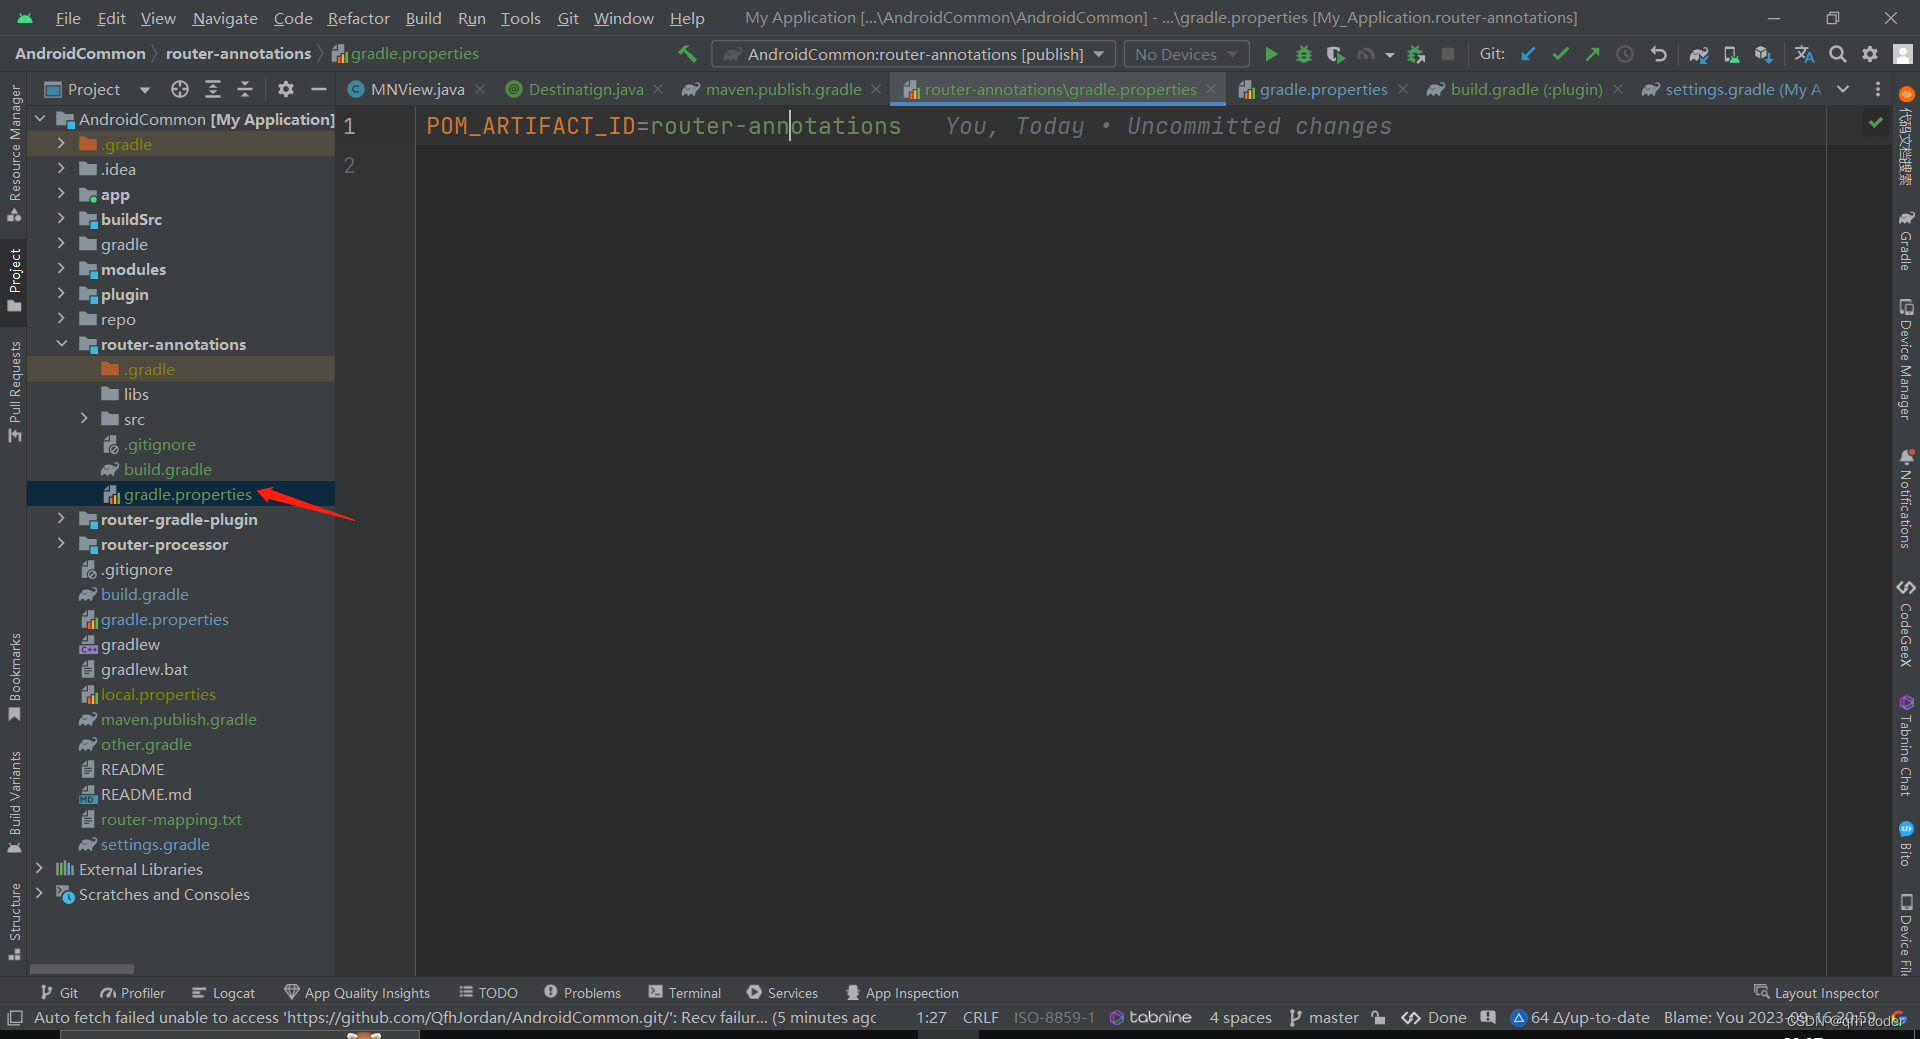
新建一个gradle.properties文件在router-annotations子工程中
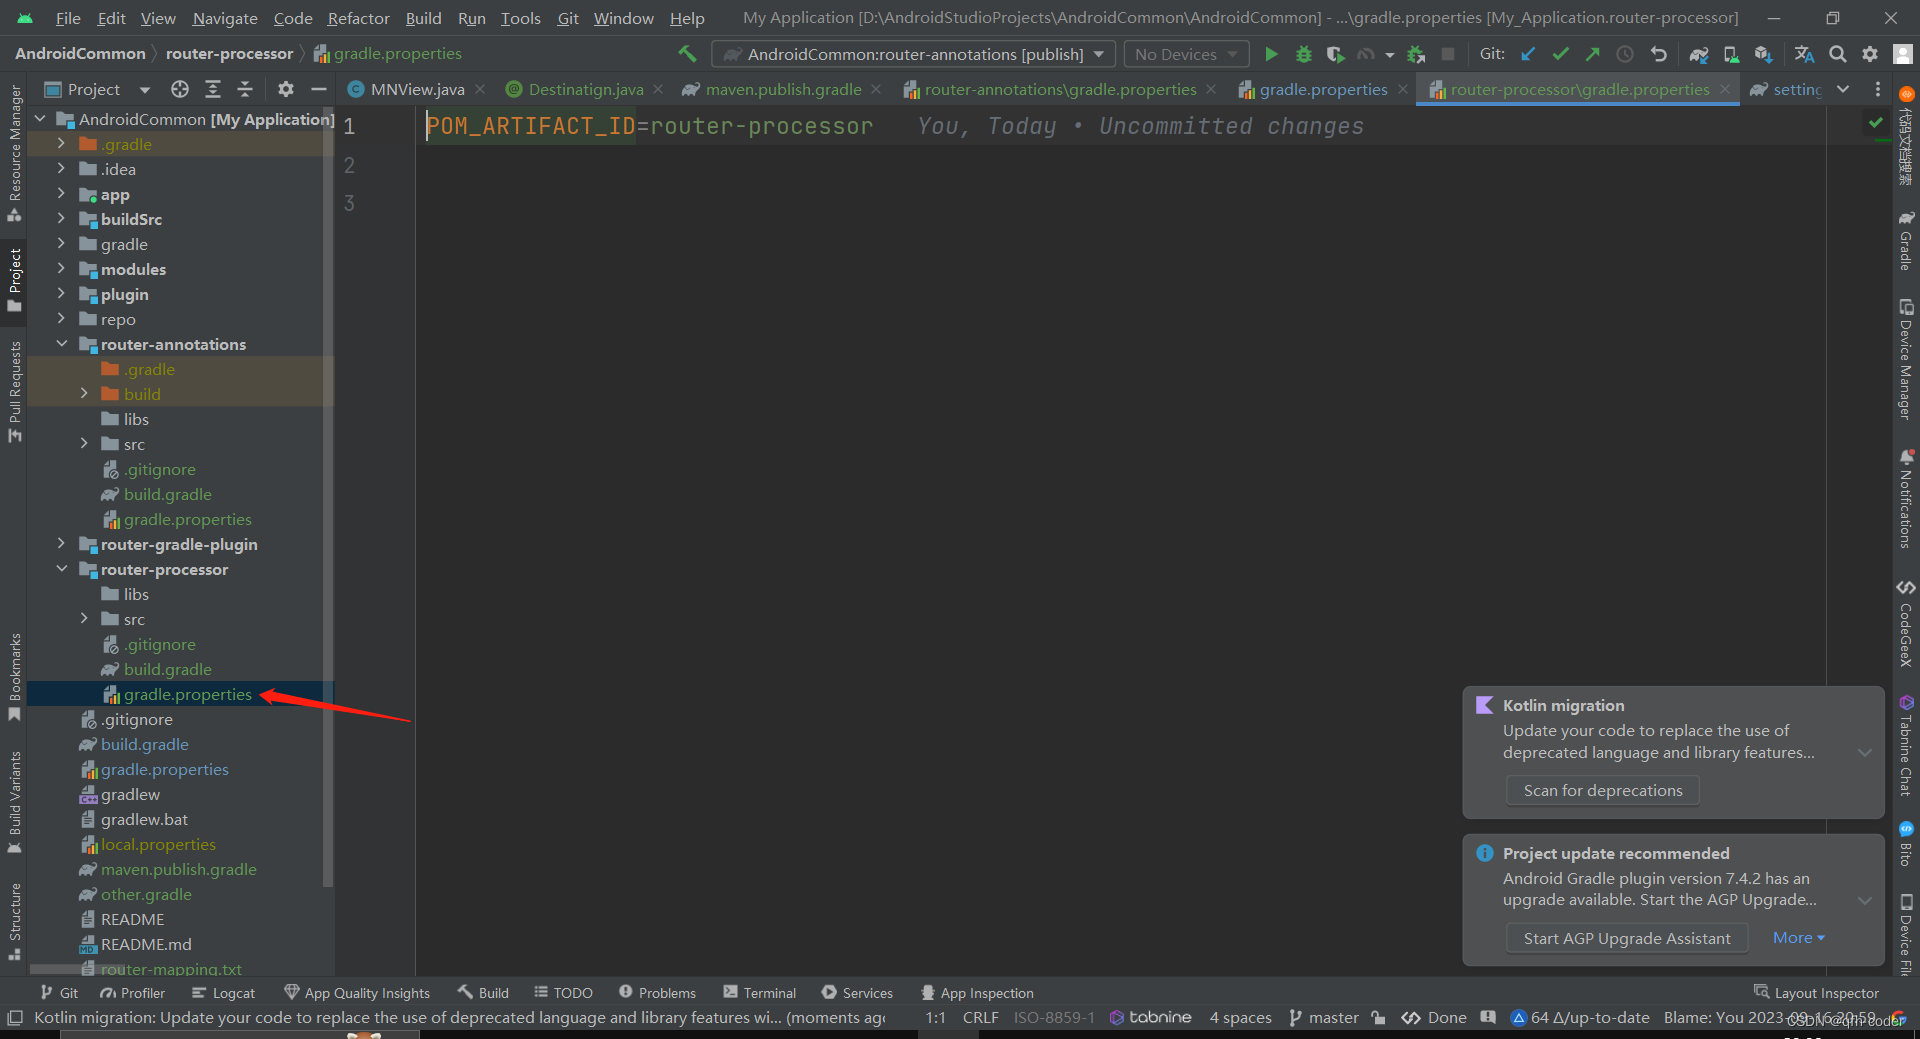
在注解处理器工程中也是一样
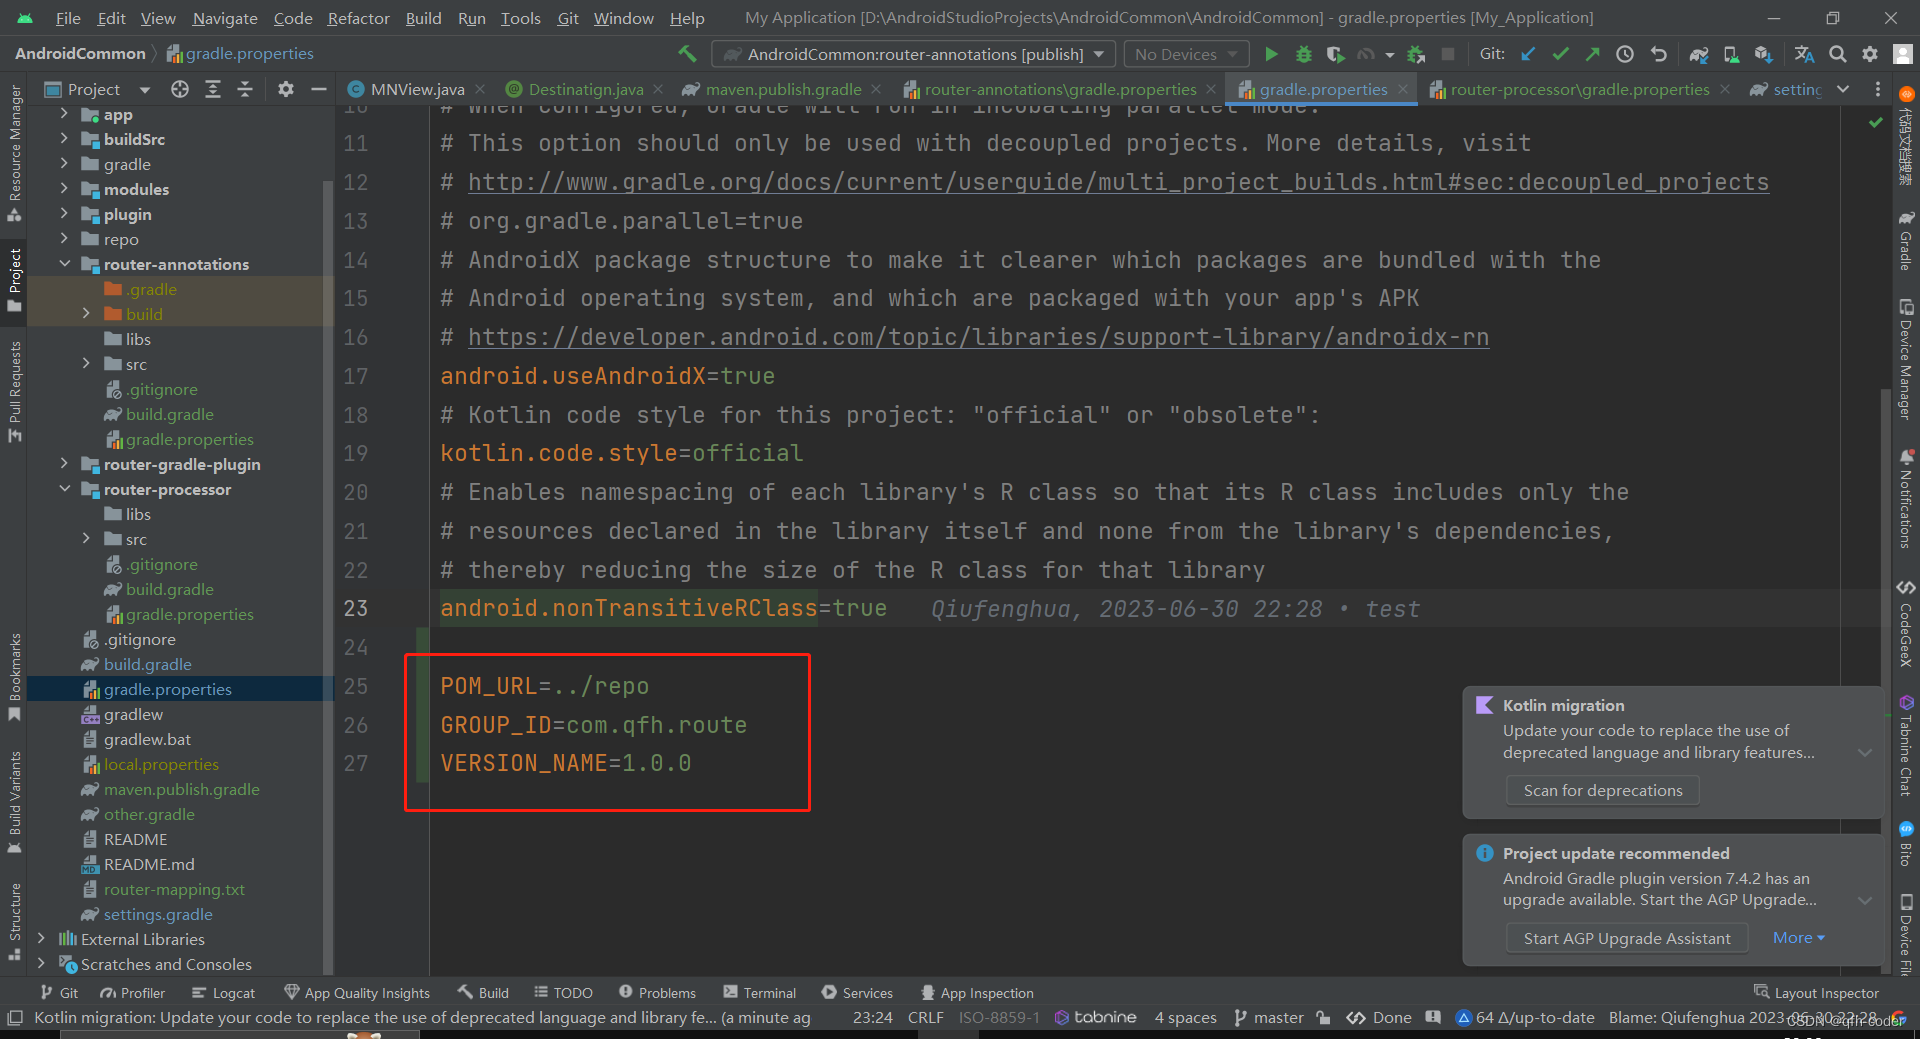
把公共的相同的部分抽取到项目根目录下的gradle.properties中
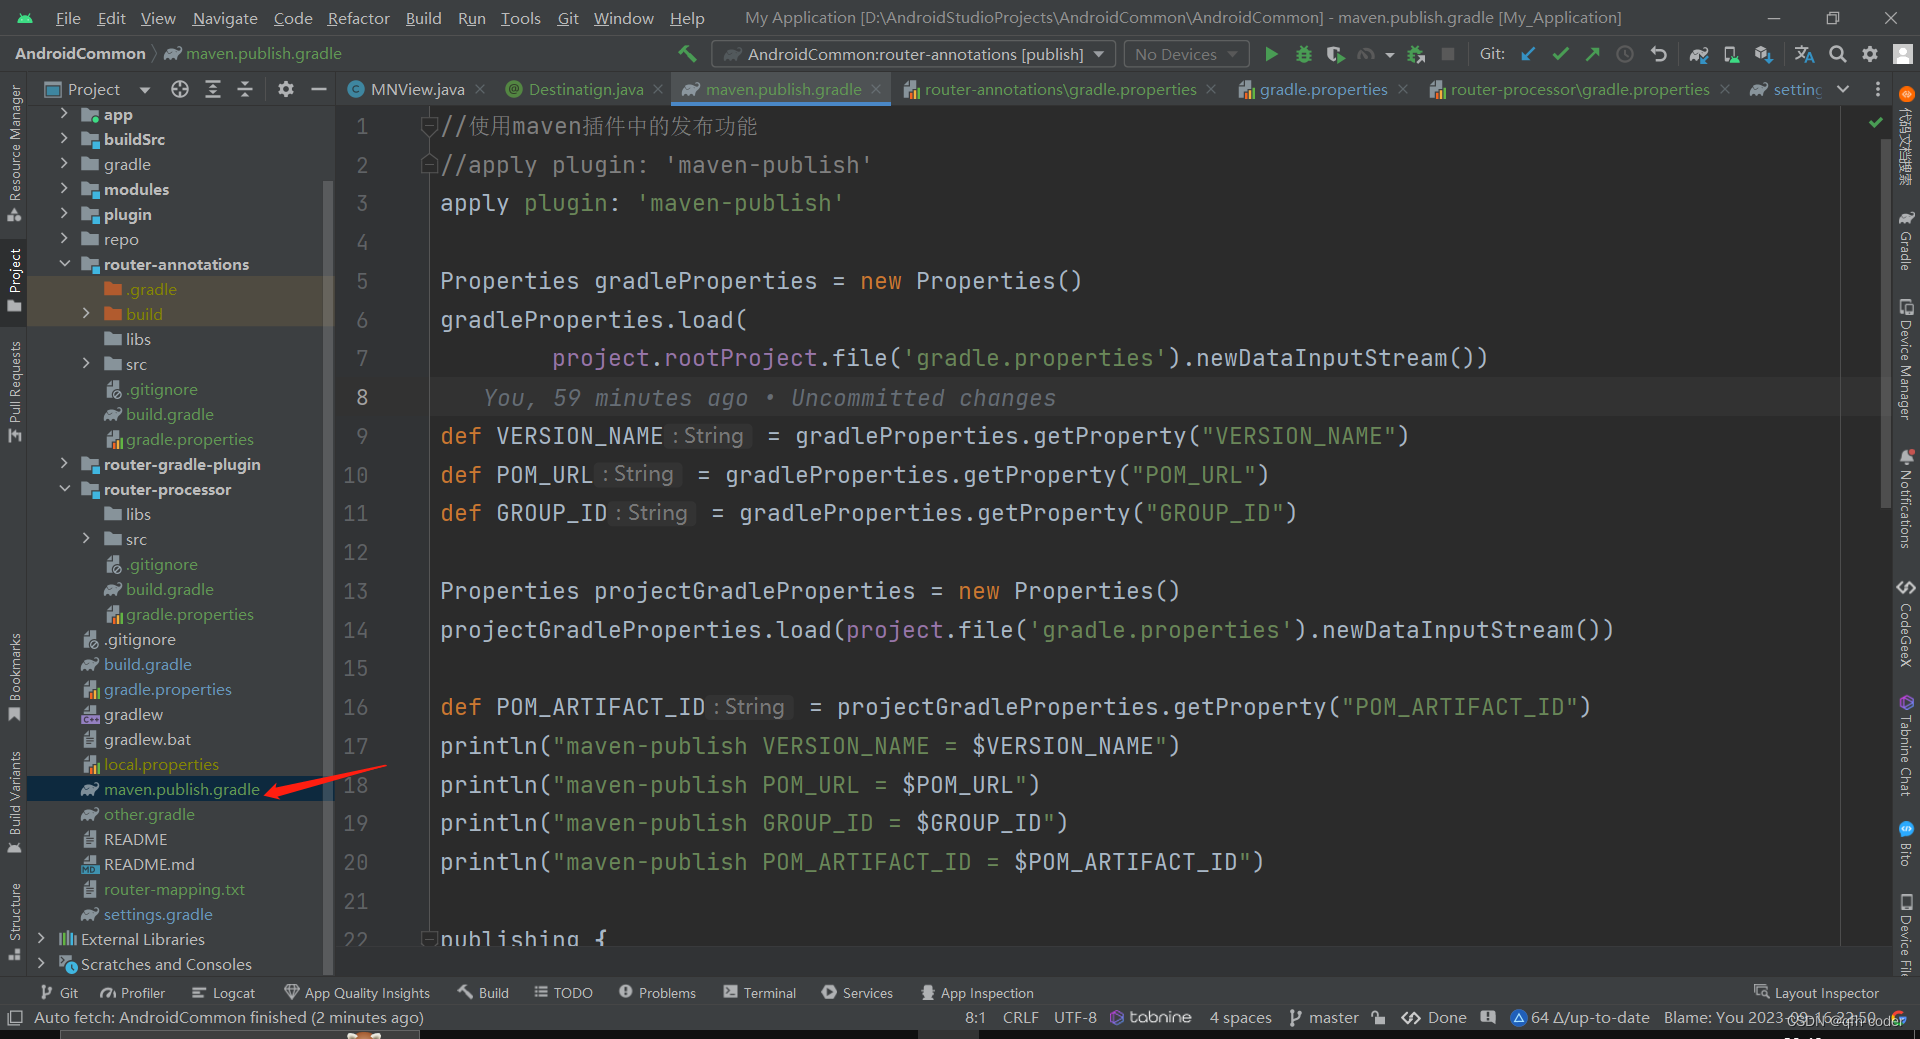
在脚本中编写代码
//使用maven插件中的发布功能
//apply plugin: 'maven-publish'
apply plugin: 'maven-publish'

Properties gradleProperties = new Properties()
gradleProperties.load(
        project.rootProject.file('gradle.properties').newDataInputStream())

def VERSION_NAME = gradleProperties.getProperty("VERSION_NAME")
def POM_URL = gradleProperties.getProperty("POM_URL")
def GROUP_ID = gradleProperties.getProperty("GROUP_ID")

Properties projectGradleProperties = new Properties()
projectGradleProperties.load(project.file('gradle.properties').newDataInputStream())

def POM_ARTIFACT_ID = projectGradleProperties.getProperty("POM_ARTIFACT_ID")
println("maven-publish VERSION_NAME = $VERSION_NAME")
println("maven-publish POM_URL = $POM_URL")
println("maven-publish GROUP_ID = $GROUP_ID")
println("maven-publish POM_ARTIFACT_ID = $POM_ARTIFACT_ID")

publishing {
    // 配置Plugin GAV
    publications {
        maven(MavenPublication) {
            groupId = GROUP_ID
            artifactId = POM_ARTIFACT_ID
            version = VERSION_NAME
            from components.java

        }
    }
    // 发布地址
    repositories {
        maven {
            url = uri('../repo')
        }
//        maven {
//            url layout.buildDirectory.dir("maven-repo")
//        }
    }
}
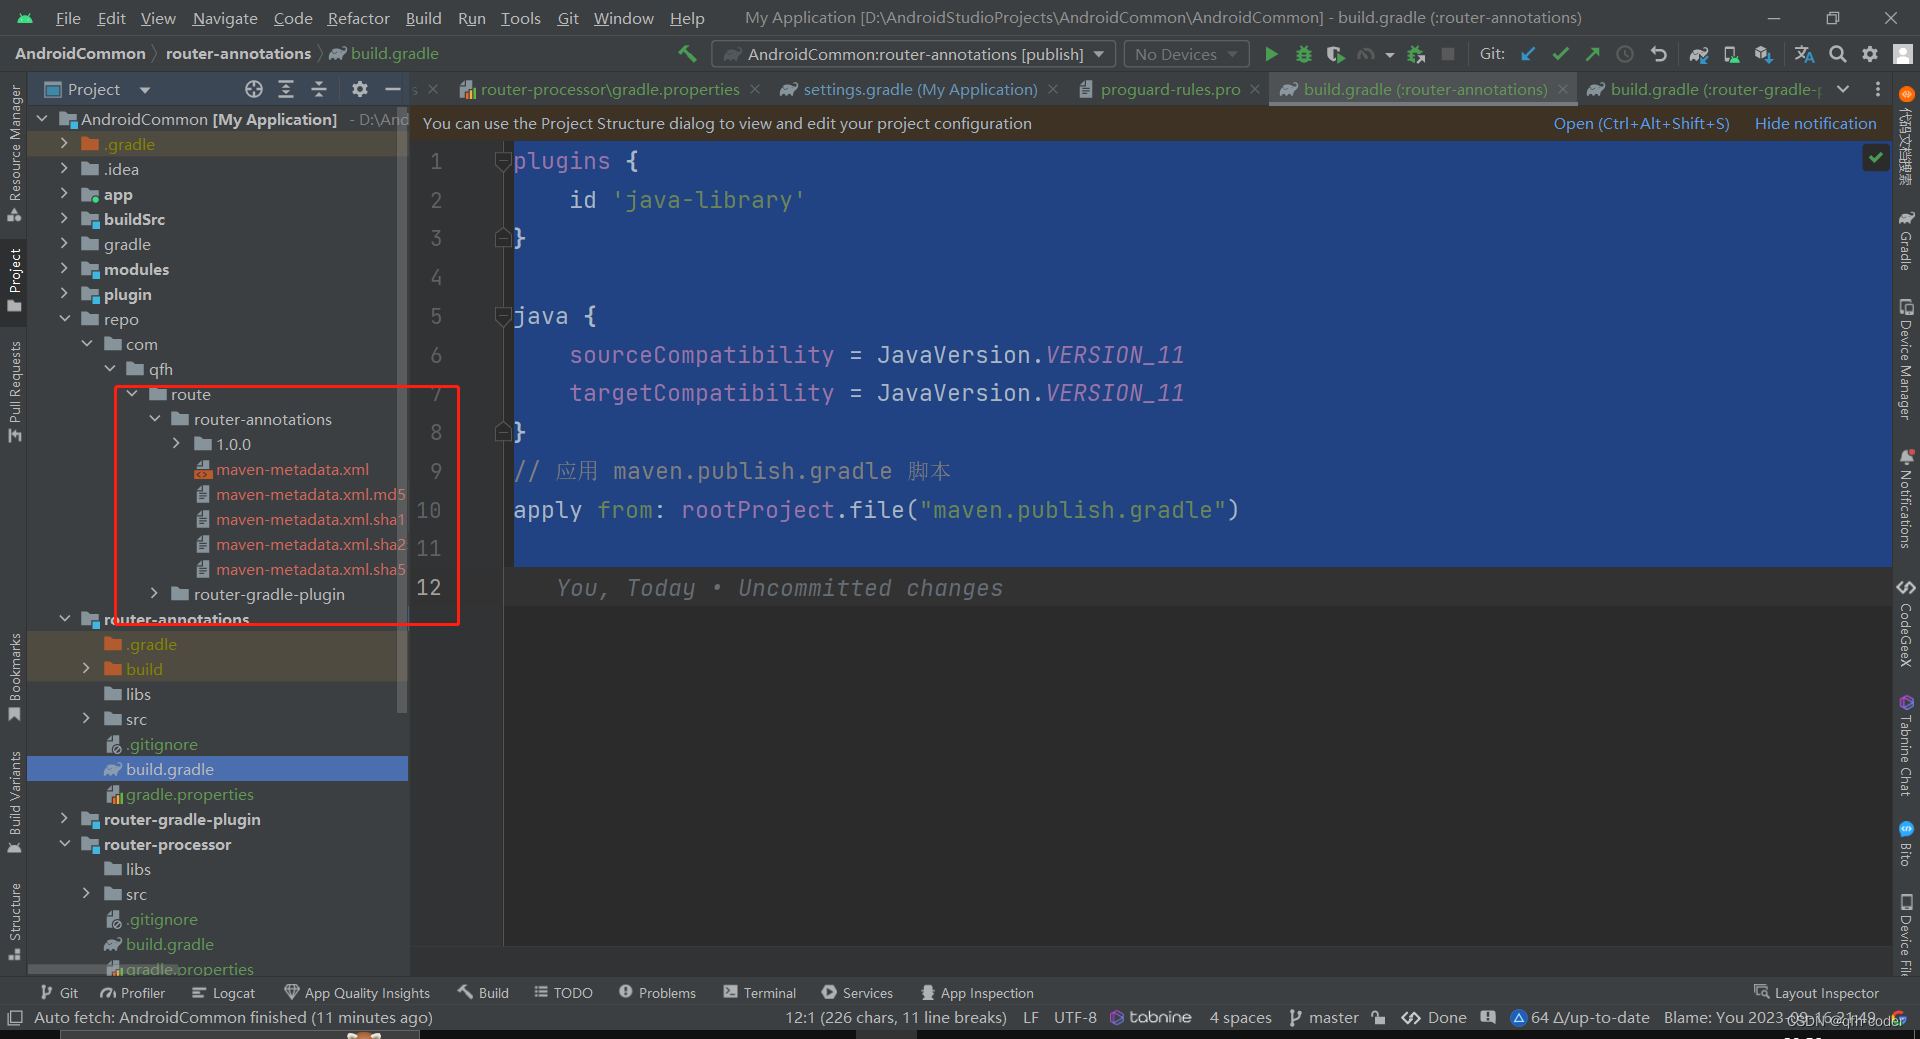
子工程应用根目录脚本下的发布功能
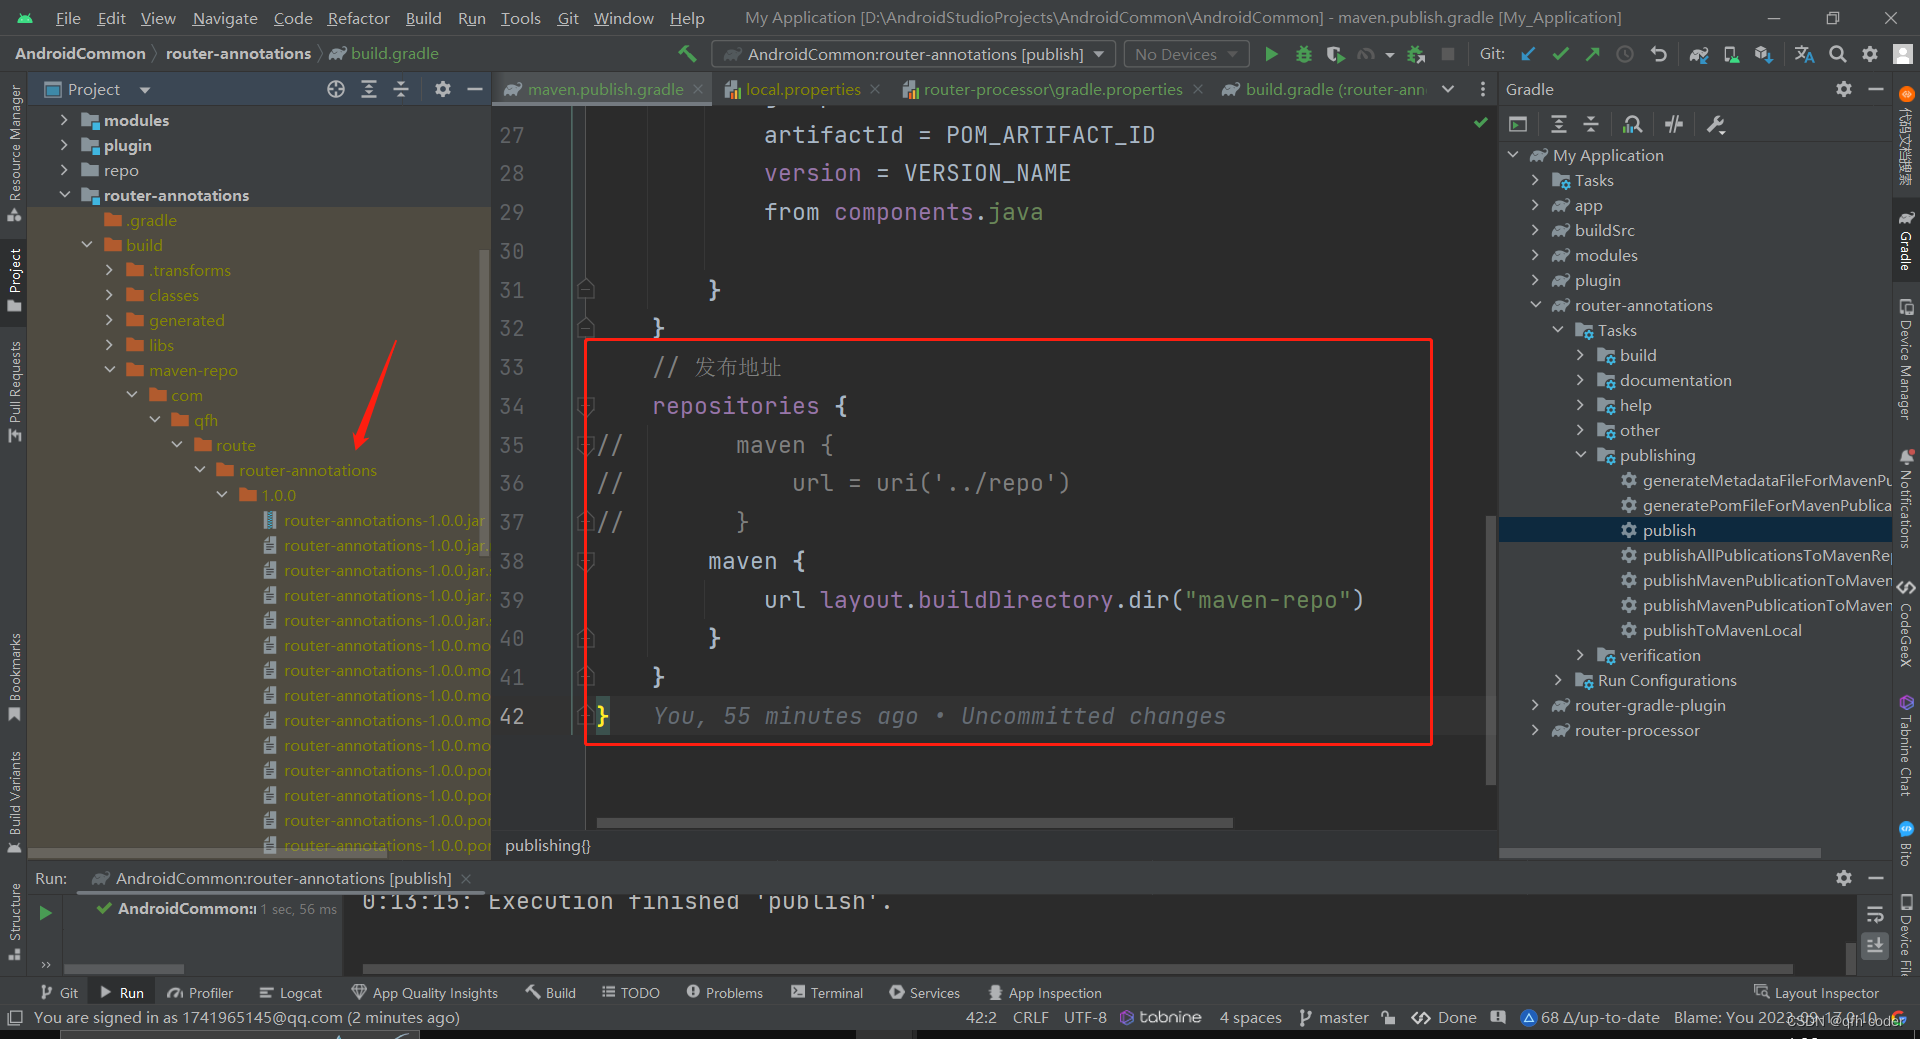
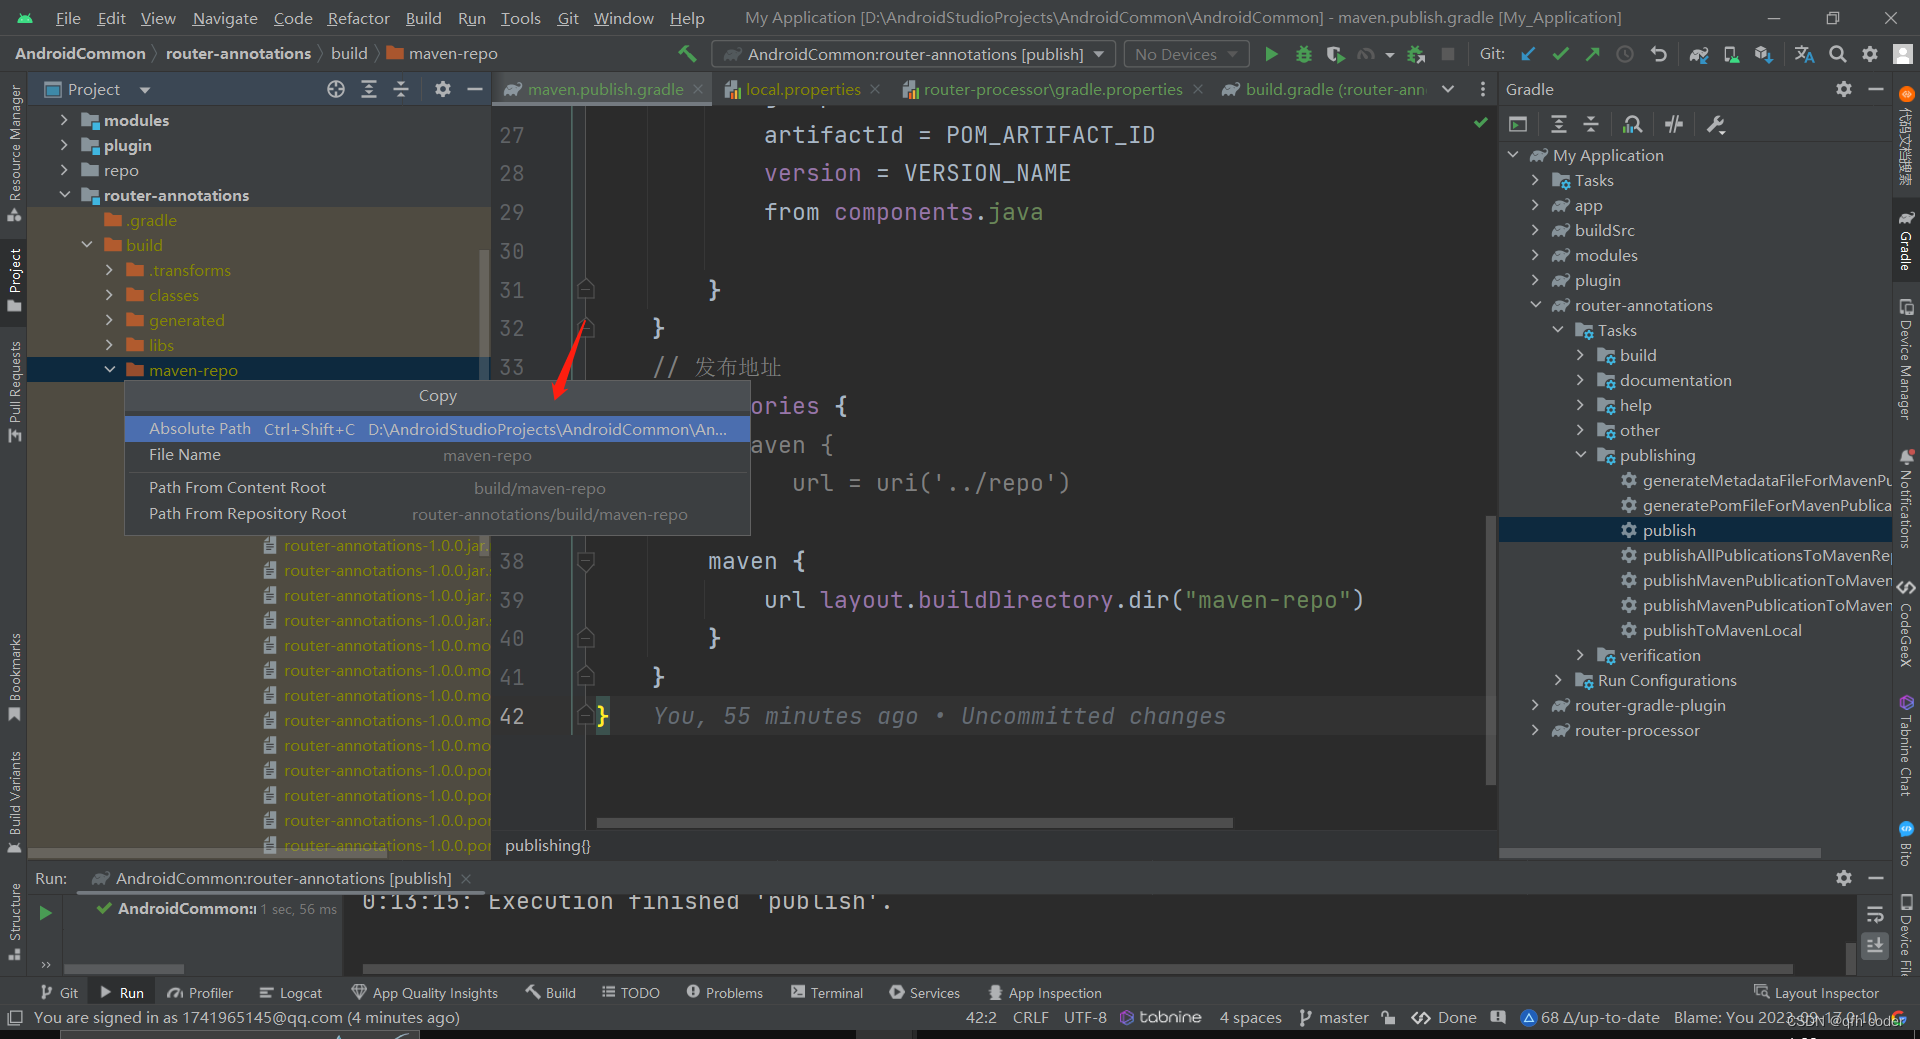
发布之后,该模块就发布到本地仓库上了
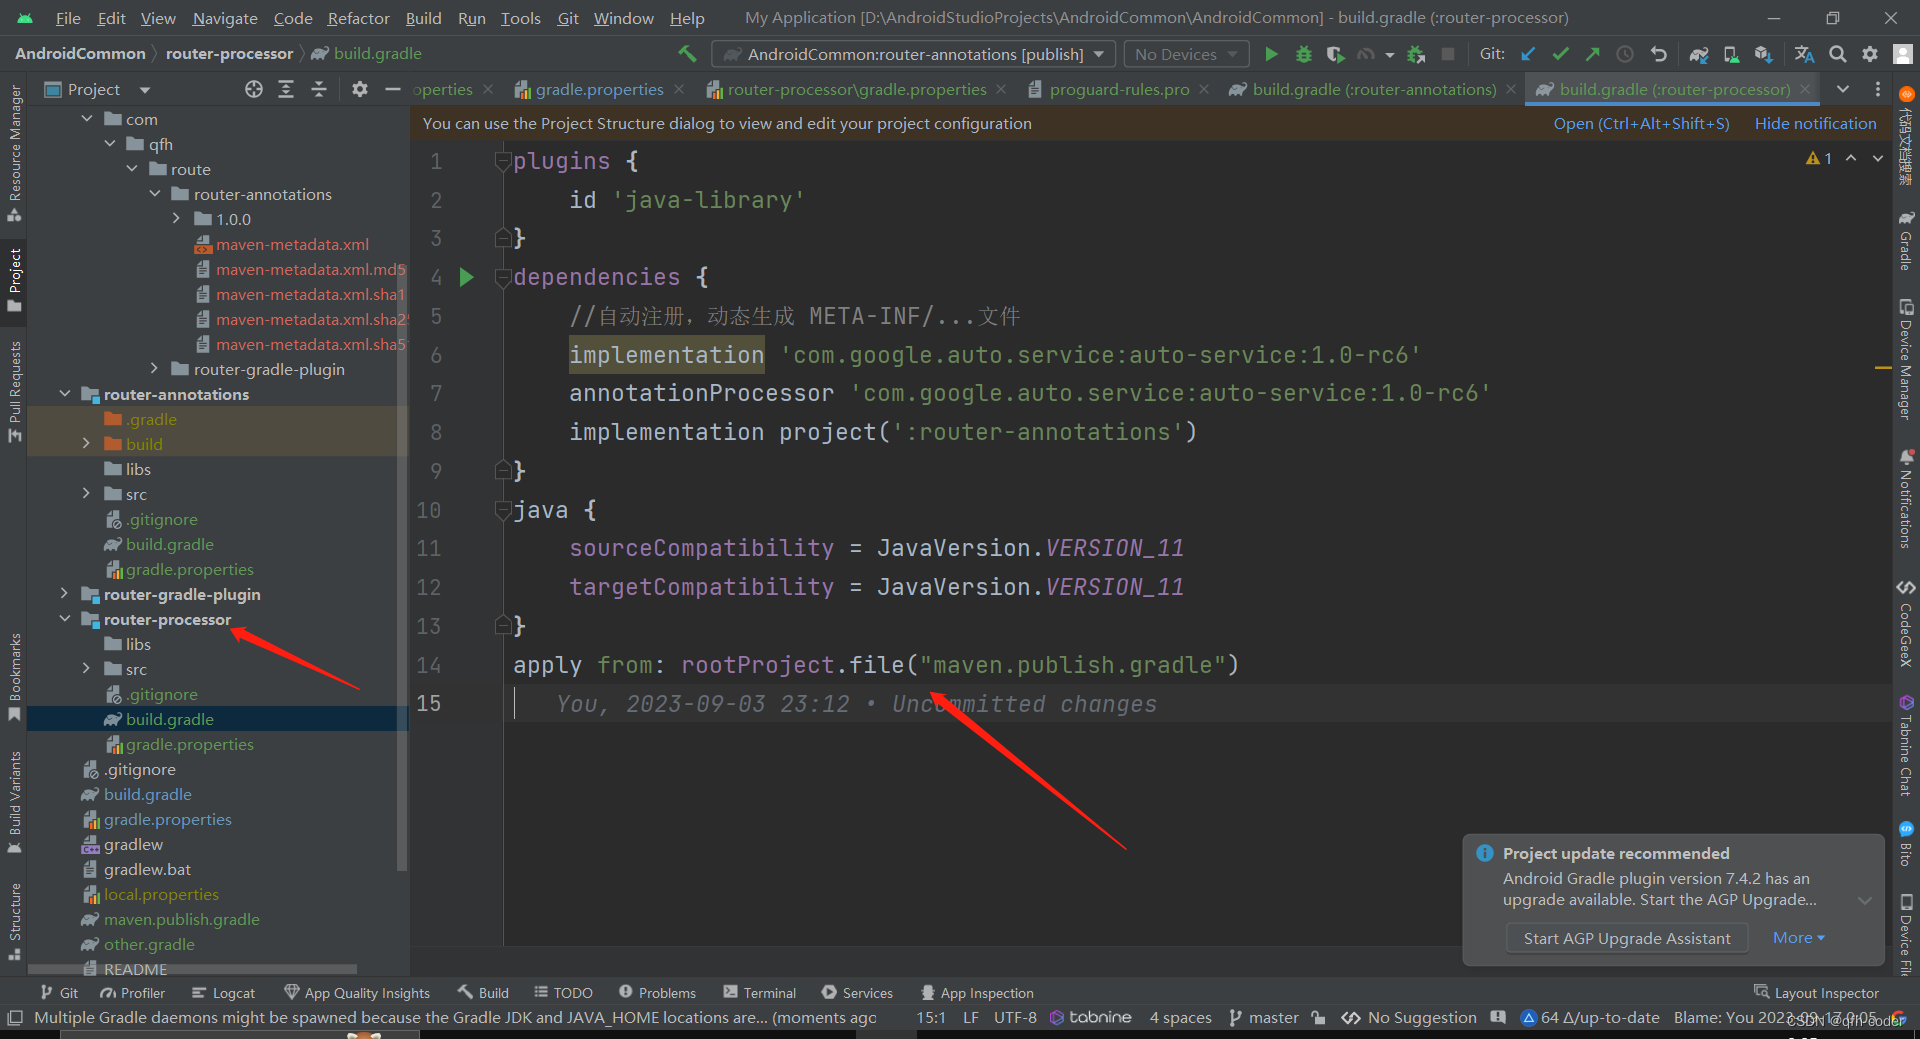
在注解处理器工程中也是一样从操作router-processor
发布到本地仓库之后
2.在工程中应用
我们新开一个项目
拷贝这个地址到新工程中
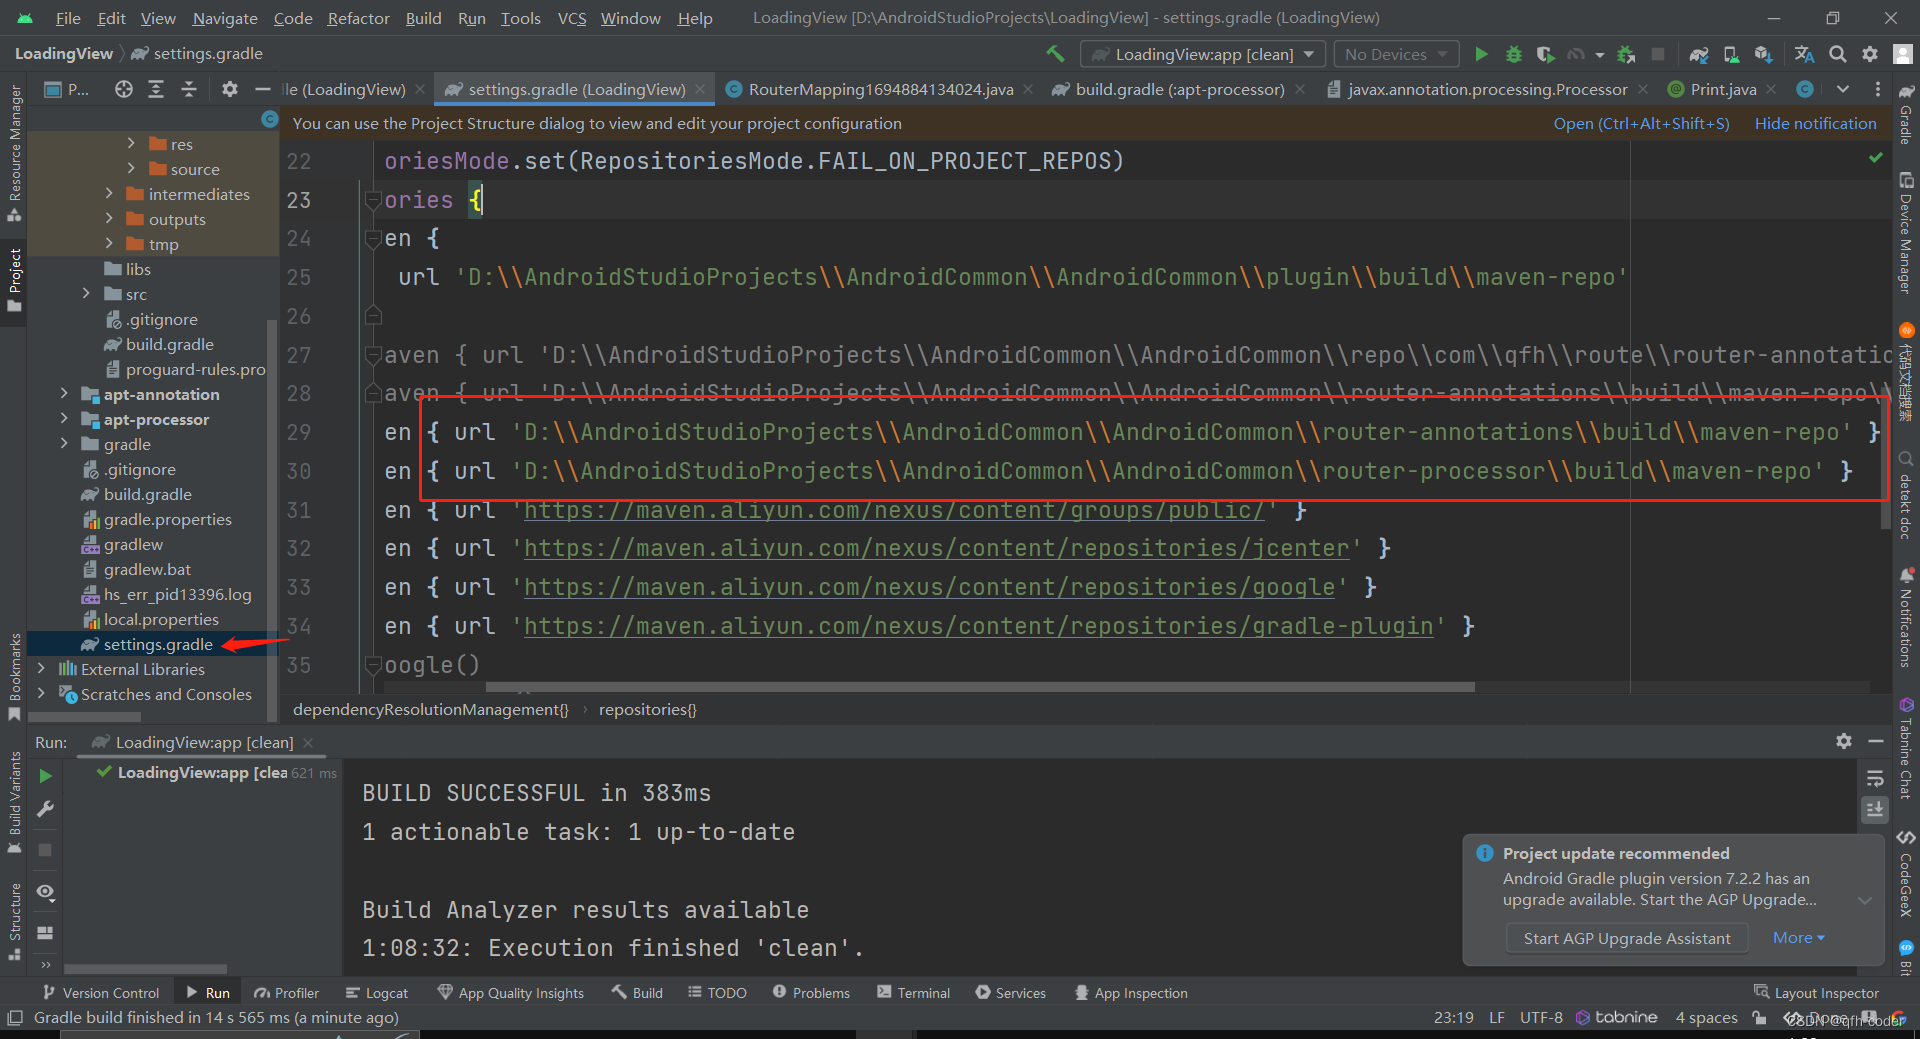
添加maven仓库
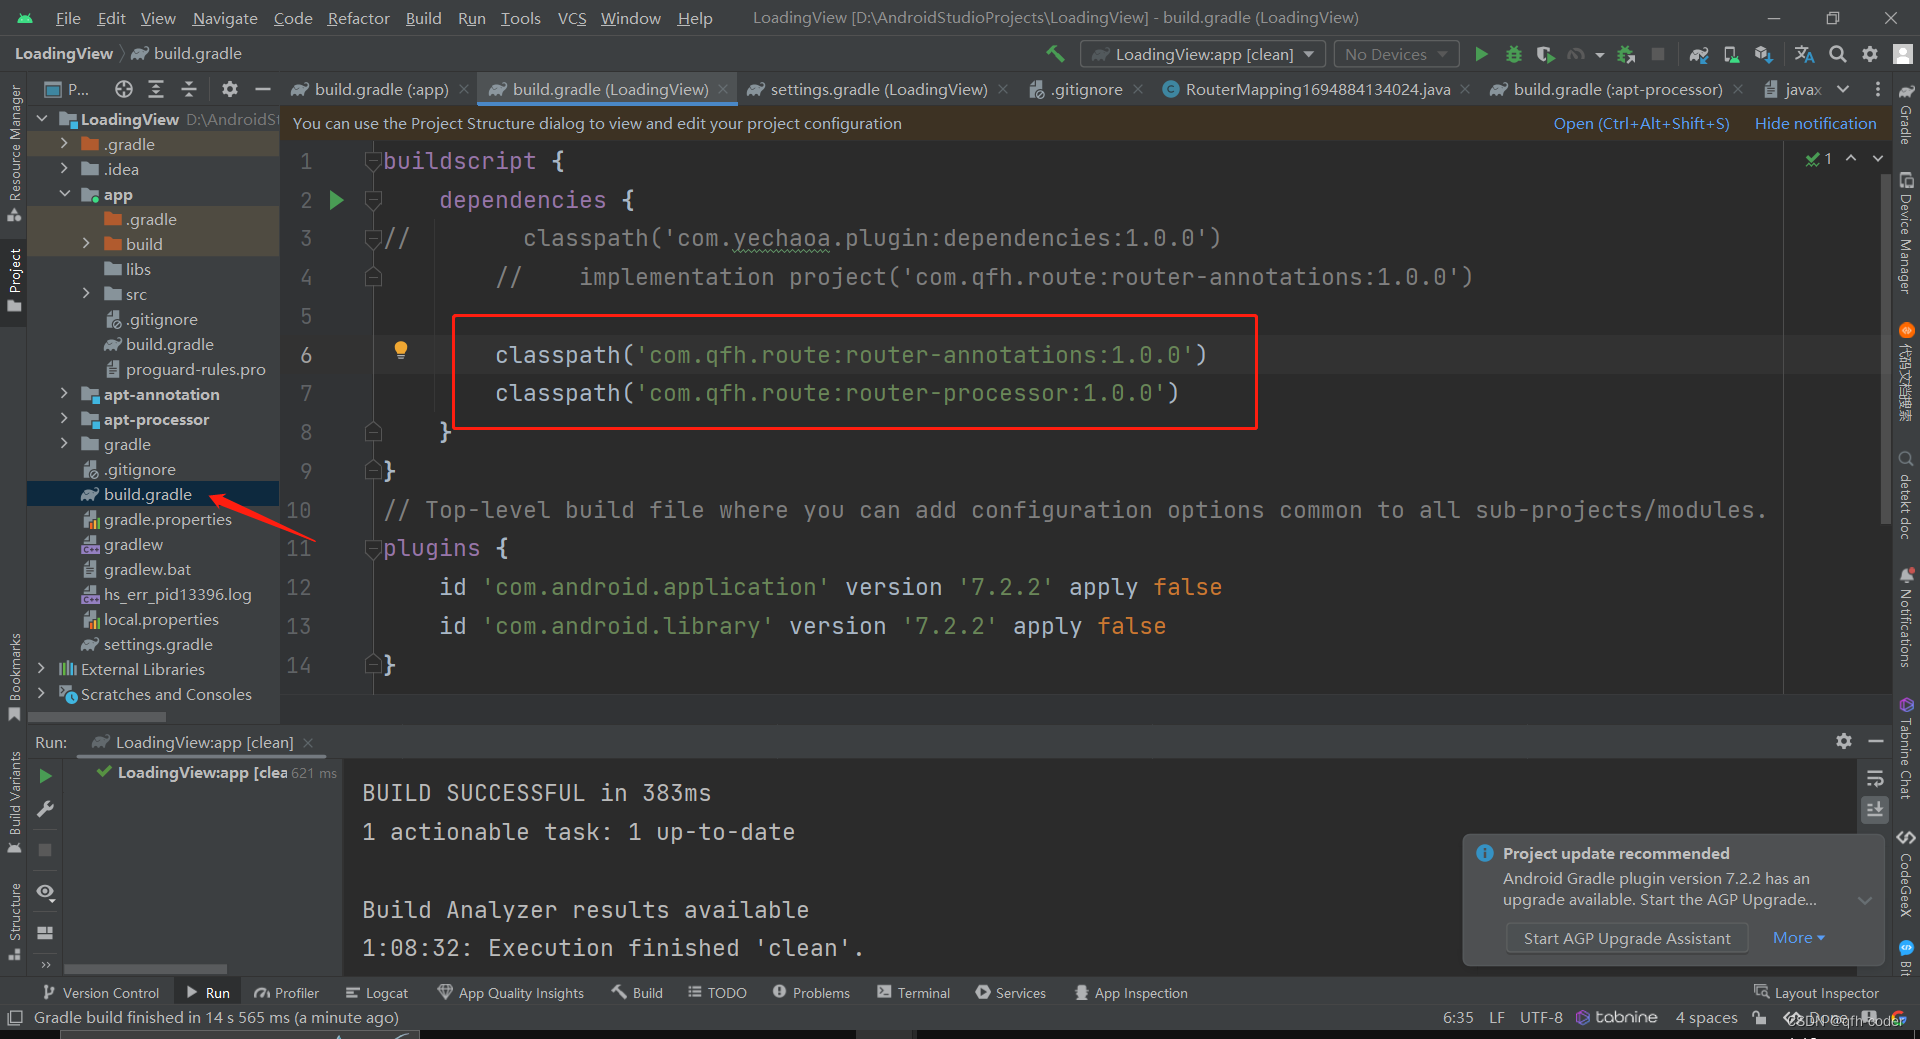
在项目根目录脚本下添加依赖
在app工程中添加依赖
使用我们本地仓库中的注解
构建一下,我们注解上的信息就会被映射到我们写的那个类中。发布成aar包。
