CSS(网站的表现)
1.CSS是层叠样式表
2.CSS的存在形式
2.1 单作用域在标签内部添加CSS样式
<div style="background-color: red;color: blue">文本内容</div>
2.2 全局定义标签样式
- 在单个html中
<head>
    <meta charset="UTF-8">
    <title>CSS的作用域</title>
    <style>
        div{
            background-color: red;
            color: blue;
        }
    </style>
</head>
- 可以写入一个CSS文件,这样html都可以调用CSS
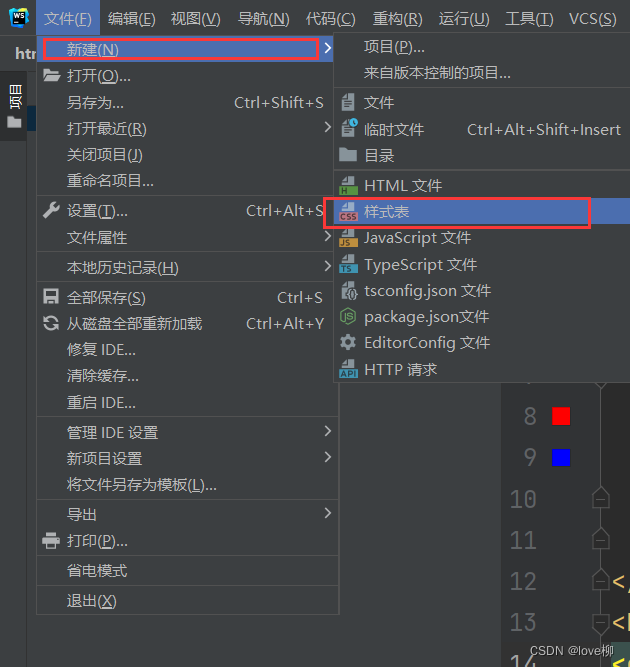
新建一个CSS文件,并输入div标签格式
div{
    background-color: red;
    color: blue;
}
- 要在html的header头中引入CSS文件
<head>
    <meta charset="UTF-8">
    <title>CSS的作用域</title>
    <link rel="stylesheet" href="div.css"/>
</head>
- 注意:
对于调用CSS文件时,若html中没有,那就是继承关系,就会继承CSS的格式
若有相同的定义,则优先级为:body >heard >CSS文件
3. CSS选择器
3.1 标签选择器
会找到html中所有的div标签,然后添加样式
<head>
    <meta charset="UTF-8">
    <title>CSS</title>
    <style>
        div{
            background-color: red;
            color: blue;
        }
    </style>
</head>
3.2 id选择器
会找到html中所有id=i1的标签,然后添加样式
<!DOCTYPE html>
<html lang="en">
<head>
    <meta charset="UTF-8">
    <title>CSS</title>
    <style>
        #i1 {
            font-size: 56px;
            color: greenyellow;
        }
    </style>
</head>
<body>
<a id="i1">百度</a>
</body>
</html>
3.3 class选择器
会找到html中所有class=c1的标签,然后添加样式
<!DOCTYPE html>
<html lang="en">
<head>
    <meta charset="UTF-8">
    <title>CSS</title>
    <style>
        .c1 {
            background-color: blueviolet;
            color: deeppink;
        }
    </style>
</head>
<body>
<div class="c1">文本内容2</div>
<div class="c1">文本内容3</div>
<span class="c1">文本内容4</span>
</body>
</html>
3.4 层级选择器
会找到div下面的p标签下面的a标签,然后添加样式
<!DOCTYPE html>
<html lang="en">
<head>
    <meta charset="UTF-8">
    <title>CSS</title>
    <style>
        .i1 div p a {
            background-color: blueviolet;
        }
    </style>
</head>
<body>
<div class="i1">
    <div>
        <p>
            <span>oooooo</span><br><br>
            <a>uuuuuuuu</a>
        </p>
    </div>
</div>
<div class="i1">zzzzzzzzz</div>
</body>
</html>
3.5 组合选择器
同时为i1,i2和i3添加同一个样式
<!DOCTYPE html>
<html lang="en">
<head>
    <meta charset="UTF-8">
    <title>CSS</title>
    <style>
        .i1, .i2, .i3 {
            background-color: blueviolet;
        }
    </style>
</head>
<body>
<div class="i1">1</div>
<div class="i2">1</div>
<div class="i3">1</div>
</body>
</html>
4. CSS的注释写法
<style>
    /*这是CSS的注释写法*/
    .i1, .i2, .i3 {
        background-color: blueviolet;
    }
</style>
5. CSS的基本样式(!DOCTYPE规范下)
5.1 color(字体颜色)
    <style>
        .i1 {
            color: green;
        }
    </style>
5.2 background-color(背景颜色)
    <style>
        .i1 {
            background-color: green;
        }
    </style>
5.3 font-size(字体大小)
    <style>
        .i1 {
            font-size: 32px;
        }
    </style>
5.4 height(高度)
5.5 width(宽度)
    <style>
        .i1 {
            /* 高度没有100% */
            height: 300px;
            /* 宽度可以有100% */
            width: 100%;
        }
    </style>
5.6 块级标签和内敛标签的转化
<!--div转换为内敛-->
<div style="display: inline-block" class="c1">联通</div>
<!--内敛转换为块级-->
<span style="display: block">联通</span>
5.7 字体
    <style>
        .c1 {
            color: red;
            /*字体大小*/
            font-size: 58px;
            /*字体加粗*/
            font-weight: 600;
            /*字体*/
            font-family: "Helvetica Neue", Helvetica, Arial, sans-serif;
        }
    </style>
5.8文字对齐方式
    <style>
        .c1 {
            width: 300px;
            height: 300px;
            border: 1px solid red;
            text-align: center;        /*水平方向剧中*/
            line-height: 300px;        /*垂直居中*/
        }
    </style>
5.9 浮动
<div>
    <span style="float: right">中国联通</span>  <!--向右浮动-->
    <span>中国移动</span>
</div>
标签如果浮动起来,容易脱离文档流
<div style="background-color: blue">
    <div class="item"></div>
    <div class="item"></div>
    <div class="item"></div>
    <div class="item"></div>
    <div style="clear: both"></div>
</div>
一但出现浮动要加clear:both
5.10 边距
- 内边距
    <style>
        .outer {
            border: 1px solid red;
            height: 400px;
            width: 200px;
            /*距离顶部*/
            padding-top: 20px;
            /*距离左侧*/
            padding-left: 20px;
            padding-bottom: 20px;
            padding-right: 20px;
        }
    </style>
- 外边距
<div style="background-color: goldenrod;">ok</div>
<!--外边距margin-->
<div style="background-color: red;margin-top: 20px;margin-left: 20px">no</div>
5.11文本剧中
- 文本居中
<div style="width: 200px;text-align: center;background-color: #2aabd2">文本内容</div>
- 区域居中
自己要有宽度 + margin-left:auto;margin-right:ayto
5.12 hover
鼠标放上之后发生改变
<head>
    <meta charset="UTF-8">
    <title></title>
    <style>
        .download{
            margin-top: 100px;
            display: none;
        }
        .app{
            border: 1px ridge red;
        }
        .app:hover .download{
            display: block;
        }
    </style>
</head>
<body>
<div class="app">
    <div style="width: 100px;height: 100px">可视化照片</div>
    <div class="download"><img src="img/0adff7f3-e963-49ad-8882-5bc70ee23ded.png"></div>
</div>
</body>
5.13 after
<!DOCTYPE html>
<html lang="en">
<head>
    <meta charset="UTF-8">
    <title></title>
    <style>
        .item{
            width: 100px;
            height: 100px;
        }
        .item:after{

            content: "点此看照片";
        }
        .download{
            margin-top: 100px;
            display: none;
        }
        .app{
            border: 1px ridge red;
        }
        .app:hover .download{
            display: block;
        }
    </style>
</head>
<body>
<div class="app">
    <div class="item">可视化照片</div>
    <div class="download"><img src="img/0adff7f3-e963-49ad-8882-5bc70ee23ded.png"></div>
</div>
</body>
</html>
总要应用:标签浮动时可能脱离文档流,我们可以用after来解决
<!DOCTYPE html>
<html lang="en">
<head>
    <meta charset="UTF-8">
    <title></title>
    <style>
        .clearfix:after{
            content: "";
            display: block;
            clear: both;
        }
        .item{
            float: left;
            border: 1px ridge red;
            background-color: #2aabd2;
            width: 200px;
            height: 200px;
            font-family: "Helvetica Neue", Helvetica, Arial, sans-serif;
            font-size: 56px;
            text-align: center;
            line-height: 200px;
        }
    </style>
</head>
<body>
<div class="clearfix">
    <div class="item">1</div>
    <div class="item">1</div>
    <div class="item">1</div>
    <div class="item">1</div>
</div>
</body>
</html>
5.14 position
- fixed
- relative
- absolute
5.14.1 fixed
固定窗口位置
<!DOCTYPE html>
<html lang="en">
<head>
    <meta charset="UTF-8">
    <title></title>
    <style>
        .clearfix:after{
            content: "";
            display: block;
            clear: both;
        }
        .item{
            float: left;
            border: 1px ridge red;
            background-color: #2aabd2;
            width: 200px;
            height: 200px;
            font-family: "Helvetica Neue", Helvetica, Arial, sans-serif;
            font-size: 56px;
            text-align: center;
            line-height: 200px;
        }
        .back{
            position: fixed;
            width: 100px;
            height: 60px;
            border: 1px solid blueviolet;
            right: 10px;
            bottom: 50px;
            font-size: 20px;
            font-family: "Helvetica Neue", Helvetica, Arial, sans-serif;
            text-align: center;
            line-height: 60px;
        }
    </style>
</head>
<body>
<div class="clearfix">
    <div class="item">1</div>
    <div class="item">1</div>
    <div class="item">1</div>
    <div class="item">1</div>
</div>
<div class="back">返回顶部</div>
</body>
</html>
案例:模态对话框
<!DOCTYPE html>
<html lang="en">
<head>
    <meta charset="UTF-8">
    <title></title>
    <style>
        body {
            margin: 0;
        }

        .dialog {
            position: fixed;
            height: 300px;
            width: 500px;
            background-color: white;
            left: 50%;
            margin-left: -250px;
            top: 200px;
            z-index: 1000;
            /*  另一种居中方式
                left:0;
                right:0;
                margin:0 auto;
            */
        }
        .mask{
            position: fixed;
            background-color: black;
            left: 0;
            right: 0;
            top: 0;
            bottom: 0;
            /* 透明度*/
            opacity: 0.7;
            z-index: 999;
        }
    </style>
</head>
<body>
<div style="height: 2000px"></div>
<div class="mask"></div>
<div class="dialog"></div>
</body>
</html>
5.14.2 relative和absolute
absolute会看relative的位置来调整自己的位置
<!DOCTYPE html>
<html lang="en">
<head>
    <meta charset="UTF-8">
    <title></title>
    <style>
        .c1{
            height: 300px;
            width: 500px;
            border: 1px solid red;
            margin: 100px;
            position: relative;
        }
        .c1 .c2{
            height: 60px;
            width: 60px;
            background-color: green;
            position: absolute;
            top: 10px;
            left: 20px;
        }
    </style>
</head>
<body>
<div class="c1">
    <div class="c2"></div>
</div>
</body>
</html>
6.BootStrap
是别人帮我们写好的css样式,如果我们想用BootStrap:
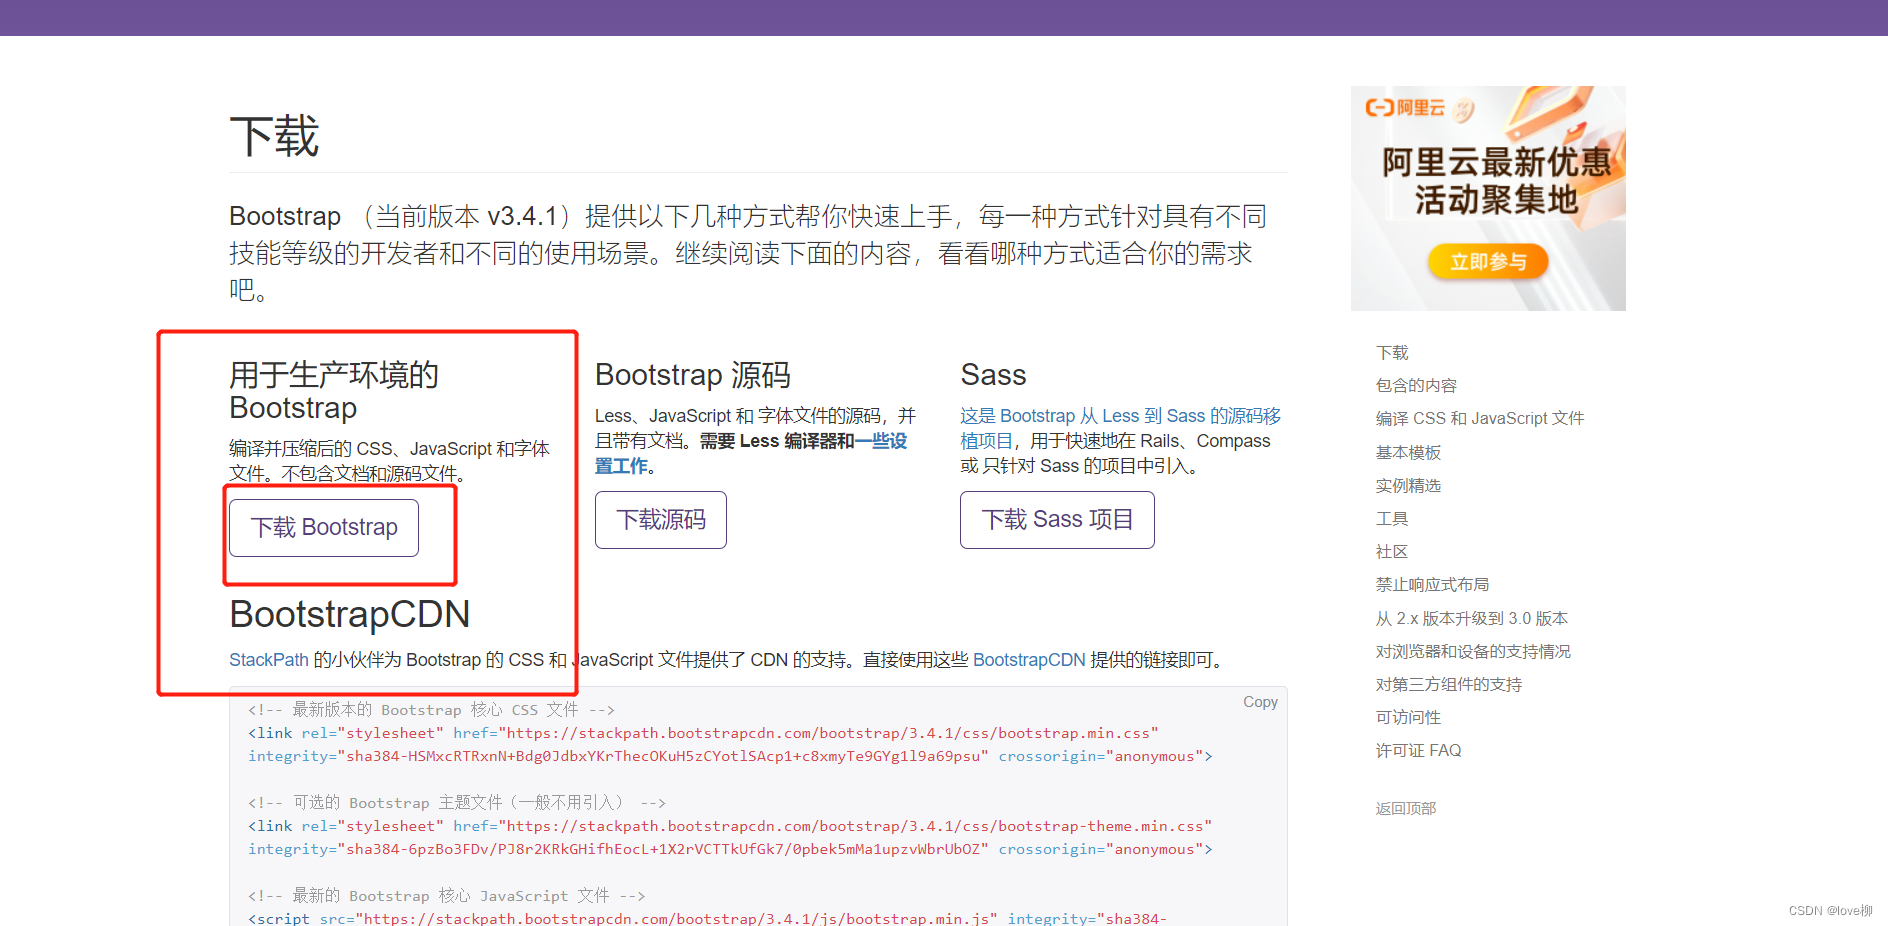
- 下载BootStrap
- 使用
- 在页面上引入BootStrap
- 编写html时,按照BootStrap的规定编写+自定制
6.1初识BootStrap
https://v3.bootcss.com/getting-started/#download
然后:
然后解压,然后引入进来就可以了(注意要把解压后的文件拉到你的项目中,方便调用)
    <!--开发版本-->
    <link rel="stylesheet" href="bootstrap/bootstrap-3.4.1-dist/css/bootstrap.css">
    <!--压缩版(就是省去换行)-->
    <link rel="stylesheet" href="bootstrap/bootstrap-3.4.1-dist/css/bootstrap.min.css">
<!DOCTYPE html>
<html lang="en">
<head>
<meta charset="UTF-8">
<title>初始BootStrap</title>
<!--开发版本-->
<link rel="stylesheet" href="bootstrap/bootstrap-3.4.1-dist/css/bootstrap.css">
<!-- <!–压缩版(就是省去换行)–>-->
<!-- <link rel="stylesheet" href="bootstrap/bootstrap-3.4.1-dist/css/bootstrap.min.css">-->
</head>
<body>
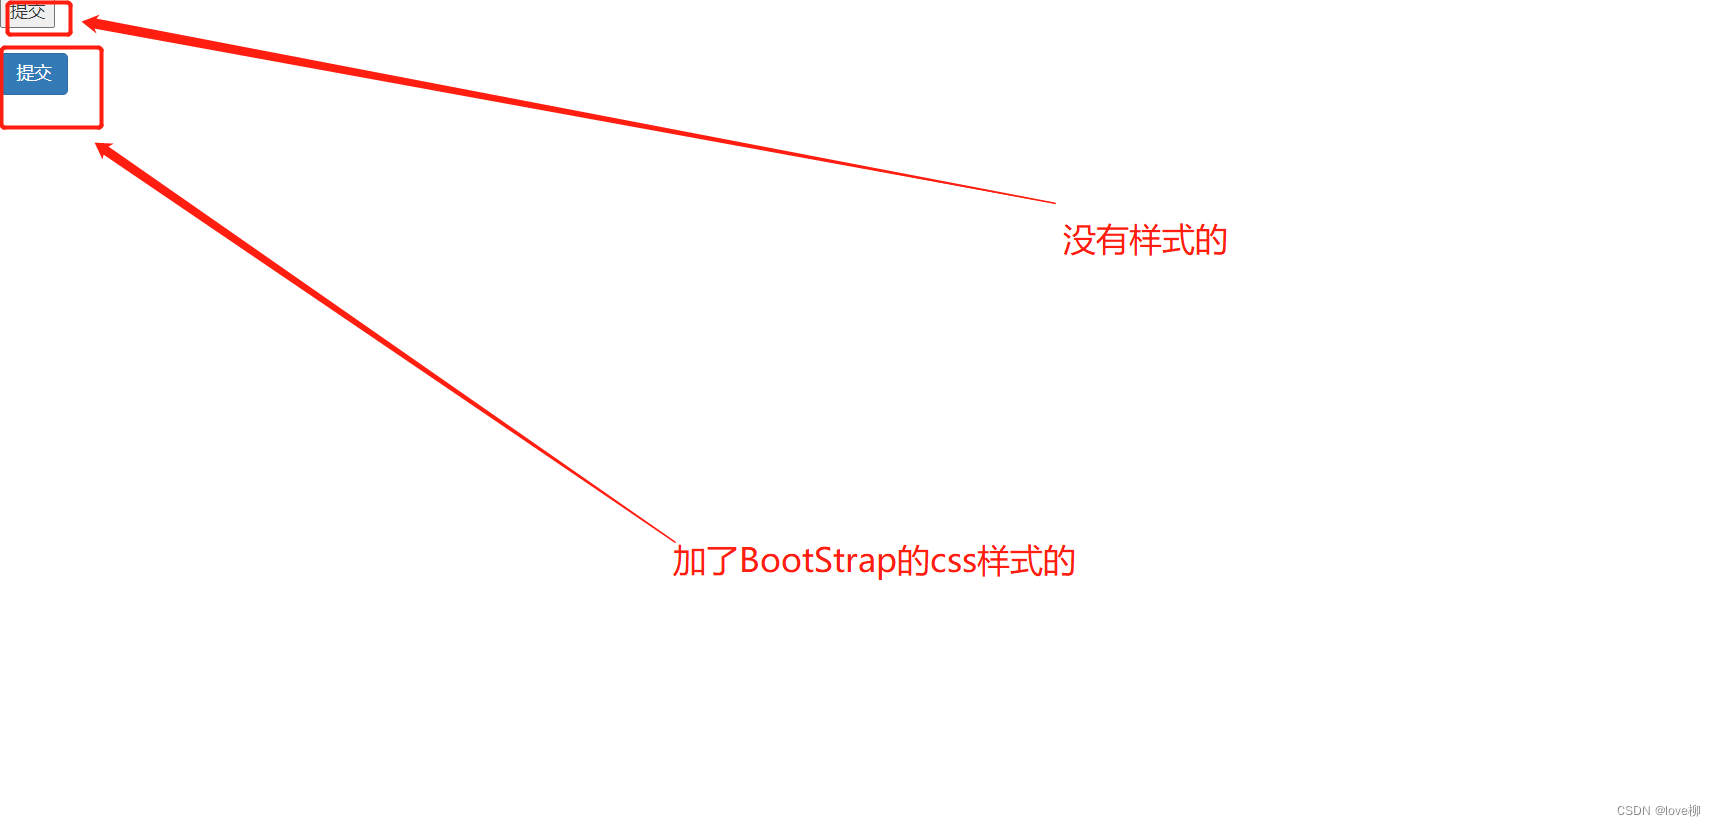
<input type="button" value="提交"/><br><br>
<input type="button" value="提交" class="btn btn-primary"/>
</body>
</html>
我们来看差别
这样我们就能省很多事,BootStrap帮我们写了6000多行css样式,只要我们去引入就好了
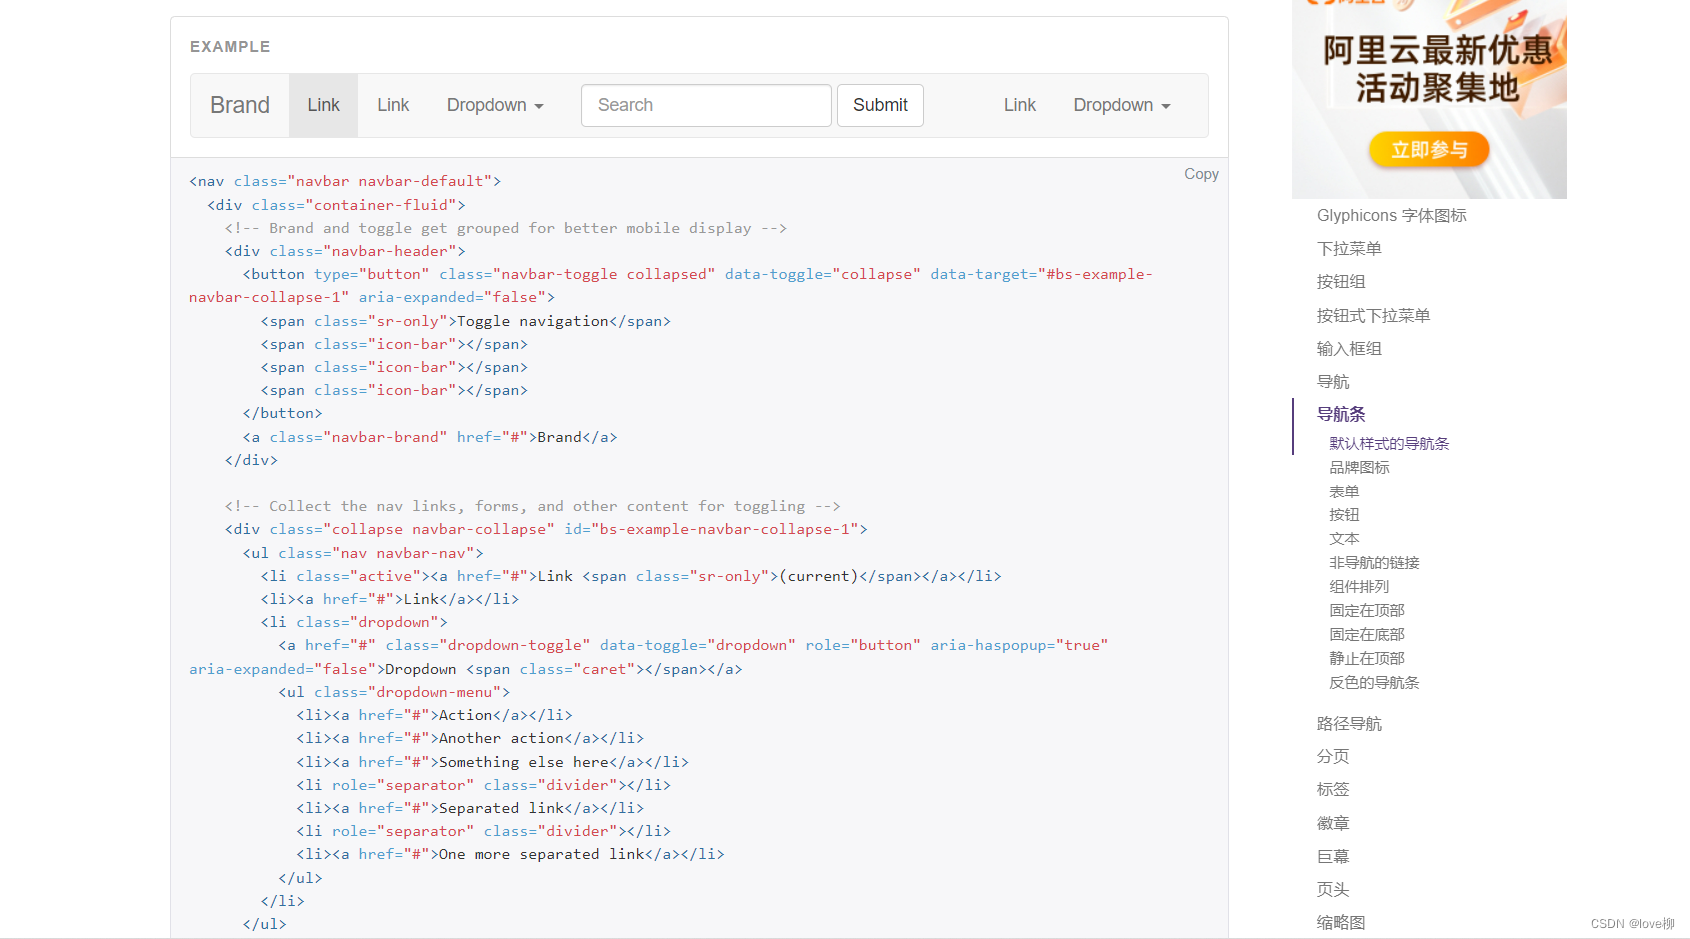
6.2 基于BootStrap来做导航
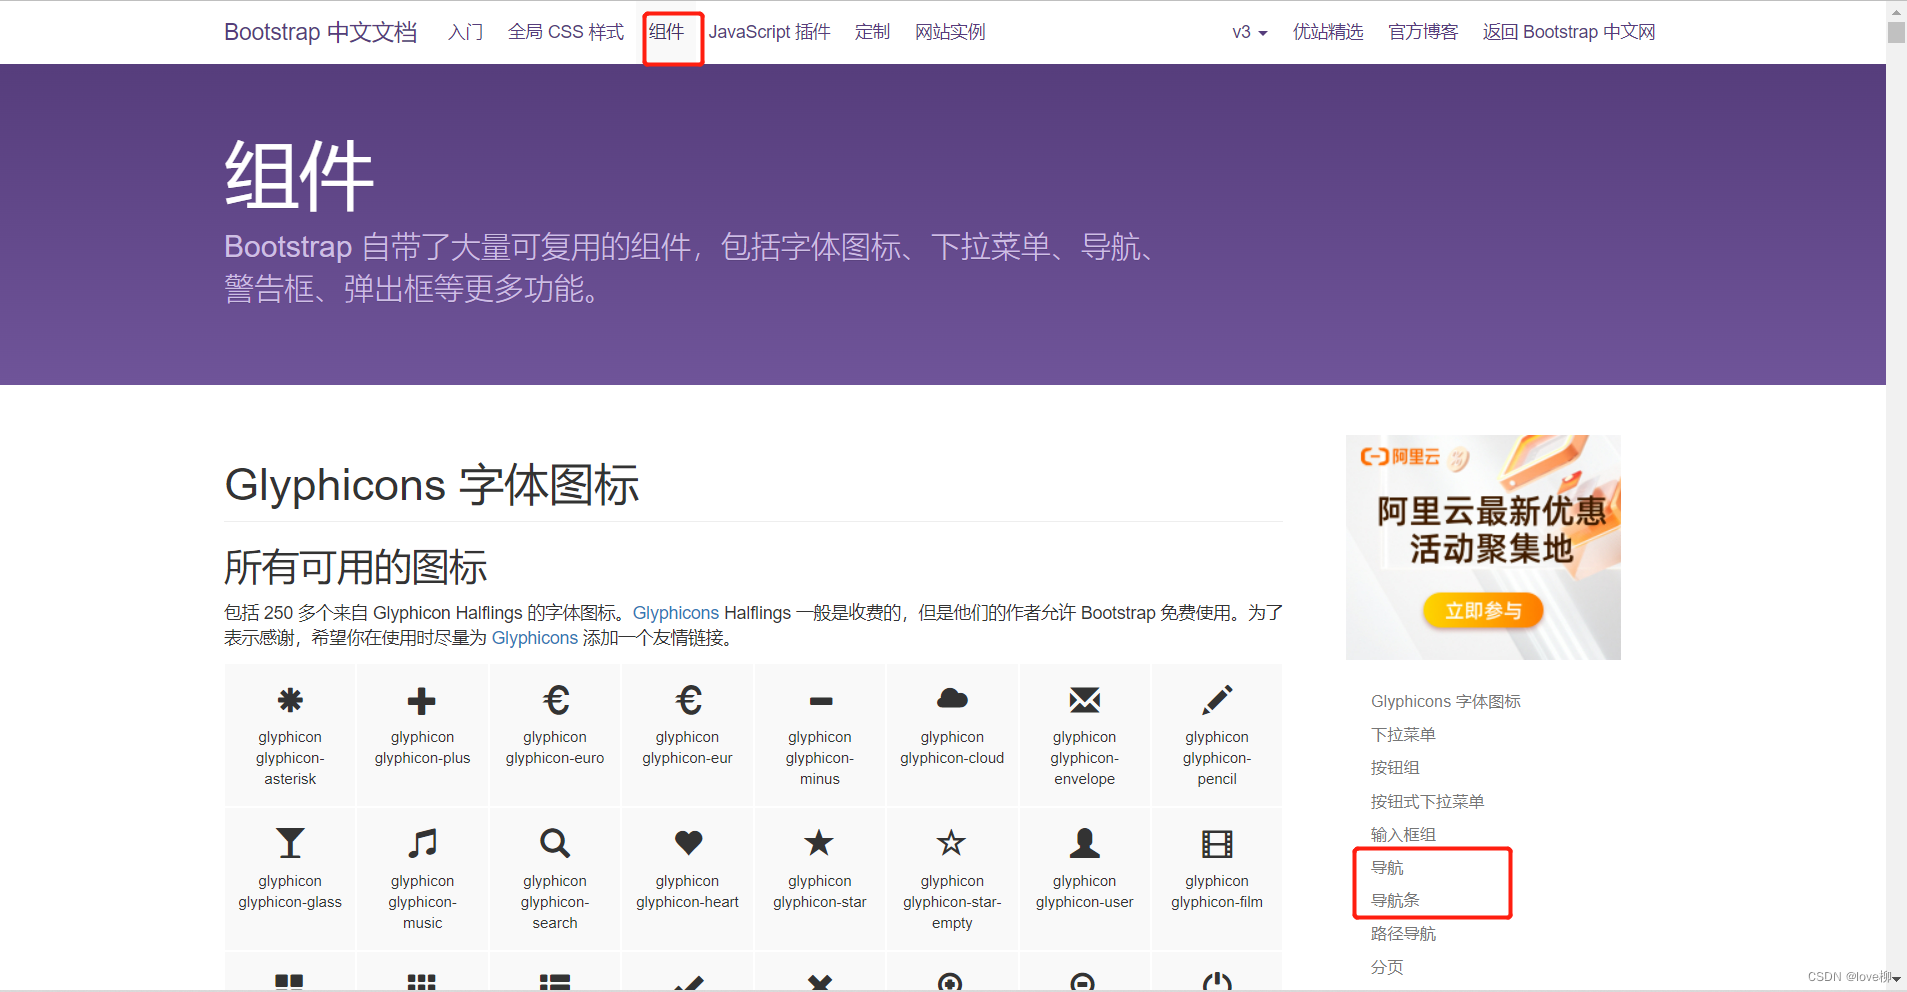
打开它的官方文档
全局 CSS 样式 · Bootstrap v3 中文文档 | Bootstrap 中文网 (bootcss.com)
copy一下,然后粘贴过来
<!DOCTYPE html>
<html lang="en">
<head>
<meta charset="UTF-8">
<title>初始BootStrap</title>
<!--开发版本-->
<link rel="stylesheet" href="bootstrap/bootstrap-3.4.1-dist/css/bootstrap.css">
<!-- <!–压缩版(就是省去换行)–>-->
<!-- <link rel="stylesheet" href="bootstrap/bootstrap-3.4.1-dist/css/bootstrap.min.css">-->
</head>
<body>
<nav class="navbar navbar-default">
<div class="container-fluid">
<!-- Brand and toggle get grouped for better mobile display -->
<div class="navbar-header">
<button type="button" class="navbar-toggle collapsed" data-toggle="collapse"
data-target="#bs-example-navbar-collapse-1" aria-expanded="false">
<span class="sr-only">Toggle navigation</span>
<span class="icon-bar"></span>
<span class="icon-bar"></span>
<span class="icon-bar"></span>
</button>
<a class="navbar-brand" href="#">Brand</a>
</div>
<!-- Collect the nav links, forms, and other content for toggling -->
<div class="collapse navbar-collapse" id="bs-example-navbar-collapse-1">
<ul class="nav navbar-nav">
<li class="active"><a href="#">Link <span class="sr-only">(current)</span></a></li>
<li><a href="#">Link</a></li>
<li class="dropdown">
<a href="#" class="dropdown-toggle" data-toggle="dropdown" role="button" aria-haspopup="true"
aria-expanded="false">Dropdown <span class="caret"></span></a>
<ul class="dropdown-menu">
<li><a href="#">Action</a></li>
<li><a href="#">Another action</a></li>
<li><a href="#">Something else here</a></li>
<li role="separator" class="divider"></li>
<li><a href="#">Separated link</a></li>
<li role="separator" class="divider"></li>
<li><a href="#">One more separated link</a></li>
</ul>
</li>
</ul>
<form class="navbar-form navbar-left">
<div class="form-group">
<input type="text" class="form-control" placeholder="Search">
</div>
<button type="submit" class="btn btn-default">Submit</button>
</form>
<ul class="nav navbar-nav navbar-right">
<li><a href="#">Link</a></li>
<li class="dropdown">
<a href="#" class="dropdown-toggle" data-toggle="dropdown" role="button" aria-haspopup="true"
aria-expanded="false">Dropdown <span class="caret"></span></a>
<ul class="dropdown-menu">
<li><a href="#">Action</a></li>
<li><a href="#">Another action</a></li>
<li><a href="#">Something else here</a></li>
<li role="separator" class="divider"></li>
<li><a href="#">Separated link</a></li>
</ul>
</li>
</ul>
</div><!-- /.navbar-collapse -->
</div><!-- /.container-fluid -->
</nav>
</body>
</html>
这时我们运行一下
这时就出现了导航条
6.3 BootStrap依赖
-
BootStrap给我们写好了很多的javascript的动态效果
-
BootStrap依赖javascript的类库,JQurey
-
还要再页面导入我们的JQurey和Bootstrap的javascript的类库
<!DOCTYPE html>
<html lang="en">
<head>
    <meta charset="UTF-8">
    <title>BootStrap</title>
    <link rel="stylesheet" href="bootstrap/bootstrap-3.4.1-dist/css/bootstrap.css">
</head>
<body>
<script src="bootstrap/bootstrap-3.4.1-dist/js/jquery-3.6.0.min.js"></script>
<script src="bootstrap/bootstrap-3.4.1-dist/js/bootstrap.min.js"></script>
</body>
</html>
只要引入这两个插件,所有的BootStrap的效果就都解锁了,具体还要看官方文档
7. 总结
经过前面的学习我们已经掌握了html和css的基础
我们都知道html为网站的骨架,css为网站的表现,后续我会带着大家详细了解javascript jqurey以及深入了解BootStrap
