- Buffer类相关方法一览
public abstract class Buffer {
//JDK1.4时,引入的api
public final int capacity( )//返回此缓冲区的容量
public final int position( )//返回此缓冲区的位置
public final Buffer position (int newPositio)//设置此缓冲区的位置
public final int limit( )//返回此缓冲区的限制
public final Buffer limit (int newLimit)//设置此缓冲区的限制
public final Buffer mark( )//在此缓冲区的位置设置标记
public final Buffer reset( )//将此缓冲区的位置重置为以前标记的位置
public final Buffer clear( )//清除此缓冲区, 即将各个标记恢复到初始状态,但是数据并没有真正擦除, 后面操作会覆盖
public final Buffer flip( )//反转此缓冲区
public final Buffer rewind( )//重绕此缓冲区
public final int remaining( )//返回当前位置与限制之间的元素数
public final boolean hasRemaining( )//告知在当前位置和限制之间是否有元素
public abstract boolean isReadOnly( );//告知此缓冲区是否为只读缓冲区
//JDK1.6时引入的api
public abstract boolean hasArray();//告知此缓冲区是否具有可访问的底层实现数组
public abstract Object array();//返回此缓冲区的底层实现数组
public abstract int arrayOffset();//返回此缓冲区的底层实现数组中第一个缓冲区元素的偏移量
public abstract boolean isDirect();//告知此缓冲区是否为直接缓冲区
}
- ByteBuffer
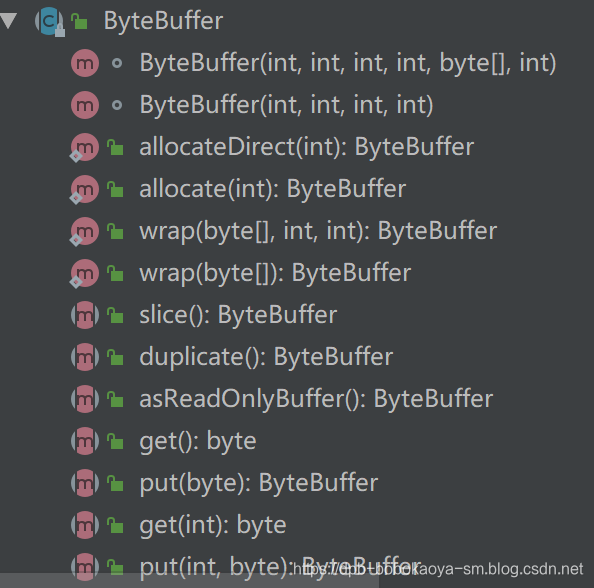
从前面可以看出对于 Java 中的基本数据类型(boolean除外),都有一个 Buffer 类型与之相对应,最常用的自然是ByteBuffer 类(二进制数据),该类的主要方法如下
public abstract class ByteBuffer {
//缓冲区创建相关api
public static ByteBuffer allocateDirect(int capacity)//创建直接缓冲区
public static ByteBuffer allocate(int capacity)//设置缓冲区的初始容量
public static ByteBuffer wrap(byte[] array)//把一个数组放到缓冲区中使用
//构造初始化位置offset和上界length的缓冲区
public static ByteBuffer wrap(byte[] array,int offset, int length)
//缓存区存取相关API
public abstract byte get( );//从当前位置position上get,get之后,position会自动+1
public abstract byte get (int index);//从绝对位置get
public abstract ByteBuffer put (byte b);//从当前位置上添加,put之后,position会自动+1
public abstract ByteBuffer put (int index, byte b);//从绝对位置上put
}
基本介绍
-
NIO的通道类似于流,但有些区别如下:
-
通道可以同时进行读写,而流只能读或者只能写
-
通道可以实现异步读写数据
-
通道可以从缓冲读数据,也可以写数据到缓冲
-
BIO 中的 stream 是单向的,例如 FileInputStream 对象只能进行读取数据的操作,而 NIO 中的通道(Channel)是双向的,可以读操作,也可以写操作。
-
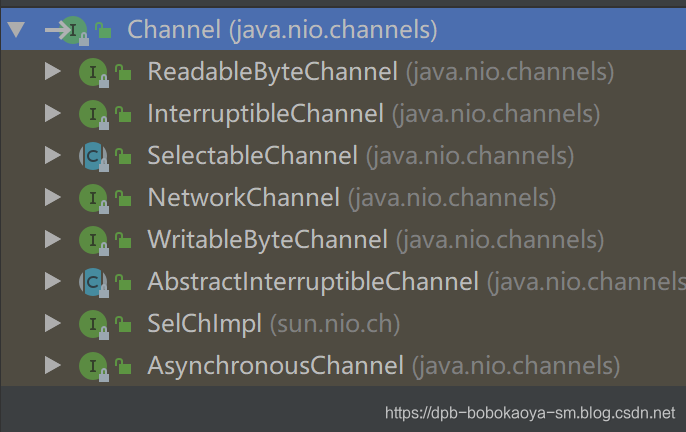
Channel在NIO中是一个接口public interface Channel extends Closeable{}
-
常用的 Channel 类有:FileChannel、DatagramChannel、ServerSocketChannel 和 SocketChannel。【ServerSocketChanne 类似 ServerSocket , SocketChannel 类似 Socket】
- FileChannel 用于文件的数据读写,DatagramChannel 用于 UDP 的数据读写,ServerSocketChannel 和 SocketChannel 用于 TCP 的数据读写。
FileChannel 类
FileChannel主要用来对本地文件进行 IO 操作,常见的方法有
public int read(ByteBuffer dst) ,从通道读取数据并放到缓冲区中
public int write(ByteBuffer src) ,把缓冲区的数据写到通道中
public long transferFrom(ReadableByteChannel src, long position, long count),从目标通道中复制数据到当前通道
public long transferTo(long position, long count, WritableByteChannel target),把数据从当前通道复制给目标通道
实例1-本地文件写数据
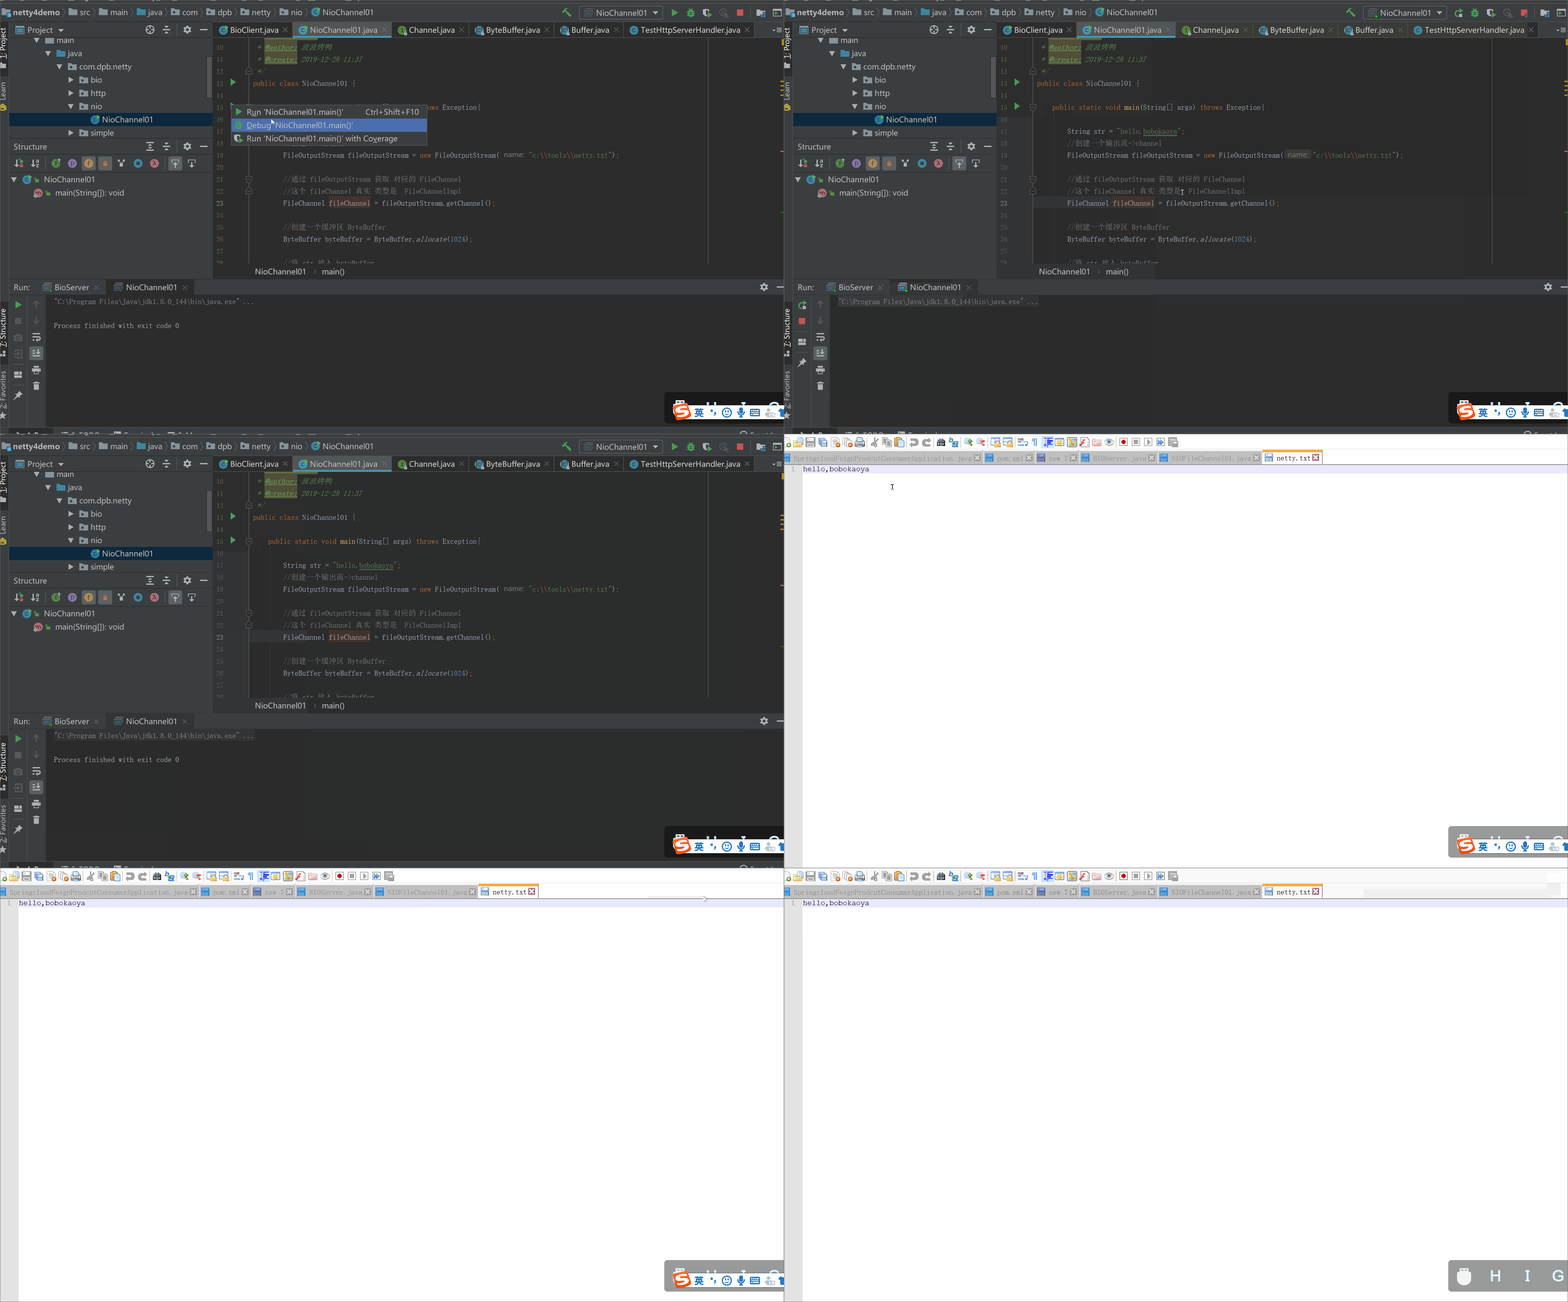
通过前面介绍的内容完成一些简单的NIO文件操作,代码如下:
package com.dpb.netty.nio;
import java.io.FileOutputStream;
import java.nio.ByteBuffer;
import java.nio.channels.FileChannel;
/**
-
@program: netty4demo
-
@description:
-
@author: 波波烤鸭
-
@create: 2019-12-28 11:37
*/
public class NioChannel01 {
public static void main(String[] args) throws Exception{
String str = “hello,bobokaoya”;
//创建一个输出流->channel
FileOutputStream fileOutputStream = new FileOutputStream(“c:\tools\netty.txt”);
//通过 fileOutputStream 获取 对应的 FileChannel
//这个 fileChannel 真实 类型是 FileChannelImpl
FileChannel fileChannel = fileOutputStream.getChannel();
//创建一个缓冲区 ByteBuffer
ByteBuffer byteBuffer = ByteBuffer.allocate(1024);
//将 str 放入 byteBuffer
byteBuffer.put(str.getBytes());
//对byteBuffer 进行flip
byteBuffer.flip();
//将byteBuffer 数据写入到 fileChannel
fileChannel.write(byteBuffer);
fileOutputStream.close();
}
}
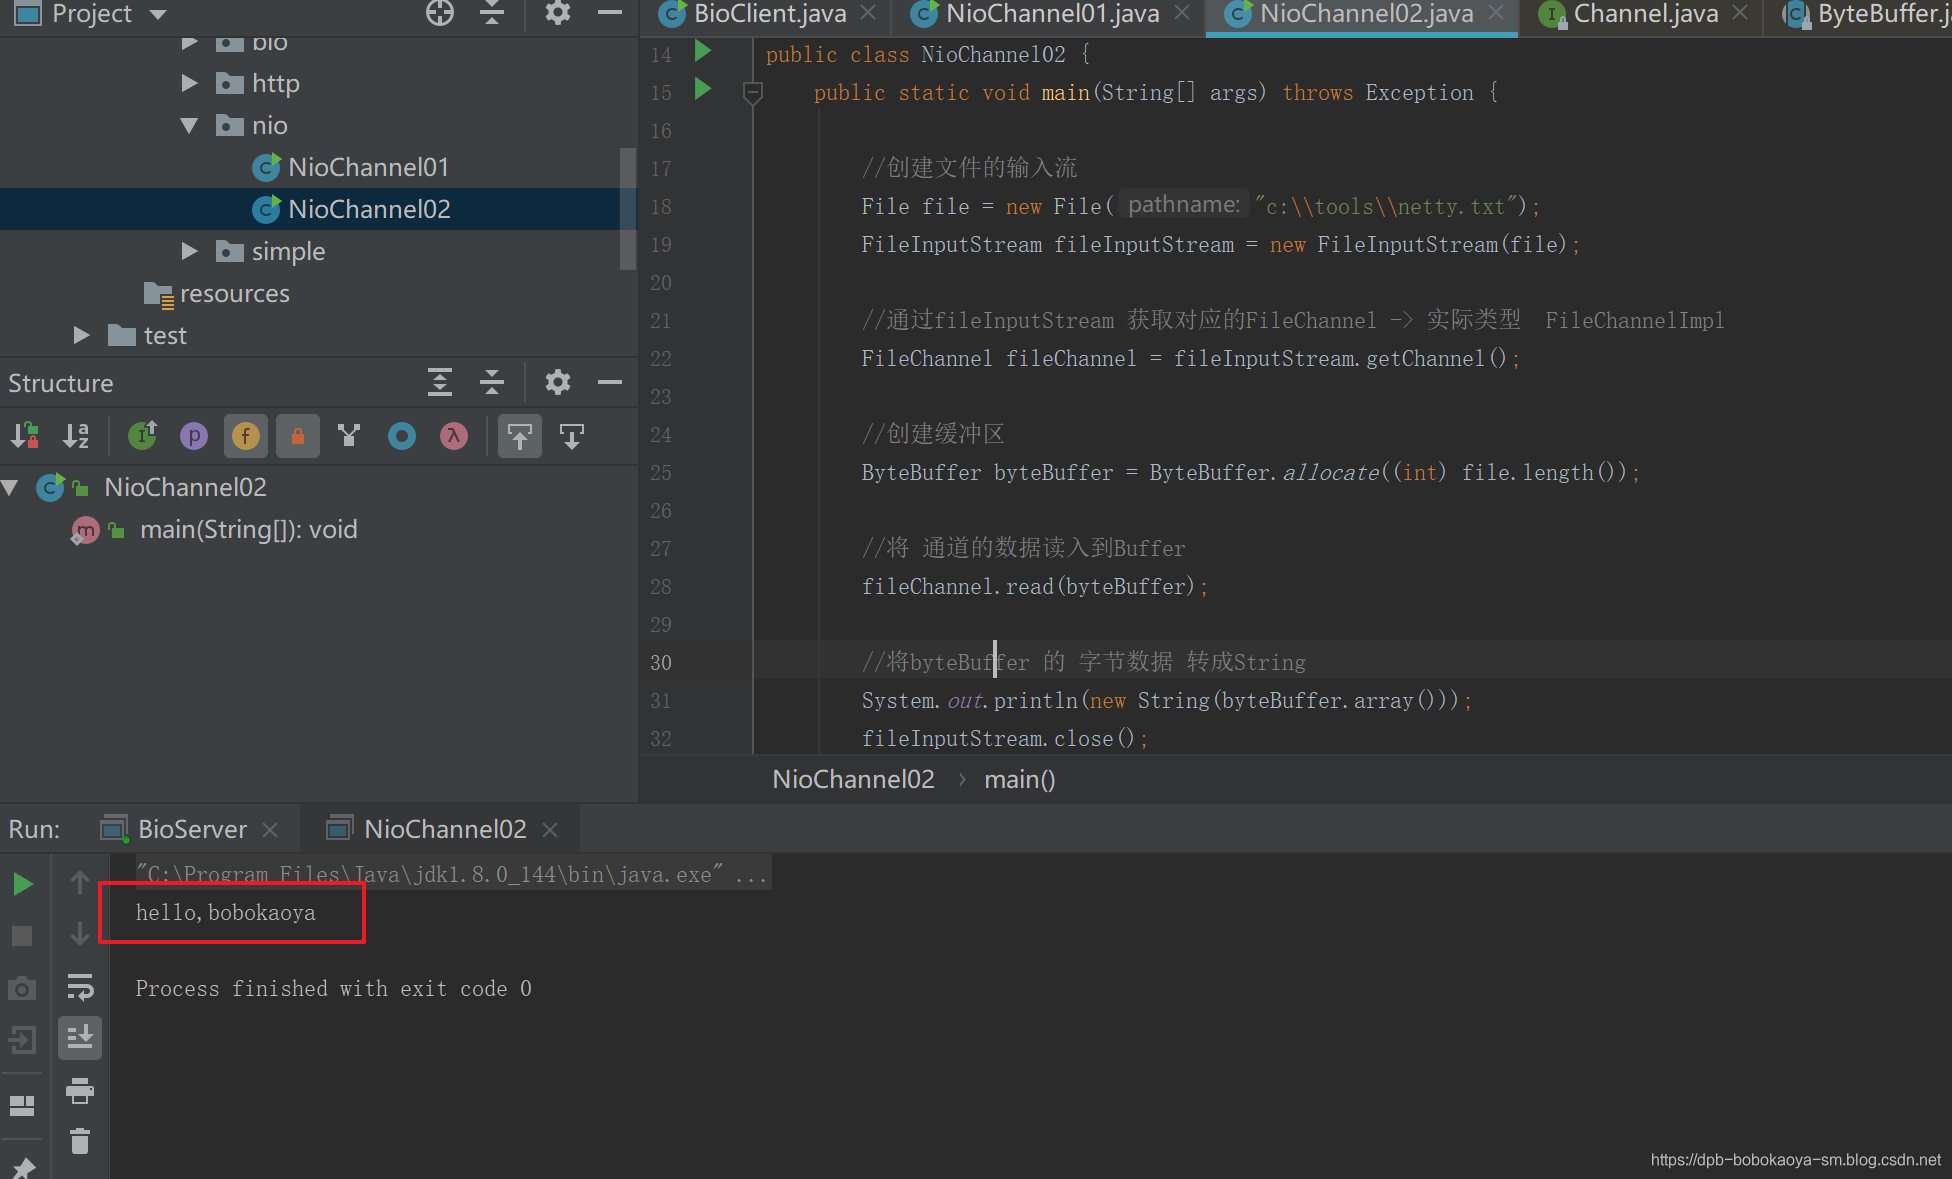
实例2-本地文件读数据
package com.dpb.netty.nio;
import java.io.File;
import java.io.FileInputStream;
import java.nio.ByteBuffer;
import java.nio.channels.FileChannel;
/**
-
@program: netty4demo
-
@description:
-
@author: 波波烤鸭
-
@create: 2019-12-28 11:41
*/
public class NioChannel02 {
public static void main(String[] args) throws Exception {
//创建文件的输入流
File file = new File(“c:\tools\netty.txt”);
FileInputStream fileInputStream = new FileInputStream(file);
//通过fileInputStream 获取对应的FileChannel -> 实际类型 FileChannelImpl
FileChannel fileChannel = fileInputStream.getChannel();
//创建缓冲区
ByteBuffer byteBuffer = ByteBuffer.allocate((int) file.length());
//将 通道的数据读入到Buffer
fileChannel.read(byteBuffer);
//将byteBuffer 的 字节数据 转成String
System.out.println(new String(byteBuffer.array()));
fileInputStream.close();
}
}
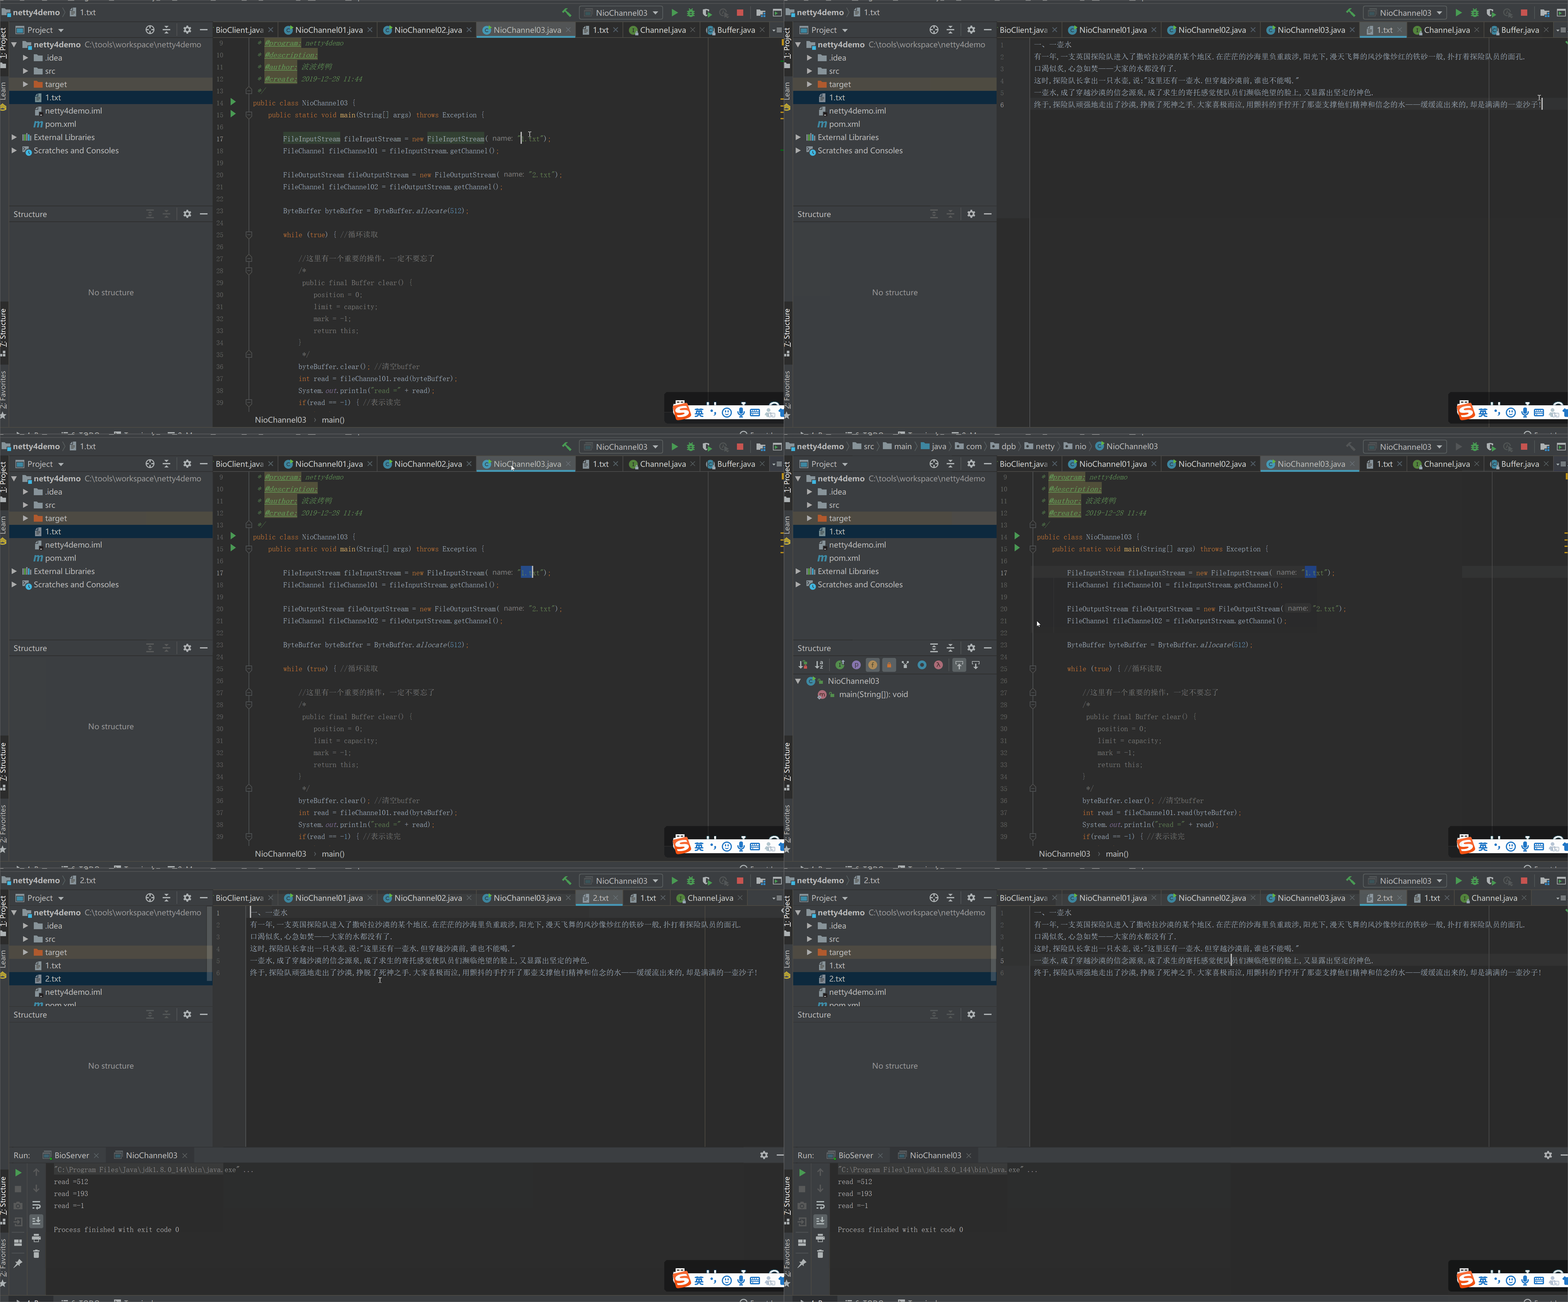
实例3-使用一个Buffer完成文件读取
package com.dpb.netty.nio;
import java.io.FileInputStream;
import java.io.FileOutputStream;
import java.nio.ByteBuffer;
import java.nio.channels.FileChannel;
/**
-
@program: netty4demo
-
@description:
-
@author: 波波烤鸭
-
@create: 2019-12-28 11:44
*/
public class NioChannel03 {
public static void main(String[] args) throws Exception {
FileInputStream fileInputStream = new FileInputStream(“1.txt”);
FileChannel fileChannel01 = fileInputStream.getChannel();
FileOutputStream fileOutputStream = new FileOutputStream(“2.txt”);
FileChannel fileChannel02 = fileOutputStream.getChannel();
ByteBuffer byteBuffer = ByteBuffer.allocate(512);
while (true) { //循环读取
//这里有一个重要的操作,一定不要忘了
/*
public final Buffer clear() {
position = 0;
limit = capacity;
mark = -1;
return this;
}
*/
byteBuffer.clear(); //清空buffer
int read = fileChannel01.read(byteBuffer);
System.out.println(“read =” + read);
if(read == -1) { //表示读完
break;
}
//将buffer 中的数据写入到 fileChannel02 – 2.txt
byteBuffer.flip();
fileChannel02.write(byteBuffer);
}
//关闭相关的流
fileInputStream.close();
fileOutputStream.close();
}
}
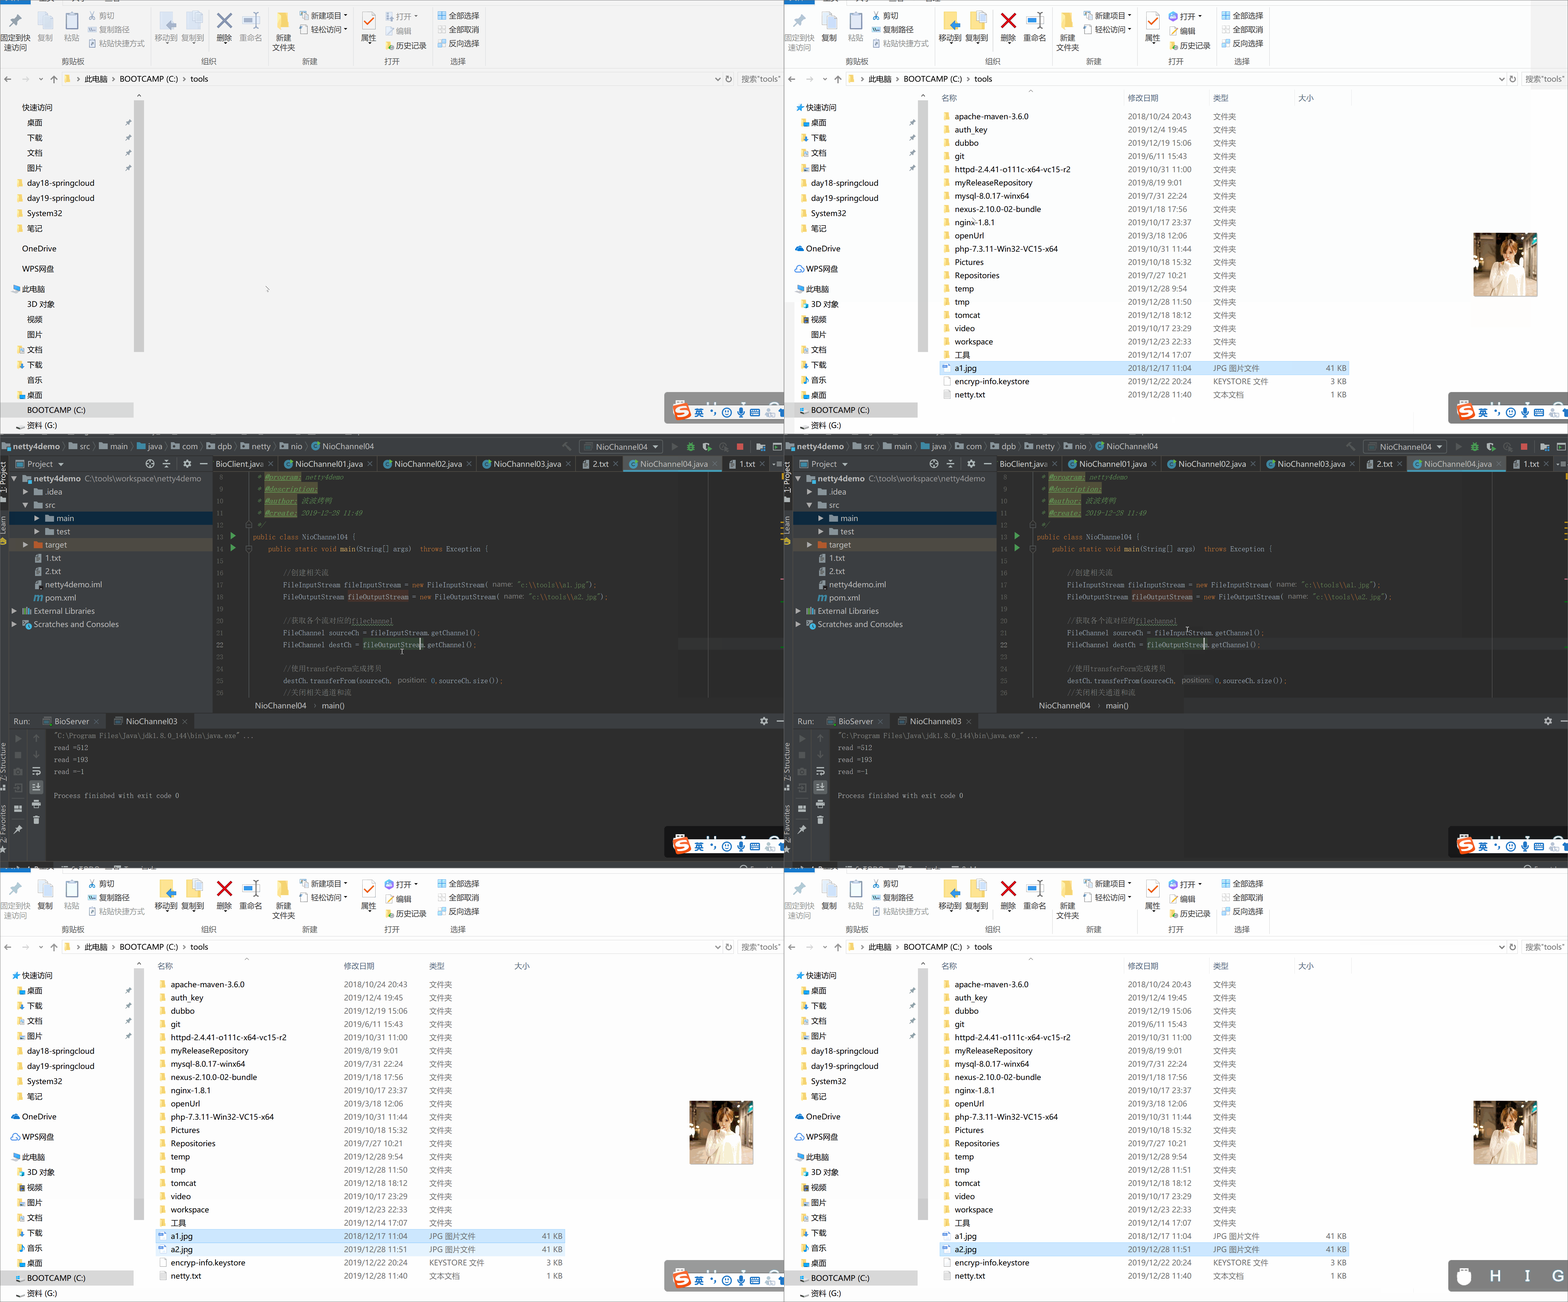
实例4-拷贝文件transferFrom 方法
接下来我们同transferFrom方法来实现一个文件的复制操作。
package com.dpb.netty.nio;
import java.io.FileInputStream;
import java.io.FileOutputStream;
import java.nio.channels.FileChannel;
/**
-
@program: netty4demo
-
@description:
-
@author: 波波烤鸭
-
@create: 2019-12-28 11:49
*/
public class NioChannel04 {
public static void main(String[] args) throws Exception {
//创建相关流
FileInputStream fileInputStream = new FileInputStream(“c:\tools\a1.jpg”);
FileOutputStream fileOutputStream = new FileOutputStream(“c:\tools\a2.jpg”);
//获取各个流对应的filechannel
FileChannel sourceCh = fileInputStream.getChannel();
FileChannel destCh = fileOutputStream.getChannel();
//使用transferForm完成拷贝
destCh.transferFrom(sourceCh,0,sourceCh.size());
//关闭相关通道和流
sourceCh.close();
destCh.close();
fileInputStream.close();
fileOutputStream.close();
}
}
关于Buffer 和 Channel的注意事项和细节
- ByteBuffer 支持类型化的put 和 get, put 放入的是什么数据类型,get就应该使用相应的数据类型来取出,否则可能有 BufferUnderflowException 异常。
最后
自我介绍一下,小编13年上海交大毕业,曾经在小公司待过,也去过华为、OPPO等大厂,18年进入阿里一直到现在。
深知大多数Java工程师,想要提升技能,往往是自己摸索成长,自己不成体系的自学效果低效漫长且无助。
因此收集整理了一份《2024年Java开发全套学习资料》,初衷也很简单,就是希望能够帮助到想自学提升又不知道该从何学起的朋友,同时减轻大家的负担。
既有适合小白学习的零基础资料,也有适合3年以上经验的小伙伴深入学习提升的进阶课程,基本涵盖了95%以上Java开发知识点,不论你是刚入门Java开发的新手,还是希望在技术上不断提升的资深开发者,这些资料都将为你打开新的学习之门!
如果你觉得这些内容对你有帮助,需要这份全套学习资料的朋友可以戳我获取!!
由于文件比较大,这里只是将部分目录截图出来,每个节点里面都包含大厂面经、学习笔记、源码讲义、实战项目、讲解视频,并且会持续更新!
公司待过,也去过华为、OPPO等大厂,18年进入阿里一直到现在。**
深知大多数Java工程师,想要提升技能,往往是自己摸索成长,自己不成体系的自学效果低效漫长且无助。
因此收集整理了一份《2024年Java开发全套学习资料》,初衷也很简单,就是希望能够帮助到想自学提升又不知道该从何学起的朋友,同时减轻大家的负担。
[外链图片转存中…(img-PVorTyAp-1715853881822)]
[外链图片转存中…(img-P2UHvHMz-1715853881823)]
[外链图片转存中…(img-wQTyNZT4-1715853881823)]
既有适合小白学习的零基础资料,也有适合3年以上经验的小伙伴深入学习提升的进阶课程,基本涵盖了95%以上Java开发知识点,不论你是刚入门Java开发的新手,还是希望在技术上不断提升的资深开发者,这些资料都将为你打开新的学习之门!
如果你觉得这些内容对你有帮助,需要这份全套学习资料的朋友可以戳我获取!!
由于文件比较大,这里只是将部分目录截图出来,每个节点里面都包含大厂面经、学习笔记、源码讲义、实战项目、讲解视频,并且会持续更新!
