1、安装Java8环境
2、下载安装包
- 版本:v1.6.1
- github地址:https://github.com/ctripcorp/apollo/releases
- 下载包文件
- 提供快速下载链接如下:
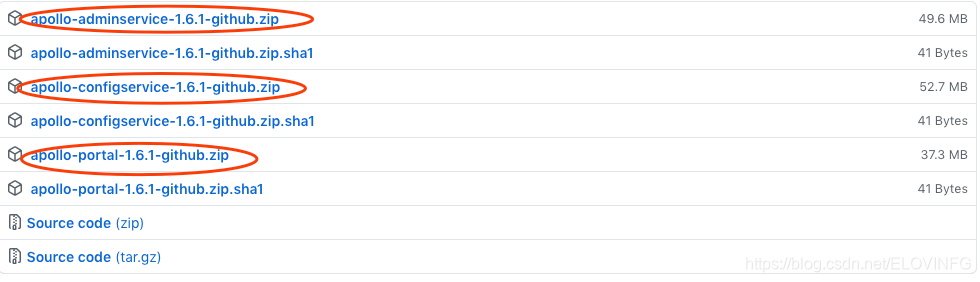
wget https://github.com/ctripcorp/apollo/releases/download/v1.6.1/apollo-adminservice-1.6.1-github.zip

wget https://github.com/ctripcorp/apollo/releases/download/v1.6.1/apollo-configservice-1.6.1-github.zip

wget https://github.com/ctripcorp/apollo/releases/download/v1.6.1/apollo-portal-1.6.1-github.zip
3、下载SQL文件,创建数据库
下载地址:https://github.com/nobodyiam/apollo-build-scripts/tree/master/sql
wget https://github.com/nobodyiam/apollo-build-scripts/blob/master/sql/apolloconfigdb.sql

wget https://github.com/nobodyiam/apollo-build-scripts/blob/master/sql/apolloportaldb.sql
在Mysql数据库中导入下载的SQL文件

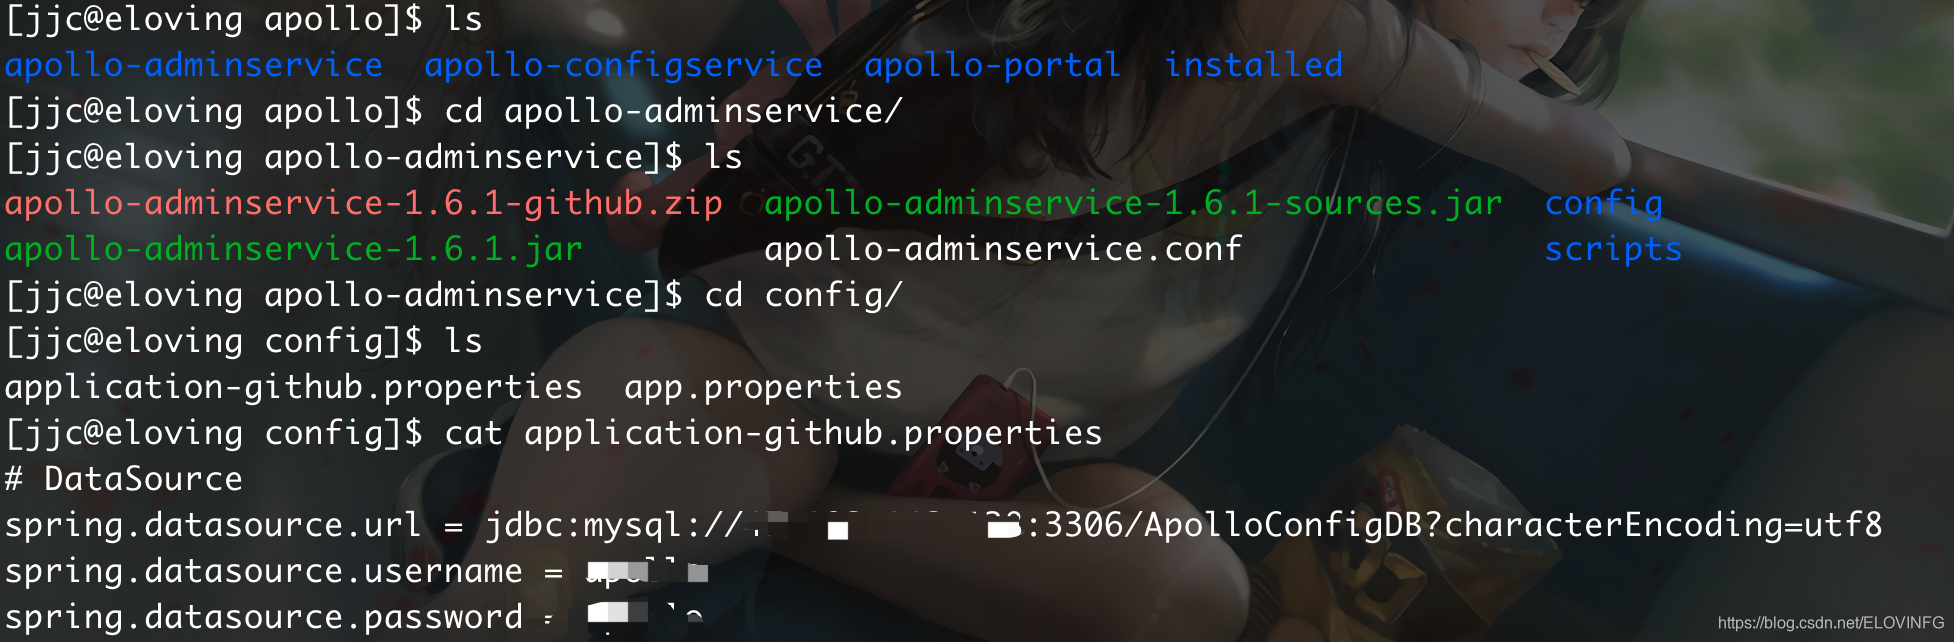
4、解压下载的三个安装包

5、更改服务的配置文件
1、分别配置三个服务的数据库地址: /config/application-github.properties
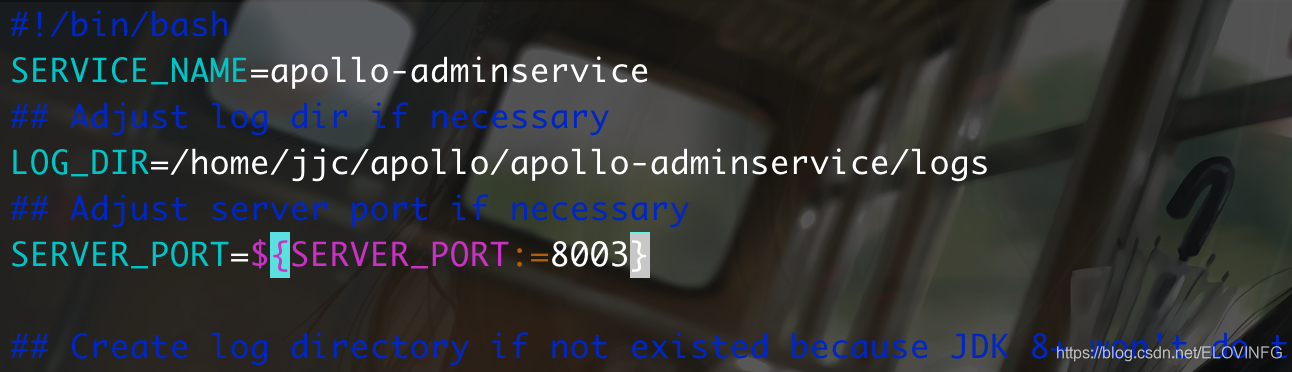
2、分别修改三个服务下的启动端口号和日志配置文件:/scripts/startup.sh
3、修改apollo-portal服务下的meta配置:apollo-portal/config/sapollo-env.properties
(这里的地址是apollo-configservice的服务地址,分别是不同环境下的服务地址,这里我只配置了(开发-dev)环境下的地址。)

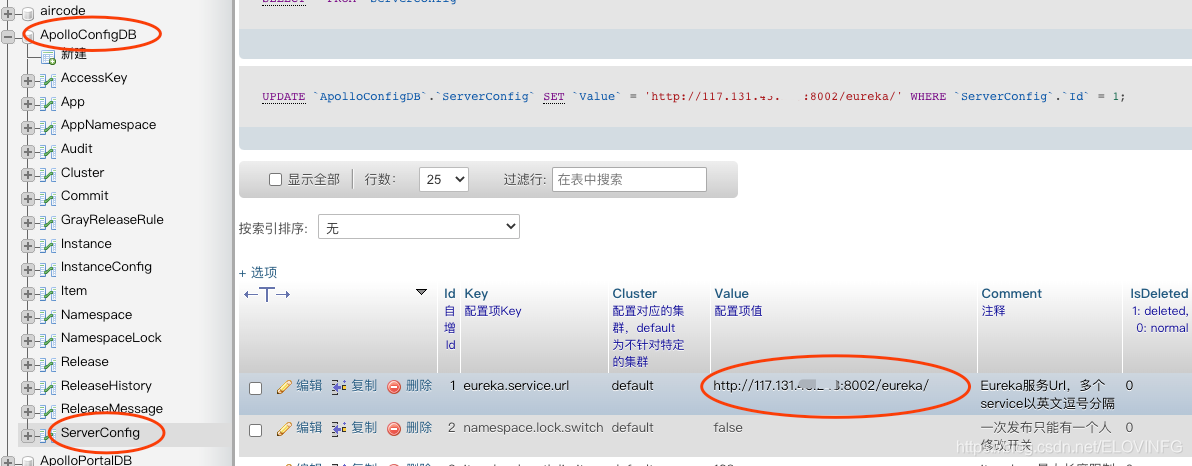
6、修改数据库中的meta地址
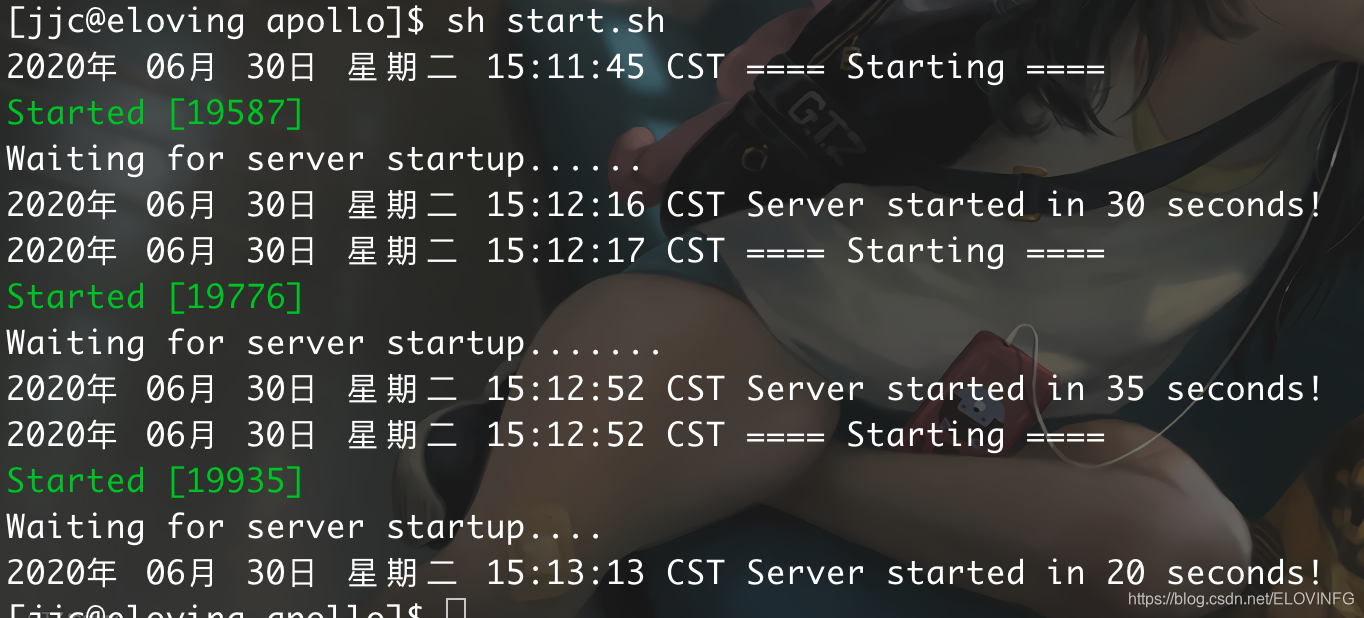
7、新建启动和关闭三个服务的脚本
start.sh 注意服务的启动顺序 configservice - adminservice - portal
#!/bin/bash
/home/jjc/apollo/apollo-configservice/scripts/startup.sh
/home/jjc/apollo/apollo-adminservice/scripts/startup.sh
/home/jjc/apollo/apollo-portal/scripts/startup.sh

shutdown.sh
#!/bin/bash
/home/jjc/apollo/apollo-configservice/scripts/shutdown.sh
/home/jjc/apollo/apollo-adminservice/scripts/shutdown.sh
/home/jjc/apollo/apollo-portal/scripts/shutdown.sh
文件结构如下:

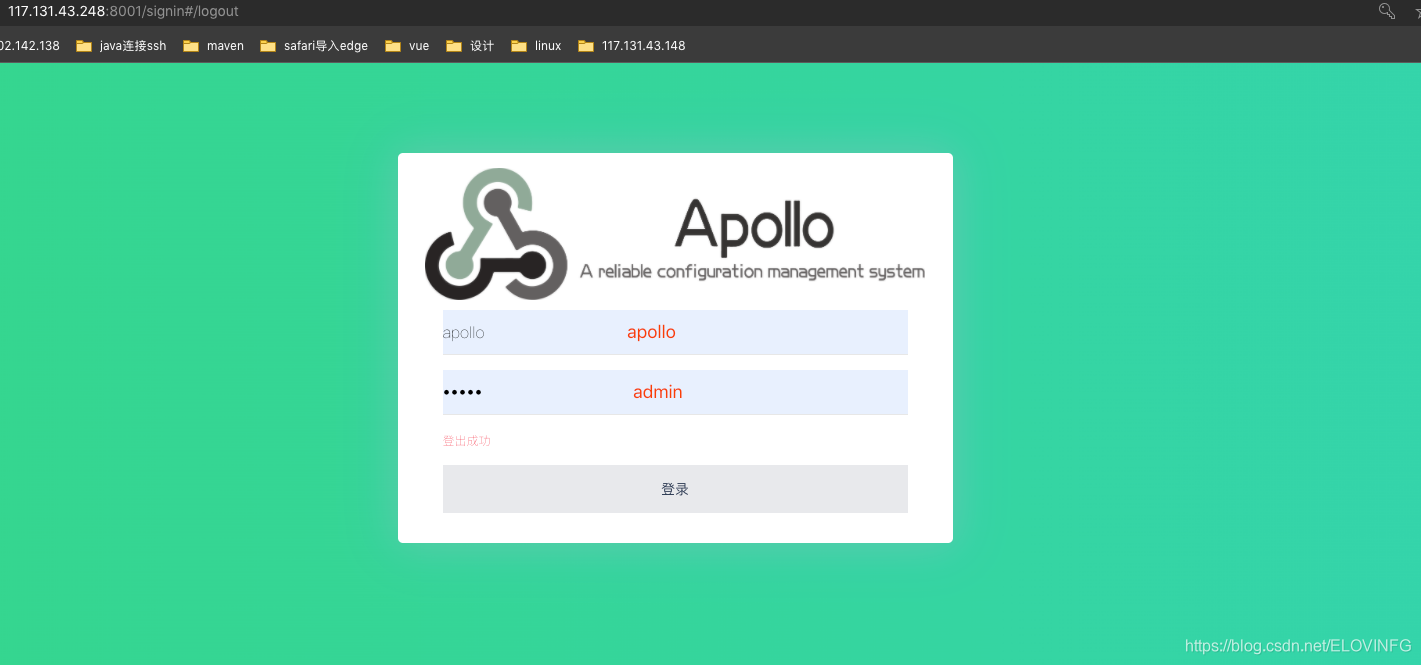
8、启动服务访问apollo
运行start.sh,启动三个服务后,输入如下地址:http://117.131.***.***:8001/
(这是portal的服务地址,注意自己修改的服务端口号)