接上一篇,我们继续来分享Go实现二维码小游戏~
本篇将主要介绍HTTP接口的设计,和拼图完成后扫描生成证书的逻辑,学习完本篇作品就能完成啦!
3.4 HTTP接口逻辑
3.4.1 静态资源地址配置
在上面我们也提到了,HTTP配置静态资源地址代码:
mux.Handle("/static/", http.StripPrefix("/", http.FileServer(http.Dir("."))))
然后我们需要在根目录下新建一个static目录,放入文件测试一下:
启动项目,访问http://localhost:8081/static就可以直接跳转到index.html页面。
3.4.2 生成二维码接口
定义请求体:
type Req struct {
    FileAddress string `json:"fileAddress"`
    Name        string `json:"name"`
    Tc          int    `json:"tc"`
}
实现HTTP接口:
func uploadFileHandler(w http.ResponseWriter, r *http.Request) {
    successUrl := fmt.Sprintf("%s/success", GetGlobalConfig().Domain)

    body, err := io.ReadAll(r.Body)
    if err != nil {
        http.Error(w, "Error reading request body", http.StatusInternalServerError)
        return
    }
    defer func() {
        _ = r.Body.Close()
    }()

    var req Req
    if err = json.Unmarshal(body, &req); err != nil {
        http.Error(w, "Invalid JSON format", http.StatusBadRequest)
        return
    }

    log.Infof("request body :%+v", req)

    qrFileName := fmt.Sprintf("%d", time.Now().UnixMilli())
    //生成二维码
    options := make([]Option, 0)
    options = append(options, WithHalftoneSrcFile(fmt.Sprintf("%s/%s.png", "./static", req.FileAddress)))
    options = append(options, WithLogoWidth(BIG))
    options = append(options, WithName(qrFileName))
    options = append(options, WithPath(GetGlobalConfig().TmpPath))

    contentUrl := fmt.Sprintf("%s?name=%s&tc=%d&img=%s",
        successUrl, req.Name, req.Tc, fmt.Sprintf("%s.%s", qrFileName, DefaultFileType))
    qrCode, err := NewQuCodeGen(contentUrl, options...).GenQrCode()
    if err != nil {
        log.Errorf("gen qr code err")
        http.Error(w, err.Error(), http.StatusInternalServerError)
        return
    }

    log.Infof("resp qrcode:%s, contentUrl:%s", qrCode, contentUrl)

    resp, err := json.Marshal(map[string]interface{}{
        "code": 200,
        "data": fmt.Sprintf("%s%s/%s", GetGlobalConfig().Domain, GetGlobalConfig().TmpPath, qrCode),
    })
    if err != nil {
        log.Errorf("json marshal err")
        http.Error(w, err.Error(), http.StatusInternalServerError)
        return
    }

    _, _ = w.Write(resp)
    return
}
其实这个接口的核心功能就三个:
1)接收请求体
2)根据请求调用生成二维码
3)进行HTTP请求的响应
附一下这个HTTP接口的请求和响应格式:
Request:
{
    "fileAddress":"p1.jpg",
    "name":"barryyan",
    "tc": 100
}

Response:
{
    "code":200,
    "data":"http://localhost:8081/tmp/349849814.jpg"
}
3.4.3 获取证书接口
func success(w http.ResponseWriter, r *http.Request) {
    tmpUrl := fmt.Sprintf("%s%s", GetGlobalConfig().Domain, GetGlobalConfig().TmpPath)

    // 解析查询参数
    query := r.URL.Query()
    // 获取其他表单字段
    name := query.Get("name")
    tc := cast.ToInt32(query.Get("tc")) / 1000
    sourceImg := query.Get("img")

    log.Printf("upload info name:%s, tc:%v, tmpUrl:%s", name, tc, tmpUrl)

    img := NewResImg(TemplatePath, []ResImgOption{
        WithFontPath(FontPath),
        WithFontSize(30),
        WithContentImg(ContentImg{
            ImagePath: fmt.Sprintf("%s/%s", tmpUrl, sourceImg),
            Width:     280,
            Height:    280,
            LineWidth: 2,
            Padding:   10,
            X:         367,
            Y:         410,
        }),
        WithContents(GetSuccessContent(name, tc)),
        WithDstPath(fmt.Sprintf(".%s/", GetGlobalConfig().TmpPath)),
    })

    _, fileName, err := img.Gen()
    if err != nil {
        log.Errorf("img gen err:%s", err)
        return
    }
    redirectUrl := fmt.Sprintf("%s/%s", tmpUrl, fileName)

    log.Infof("gen img fileName:%s , redirectUrl:%s", fileName, redirectUrl)
    http.Redirect(w, r, redirectUrl, http.StatusFound)
}
3.5 生成证书逻辑
这一步主要是依赖Go语言对图片的操作,引用了以下这几个三方包:
github.com/golang/freetype
github.com/llgcode/draw2d
github.com/nfnt/resize
分别是对字体的加载、画图和对图片进行大小设置等操作,下面我们逐步讲解:
3.5.1 证书生成结构体定义
和之前生成二维码类型,证书生成也有相关的对象,但是内容比二维码生成的相对复杂一点:
type ResImg struct {
	FontPath    string
	TemplateImg string
	FontSize    int
	DPI         int
	Contents    []Content
	DstFilePath string
	ContentImg  ContentImg
}

type Content struct {
	Text     string
	X, Y     int
	Color    *color.RGBA
	Font     *truetype.Font
	FontSize int
}

type ContentImg struct {
	ImagePath     string
	Width, Height uint
	LineWidth     int
	Padding       int
	X, Y          int
}
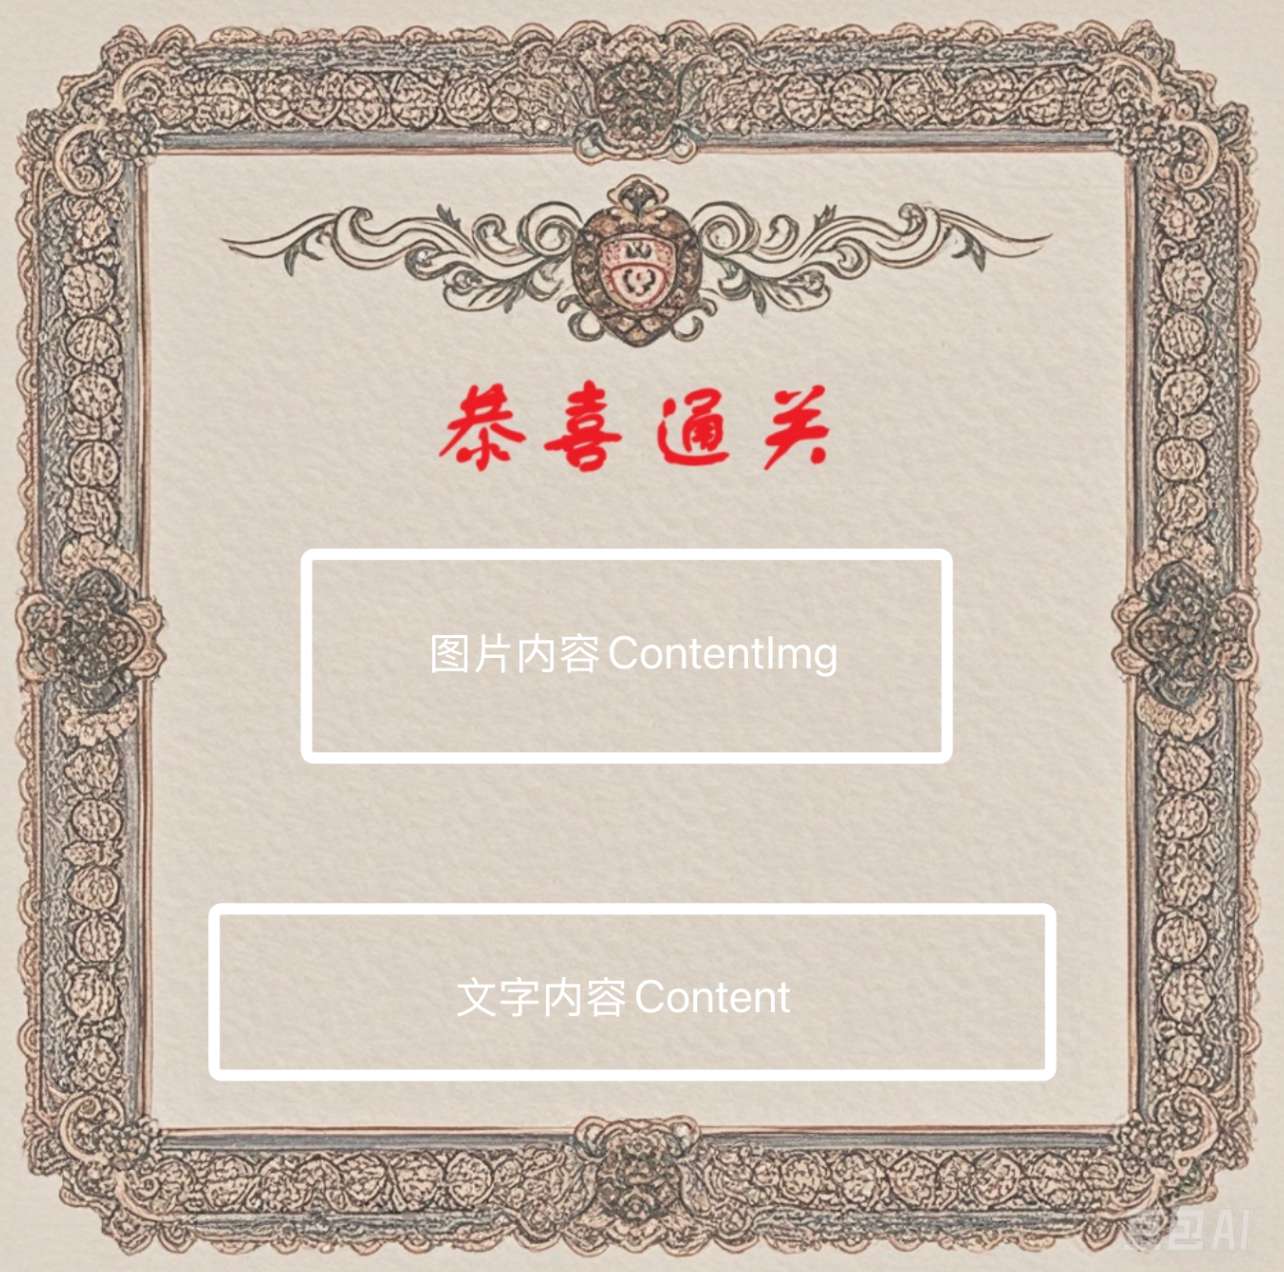
为什么设置三个结构体呢?主要是因为在画证书的时候需要把证书的模板里填上内容,而内容又分为图片内容和文字内容,如图:
因为图片内容和文字内容的属性大部分都不一样,所以独立出来了两个结构体。
然后同样是Optional的模式
func NewResImg(templatePath string, opts []ResImgOption) *ResImg {
	r := &ResImg{
		Contents:    make([]Content, 0),
		FontPath:    DefaultFontPath,
		FontSize:    DefaultFontSize,
		DPI:         DefaultDPI,
		DstFilePath: DefaultDstFilePath,
	}

	if templatePath != "" {
		r.TemplateImg = templatePath
	}

	for _, opt := range opts {
		opt(r)
	}
	return r
}

func WithFontPath(path string) ResImgOption {
	return func(img *ResImg) {
		img.FontPath = path
	}
}

func WithFontSize(size int) ResImgOption {
	return func(img *ResImg) {
		img.FontSize = size
	}
}

func WithContents(contents []Content) ResImgOption {
	return func(img *ResImg) {
		img.Contents = append(img.Contents, contents...)
	}
}

func WithDPI(dpi int) ResImgOption {
	return func(img *ResImg) {
		img.DPI = dpi
	}
}

func WithContentImg(contentImg ContentImg) ResImgOption {
	return func(img *ResImg) {
		img.ContentImg = contentImg
	}
}

func WithDstPath(path string) ResImgOption {
	return func(img *ResImg) {
		img.DstFilePath = path
	}
}
3.5.2 证书生成逻辑
证书生成的逻辑大致分为以下几步:
1)读取证书模板
2)加载模板文件到画布
3)加载字体
4)将文字内容和图片内容加载到画布
5)生成新的图片
代码如下:
func (i *ResImg) Gen() (string, string, error) {
	// 根据路径打开模板文件
	templateFile, err := os.Open(i.TemplateImg)
	if err != nil {
		log.Errorf("os open file err:%s", err)
		return "", "", err
	}
	defer func() {
		_ = templateFile.Close()
	}()

	// 解码
	templateFileImage, err := jpeg.Decode(templateFile)
	if err != nil {
		log.Errorf("png decode err:%s", err)
		return "", "", err
	}
	// 新建一张和模板文件一样大小的画布
	newTemplateImage := image.NewRGBA(templateFileImage.Bounds())
	// 将模板图片画到新建的画布上
	draw.Draw(newTemplateImage, templateFileImage.Bounds(), templateFileImage, templateFileImage.Bounds().Min, draw.Over)

	// 加载字体文件  这里我们加载两种字体文件
	font, err := LoadFont(i.FontPath)
	if err != nil {
		log.Errorf("load font err:%s", err)
		return "", "", err
	}

	// 向图片中写入文字
	if err := i.writeWord2Pic(font, newTemplateImage, i.Contents); err != nil {
		log.Errorf("write word err:%s", err)
		return "", "", err
	}

	if err := i.writeImg2Pic(newTemplateImage); err != nil {
		log.Errorf("write image err:%s", err)
		return "", "", err
	}

	fileName := fmt.Sprintf("%d.png", time.Now().Unix())
	filePath := fmt.Sprintf("%s%s", i.DstFilePath, fileName)
	if err = SaveFile(filePath, newTemplateImage); err != nil {
		log.Errorf("save file err:%s", err)
		return "", "", err
	}
	return filePath, fileName, nil
}
4 效果测试
接下来就是效果测试了,来我的网站试试吧~
http://yankaka.chat:8081/static/

