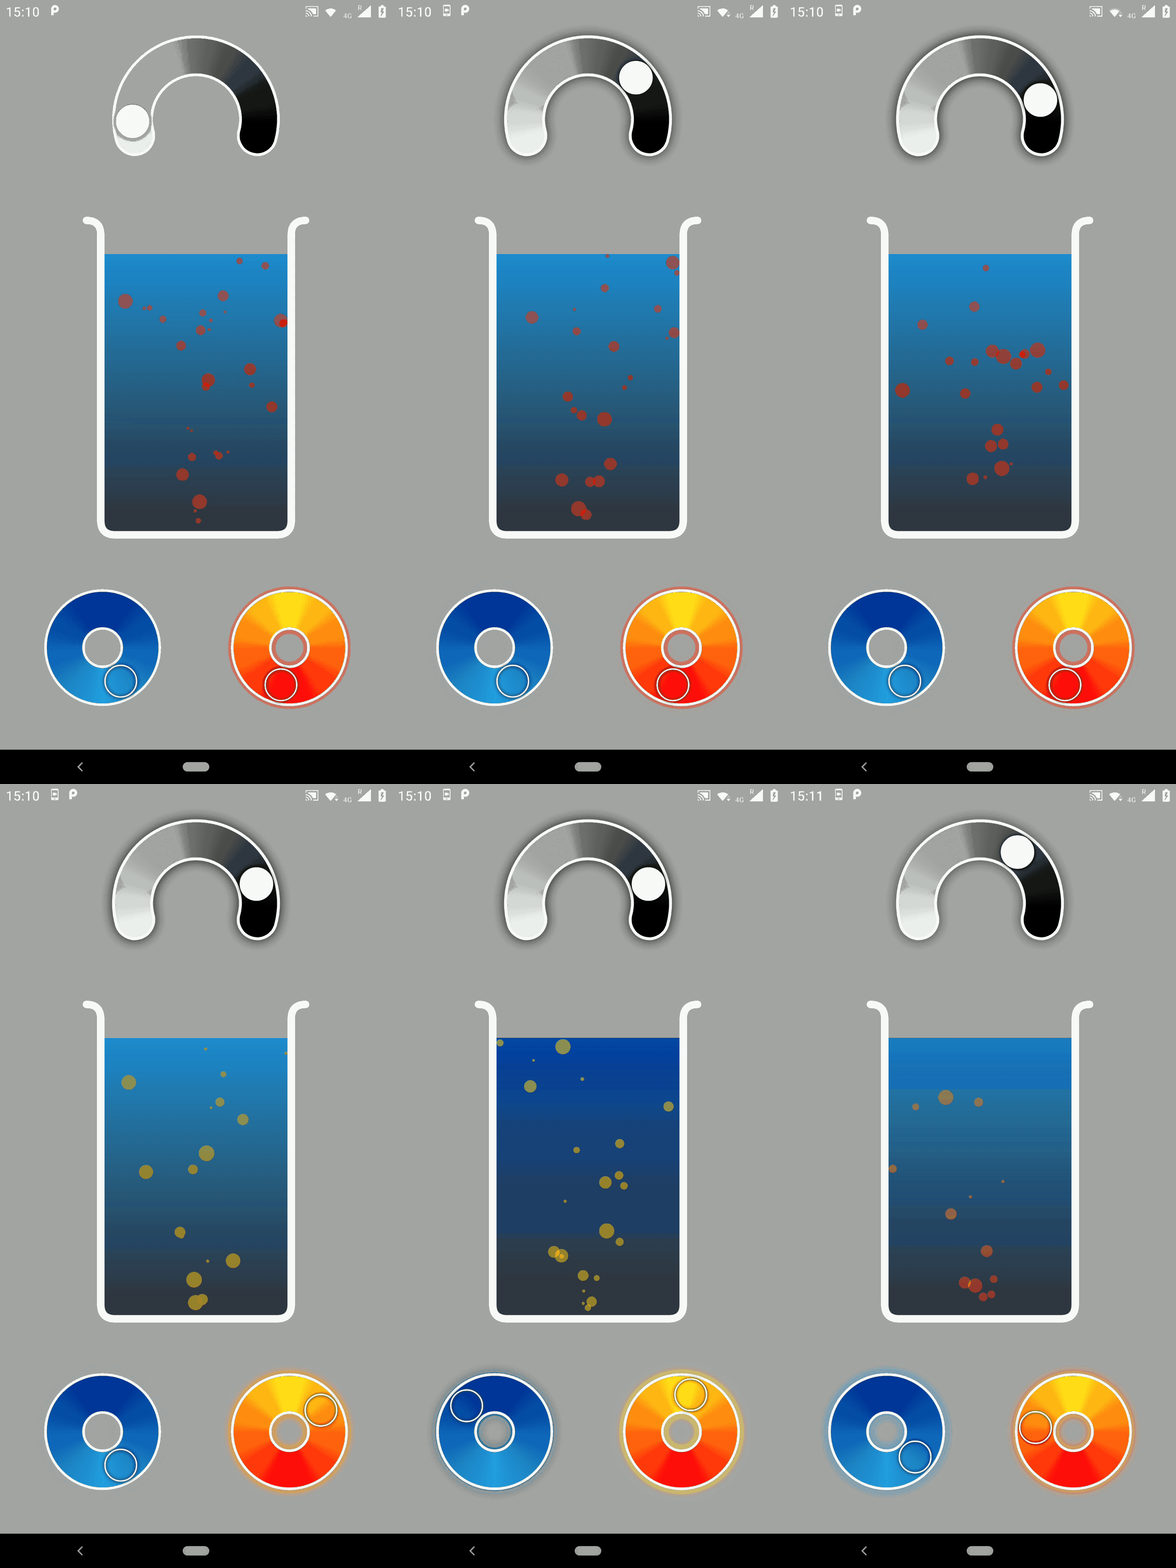
最近在网上看到几个不错的动画,抽空整合了一下,先来看看效果吧~
上部分的半圆弧控制器,可以用来控制气泡的刷新及上升速度。下部分的两个圆弧控制器分别用来控制瓶中水的颜色与气泡的颜色变化。
看起来不错吧~哈哈。(在真机上运行挺流畅的,转成gif后就感觉有点卡顿了)
原理其实挺简单的,冒泡效果就是开启一个线程后定时刷新气泡的位置;圆弧控制器就是根据手指触摸位置,计算出当前滑动处的颜色数值,再赋予冒泡瓶子,刷新view。
这里展示几个关键代码段吧:
1.根据某个比率选取两个颜色渐变区间中某一点的颜色
    private int getColorFrom(int startColor, int endColor, float ratio) {
        int redStart = Color.red(startColor);
        int blueStart = Color.blue(startColor);
        int greenStart = Color.green(startColor);
        int redEnd = Color.red(endColor);
        int blueEnd = Color.blue(endColor);
        int greenEnd = Color.green(endColor);

        int red = (int) (redStart + ((redEnd - redStart) * ratio + 0.5));
        int greed = (int) (greenStart + ((greenEnd - greenStart) * ratio + 0.5));
        int blue = (int) (blueStart + ((blueEnd - blueStart) * ratio + 0.5));
        return Color.argb(255, red, greed, blue);
    }
2.圆弧渐变色、设置阴影、使用矩阵对canvas进行逆转化、拿到预处理后的Path等
SweepGradient gradient = new SweepGradient(content.centerX(), content.centerY(), mColors, ratio);
mPaint.setShader(gradient);

mMatrix.reset();
mMatrix.preRotate(-mRotateAngle, mCenterX, mCenterY);

mPaint.getFillPath(mSeekPath, mBorderPath);
mBorderPath.close();
mRegion.setPath(mBorderPath, new Region(0, 0, w, h));
3.储存 View的状态
    @Override
    protected Parcelable onSaveInstanceState() {
        Bundle bundle = new Bundle();
        bundle.putParcelable("temp", super.onSaveInstanceState());
        bundle.putFloat(xxx, abc);
        return bundle;
    }


    @Override
    protected void onRestoreInstanceState(Parcelable state) {
        if (state instanceof Bundle) {
            Bundle bundle = (Bundle) state;
            this.abc = bundle.getFloat(xxx);
            state = bundle.getParcelable("temp");
        }
        super.onRestoreInstanceState(state);
    }
4.使用 GestureDetector 进行便捷的手势检测。
mDetector=new GestureDetector(getContext(),new GestureDetector.SimpleOnGestureListener(){
         @Override
         public boolean onSingleTapUp(MotionEvent e) {
            //判断当发生点击非滑动事件时,是否在圆弧区域
            return super.onSingleTapUp(e);
         }
    });
