📣【快捷部署系列】019期信息
| 编号 | 选型 | 版本 | 操作系统 | 部署形式 | 部署模式 | 复检时间 |
|---|---|---|---|---|---|---|
| 019 | Nacos | 2.2.3 | Ubuntu 20.04 | Docker | 单机 | 2024-04-16 |
一、快捷部署
#!/bin/bash
#################################################################################
# 作者:cxy@toc 2024-04-10
# 功能:快捷部署Nacos(Docker方式)
# 说明:如果已安装了Docker,请注释掉 install_docker,避免重复安装
#################################################################################


info(){
  echo -e "\033[34m 【`date '+%Y-%m-%d %H:%M:%S'`】\033[0m" "\033[35m$1\033[0m "
}

# 安装Docker指定版本
install_docker(){
#更新apt源
apt-get update

#安装依赖包以允许APT通过HTTPS使用存储库
apt-get install -y apt-transport-https ca-certificates curl software-properties-common

#添加Docker的官方GPG密钥
curl -fsSL https://download.docker.com/linux/ubuntu/gpg | sudo apt-key add -

#设置stable存储库
add-apt-repository "deb [arch=amd64] https://download.docker.com/linux/ubuntu $(lsb_release -cs) stable"

#更新apt源
apt-get update

#查看docker-ce可安装的版本
#apt-cache madison docker-ce

#安装指定版本
apt-get -y install docker-ce=5:25.0.5-1~ubuntu.20.04~focal docker-ce-cli=5:25.0.5-1~ubuntu.20.04~focal containerd.io

#查看Docker版本
docker -v

#添加开机自启动
systemctl enable docker

info "Docker(25.0.5)安装完毕!"
}


#自定义配置文件
diy_custom_config(){

mkdir -p /cxy/nacos

touch /cxy/nacos/custom.properties

sudo cat > /cxy/nacos/custom.properties <<EOF

# spring
server.servlet.contextPath=\${SERVER_SERVLET_CONTEXTPATH:/nacos}
server.contextPath=/nacos
server.port=\${NACOS_APPLICATION_PORT:8848}
server.tomcat.accesslog.max-days=30
server.tomcat.accesslog.pattern=%h %l %u %t "%r" %s %b %D %{User-Agent}i %{Request-Source}i
server.tomcat.accesslog.enabled=\${TOMCAT_ACCESSLOG_ENABLED:false}
server.error.include-message=ALWAYS
# default current work dir
server.tomcat.basedir=file:.

#*************** Config Module Related Configurations ***************#
### Deprecated configuration property, it is recommended to use spring.sql.init.platform replaced.

#spring.datasource.platform=\${SPRING_DATASOURCE_PLATFORM:}
spring.sql.init.platform=\${SPRING_DATASOURCE_PLATFORM:}
nacos.cmdb.dumpTaskInterval=3600
nacos.cmdb.eventTaskInterval=10
nacos.cmdb.labelTaskInterval=300
nacos.cmdb.loadDataAtStart=false
db.num=\${MYSQL_DATABASE_NUM:1}
db.url.0=jdbc:mysql://\${MYSQL_SERVICE_HOST}:\${MYSQL_SERVICE_PORT:3306}/\${MYSQL_SERVICE_DB_NAME}?\${MYSQL_SERVICE_DB_PARAM:characterEncoding=utf8&connectTimeout=1000&socketTimeout=3000&autoReconnect=true&useSSL=false}
db.user.0=\${MYSQL_SERVICE_USER}
db.password.0=\${MYSQL_SERVICE_PASSWORD}
### The auth system to use, currently only 'nacos' and 'ldap' is supported:
nacos.core.auth.system.type=\${NACOS_AUTH_SYSTEM_TYPE:nacos}
### worked when nacos.core.auth.system.type=nacos
### The token expiration in seconds:
nacos.core.auth.plugin.nacos.token.expire.seconds=\${NACOS_AUTH_TOKEN_EXPIRE_SECONDS:18000}

#这里使用的是官方默认值,开启鉴权不能为空
nacos.core.auth.plugin.nacos.token.secret.key=\${NACOS_AUTH_TOKEN:U2VjcmV0S2V5MDEyMzQ1Njc4OTAxMjM0NTY3ODkwMTIzNDU2Nzg5MDEyMzQ1Njc4OTAxMjM0NTY3ODkwMTIzNDU2Nzg5}

#添加这句,开启鉴权
nacos.core.auth.enabled=true

### Turn on/off caching of auth information. By turning on this switch, the update of auth information would have a 15 seconds delay.
nacos.core.auth.caching.enabled=\${NACOS_AUTH_CACHE_ENABLE:false}
nacos.core.auth.enable.userAgentAuthWhite=\${NACOS_AUTH_USER_AGENT_AUTH_WHITE_ENABLE:false}

#下面两个是服务间请求鉴权(不是UI界面的账号密码!),不能为空
nacos.core.auth.server.identity.key=\${NACOS_AUTH_IDENTITY_KEY:nacos}
nacos.core.auth.server.identity.value=\${NACOS_AUTH_IDENTITY_VALUE:123qwE6f}

## spring security config
### turn off security
nacos.security.ignore.urls=\${NACOS_SECURITY_IGNORE_URLS:/,/error,/**/*.css,/**/*.js,/**/*.html,/**/*.map,/**/*.svg,/**/*.png,/**/*.ico,/console-fe/public/**,/v1/auth/**,/v1/console/health/**,/actuator/**,/v1/console/server/**}
# metrics for elastic search
management.metrics.export.elastic.enabled=false
management.metrics.export.influx.enabled=false
nacos.naming.distro.taskDispatchThreadCount=10
nacos.naming.distro.taskDispatchPeriod=200
nacos.naming.distro.batchSyncKeyCount=1000
nacos.naming.distro.initDataRatio=0.9
nacos.naming.distro.syncRetryDelay=5000
nacos.naming.data.warmup=true

EOF

}


# 容器化部署nacos
install_nacos(){

 diy_custom_config

 info "开始部署Nacos(2.2.3)..."

 docker run --name nacos-standalone -e MODE=standalone -v /cxy/nacos/custom.properties:/home/nacos/conf/application.properties  -p 8849:8848 -d -p 9848:9848  nacos/nacos-server:v2.2.3

 info "Nacos部署完毕!端口:8849、9848"
 info "服务器放通8849端口,浏览器访问:http://$(curl ifconfig.me/ip):8849/nacos,账号/密码:nacos"

}

install_docker
install_nacos
使用方法:
$ vim install-Nacos2-Ubuntu20.sh
$ chmod +x install-Nacos2-Ubuntu20.sh
$ ./install-Nacos2-Ubuntu20.sh
# 感谢淘客科技提供的实验资源环境
二、入门体验
# 浏览器访问:http://eip:8849,初始账号密码:nacos/nacos

# api调用
# 登录,获取token
curl -X POST '127.0.0.1:8849/nacos/v1/auth/login' -d 'username=nacos&password=nacos'

#获取到token,放到下面所有调用的accessToken=后

#服务注册
curl -X POST 'http://127.0.0.1:8849/nacos/v1/ns/instance?serviceName=cxy.serviceA&ip=192.168.1.101&port=8080&accessToken='

curl -X POST 'http://127.0.0.1:8849/nacos/v1/ns/instance?serviceName=cxy.serviceA&ip=192.168.1.102&port=8080&accessToken='

#服务发现
curl -X GET 'http://127.0.0.1:8849/nacos/v1/ns/instance/list?serviceName=cxy.serviceA&accessToken='

#发布配置
curl -X POST "http://127.0.0.1:8849/nacos/v1/cs/configs?dataId=nacos.cfg.dataId&group=test&content=helloWorld&accessToken="

#获取配置
curl -X GET "http://127.0.0.1:8849/nacos/v1/cs/configs?dataId=nacos.cfg.dataId&group=test&accessToken="

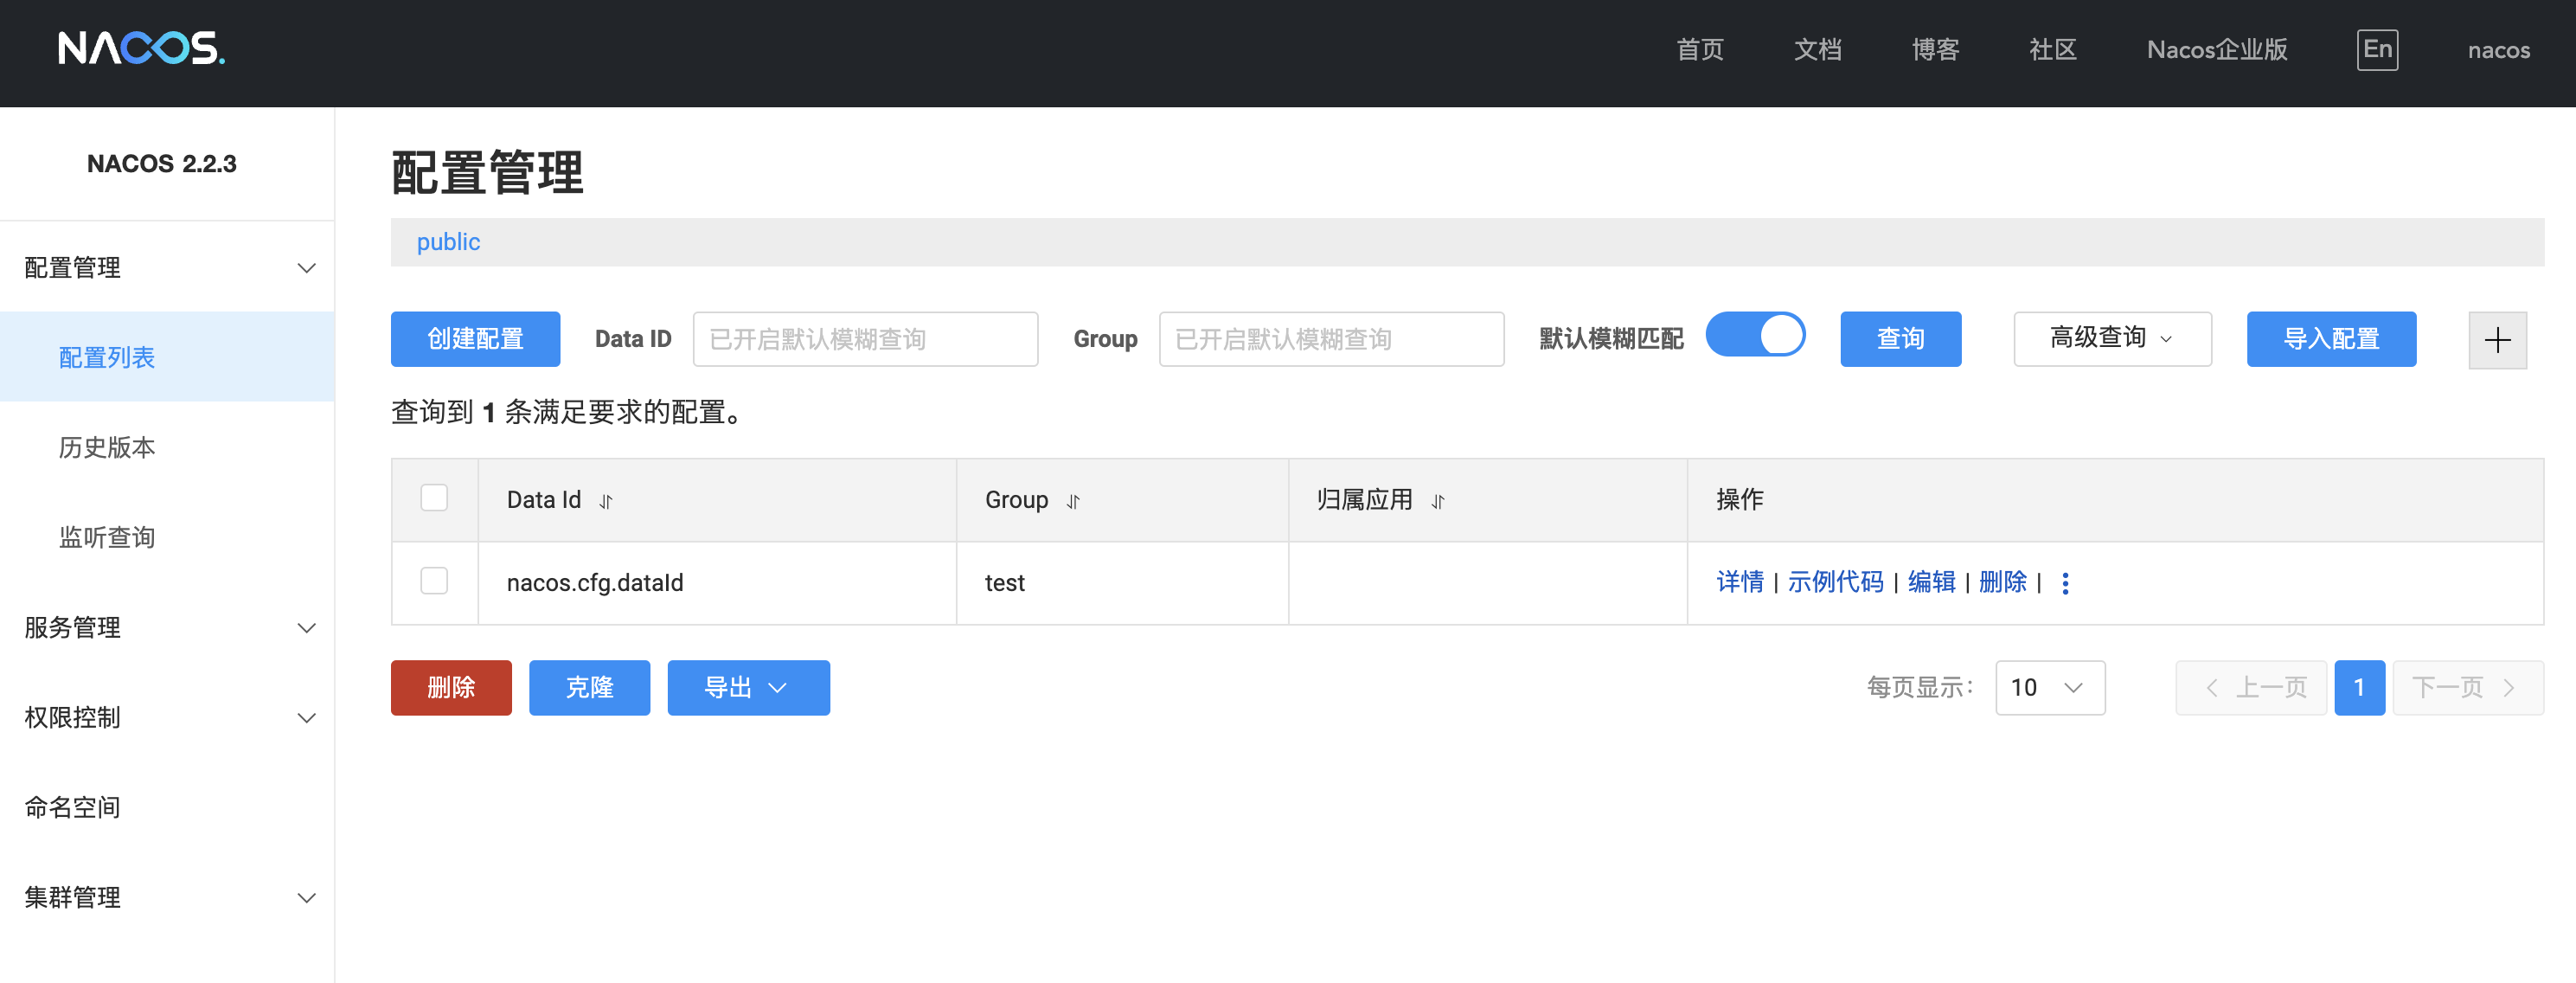
#以上api调用后,均可通过浏览器访问webui来确认效果。
#建议,拼装好后一起执行,否则可能会存在服务心跳超时被移除而无法看到效果的情况。
由于是入门系列,所以仅列举了简单的体验场景。
更多信息可访问官网:https://nacos.io/zh-cn/docs/v2/quickstart/quick-start-docker.html
当然,您也可以关注我,关注后续相关博文。
往期精彩内容推荐
云原生:5分钟了解一下Kubernetes是什么
【快捷部署】015_Minio(latest)
【快捷部署】014_elasticsearch(7.6)
【快捷部署】011_PostgreSQL(16)
【快捷部署】010_MySQL(5.7.27)
【快捷部署】009_Redis(6.2.14)
「快速部署」第一期清单


