32.CSS选择器
3.标签选择器(TAG选择器)
css:div{}
html:<div> </div>
使用的场景:
①去掉某些标签的默认样式时
②复杂的选择器中,如层次选择器
4.群组选择器(分组选择器)
可以通过逗号的方式,给多个不同的选择器添加统一的CSS样式,来达到代码的复用
css:div,p,span{}
5.通配选择器
*{ } ->div,ul,li,p,h1,h2. . .{ }
注:尽量避免使用通配选择器,因为会给所有的标签添加样式,慎用
使用场景:
去掉所有标签的默认样式时
6.层次选择器
后代:M N{ }
父子:M>N{ }
兄弟:M~N{ } 当前M下的所有兄弟N标签
相邻:M+N{ }当前M下面相邻的N标签
7.属性选择器
M [属性] { }
示例:
  <style>div[class=box]{background:red;}</style>
</head>
<body>
    <div>aaaaaa</div>
    <div class="box">bbbbbbb</div>
    <div class="search">cccccc</div>
</body>
效果:
*= :部分匹配
=:完全匹配
^=:起始匹配
$=:结束匹配
[ ][ ][ ]:组合匹配
6.伪类选择器
M:伪类{ }
:link                          访问前的样式 (只能添加给a标签)
:visited                       访问后的样式 (只能添加给a标签)
:hover                         鼠标移入时的样式(可以添加给所有的标签)
:active                        鼠标按下时的样式(可以添加给所有的标签)


示例:
    <style>
        div{width:200px;height:200px;background:red;}
        div:hover{background:blue;}
        div:active{background:green;}
    </style>
</head>
<body>
    <div></div>
</body>
注:
一般的网站都只设置a{ } (link visited active) a:hover{ }
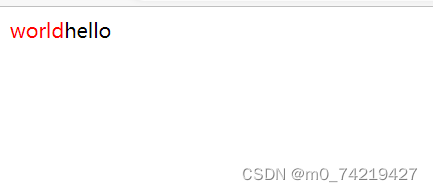
:after、before    通过伪类的方式给文件添加一段文本内容,使用content属性
:checked、disabled :focus   都是针对表单元素的


 <style>
        div:before{content:"world"; color:red;}
    </style>
</head>
<body>
    <div>hello</div>
效果:
快捷键:shift+ctrl+delete 清除缓存窗口
结构性伪类选择器:
角标是从1开始的,1表示第一项,2表示第二项,n值 表示从0到无穷大
(2n+1 2n奇偶数行)
示例:
	<style>
        /* div:before{content:"world"; color:red;} */
        li:nth-of-type(2){background:rebeccapurple}
	</style>
</head>
<body>
    <ul>
       <li>aaa</li>
       <li>aaaaaa</li>
       <li></li>
       <li></li>
    </ul>
</body>
效果:
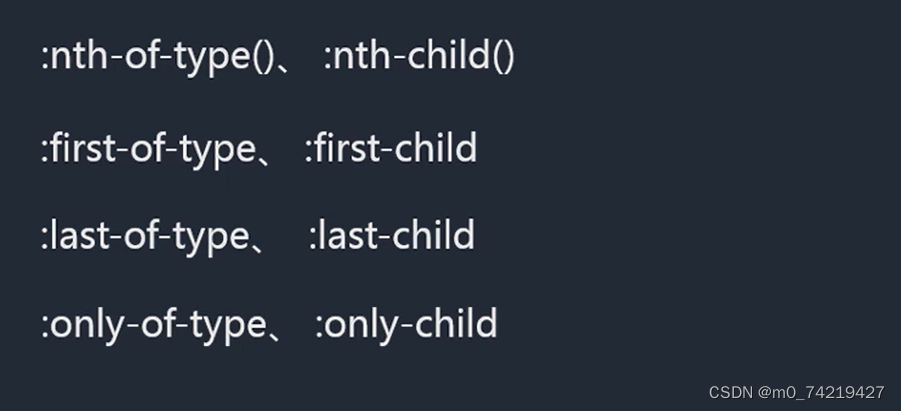
- nth-of-type()和nth-child()区别:
type:类型
child:孩子
33.CSS样式继承
文字相关的样式可以被继承,布局相关的样式不能被继承(默认是不能继承的,但是可以设置继承属性 inherit属性)
34.CSS优先级
- 单一样式优先级:
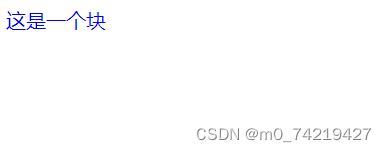
style行间>id>class>tag> * >继承
示例:
<style>
        #elem{ color:red}
    </style>
</head>
<body>
    <div id="elem" style="color:blue;">这是一个块</div>
</body>
注:style行间 权重(代表等级)1000
id 权重100
class 权重10
tag 权重1
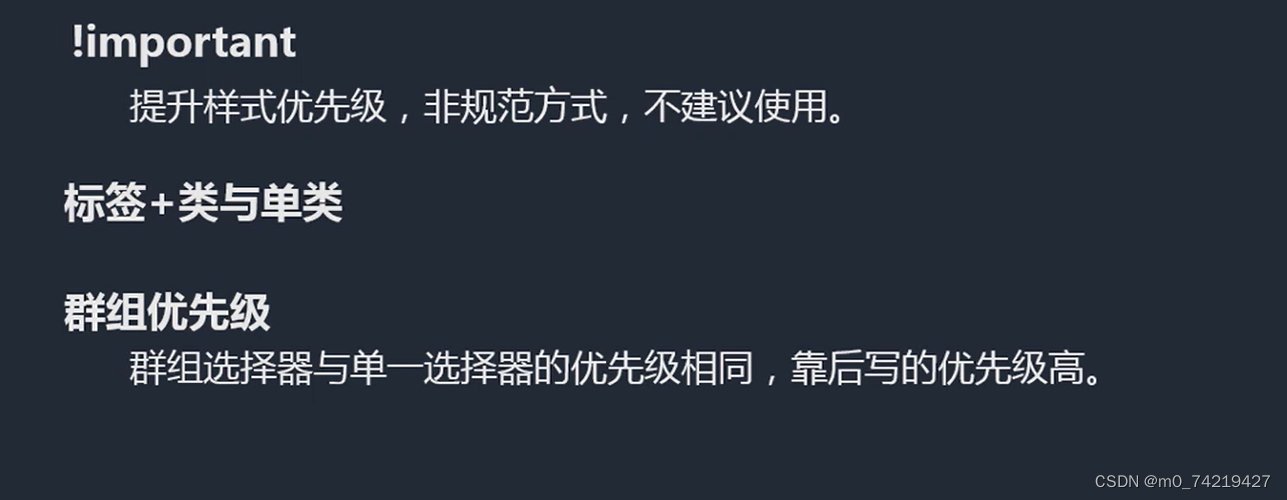
优先级提高可以在后面加个{ }里面的内容后面加上 !import(此为非常规写法)
标签+类 > 单类
- 层次优先级
- ul li .box p input{ } 1+1+10+1+1
.hello span #elem{ } 10+1+100 - 约分比较 (按相同类型)
ul li .box p input{ } →li p input{ }
.hello span #elem{ } →#elem{ }
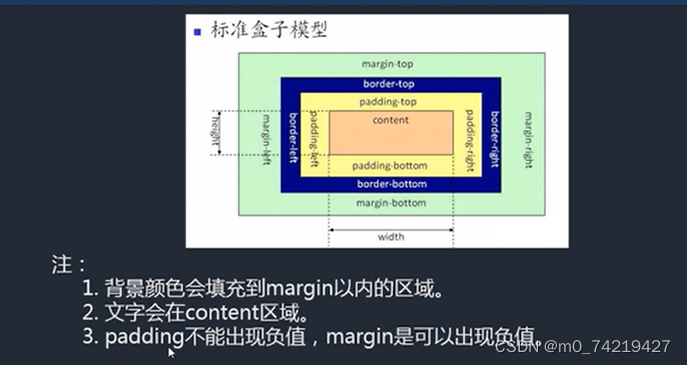
35.CSS盒子模型
组成:content —>padding–>border–>margin
物品 填充物 包装盒 盒子与盒子之间的间距
- content:内容区域 width和height组成的
- padding:内边距(内填充)
number:30px
只写一个值:30px上下左右
写两个值:30px 40px 上下、左右
写四个值:30px 40px 50px 60px 上右下左 - margin:外边距(外填充)
单一样式只能写一个值:
padding-left
padding-right
padding-top
padding-bottom
margin-left
margin-right
margin-top
margin-bottom
注:1里面,不包括margin区域
box-sizing:
盒尺寸:可以改变盒子模型的展示形态。
默认值:content-box:width、height ->content
border-box: width、height->content padding border
使用场景:
1.不用再去计算一些值
2.解决一些百分比和px计算的问题
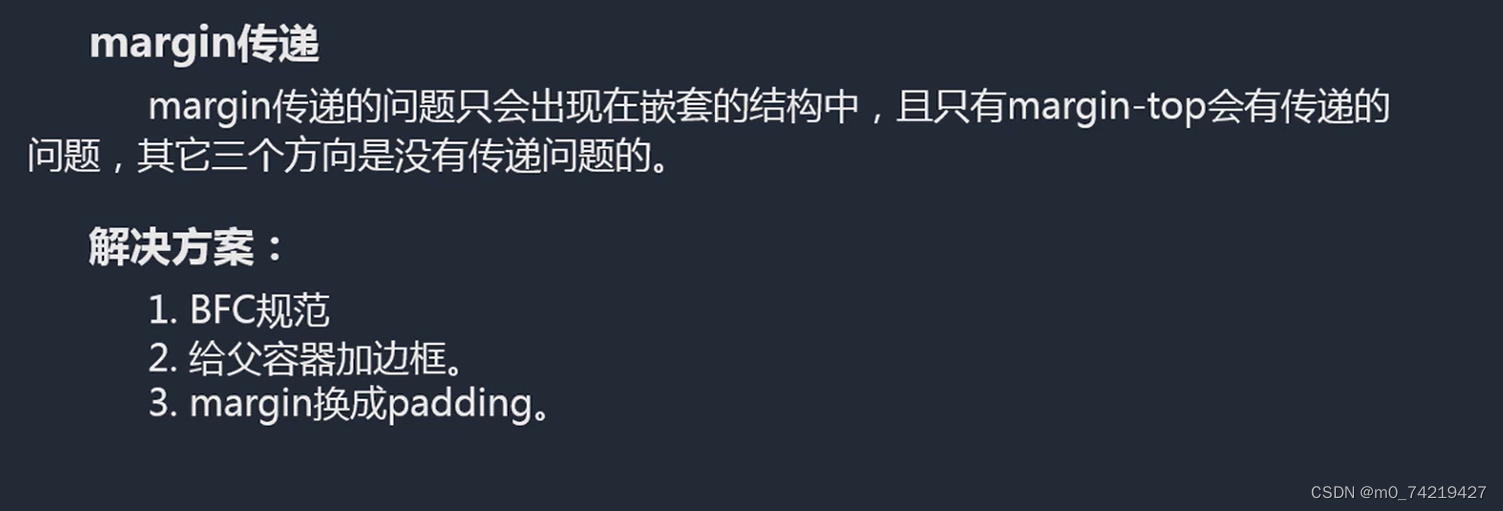
盒子模型的一些问题:
1.
叠加会取上下中值较大的作为叠加的值
2.
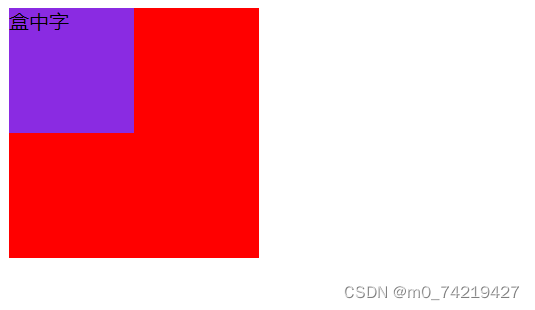
嵌套结构示例:
 <style>
        #box1{width:200px;height:200px;background:red;}
    #box2{width:100px;height:100px;background:blueviolet;}
    </style>
</head>
<body>
    <div id="box1">
    <div id="box2">盒中字</div>
    </div>
效果:
扩展:
1.margin自适应居中
margin左右自适应是可以的,但上下自适应不行(上下自适应第二大部分再学)
居中:
	<style>

    	#box{width:100px;height:100px;background:blueviolet;
   		margin:auto auto;}
	</style>
</head>
<body>
   <div id="box"></div>
</body>
效果:
2.width、height不设置的时候,对盒子模型的影响,会自动计算容器大小,节省代码。
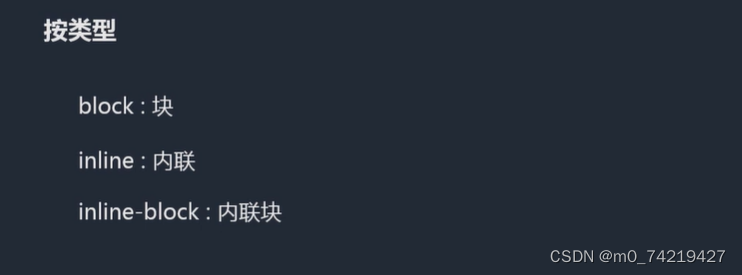
36.标签分类
- 按类型
block:div、p、ul、li、h1. . .
1.独占一行
2.支持所有样式
3.不写宽的时候,跟父元素的宽相同
4.所占区域是一个矩形
inline:span、a、em、strong、img. . .
1.挨在一起的
2.有些样式不支持,例如width 、height、margin padding的某些样式
3.不写宽的时候,宽度由内容决定
4.所占的区域不一定是矩形
5.内联标签之间会有空隙,由于换行产生的
有空隙:
 <style>
        #content1,#content2{ width:100px;height:100px;background:gold;;}
    </style>
</head>
<body>
    <span id="content1">内联1111</span>
    <span id="content2">内联</span>
去掉中间空隙,变化方式:
  <style>
        body{ font-size:0;}
        #content1,#content2{ width:100px;height:100px;background:gold;font-size:16px;}
    </style>
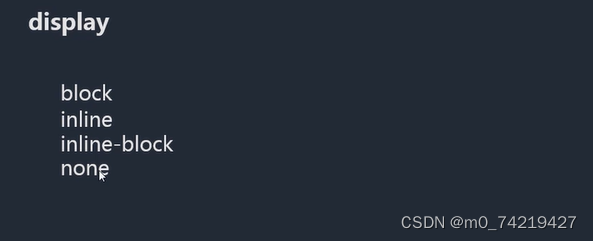
inline-block:
挨在一起,但是支持宽高
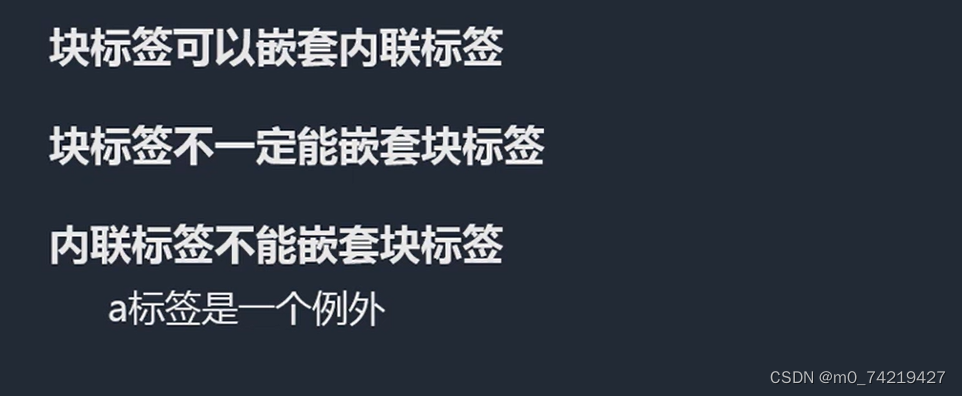
注:布局一般用块标签,修饰文本一般用内联标签
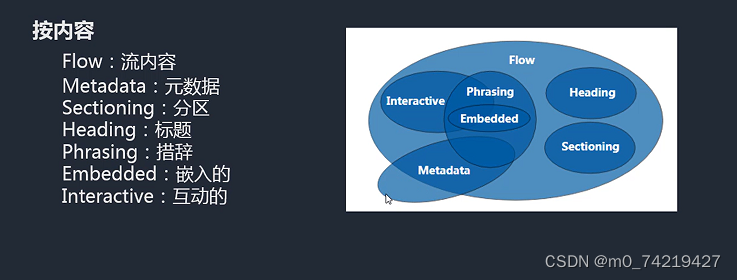
- 按内容
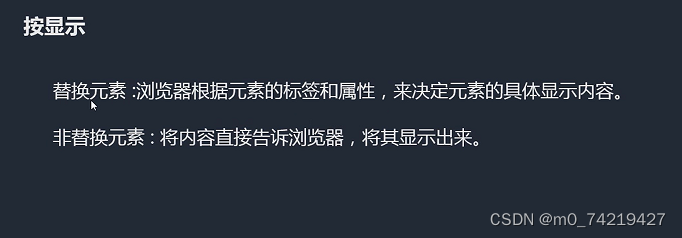
替换元素
    <input type="checkbox">
    <img src="./img/3.jpg" alt="">
非替换元素 :div、h1、p、
    <h1>标题</h1>
显示框类型
display:none 不占空间的隐藏
visibility:hidden 占空间的隐藏
37.标签嵌套规范
ul、li
dl dt dd
table tr td
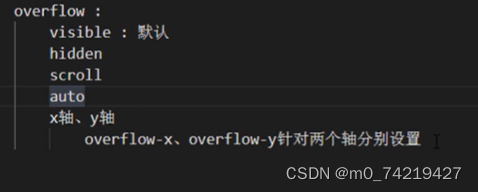
38.溢出隐藏
owerflow用法示例:
  <style>
        div{width:300px;height:200px;border:1px blue solid; overflow:scroll;}	(overflow-x:只针对一条边)
    </style>
</head>
<body>
    <div>溢出隐藏 溢出隐藏 溢出隐藏 溢出隐藏
         溢出隐藏 溢出隐藏 溢出隐藏 溢出隐藏
         溢出隐藏 溢出隐藏 溢出隐藏 溢出隐藏
         溢出隐藏 溢出隐藏 溢出隐藏 溢出隐藏
         溢出隐藏 溢出隐藏 溢出隐藏 溢出隐藏
         溢出隐藏 溢出隐藏 溢出隐藏 溢出隐藏
         溢出隐藏 溢出隐藏 溢出隐藏 溢出隐藏
         溢出隐藏 溢出隐藏 溢出隐藏 溢出隐藏
    </div>
39.透明度与手势
在div{ }里面搞
opacity(透明度):0(透明,占空间)~1(不透明)
注:占空间,所有的子内容也会透明
rgba():0~1
注:可以让指定的样式透明,而不影响其他样式
cursor(手势)
defaut:默认箭头
实现自定义手势:准备图片 .cur、.ico
格式:
cursor:url(./img/cursor.ico),auto;
40.最大、最小宽高
min-width、min-height
%单位:换算—以父容器大小进行换算的,body都没用
一个容器怎么适应屏幕的高:容器加height:100%; body:100%; html:100%;
html,body{ height:100%;}
.contrainer{ height:100%;}
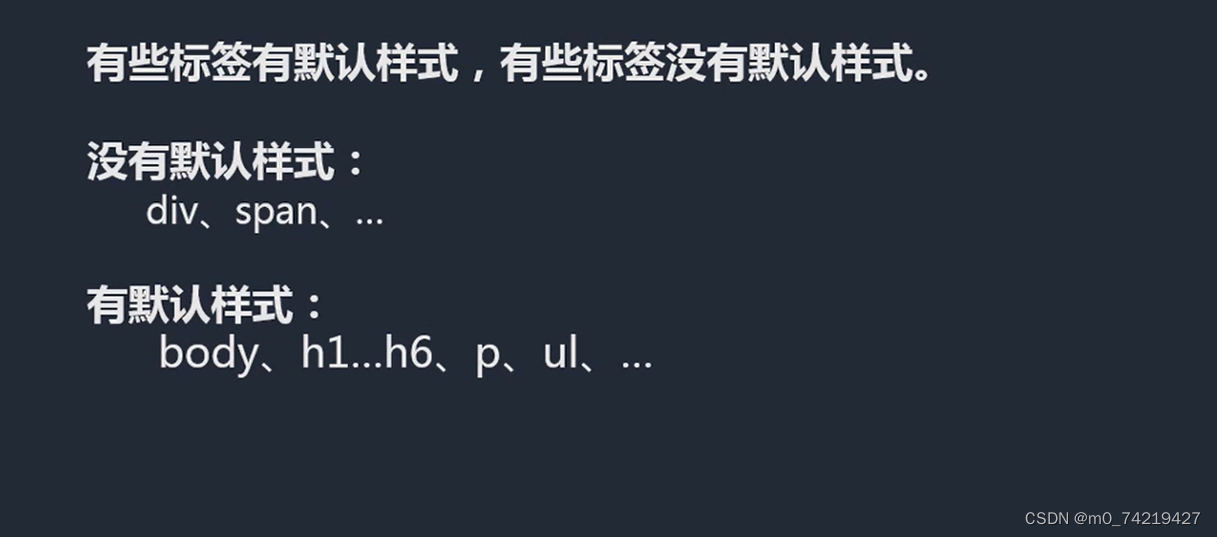
41.CSS默认样式
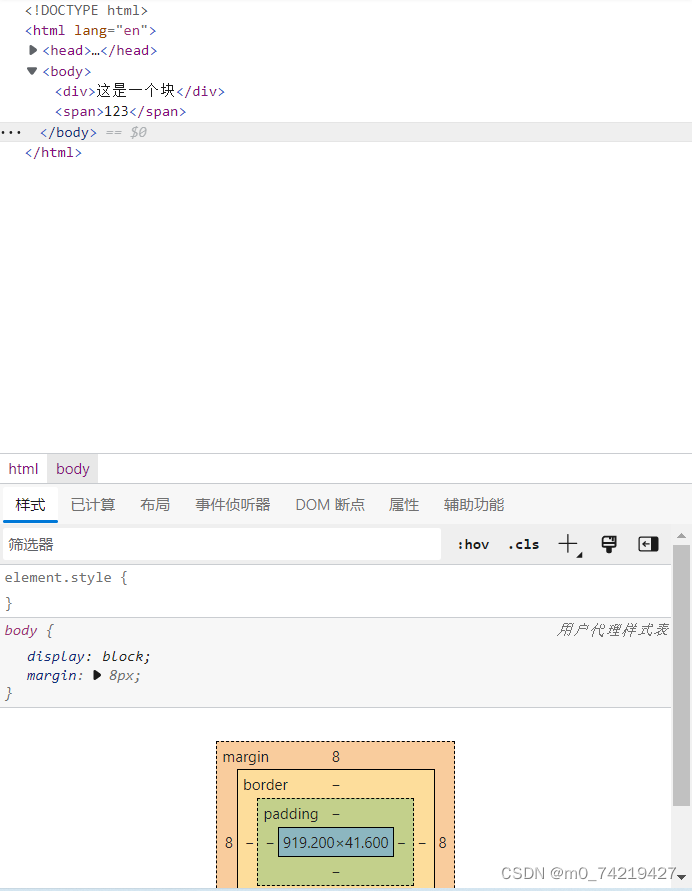
body - >margin:8px 默认像素
h1 ->margin:上下 21.440px
font-weight:bold
p - > margin:上下 16px
ul -> margin:上下 16px padding:左 40px
默认点:list-style:disc
a -> text-decoration:underline
示例:
<body>
    <div>这是一个块</div>
    <span>123</span>
</body>
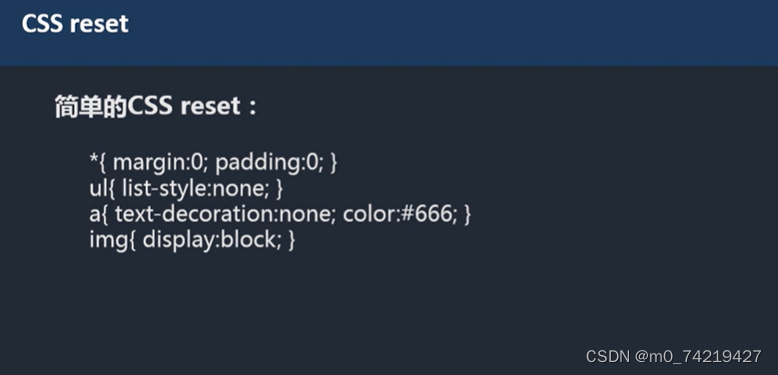
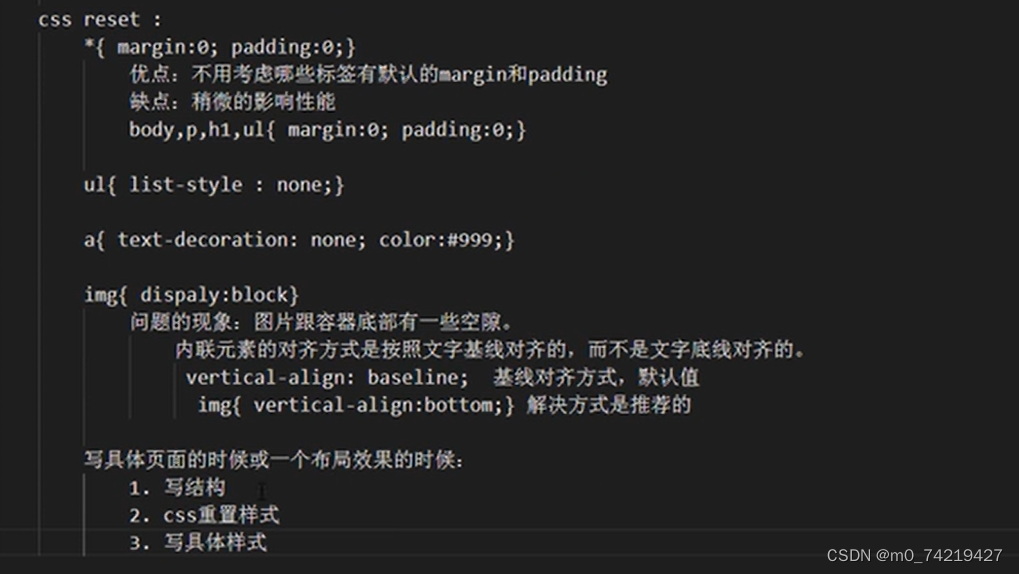
42.CSS重置样式
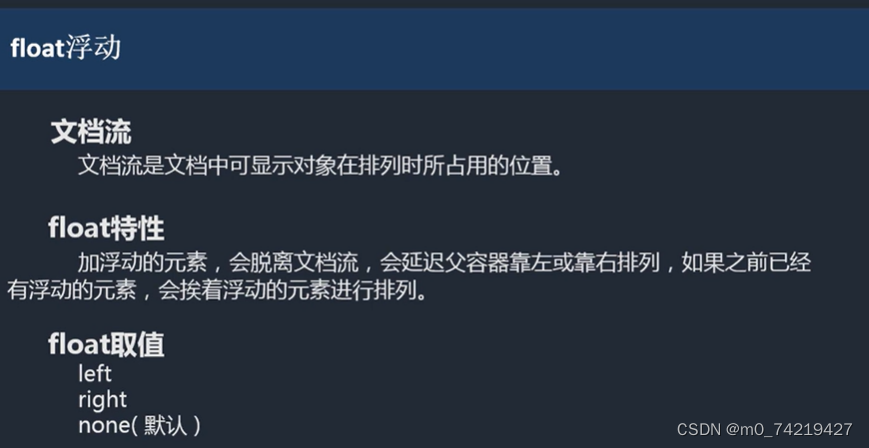
41.float浮动
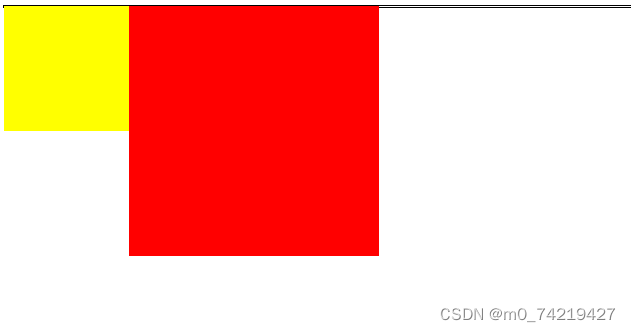
1.
两个都浮动,挨着排列 示例:
<style>
        body{ border:1px black solid;}
        #box1{width:100px;height:100px;background:yellow;float:left}
        #box2{width:200px;height:200px;background: red;float:left}
    </style>
</head>
<body>
    <div id="box1"></div>
    <div id="box2"></div>
</body>
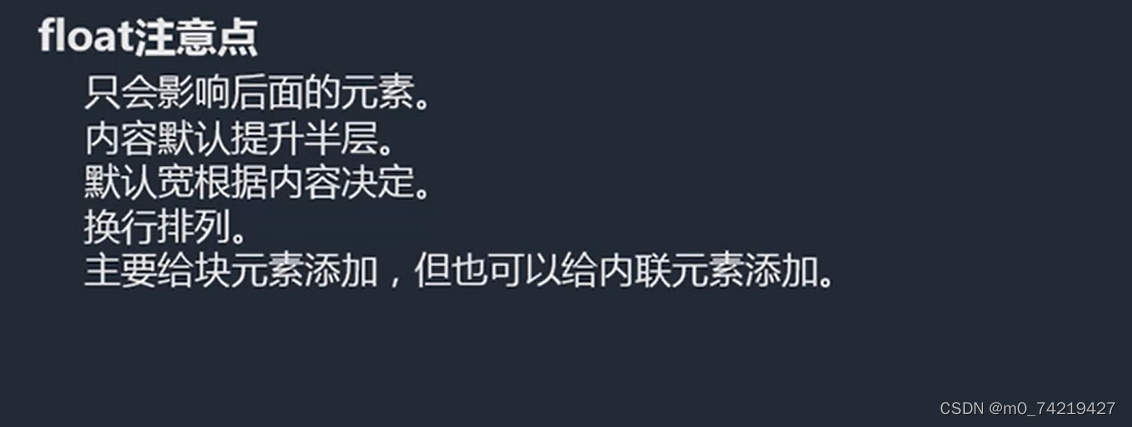
2.float注意点
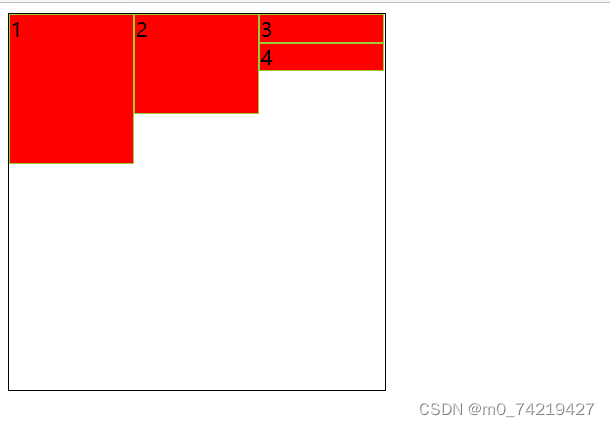
一些练习:
  <style>
    ul{margin:0;padding:0;list-style:none;width:300px;height:300px;border:1px black solid;}
    li{width:100px;height:100;background:red;border:1px yellowgreen solid;box-sizing:border-box;float:left;}
    li:nth-of-type(1){height:120px;}
    li:nth-of-type(2){height:80px;}
    </style>
</head>
<body>
    <ul>
        <li>1</li>
        <li>2</li>
        <li>3</li>
        <li>4</li>
    </ul>
效果:
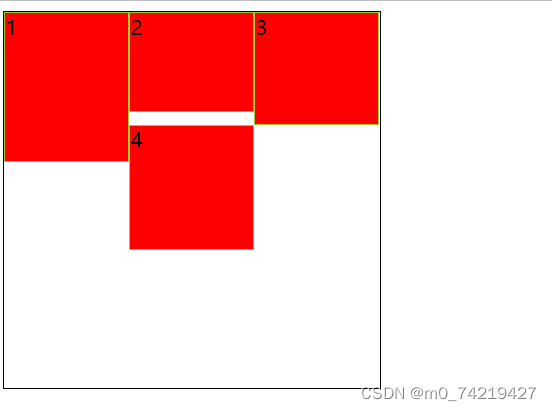
变化的地方:
 	li:nth-of-type(1){height:120px;}
    li:nth-of-type(2){height:80px;}
    li:nth-of-type(3){height:90px;}
    li:nth-of-type(4){height:100px;}
效果:
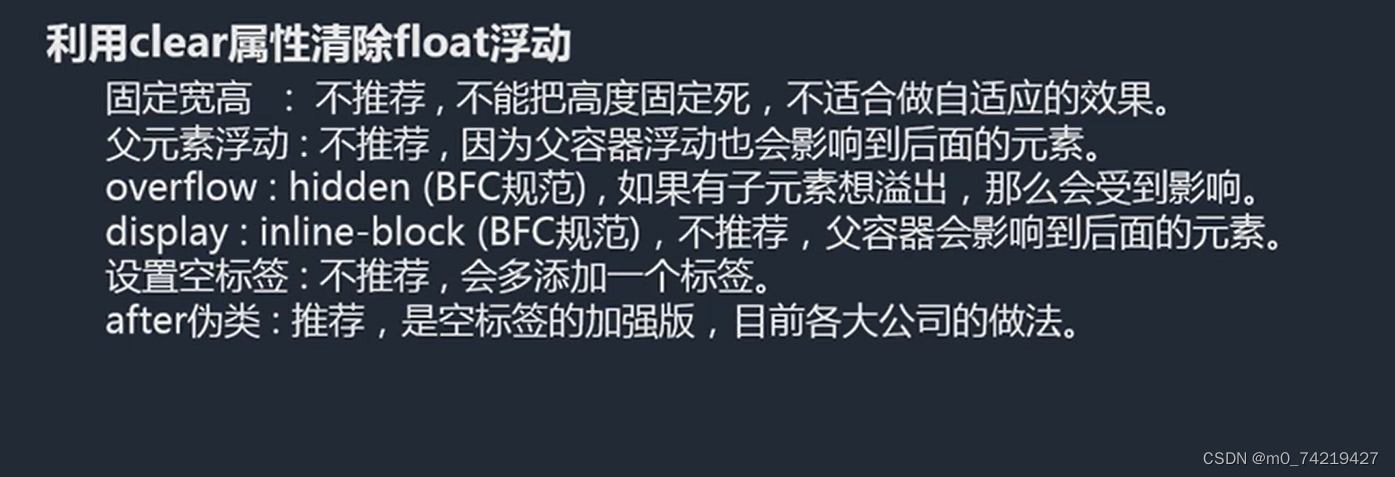
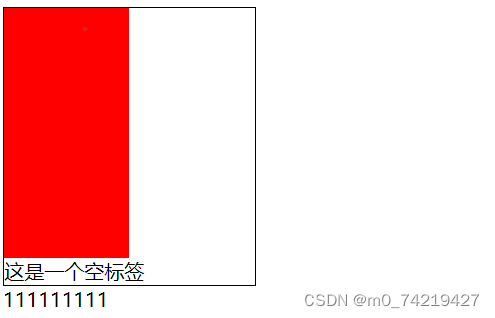
3.清除浮动
上下排列:clear属性,表示清除浮动的,left,right,both
嵌套排列:
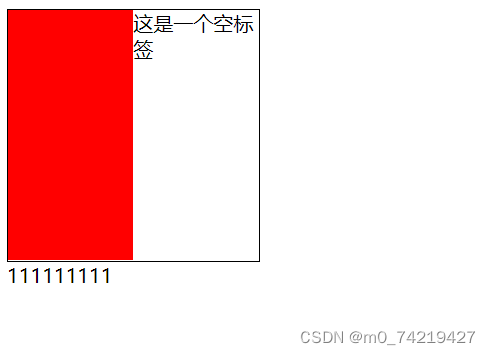
设置空标签:
  <style>
        #box1{width:200px;border:1px black solid;}
        #box2{width:100px;height:200px;background:red;float:left;}
        .clear{clear:both;}
    </style>
</head>
<body>
    <div id="box1">
        <div id="box2"></div>
        <div>这是一个空标签</div>
        <div class="clear"></div>
    </div>
    111111111
</body>
正确写法:
<div id="box1">
        <div id="box2"></div>
        <div class="clear">这是一个空标签</div>

    </div>
    111111111
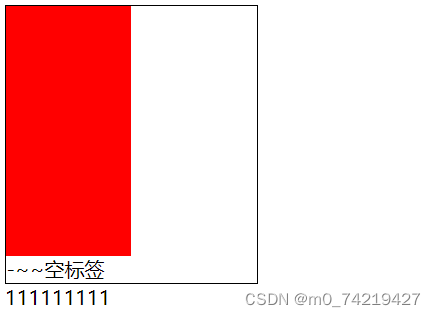
after伪类:
clear属性只会操作块标签,对内联标签不起作用
示例:
    <style>
      #box1{width:200px;border:1px black solid;}
      #box2{width:100px;height:200px;background:red;float:left;}
      .clear:after{content:'-~~空标签';clear:both;display:block;}  先设置一个空的内容,转成块,再加both清浮动
    </style>
</head>
<body>
            <div id="box1" class="clear">
            <div id="box2"></div>
    </div>
    111111111
浮动练习:
结构
<body>
    <div id="main">
        <h2>外媒评论精选</h2>
        <ul>
            <li>
                <div class="pic">
                    <a href="#">
                        <img src="" alt="">
                    </a>
                </div>
                <div class="content">
                    <h2>加勒比海盗</h2>
                    <p>
                        测试段落测试段落测试段落测试段落测试段落测试段落测试段落测试段落<div class="a">[详细]</div>
                    </p>
                </div>
            </li>
        </ul>
    </div>
</body>
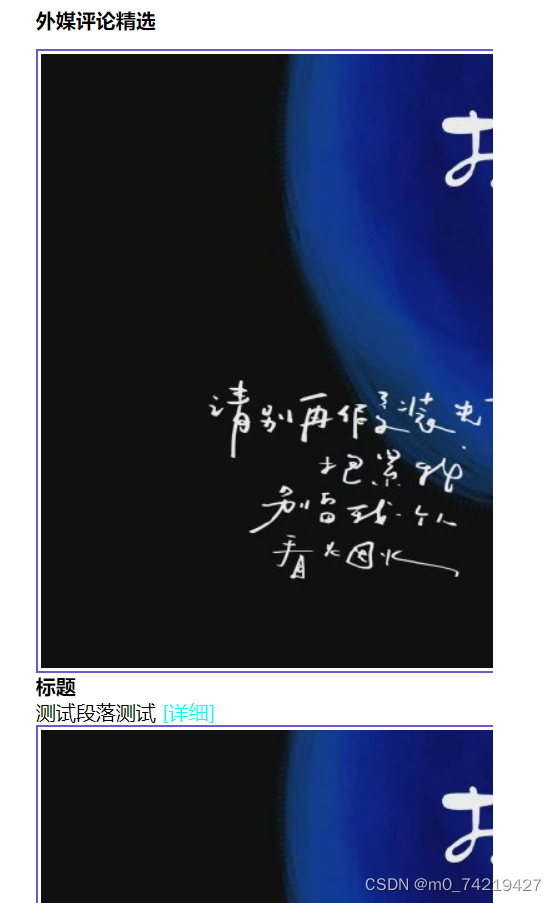
练习:
<title>Document</title>
    <style>
        *{margin:0;padding:0;}
        ul{list-style:none;}
        img{display:block;}
        a{text-decoration:none;color:aqua;}
        h1,h2,h3{font-size:16px;}

        .l{float:left;}
        .r{float:right;}
        .clear{content:"";display:block;clear:both;}

        #main{width:366px;margin:20px auto;}
        #main.title{height:20px; line-height:16px; font-size:12px;font-weight:bold;padding-left:30px;padding-right:30px;background:url(./img/2.jpg) no-repeat 60px 40px,url(./img/2.jpg)no-repeat;}

        #main ul{overflow:hidden;margin-top:13px;}
        #main li{margin-bottom:22px;}
        #main .pic{width:690px;border:2px solid slateblue;}
        #main .pic img{margin:2px;}
        #main.content{width:60px;margin-left: 13px;margin-right: 13px;}
        #main.content h2{line-height:24px;}
        #main.content p{ line-height:20px;}
    </style>
</head>
<body>
    <div id="main">
        <h2 class="title">外媒评论精选</h2>
        <ul>
            <li class="clear">
                <div class="1  pic">
                    <a href="#">
                        <img src="./img/5.jpg" alt="">
                    </a>
                </div>
                <div class="l content">
                    <h2>标题</h2>
                    <p>
                        测试段落测试

                        <a href="#">[详细]</a>
                    </p>
                </div>
                <li class="clear">
                    <div class="1 pic">
                    <a href="#">
                        <img src="./img/5.jpg" alt="">
                    </a>
                    </div>
                    <p>
                        测试段落
                        <div class="1 content">[详细]</div>
                    </p>

                </li>
            </li>
        </ul>
    </div>
</body>
</html>
搞出来这么个玩意


