vue3中关于ElNotification API appendTo的用法
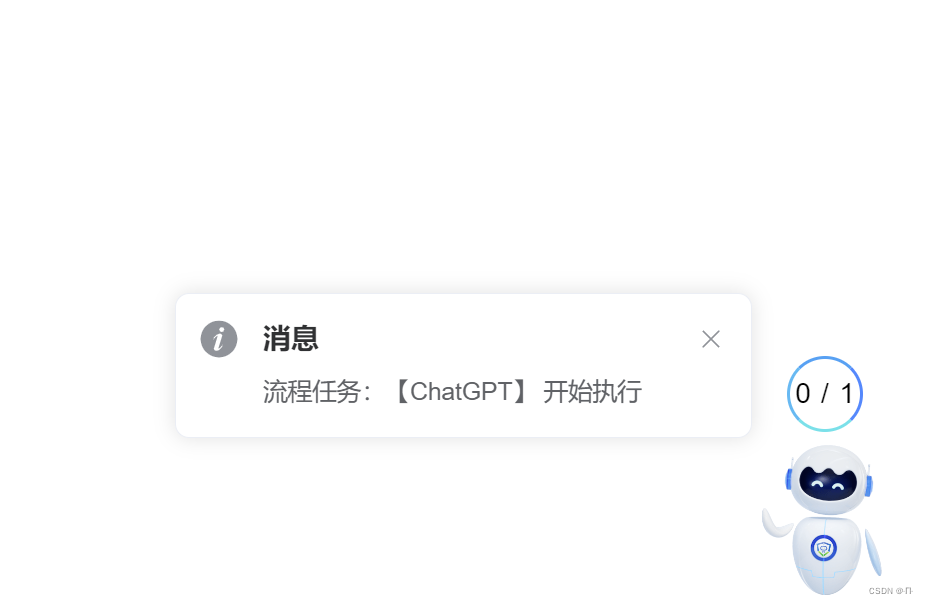
需要做一个智能机器人,ElNotification 消息通知需要跟随机器人拖拽进行移动
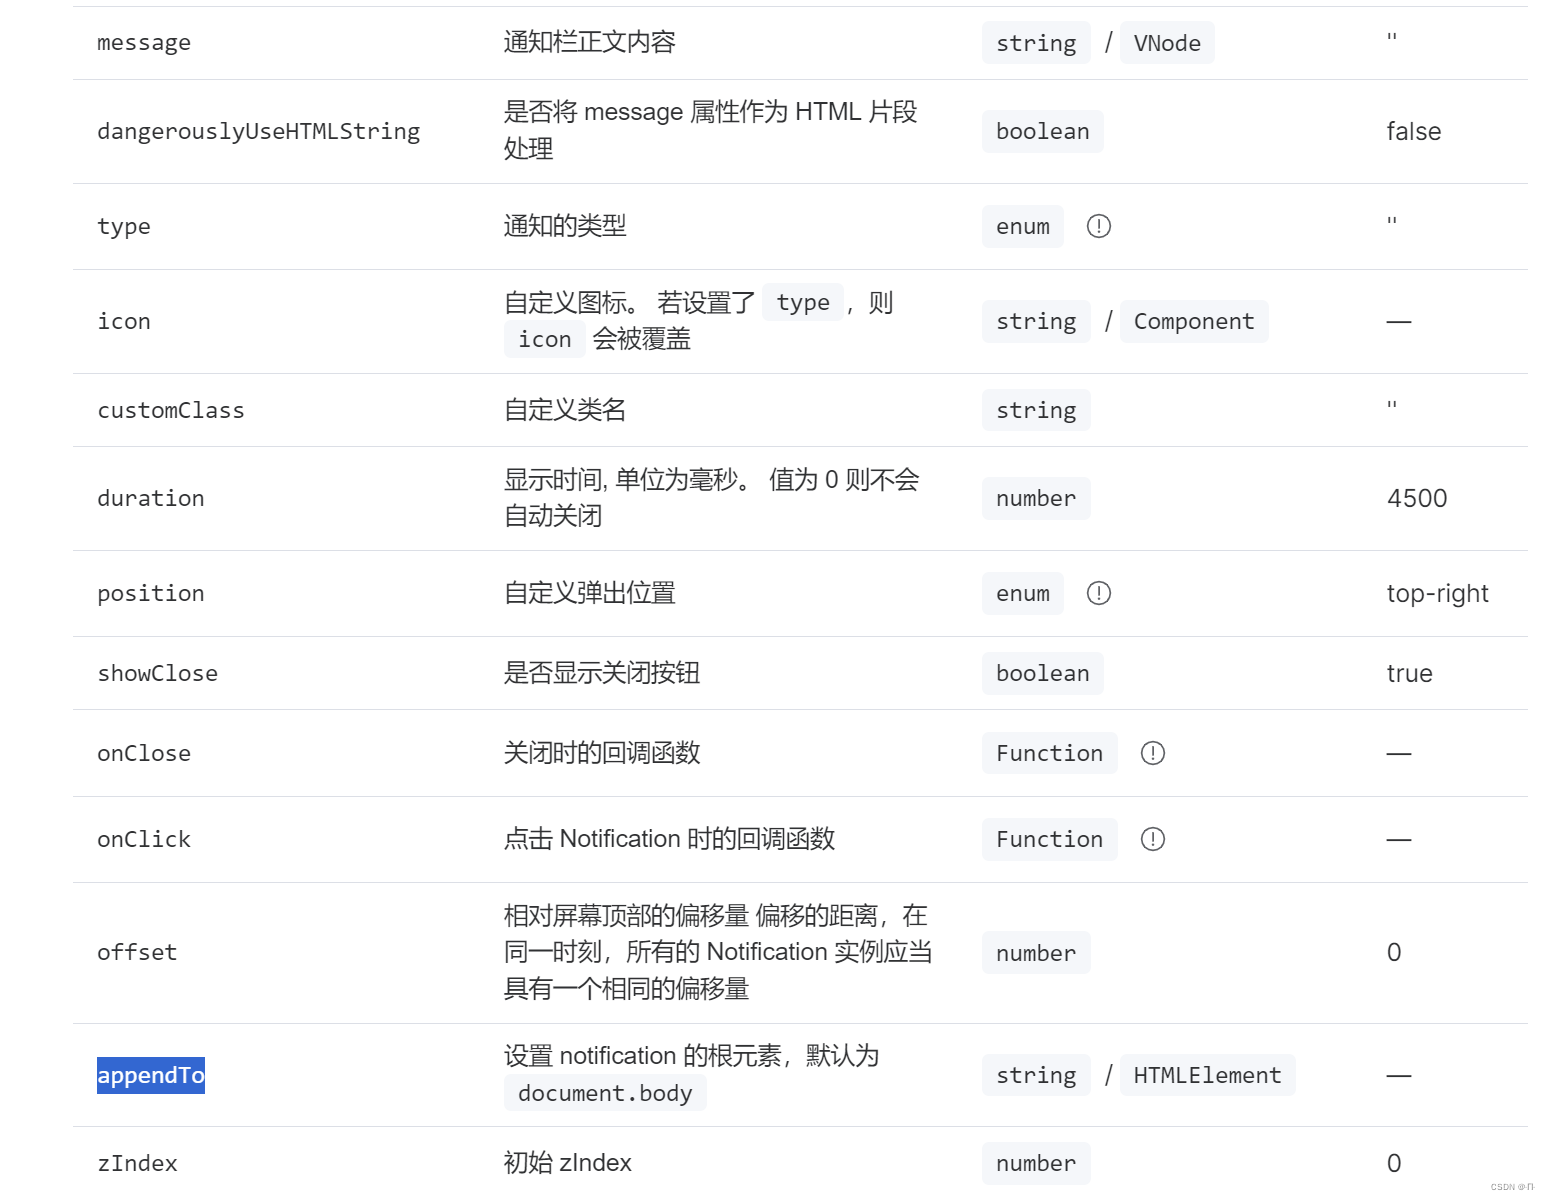
我想到了用ElNotification 里面的appendTo来实现,appendTo可以改变ElNotification 的根元素理论上把ElNotification 的根元素设置为拖拽元素就可以实现不过再网上没有找到一篇关于appendTo用法介绍所以决定把自己实现方式写出来
直接上代码
去博客设置页面,选择一款你喜欢的代码片高亮样式,下面展示同样高亮的 代码片.
// 这里html代码 元素尽量用id不用class
<div
	ref="robotRef"
	id="robot"
	@mousedown="robotMousedown"
	@mouseup="robotMouseup"
>
</div>
// 这里js实现拖拽代码 比较简单有需要的可以参考一下
const robotRef = ref<any>(null); //获取定义ref元素
const boxX = ref<any>(""); // 获取偏移量
const boxY = ref<any>(""); // 获取偏移量
const robotMousedown = (event: any) => {
  // 初始化偏移量和拖拽状态
	boxY.value = event.clientY - robotRef.value.offsetTop;
	boxX.value = event.clientX - robotRef.value.offsetLeft;
	document.body.onmousemove = (e: any) => {
		robotRef.value.style.left = e.clientX - boxX.value + "px";
		robotRef.value.style.top = e.clientY - boxY.value + "px";
	}
};
const robotMouseup = () => {
	document.body.onmousemove = null;
};
// 这里是ElNotification API 代码
// appendTo不接受null所以先定义一个空字符串
let robot = "" as any;
// 获取拖拽元素
robot = document.getElementById('robot');
ElNotification({
	title: 'Success', //标题
    message: '成功了', //通知栏正文内容
    type: 'success', //通知的类型
	duration:  0, //显示时间, 单位为毫秒。 值为 0 则不会自动关闭
	appendTo: robot, //设置 notification 的根元素
	position: 'bottom-right', //自定义弹出位置
	offset: 50, //相对屏幕顶部的偏移量 偏移的距离(弹出位置设置为底部就是相对于屏幕底部偏移量)
});
