1、安装hubot
1.1 安装node.js 和 npm
yum install -y nodejs npm
npm install -g inherits n
yum install -y curl
1.2 安装yo generator-hubot
npm install -g yo generator-hubot
npm install coffee-script -save

以下包可选:
npm install hubot-test-helper --save-dev
npm install expect.js
npm install chai
1.3 创建一个目录,并实例化一个hubot
mkdir myhubot
cd myhubot
yo hubot 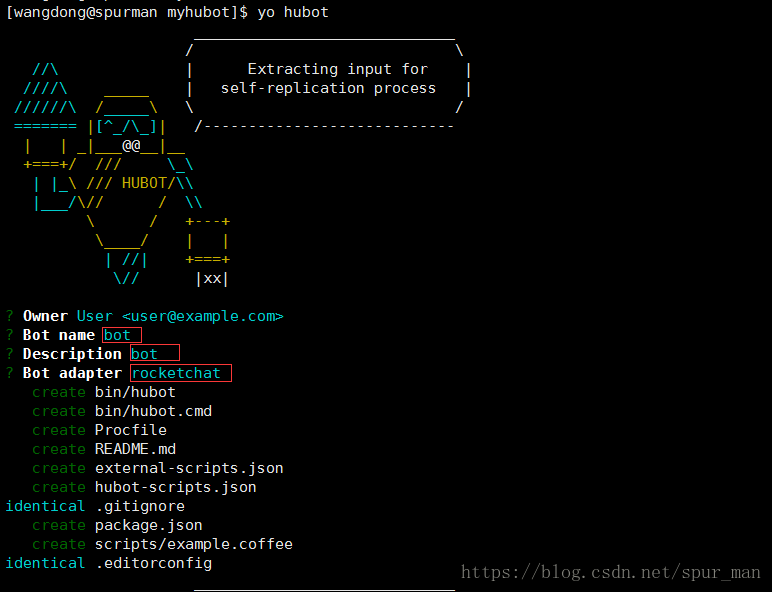
1.4 启动hubot
./bin/hubot -a rocketchat2、安装rocketchat
2.1 安装mongodb
vim /etc/yum.repos.d/mongodb-org.repo
[mongodb-org-3.4]
name=MongoDB Repository
baseurl=https://repo.mongodb.org/yum/redhat/$releasever/mongodb-org/3.4/x86_64/
gpgcheck=1
enabled=1
gpgkey=https://www.mongodb.org/static/pgp/server-3.4.asc
yum -y install mongodb-org
systemctl start mongod
systemctl enable mongod2.2 安装rocketchat
cd /opt
curl -L https://rocket.chat/releases/latest/download -o rocket.chat.tgz tar zxvf rocket.chat.tgz mv bundle Rocket.Chat
cd Rocket.Chat/programs/server
npm install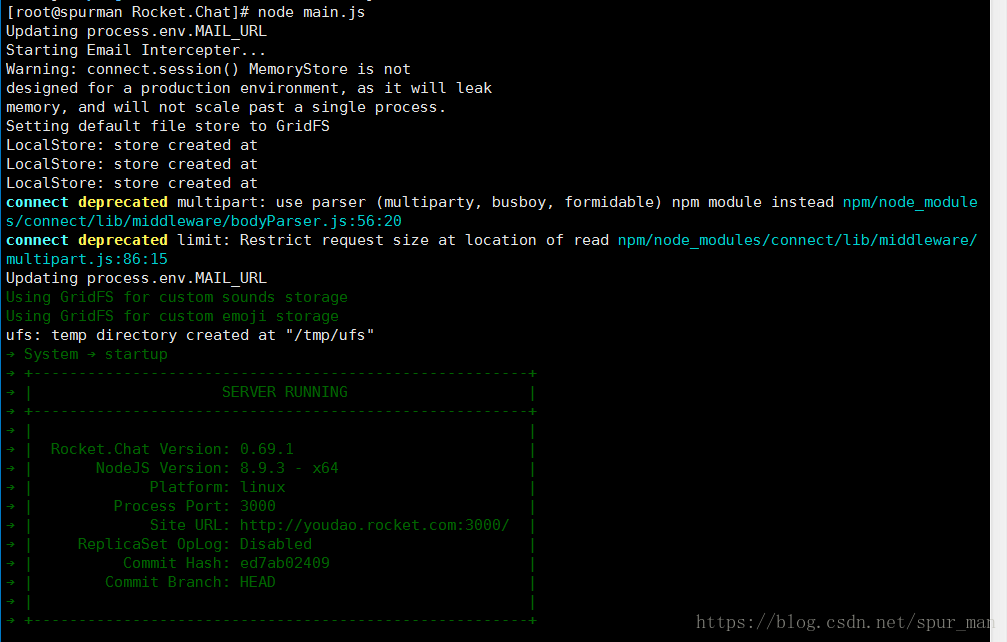
2.3 启动rocketchat
cd /opt/Rocket.Chat
export ROOT_URL=http://xxx.rocket.com/
export MONGO_URL=mongodb://localhost:27017/rocketchat
export PORT=3000
node main.js
2.4 nginx配置
upstream rocketchat_backend {
server 127.0.0.1:3000;
}
server {
listen 80;
server_name youdao.rocket.com;
charset utf-8;
root /opt/www/xxx.rocket.com;
index index.html index.htm;
access_log /var/log/nginx/rocket.com_access.log;
error_log /var/log/nginx/rocket.com_error.log;
}
location / {
proxy_pass http://rocketchat_backend/;
proxy_http_version 1.1;
proxy_set_header Upgrade $http_upgrade;
proxy_set_header Connection "upgrade";
proxy_set_header Host $http_host;
proxy_set_header X-Real-IP $remote_addr;
proxy_set_header X-Forward-For $proxy_add_x_forwarded_for;
proxy_set_header X-Forward-Proto http;
proxy_set_header X-Nginx-Proxy true;
proxy_redirect off;
}
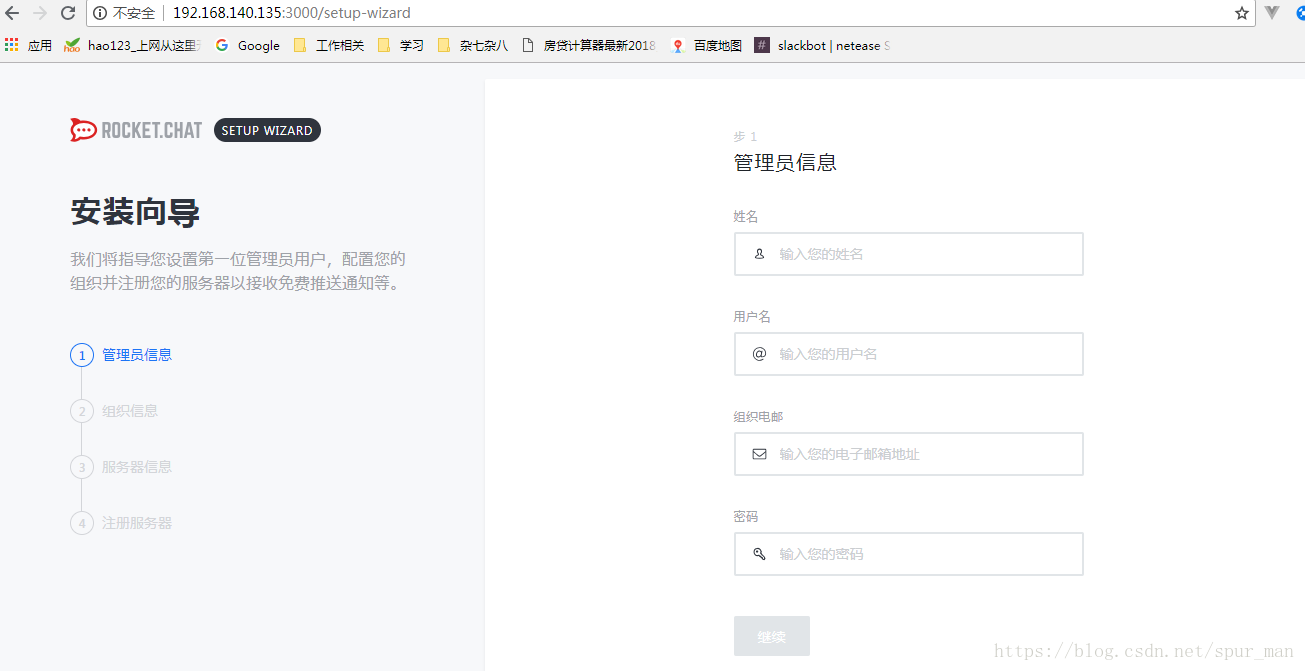
}2.5 浏览器输入xxx:3000
3、安装hubot-rocketchat adapter
3.1 启动一个docket镜像
docker run -it -e ROCKETCHAT_URL="http://IP:3000" \
-e ROCKETCHAT_ROOM='' \
-e LISTEN_ON_ALL_PUBLIC=true \
-e ROCKETCHAT_USER=admin \
-e ROCKETCHAT_PASSWORD=123456 \
-e ROCKETCHAT_AUTH=password \
-e BOT_NAME=bot \
-e EXTERNAL_SCRIPTS=hubot-pugme,hubot-help \
rocketchat/hubot-rocketchat
3.2 启动时,指定环境变量,使得Hubot等登录上rocketchat(注意:在启动hubot之前,先刷环境变量)
export ROCKETCHAT_URL="http://IP:3000"
export ROCKETCHAT_ROOM=''
export LISTEN_ON_ALL_PUBLIC=true
export ROCKETCHAT_USER=admin
export ROCKETCHAT_PASSWORD=123456
export ROCKETCHAT_AUTH=password
3.3 验证
编辑myhubot/scripts目录下的example.coffee文件,添加如下行:
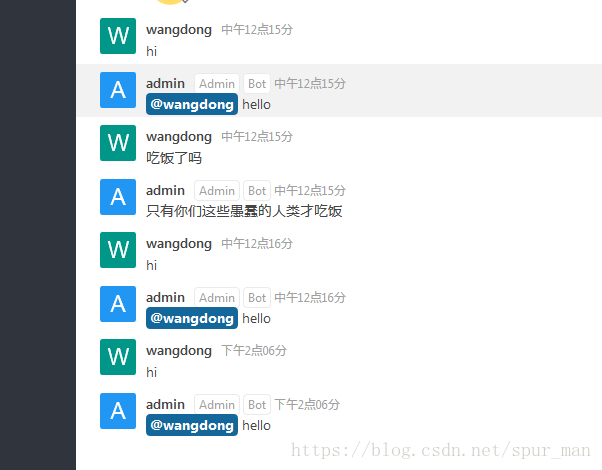
robot.hear /hi/i, (res) ->
res.reply "hello"
robot.hear /吃饭了吗/, (res) ->
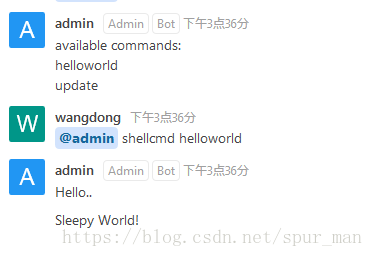
res.send '只有你们这些愚蠢的人类才吃饭'在rocketcha里面对话如下,测试ok
3.4 hubot 运行bash脚本,安装插件:hubot-script-shellcmd
cd myhubot
npm install hubot-script-shellcmd
cp -R node_modules/hubot-script-shellcmd/bash .   #seperate your shellcmd from the npm module

编辑 external-scripts.json
add 'hubot-script-shellcmd'
上述操作完成后,我们可以看到,在myhubot目录下有个bash目录,cd bash/handlers,该目录下有两个文件:helloworld,update,在rocketchat中,可以直接执行@admin shellcmd 以及@admin shellcmd helloworld执行上面的命令.