个人记录
前置条件:安装Docker与Docker-compose
Centos7安装Docker与Docker-compose【图文教程】
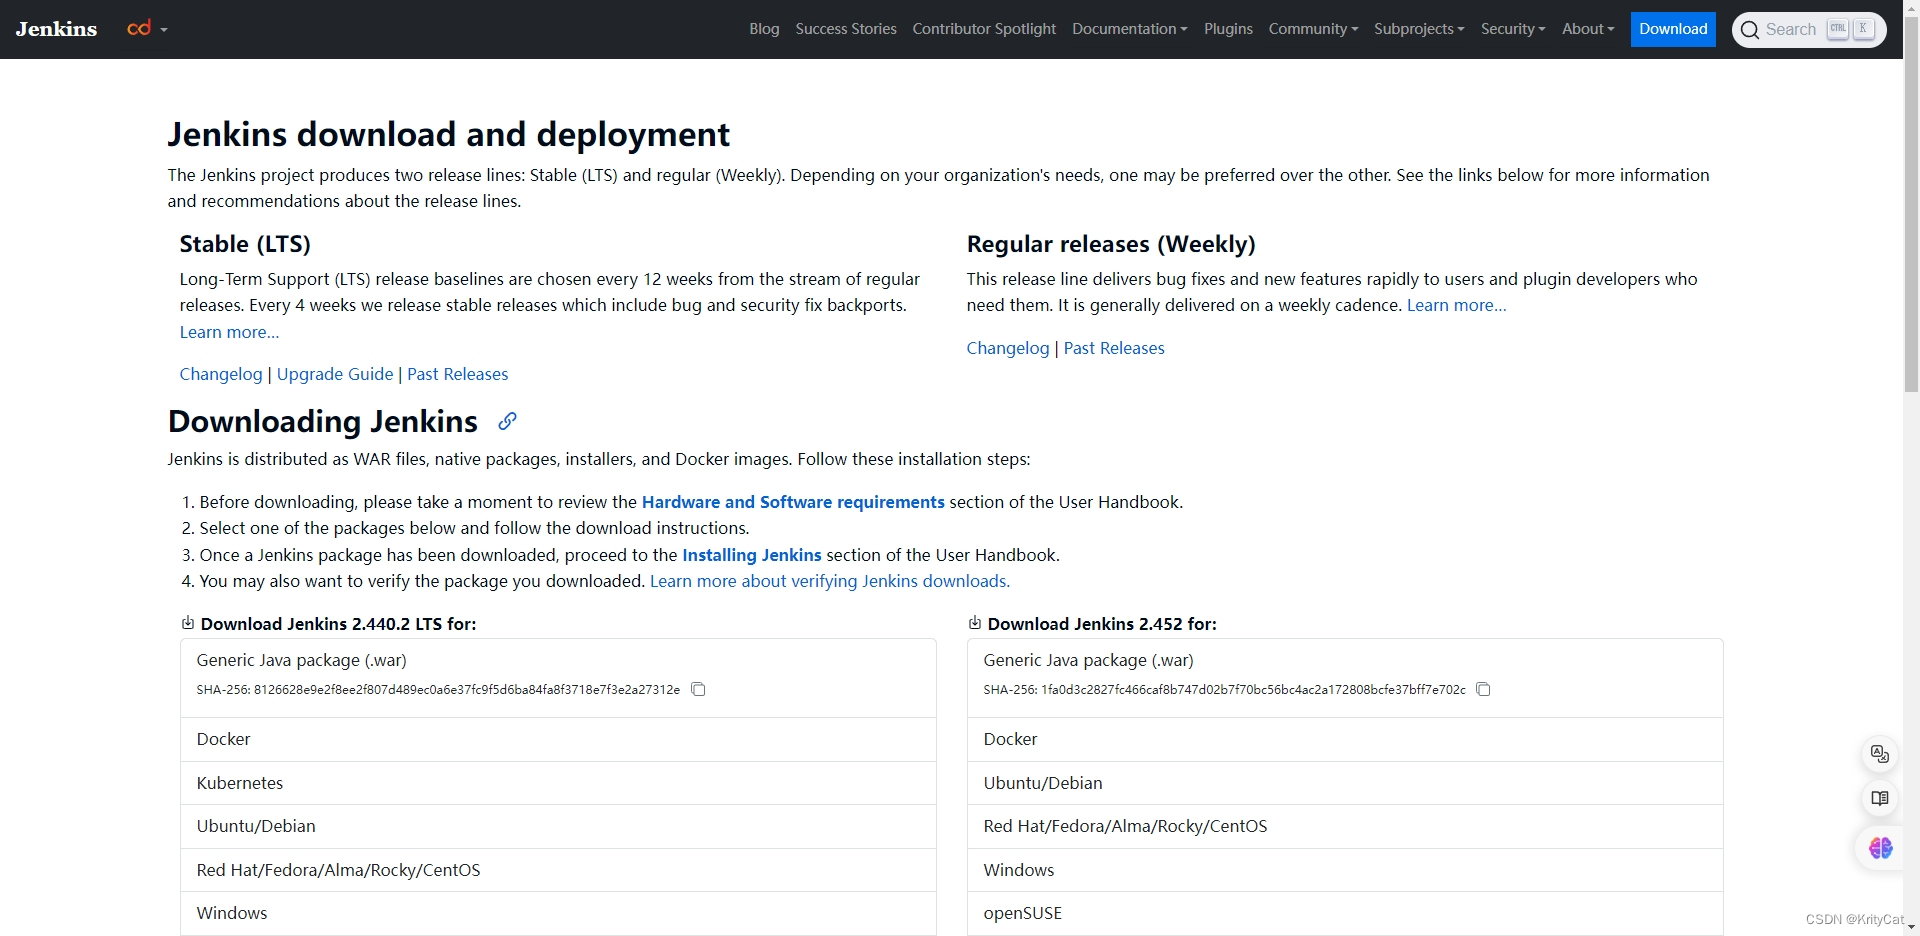
查看jenkins最新的版本
https://www.jenkins.io/download/
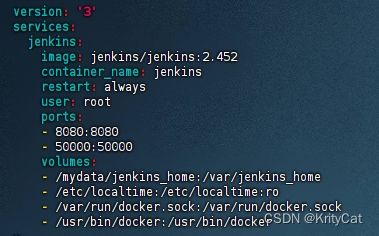
配置docker-compose.yml
vim docker-compose.yml
按i进行编辑模式,粘贴如下内容。把image里的lts替换为官网看到稳定版本【官网左边LTS】或最新版本【官网右边】,建议最新版本。(如果不替换直接使用的话,可能安装的lts非最新会影响后面插件安装。因为插件往往需要最新版本才能安装,手动安装非常麻烦)
/var/run/docker.sock:/var/run/docker.sock与/usr/bin/docker:/usr/bin/docker必须配置,不然jenkinsfile无法使用sh ‘docker version’
version: '3'
services:
  jenkins:
    image: jenkins/jenkins:lts
    container_name: jenkins
    restart: always
    user: root
    ports:
    - 8080:8080
    - 50000:50000
    volumes:
    - /mydata/jenkins_home:/var/jenkins_home
    - /etc/localtime:/etc/localtime:ro
    - /var/run/docker.sock:/var/run/docker.sock
    - /usr/bin/docker:/usr/bin/docker
配置maven的seeting文件(maven项目必备)
mkdir -p /mydata/jenkins_home/appconfig/maven
vim /mydata/jenkins_home/appconfig/maven/settings.xml
粘贴如下内容
<?xml version="1.0" encoding="UTF-8"?>
<settings xmlns="http://maven.apache.org/SETTINGS/1.0.0"
          xmlns:xsi="http://www.w3.org/2001/XMLSchema-instance"
          xsi:schemaLocation="http://maven.apache.org/SETTINGS/1.0.0 http://maven.apache.org/xsd/settings-1.0.0.xsd">
  <pluginGroups>
  </pluginGroups>
  <proxies>
  </proxies>
  <servers>
  </servers>
  <mirrors>
    <mirror>
        <id>nexus-aliyun</id>
        <mirrorOf>central</mirrorOf>
        <name>Nexus aliyun</name>
        <url>http://maven.aliyun.com/nexus/content/groups/public</url>
    </mirror>
  </mirrors>
  <localRepository>/root/.m2</localRepository>
  <profiles>
	<profile>
		<id>jdk-1.8</id>
		<activation>
			<jdk>1.8</jdk>
		</activation>
		<properties>
			<maven.compiler.source>1.8</maven.compiler.source>
			<maven.compiler.target>1.8</maven.compiler.target>
			<maven.compiler.compilerVersion>1.8</maven.compiler.compilerVersion>
		</properties>
	</profile>
  </profiles>
</settings>
运行docker-compose
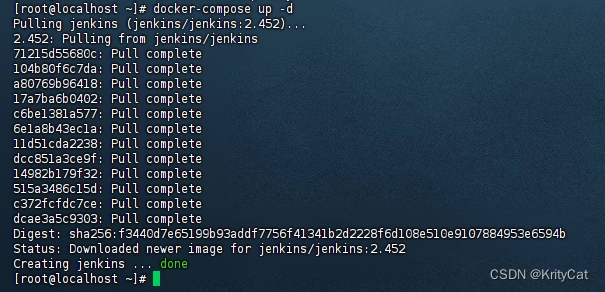
docker-compose up -d
如运行几分钟后结尾报192.168.0.1:53: i/o timeout,可尝试以下方法解决。
解决docker-compose up -d报ERROR: Get “https://registry-1.docker.io/v2/”: dial tcp: lookup registry-1.docker.io on 192.168.0.1:53: read udp 192.168.0.12:53003->192.168.0.1:53: i/o timeout
运行成功后,如下图
查看容器
docker ps
添加开放8080端口
firewall-cmd --zone=public --add-port=8080/tcp --permanent
重载入添加的端口
firewall-cmd --reload
查询8080端口是否开启成功
firewall-cmd --query-port=8080/tcp
如访问不了可尝试如下命令(暂时关闭防火墙)
systemctl stop firewalld
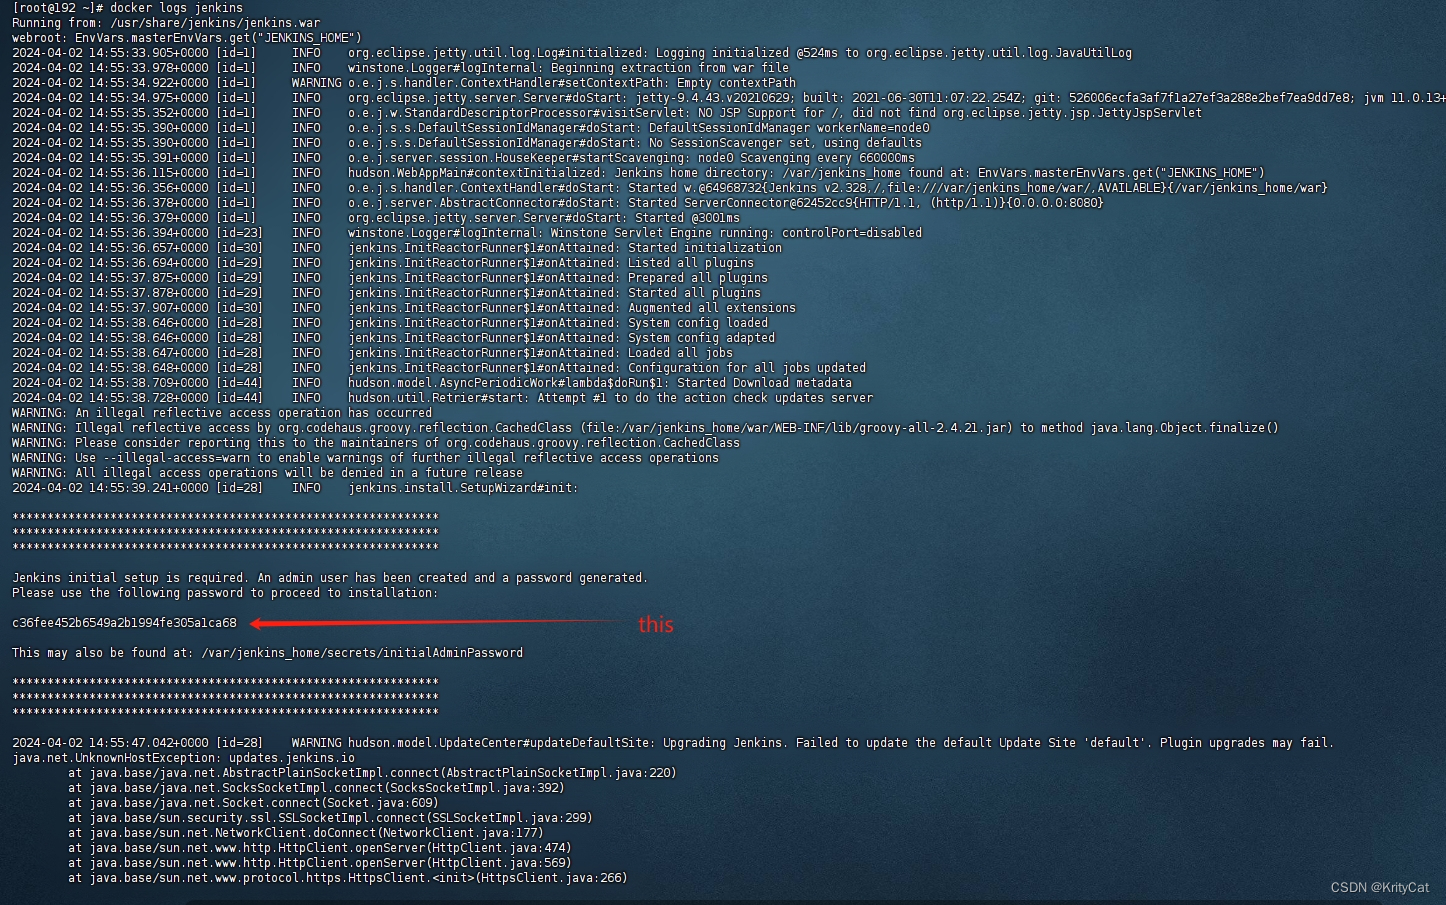
查看管理员密码
docker logs jenkins
访问Jenkins修改升级站点
localhost是你服务器的IP
http://localhost:8080/pluginManager/advanced
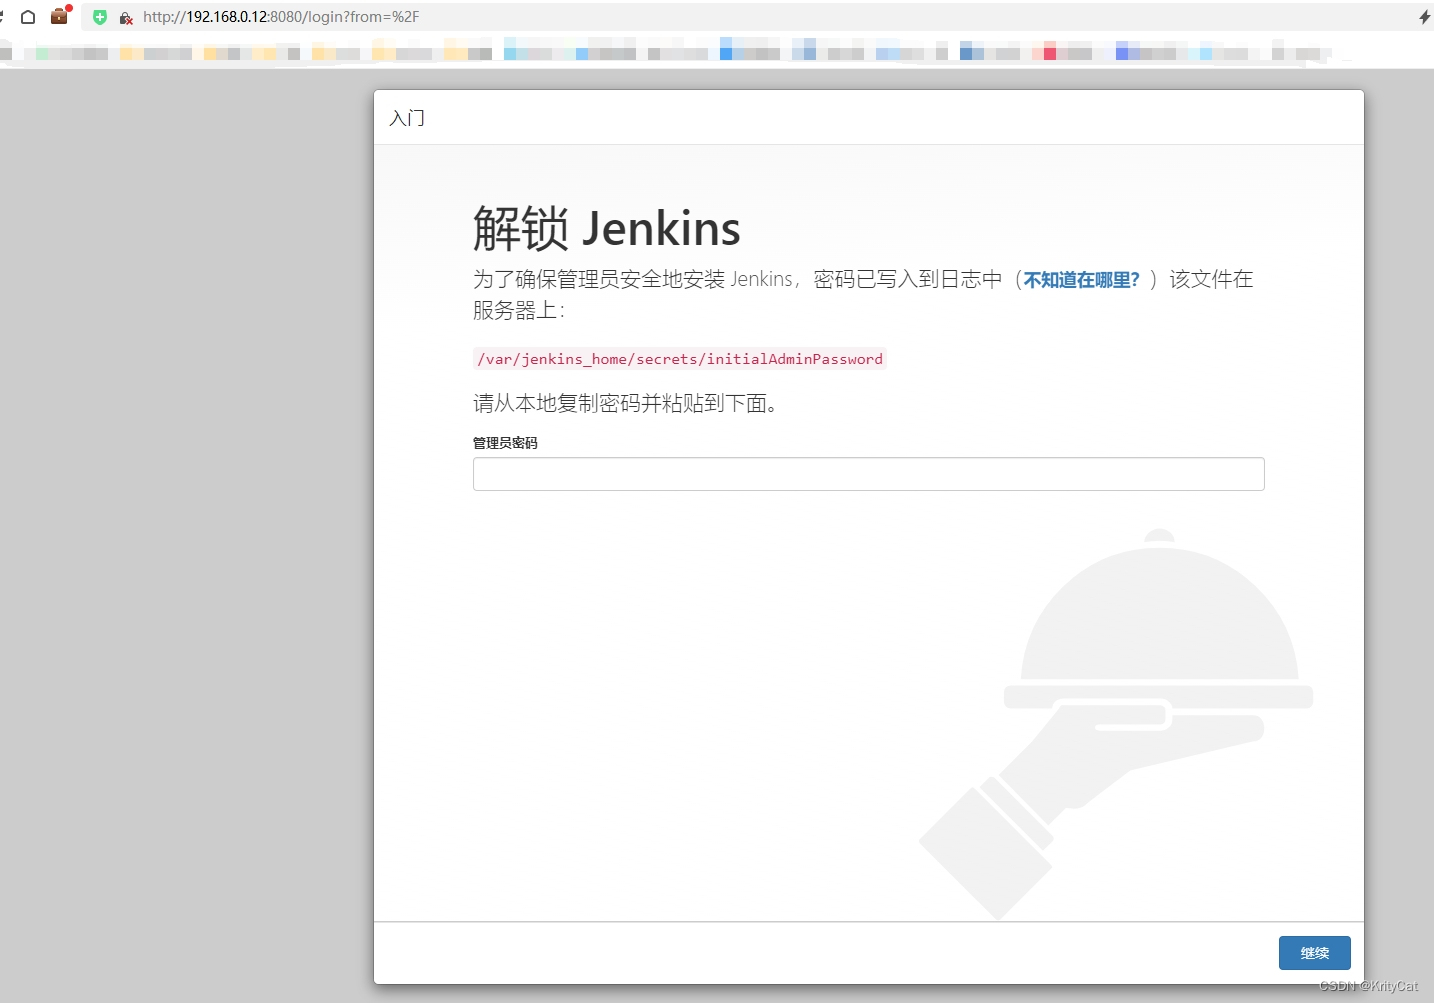
输入管理员密码
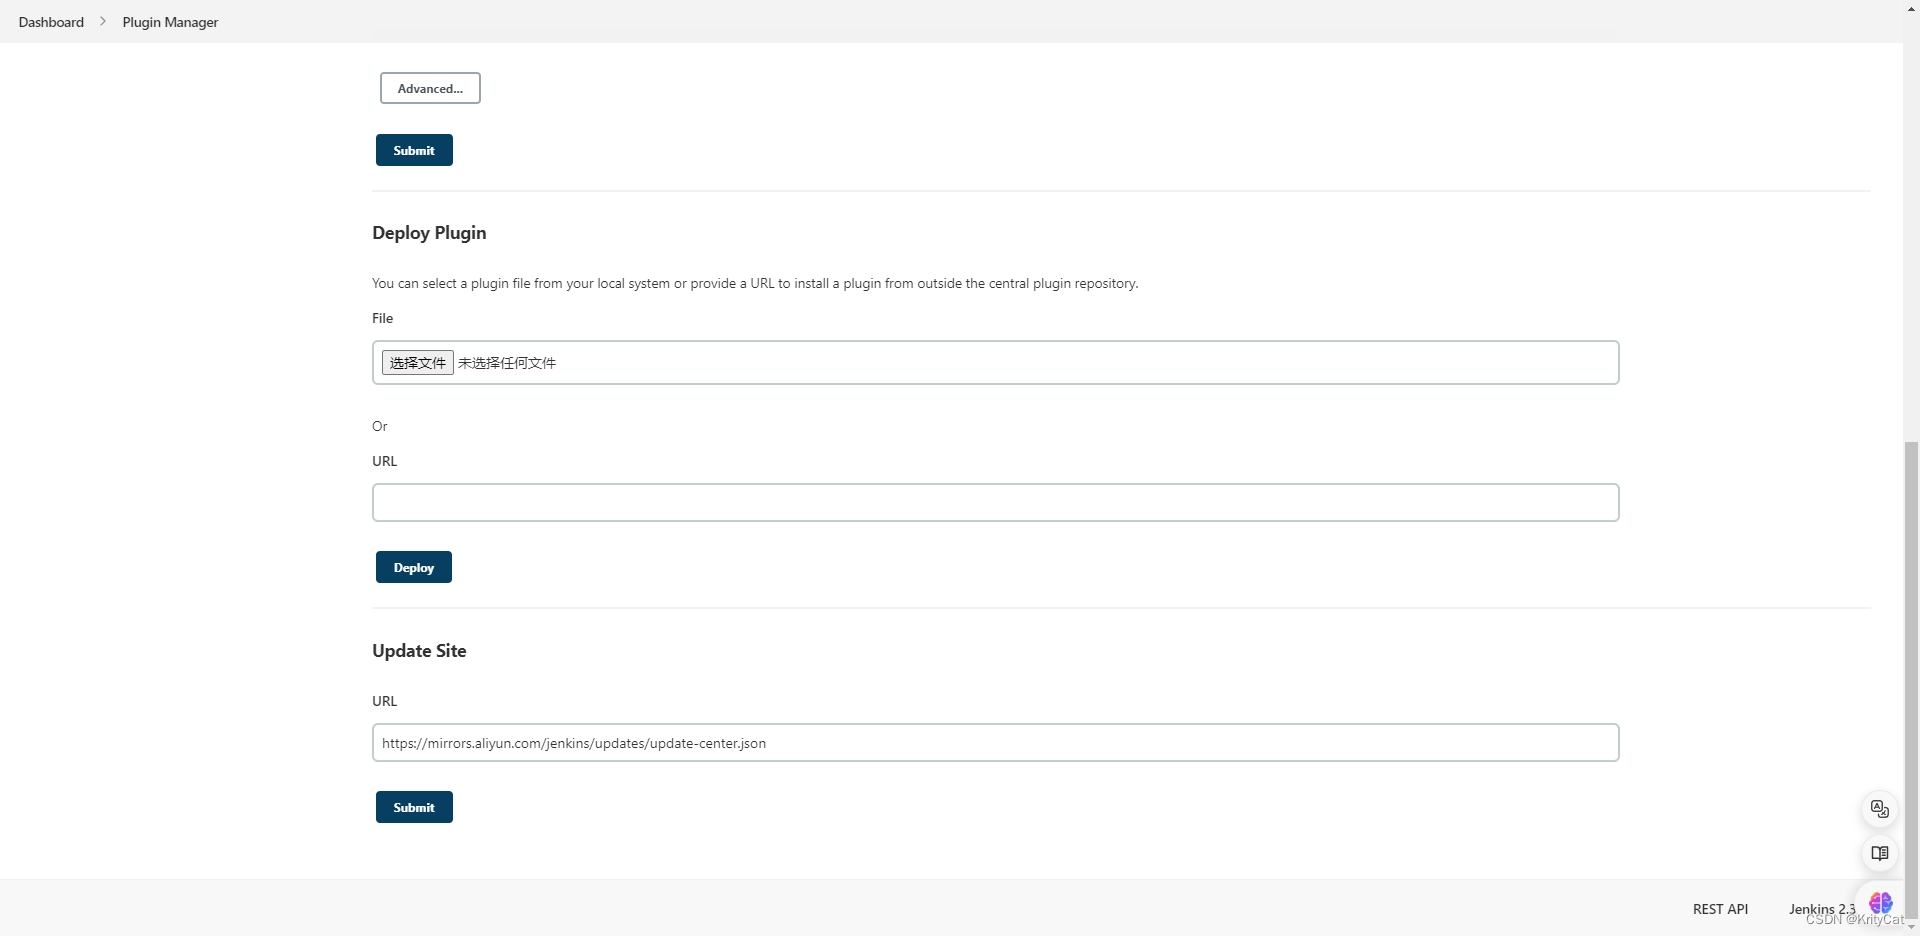
拉到最下面把url改成以下四选一
jenkins源,https改成http
http://updates.jenkins.io/update-center.json
阿里云
https://mirrors.aliyun.com/jenkins/updates/update-center.json
华为云
https://mirrors.huaweicloud.com/jenkins/updates/update-center.json
清华大学
https://mirrors.tuna.tsinghua.edu.cn/jenkins/updates/update-center.json
,点击Submit。
重启jenkins
docker restart jenkins
如重启报Error response from daemon: Cannot restart container jenkins: driver failed programming external connectivity on endpoint jenkins (4e616d999df473e9d9fb306a629cf81428e79618aa00c6bcfe23e19cdc251b5d): (iptables failed: iptables --wait -t nat -A DOCKER -p tcp -d 0/0 --dport 50000 -j DNAT --to-destination 172.18.0.2:50000 ! -i br-3ade2f68417d: iptables: No chain/target/match by that name.
可使用如下命令(重启docker,因端口占用)
systemctl restart docker
进入jenkins
localhost是你服务器的IP
http://localhost:8080/
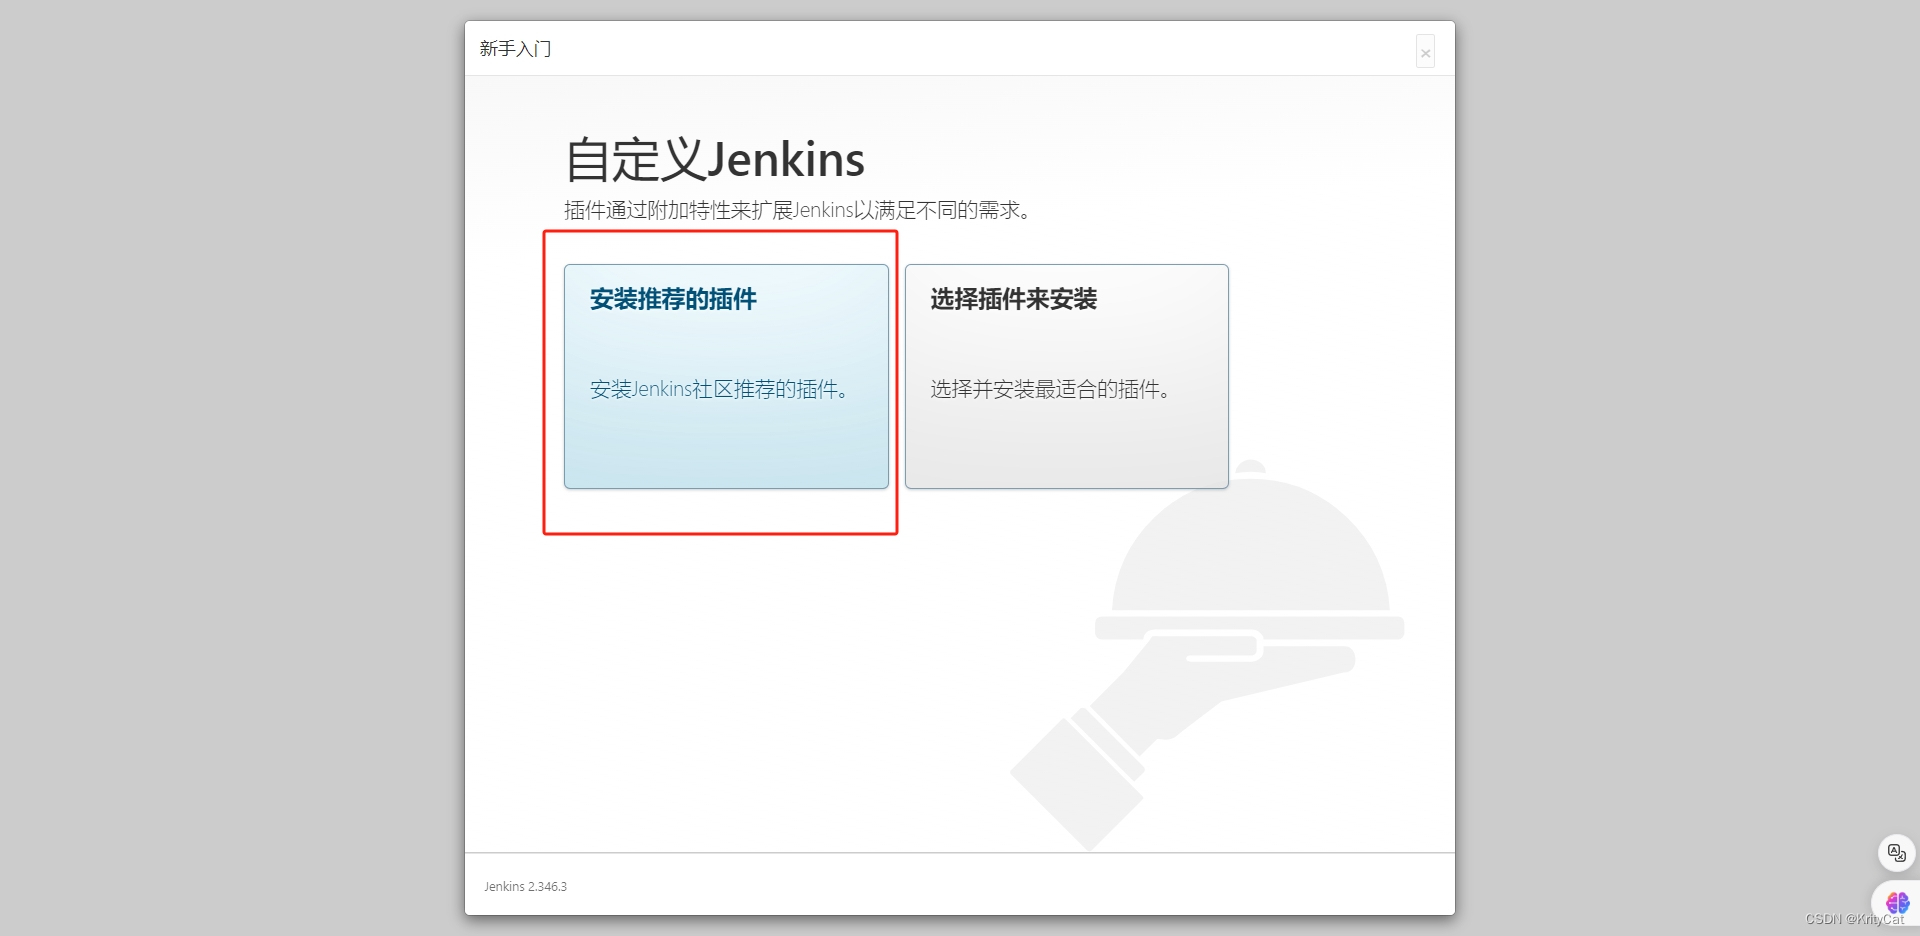
输入管理员密码,进入‘自定义Jenkins’界面,点击安装推荐的插件。
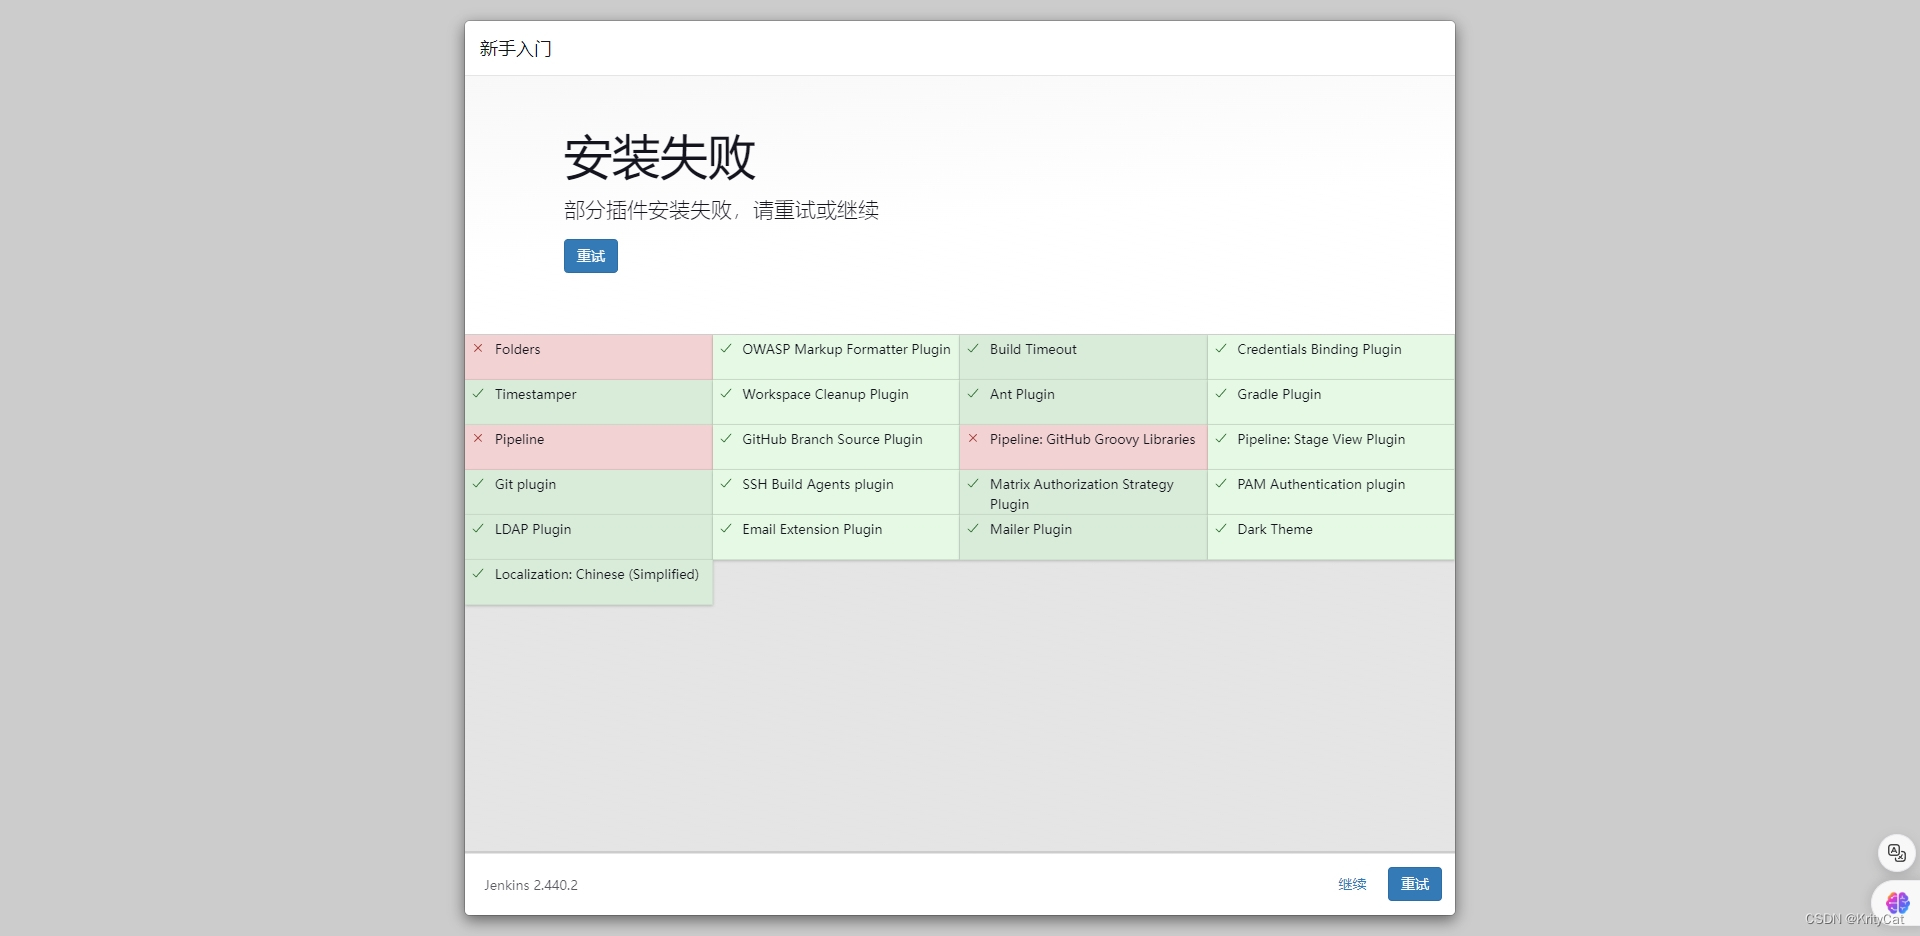
有个别失败,点击继续。(作者这里使用了LTS就会出现个别失败,安装最新版不会出现失败【已实测】)
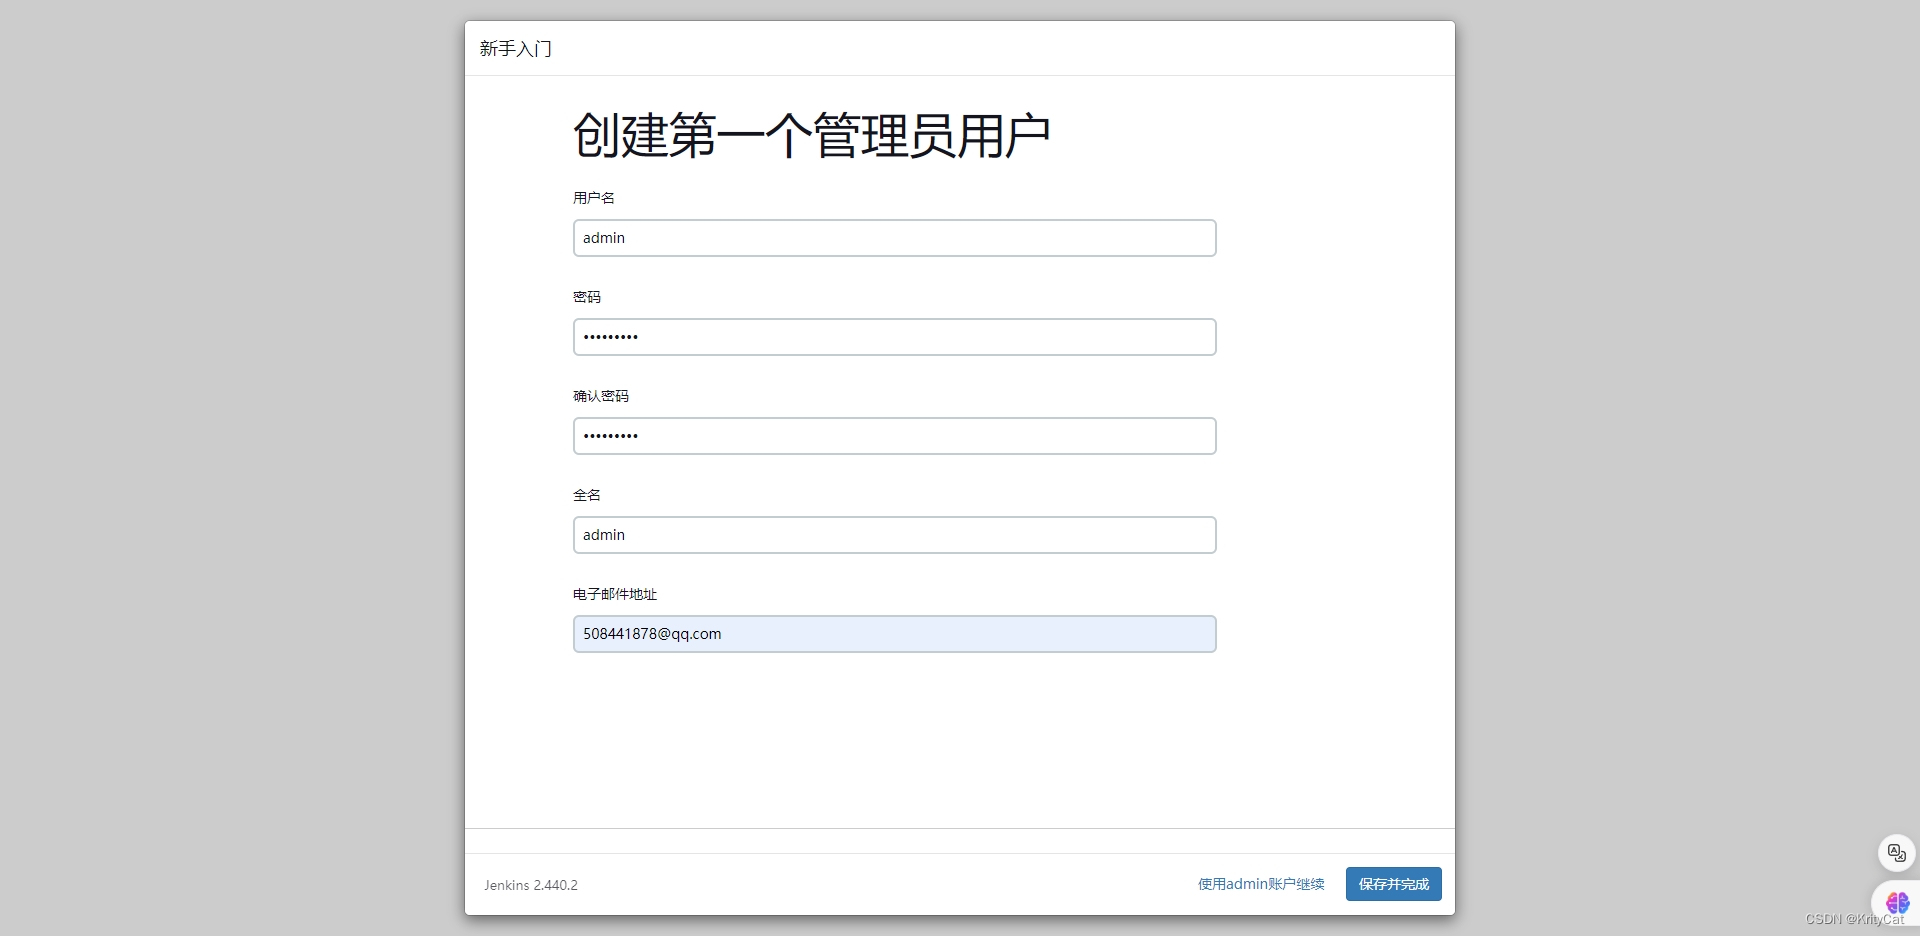
创建第一个管理员用户
名字建议:admin,密码:一个自己容易记的,电子邮件地址:填写真实用于后续发送邮件使用。点击保存并继续
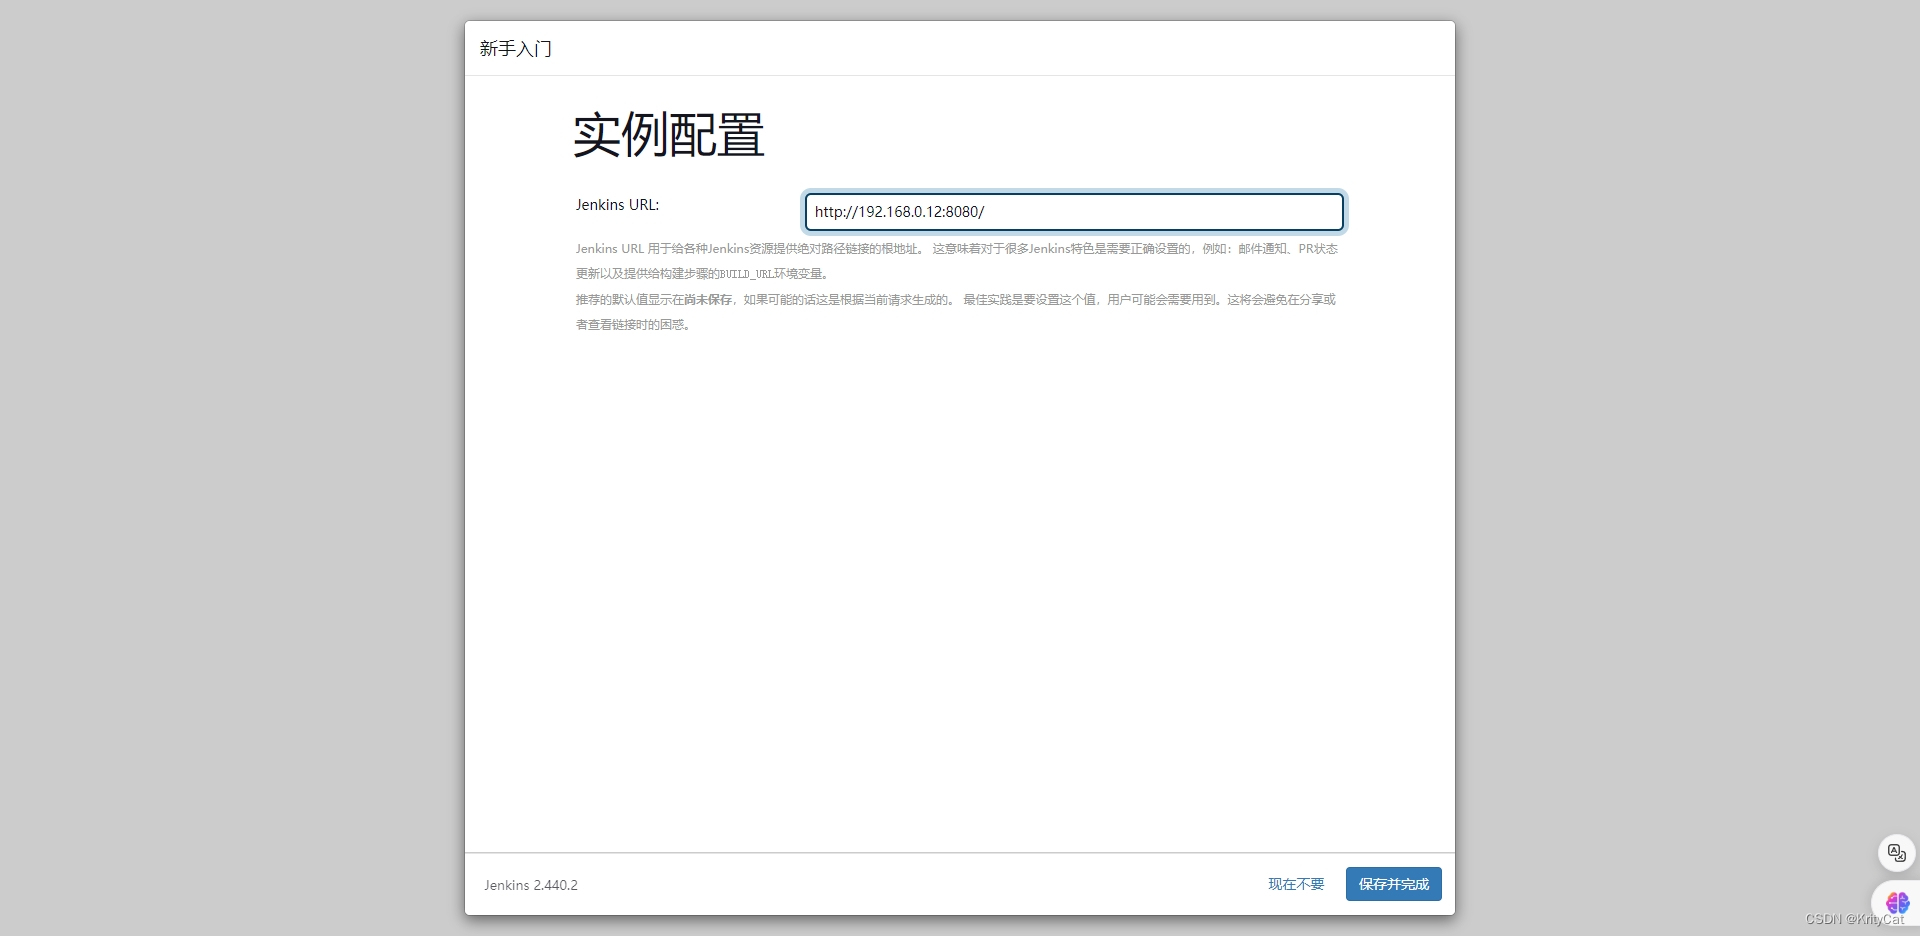
实例配置
容易IP不会变的话,可以点击‘保存并完成’,否则点击‘现在不要’。
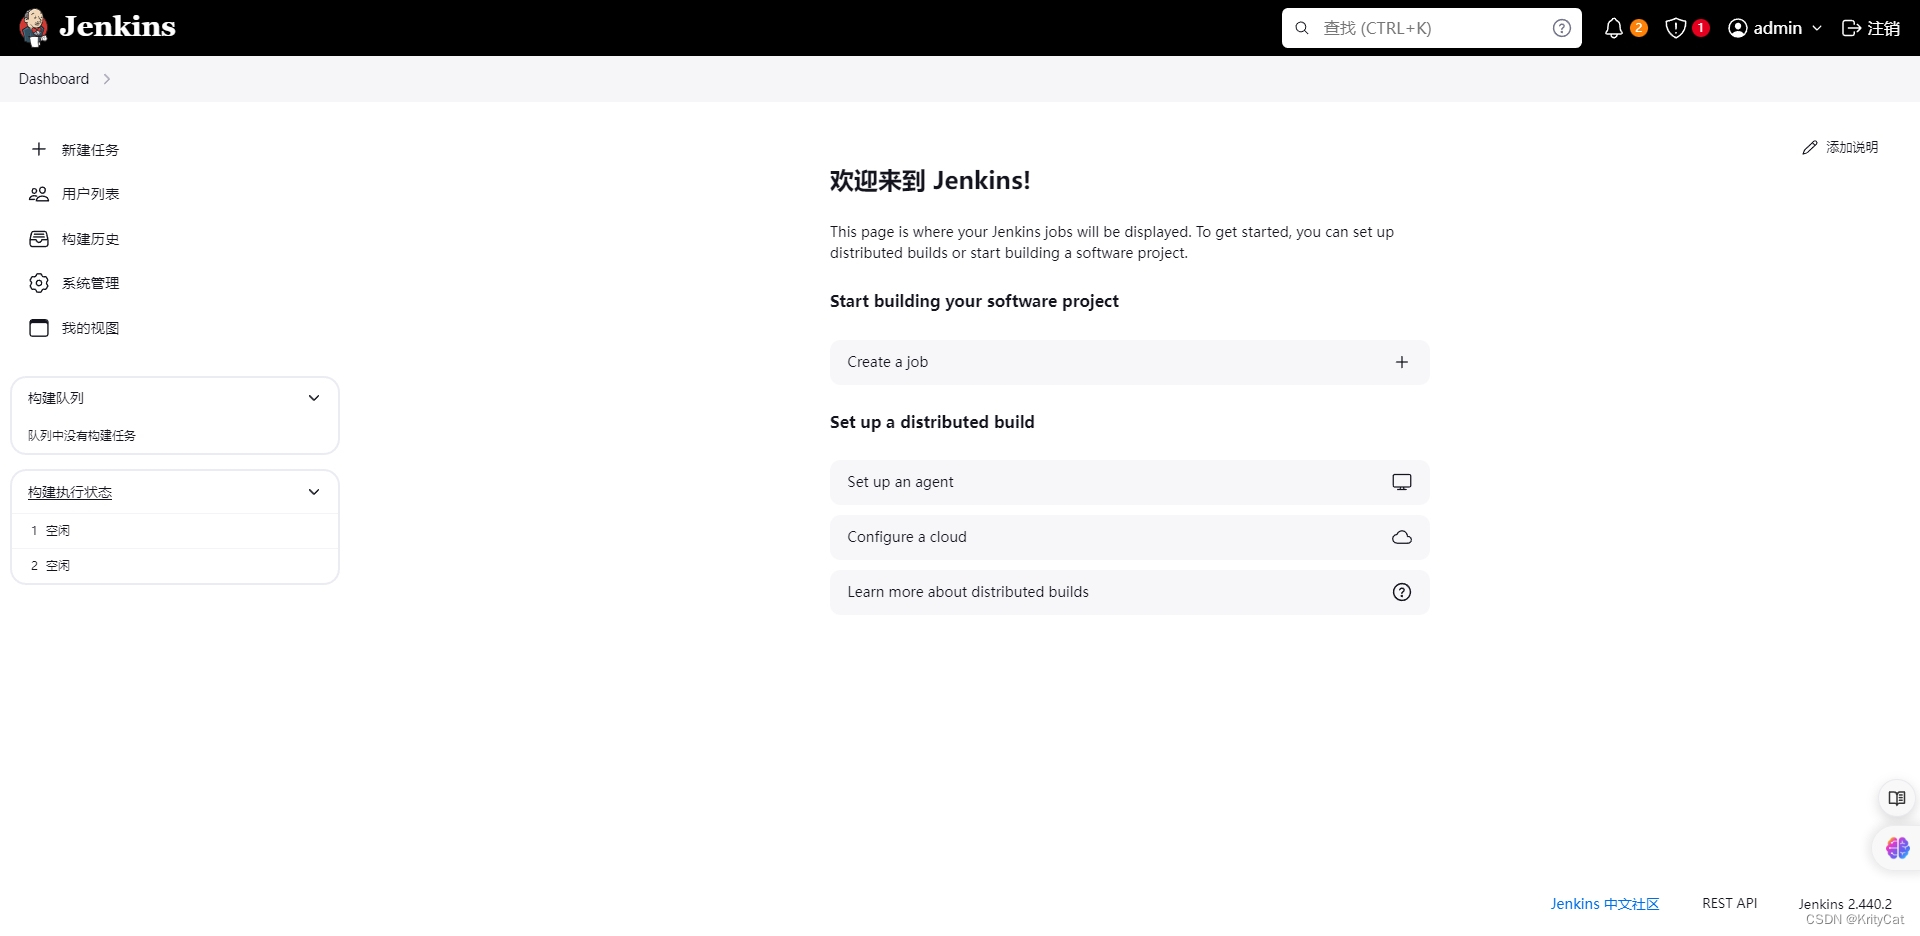
Welcome to Jenkins!
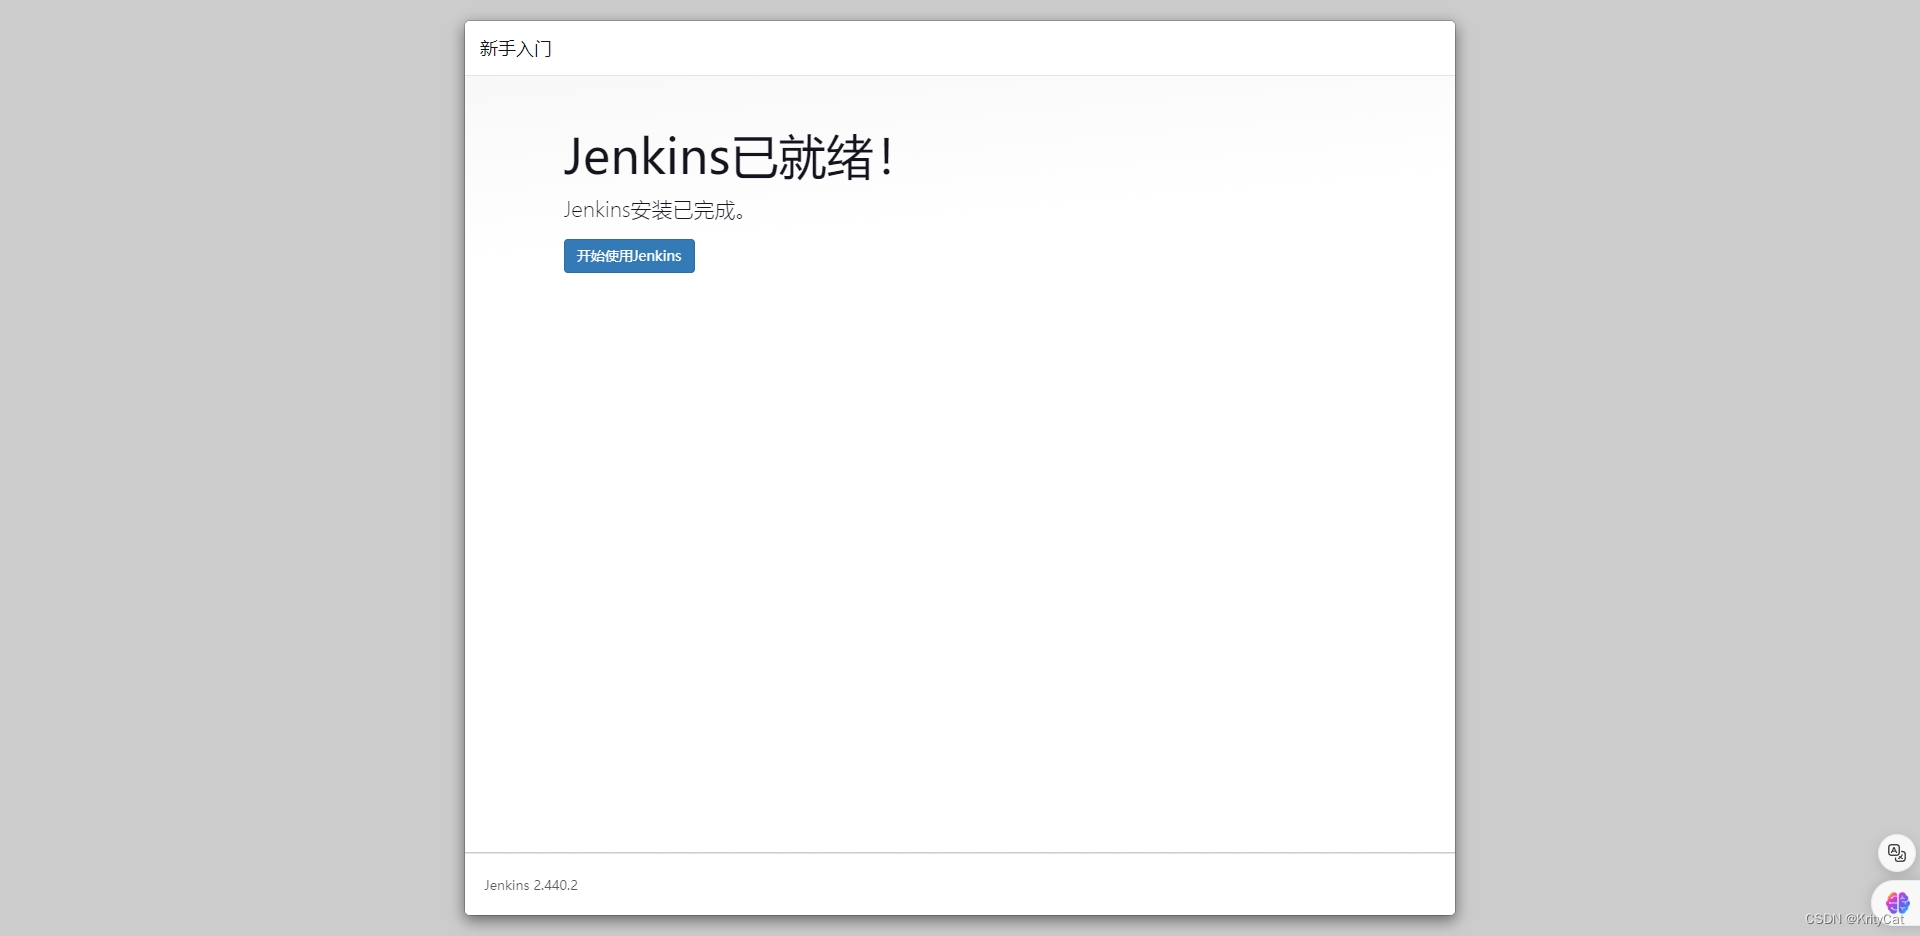
成功
切换default.json源,提高插件安装成功率。(作者正在实验暂未成功,切勿使用 )
sudo sed -i 's/http:\/\/updates.jenkins-ci.org\/download/https:\/\/mirrors.aliyun.com\/jenkins/g' /mydata/jenkins_home/updates/default.json
sudo sed -i 's/http:\/\/www.google.com/http:\/\/www.baidu.com/g' /mydata/jenkins_home/updates/default.json
