1. Junit5
1.1 框架
结构上变成了:JUnit 5 = JUnit Platform + JUnit Jupiter + JUnit Vintage
- JUnit Platform: Junit Platform是在JVM上启动测试框架,可以接入各种引擎。
- JUnit Jupiter: JUnit Jupiter提供了JUnit5的新的编程模型,是JUnit5新特性的核心。运行在上面的JUnit Platform中。
- JUnit Vintage: 兼容JUnit4.x,Junit3.x测试引擎。
web测试的话,可以用postman
下面是个简单的例子:
import org.junit.jupiter.api.Test; //注意这里使用的是jupiter的Test注解!!
public class TestDemo {
  @Test
  @DisplayName("第一次测试")
  public void firstTest() {
      System.out.println("hello world");
  }
1.2 注解
Junit5多了很多新的tag
@Test :表示方法是测试方法。但是与JUnit4的@Test不同,他的职责非常单一不能声明任何属性,拓展的测试将会由Jupiter提供额外测试
@ParameterizedTest :表示方法是参数化测试,下方会有详细介绍
@RepeatedTest :表示方法可重复执行,下方会有详细介绍
@DisplayName :为测试类或者测试方法设置展示名称
@BeforeEach :表示在每个单元测试之前执行
@AfterEach :表示在每个单元测试之后执行
@BeforeAll :表示在所有单元测试之前执行
@AfterAll :表示在所有单元测试之后执行
@Tag :表示单元测试类别,类似于JUnit4中的@Categories
@Disabled :表示测试类或测试方法不执行,类似于JUnit4中的@Ignore
@Timeout :表示测试方法运行如果超过了指定时间将会返回错误
@ExtendWith :为测试类或测试方法提供扩展类引用
这里介绍一下tag。利用 Tag 标签,用户可以比较方便地根据标注来分类,并在执行时快速根据分类来针对性地运行测试。在 Junit5 中添加 Tag 是通过 @Tag 注解来实现的
Junit5 也支持直接读取自定义的注解,比如我们自定义一个注解 QiucaoTag,将 @Tag(“qiucao”) 和 @Test 注解聚合,来简化标注操作。
@QiucaoTag
void customTag(TestInfo info) {
    System.out.println(info.getTags());
}
自定义注解类如下:
import java.lang.annotation.ElementType;
import java.lang.annotation.Retention;
import java.lang.annotation.RetentionPolicy;
import java.lang.annotation.Target;

import org.junit.jupiter.api.Tag;
import org.junit.jupiter.api.Test;

@Target(ElementType.METHOD)
@Retention(RetentionPolicy.RUNTIME)
@Tag("qiucao")
@Test
public @interface QiucaoTag {}
1.3 断言
除了传统的assertion外,JUnit5提供了一些新的断言方式。Assertions.assertThrows() ,配合函数式编程就可以进行使用。
@Test
@DisplayName("异常测试")
public void exceptionTest() {
    ArithmeticException exception = Assertions.assertThrows(
           //扔出断言异常
            ArithmeticException.class, () -> System.out.println(1 % 0));
}
Junit5还提供了Assertions.assertTimeout() 为测试方法设置了超时时间
@Test
@DisplayName("超时测试")
public void timeoutTest() {
    //如果测试方法时间超过1s将会异常
    Assertions.assertTimeout(Duration.ofMillis(1000), () -> Thread.sleep(500));
}
1.4 参数化测试
@ValueSource:指定入参,支持八大基础类以及String类型,Class类型
@NullSource: 表示为参数化测试提供一个null的入参
@EnumSource: 表示为参数化测试提供一个枚举入参
下面是例子
@ParameterizedTest
@ValueSource(strings = {"one", "two", "three"})
@DisplayName("参数化测试1")
public void parameterizedTest1(String string) {
    System.out.println(string);
    Assertions.assertTrue(StringUtils.isNotBlank(string));
}
1.5 测试用例参数化
Junit5中支持给测试方法提供参数,提高了测试数据管理的便利性。内建的几种数据源
// ValueSource
@ParameterizedTest
@ValueSource(ints = { 1, 2, 3 })
void testWithValueSource(int argument) {
   assertTrue(argument > 0 && argument < 4);
}
//EnumSource
@ParameterizedTest
@EnumSource(TimeUnit.class)
void testWithEnumSource(TimeUnit timeUnit) {
   assertNotNull(timeUnit);
}
//还可以提供数据的例外处理,正则匹配等
@ParameterizedTest
@EnumSource(value = TimeUnit.class, mode = EXCLUDE, names = { "DAYS", "HOURS" })
void testWithEnumSourceExclude(TimeUnit timeUnit) {
   assertFalse(EnumSet.of(TimeUnit.DAYS, TimeUnit.HOURS).contains(timeUnit));
   assertTrue(timeUnit.name().length() > 5);
}
//or
@ParameterizedTest
@EnumSource(value = TimeUnit.class, mode = MATCH_ALL, names = "^(M|N).+SECONDS$")
void testWithEnumSourceRegex(TimeUnit timeUnit) {
   String name = timeUnit.name();
   assertTrue(name.startsWith("M") || name.startsWith("N"));
   assertTrue(name.endsWith("SECONDS"));
}
//MethodSource
@ParameterizedTest
@MethodSource("stringProvider")
void testWithSimpleMethodSource(String argument) {
   assertNotNull(argument);
}
static Stream<String> stringProvider() {
   return Stream.of("foo", "bar");
}
//CsvSource
@ParameterizedTest
@CsvSource({ "foo, 1", "bar, 2", "'baz, qux', 3" })
void testWithCsvSource(String first, int second) {
     assertNotNull(first);
     assertNotEquals(0, second);
}
//CsvFileSource
@ParameterizedTest
@CsvFileSource(resources = "/two-column.csv", numLinesToSkip = 1)
void testWithCsvFileSource(String first, int second) {
     assertNotNull(first);
     assertNotEquals(0, second);
}
2. Allure
2.1 创建junit测试的方法
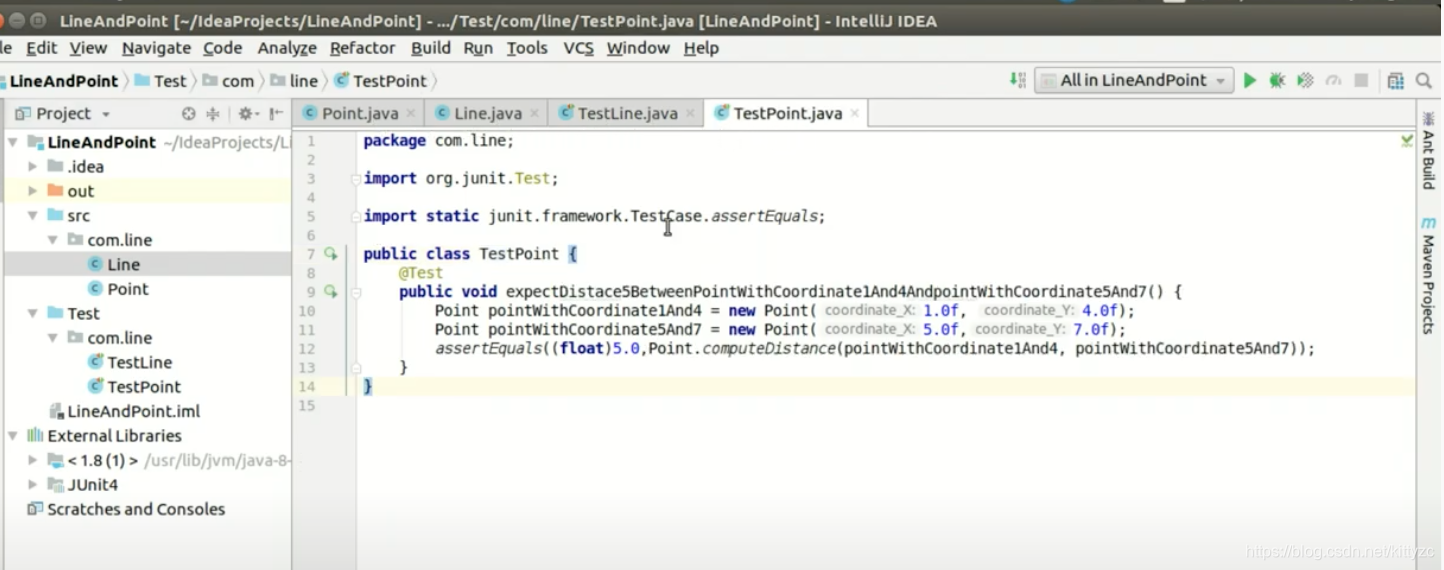
在要测试的类上按快捷键ctrl + shift + t,选择Create New Test,在出现的对话框的下面member内勾选要测试的方法,点击ok
或者点击菜单栏Navigate–>test,选择Create New Test,在出现的对话框的下面member内勾选要测试的方法,点击ok
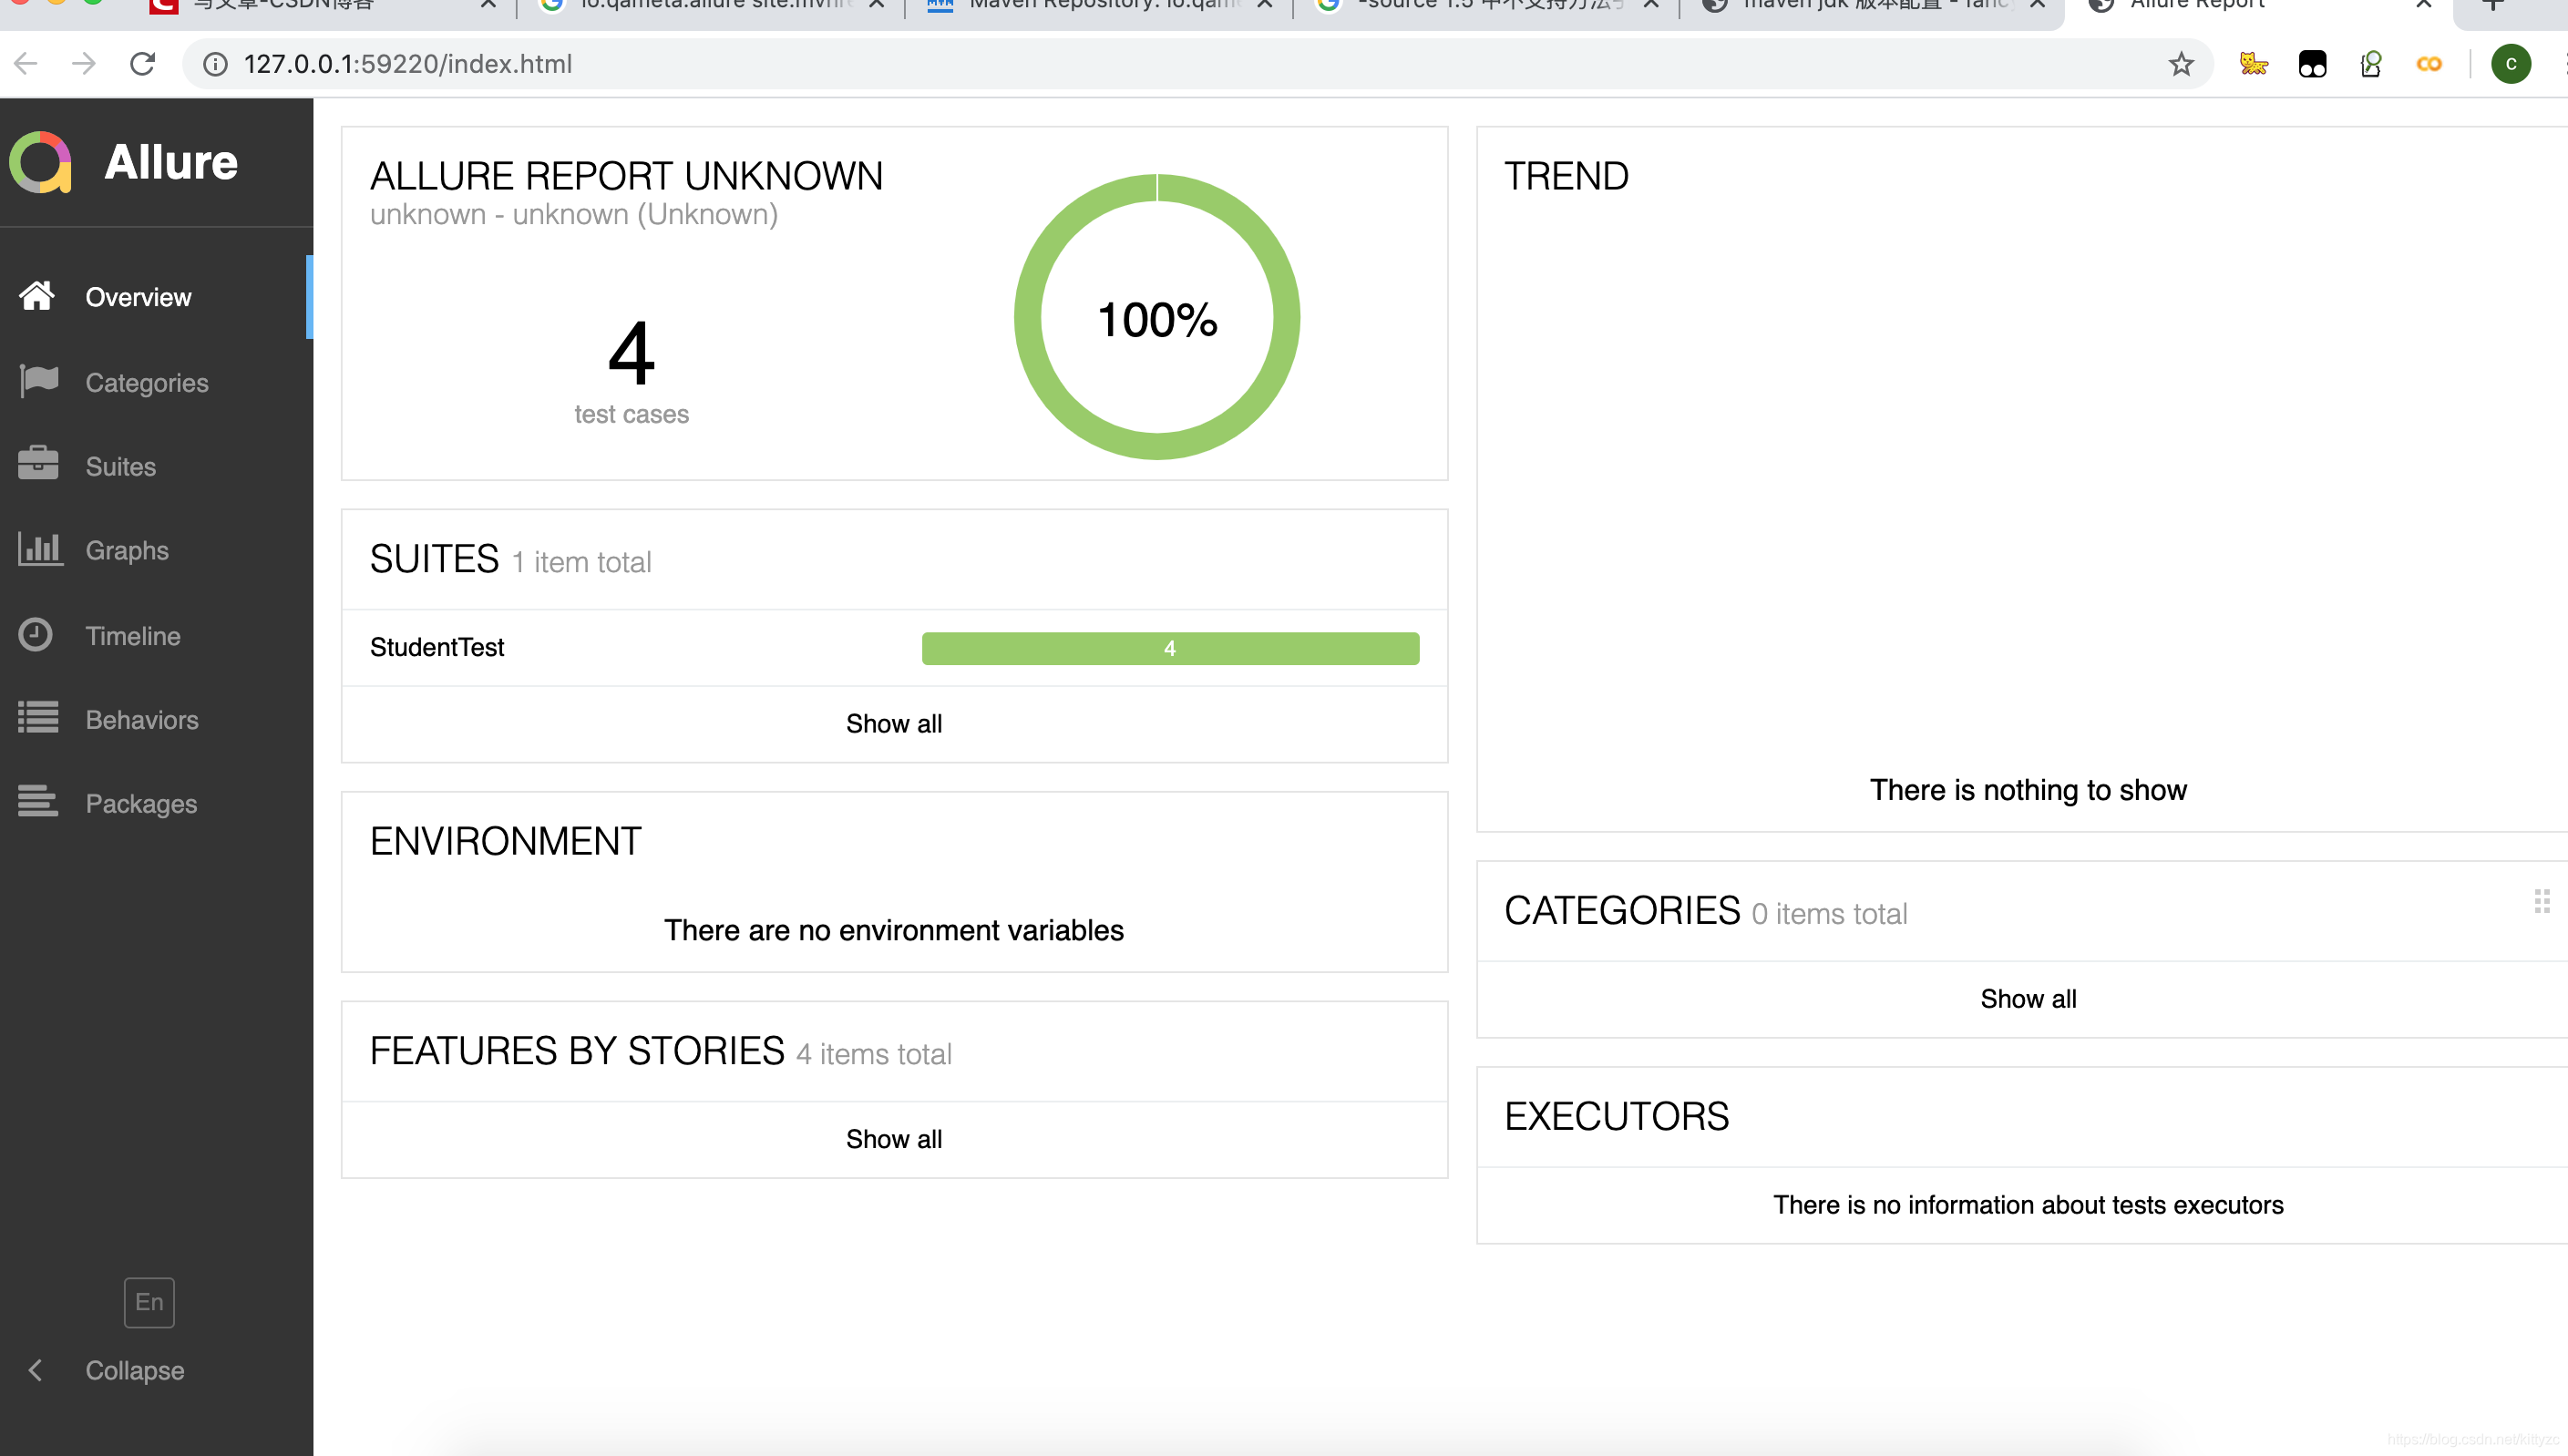
2.2 Allure安装与配置。
详细安装步骤看这里
首先把junit配置好,去intelliJ idea->Preference->Plugins中,安装MavenTestSupportPlugin。然后选中要单元测试的项目,按command+shift+t生成test。注意junit5还要再安装两个库。
brew install allure #进行安装
allure --version # 查看版本号
#这个命令最常使用的,生成web报告。
allure serve [path of allure result]
# 生成测试报告,可以携带一个 -c 参数先清空之前的结果。
allure generate [path of allure result]
# 打开已经生产的测试报告:这个命令则会启动一个 Web 服务将打开。
3. mockito
mockito可以模拟真实环境,Mock测试就是在测试的过程中,对于某些不容易构造的,如HttpServletRequest必须在Servlet容器中才能构造出来,或者不容易获取比较复杂的对象(如JDBC中的ResultSet对象),用一个虚拟的对象(Mock对象)来创建以便测试的测试方法
Mock最大的功能是帮你把单元测试的耦合分解开,如果你的代码对另一个类或者接口有依赖,他能帮你模拟这些依赖,并帮你验证所调用的依赖的行为
import org.junit.Test;

import java.util.LinkedList;
import static org.mockito.Mockito.*;


public class test {
    LinkedList linkedList =  mock(LinkedList.class);
    @Test
    public void test(){
        //创建linkedlist

        System.out.println(linkedList.get(0)); //null
    }

    //方法调用的方绘制
    @Test
    public void test2(){ //模拟方法的调用的返回值
        when(linkedList.get(0)).thenReturn("first"); //当调用get(0)是返回first
        System.out.println(linkedList.get(0)); //输出first
    }

    //方法调用抛出异常
    //模拟获取第二个元素时,抛出runtimeException
    @Test
    public void test3(){
        when(linkedList.get(1)).thenReturn(new RuntimeException());
        System.out.println(linkedList.get(1));
    }

    //调用方法时的参数匹配
    @Test
    public void test4(){
        when(linkedList.get(anyInt())).thenReturn("element");
        System.out.println(linkedList.get(100)); //返回element -任意index都会返回element
    }
    ```

